Hey everybody! I hope your week has started off nicely! Absolutely no complaints here… we are in our happy place doing what we love and we’re having some gorgeous weather! I have an awesome CutCardStock DT inspiration project to share with you today featuring our Basis cardstock that’s on sale this month. This line is one of my favorites so be sure to stock up while it’s on sale – there are some fantastic colors available! I’m in Father’s Day card mode right now (more commissioned by our little local hardware/everything else store) and this one is really cute!
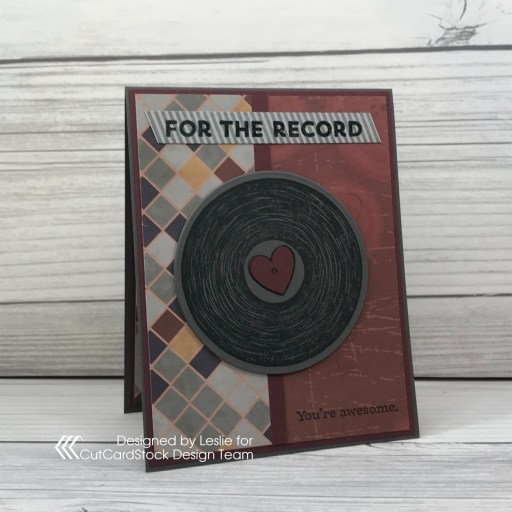
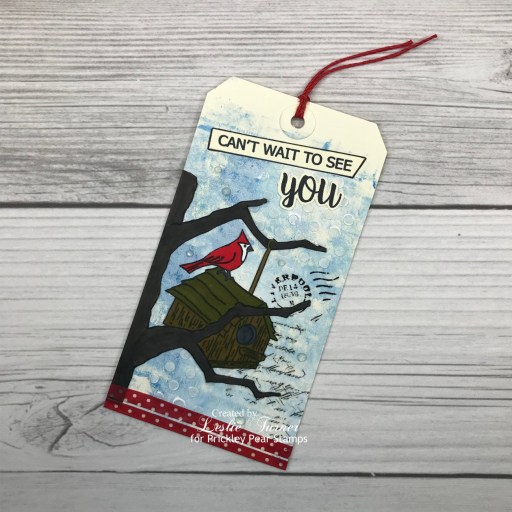
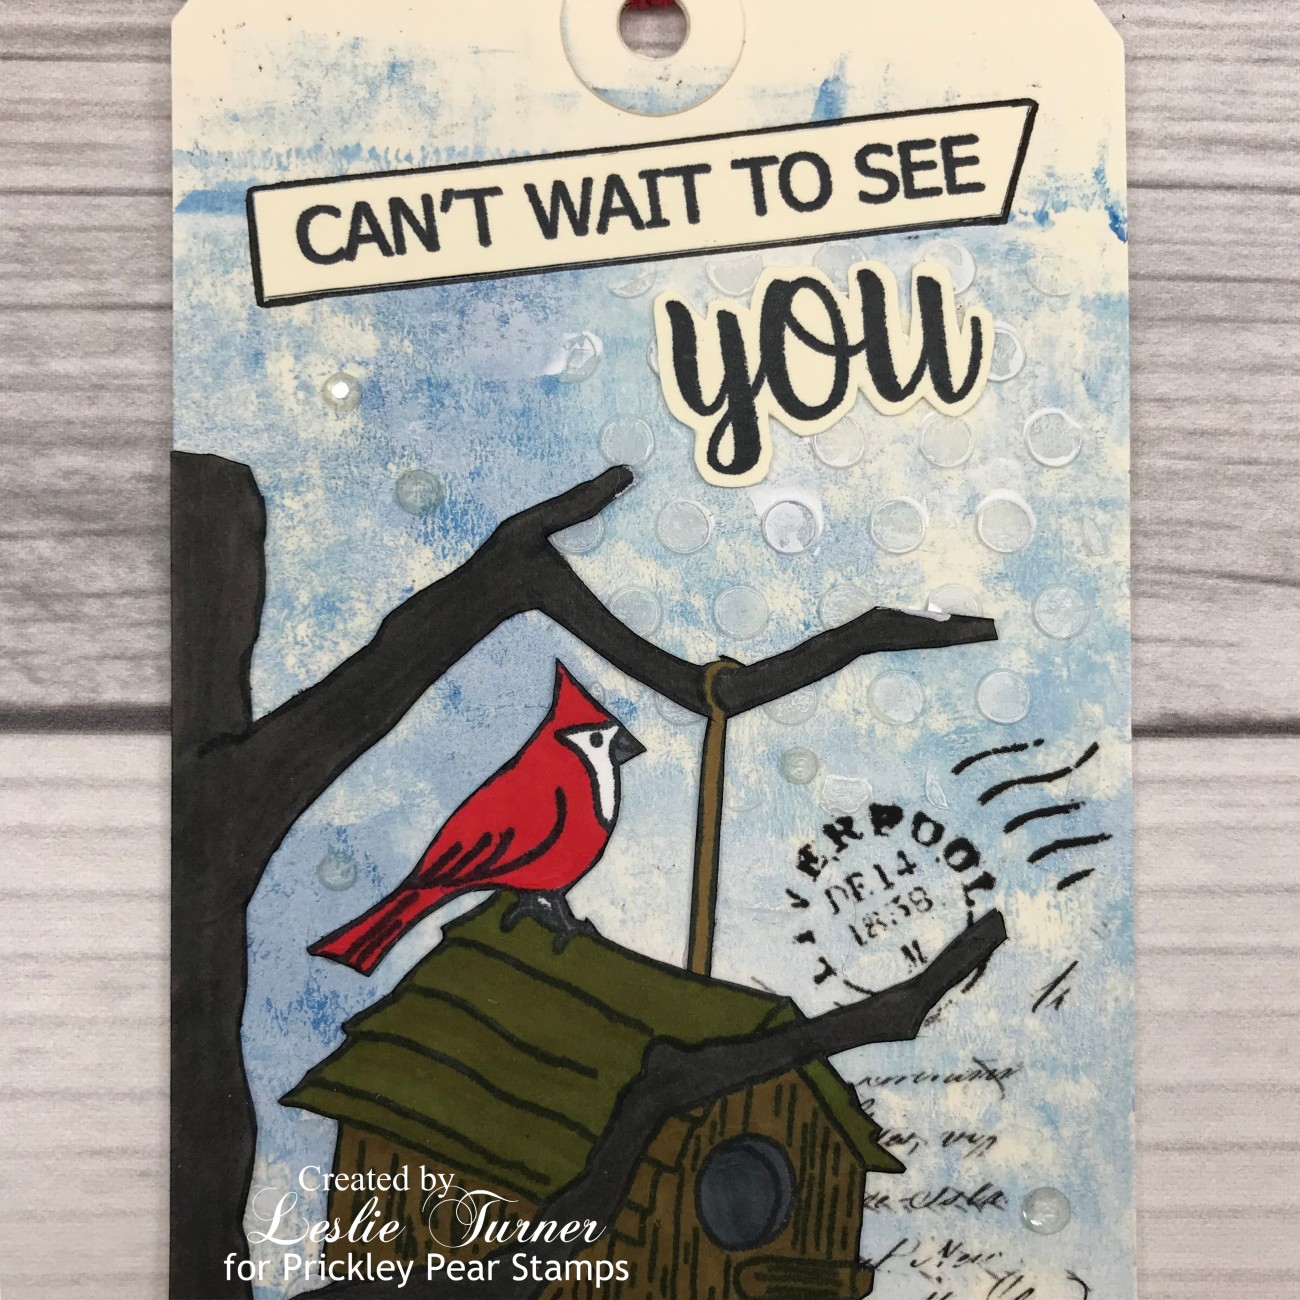
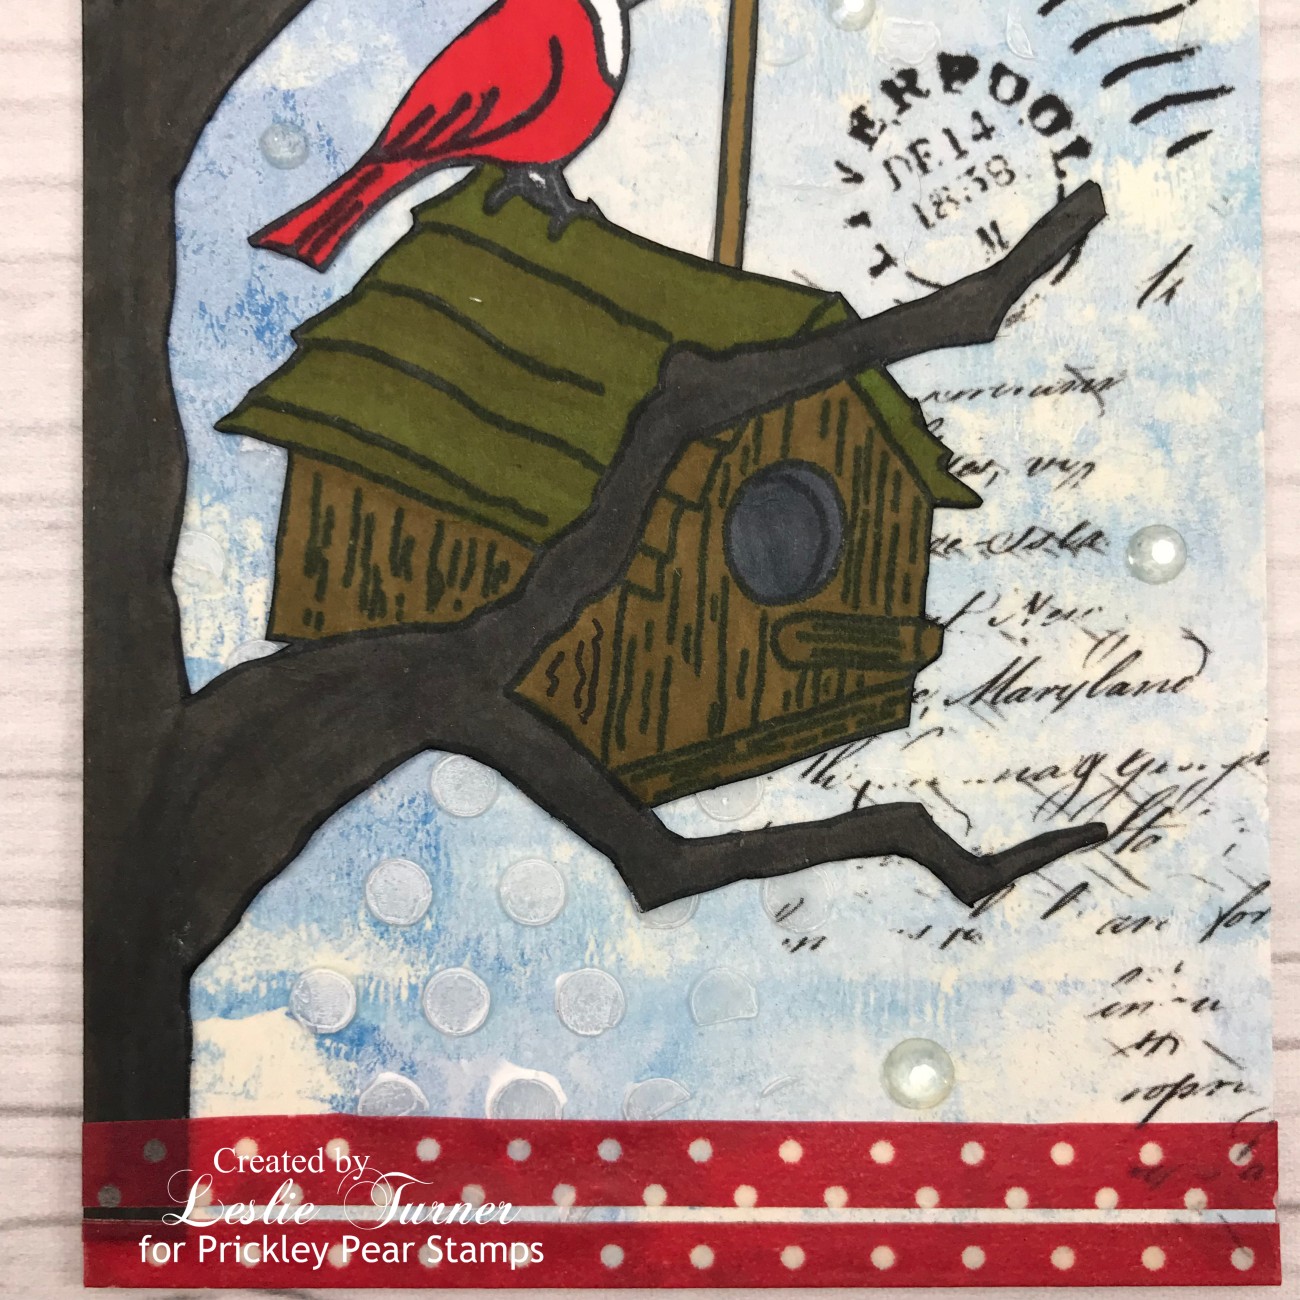
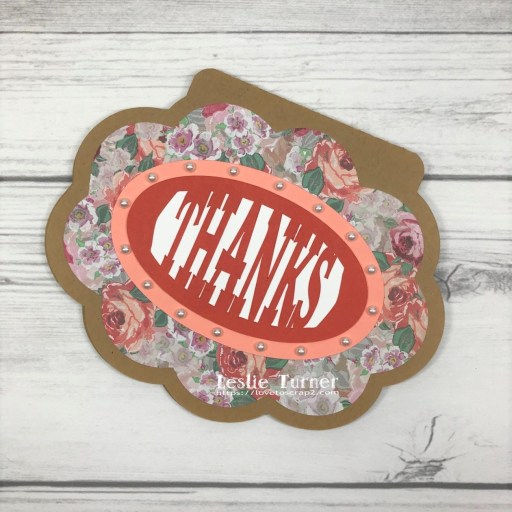
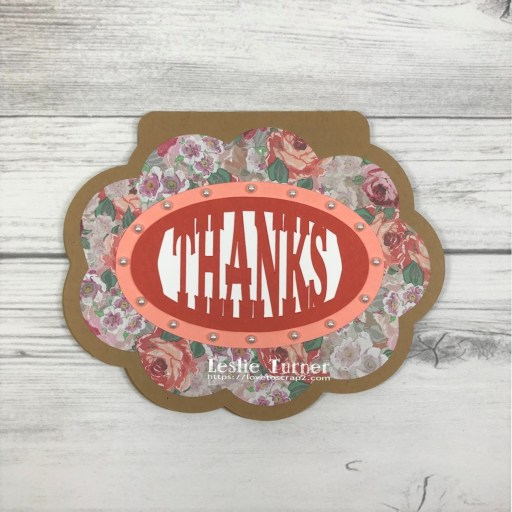
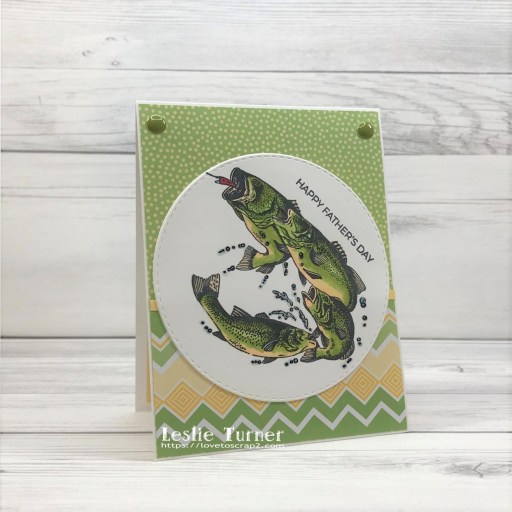
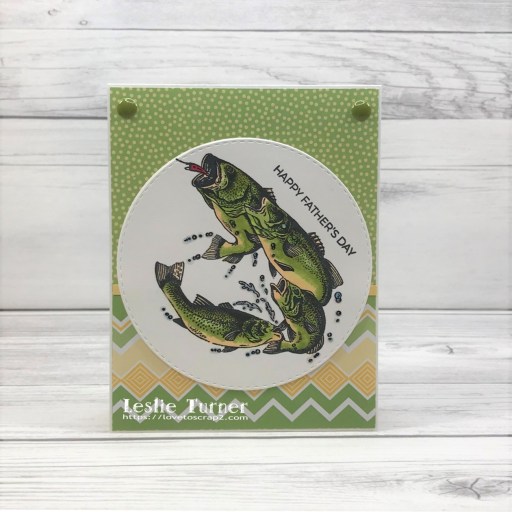
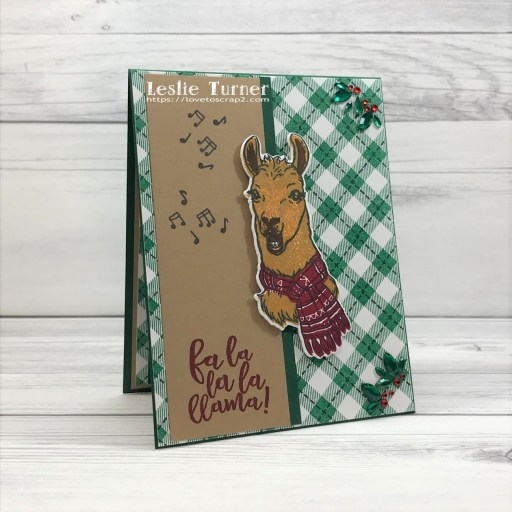
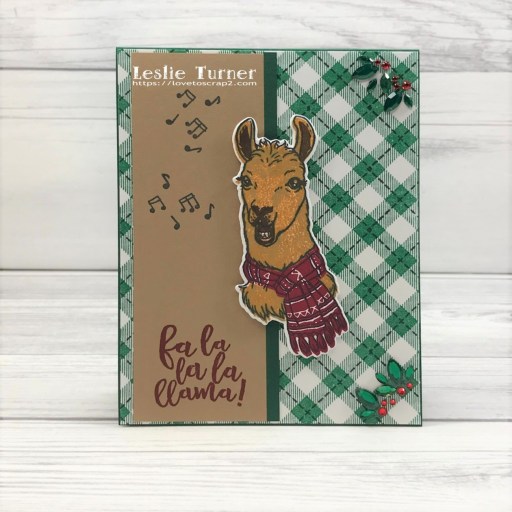
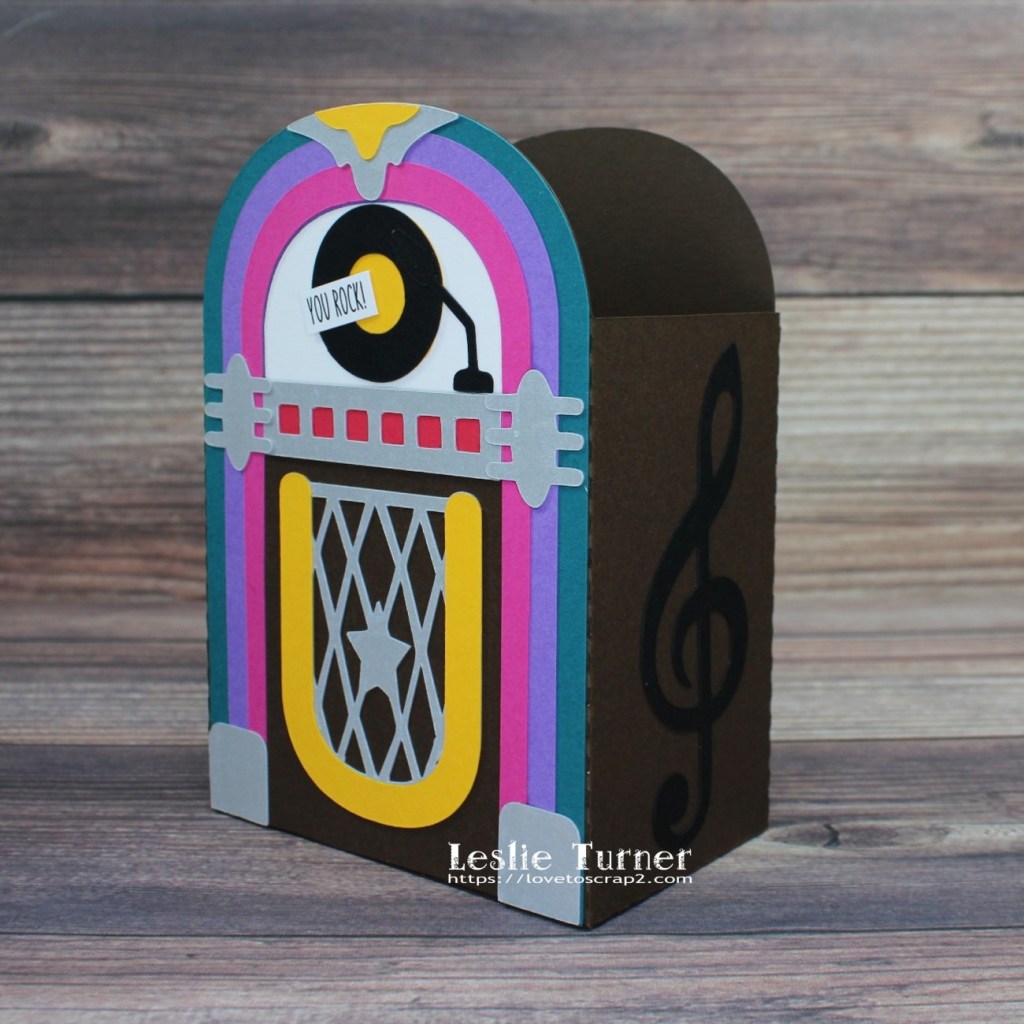
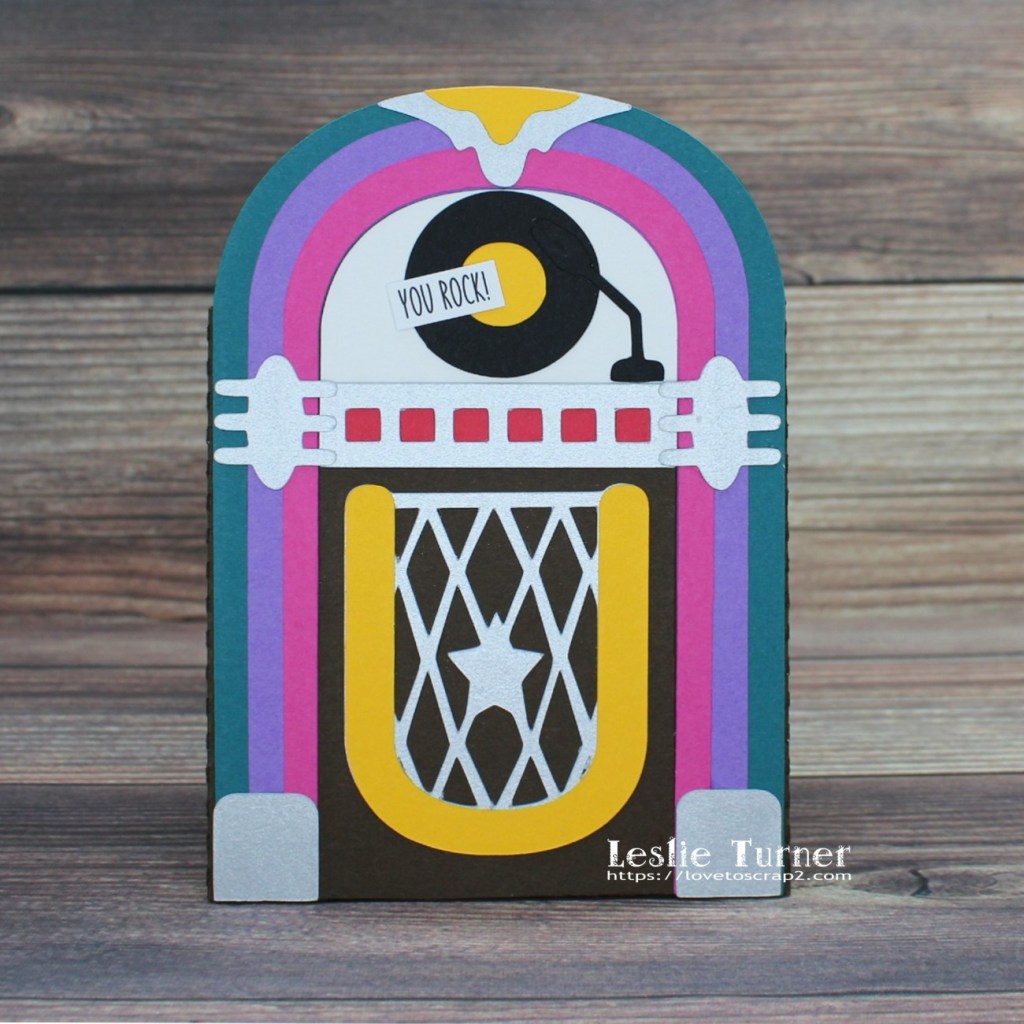
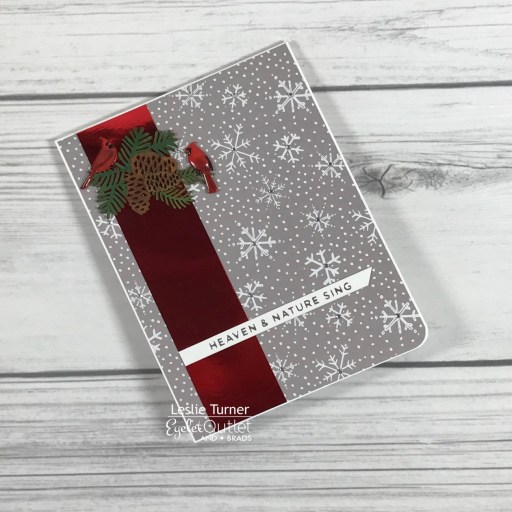
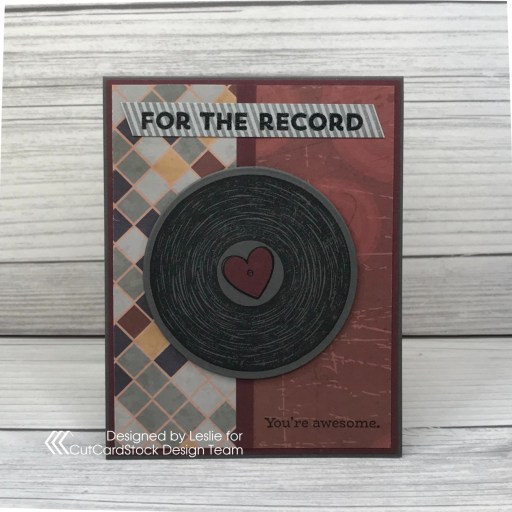
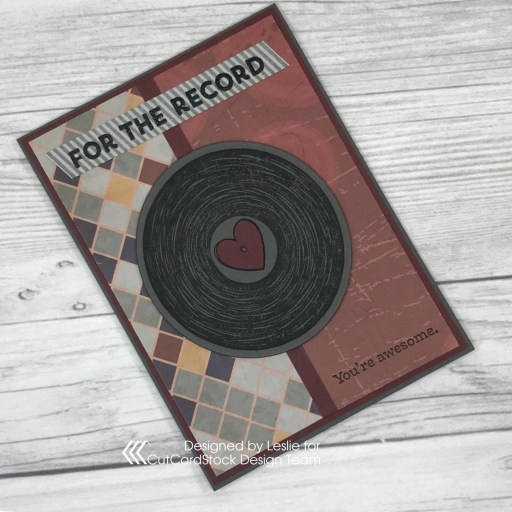
I cut a standard A2 size top-folding card base from our Basis Gray cardstock along with layering panels from Basis Burgundy cardstock and two coordinating patterned papers which I adhered together to create a nice masculine background. I stamped the record from the Stampin’ Up ‘For The Record’ stamp set in Memento Tuxedo Black ink and die cut it with a Spellbinders Standard Circle die, paper piecing the inside heart with the burgundy cardstock. I die cut several extra circles from the gray cardstock and layered them behind the stamped record for a little dimension. I stamped the diagonal stripes for the large sentiment on an 80# Basis White scrap in Catherine Pooler Twilight ink and embossed the sentiment in Hero Arts Clear Embossing Powder over Catherine Pooler Midnight ink. I stamped the small sentiment (from the same stamp set) in Tuxedo Black ink in the bottom right corner which completed the card front.
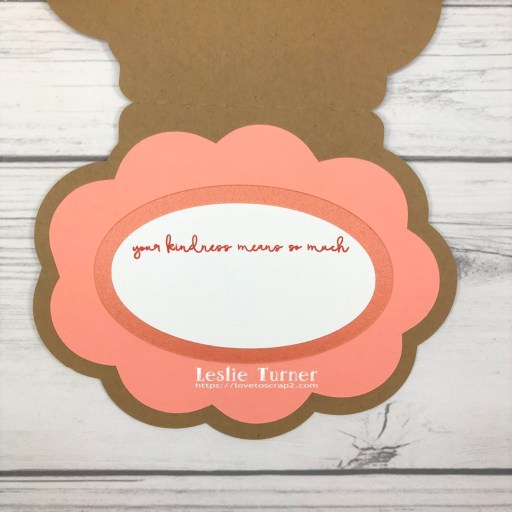
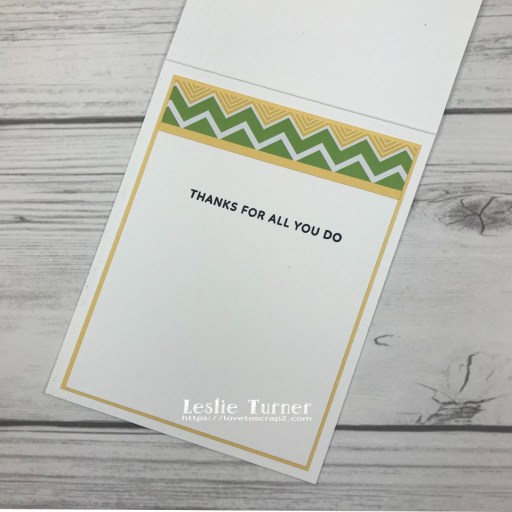
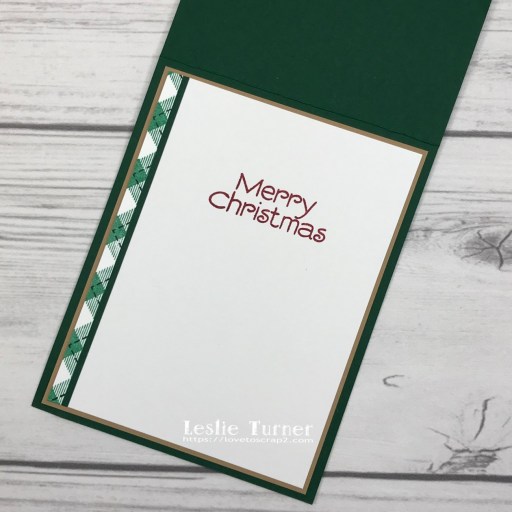
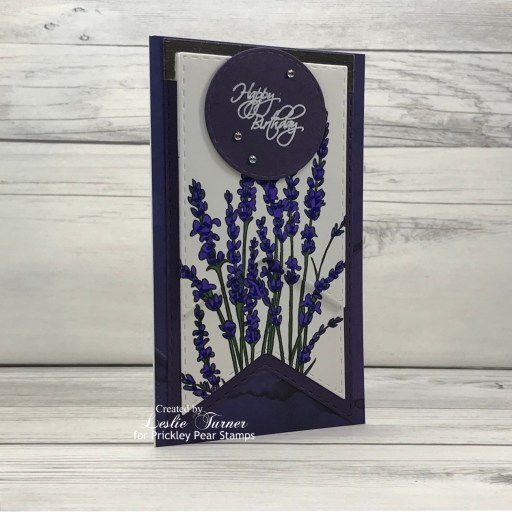
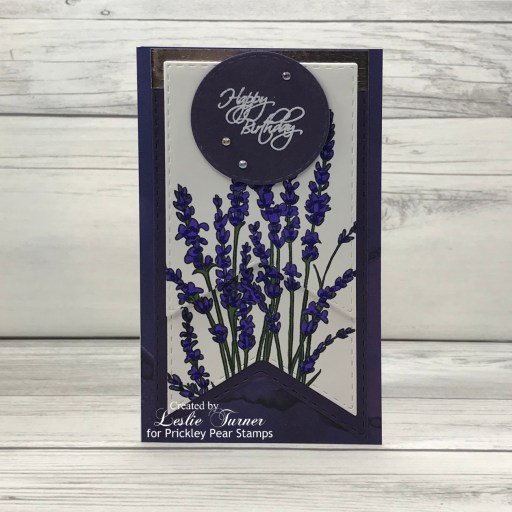
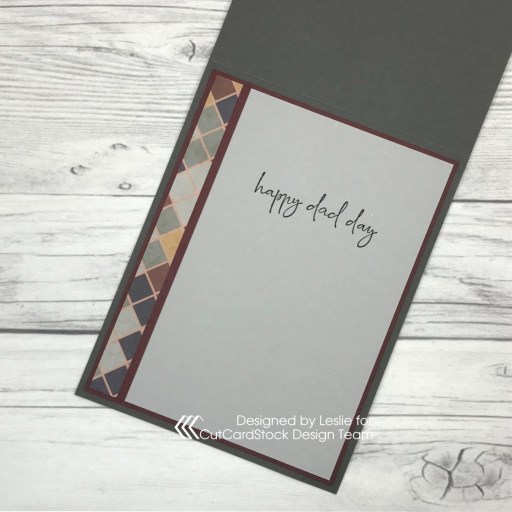
I cut the inside panel from Dolphin cardstock and embellished it with strips of the patterned paper and Basis Burgundy cardstock used on the front. I stamped the inside sentiment from the Stampin’ Up ‘Happy & Heartfelt’ stamp set in Tuxedo Black ink.
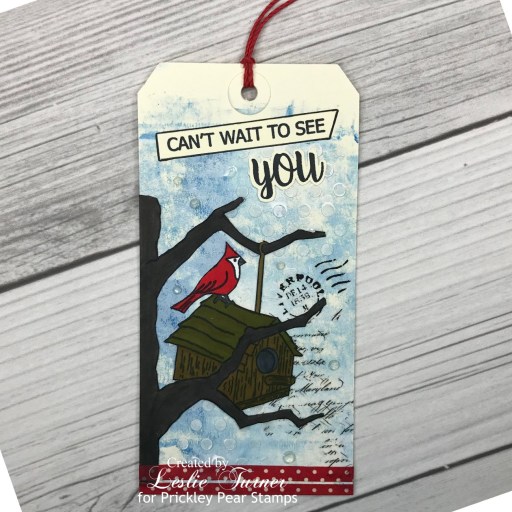
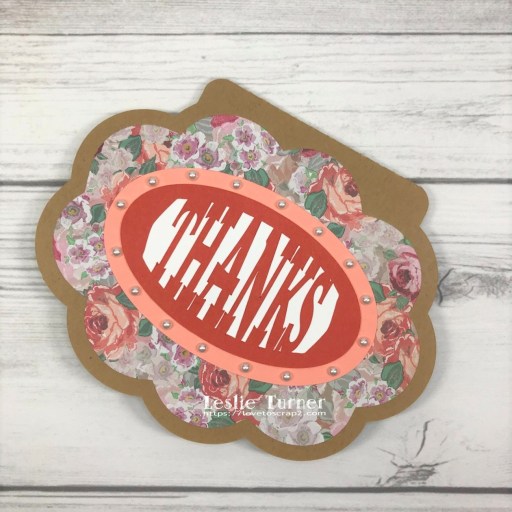
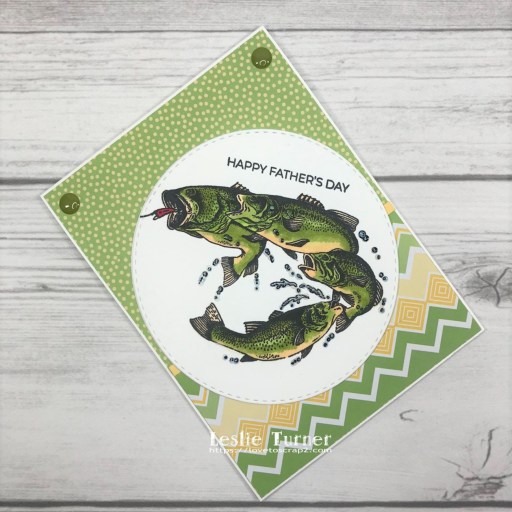
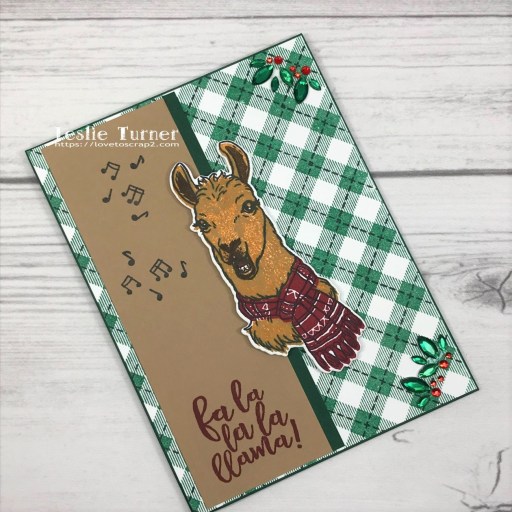
And one more peek… totally loving how this turned out! This Basis cardstock is so awesome and makes the nicest cards! My dad’s been gone since 1975 but I sure enjoy creating Father’s Day cards for other people! ;)
Sharing in the following challenges:
1. 613 Avenue Create: #202205 – May Anything Goes w/ optional Mother’s Day Slimline (no twist)
2. A Perfect Time To Craft Open Challenge: #05-2022 – Anything Goes
3. A Place To Start: #052022 – Anything Goes w/ optional Lilies and Lace (no twist)
4. Classic Design Challenge: #5 May Anything Goes
5. Crafting Happiness Challenges: #123 – Anything Goes Always
6. Incy Wincy Designs: May Challenge – Use a Die Cut or Punch
7. Your Scrapbook Place: May Anything Goes
Affiliate links are used in this post at no cost to you – I really appreciate your support!
CutCardStock products used:
Basis Gray cardstock
Basis Burgundy cardstock
Basis White cardstock
Dolphin cardstock
Other products used:
Paper: Crafter’s Companion Just For Men Urban Collection 6×6 paper pad
Stamps: Stampin’ Up ‘For The Record’ and ‘Happy & Heartfelt’ stamp sets
Ink: Memento Tuxedo Black ink; Catherine Pooler Midnight and Twilight inks; Versamark
Dies/Punches: Spellbinders Standard Circles Small dies
Accessories: We R Memory Keepers Large Guillotine Paper Trimmer, Bearly Art precision craft glue, MISTI stamp tool, Big Shot, 1/16″ hole punch, Hero Arts Clear Embossing Powder
I hope you’ve enjoyed today’s project and you’re inspired to get crafty! Be sure to check out all the awesome cardstock and other goodies at CutCardStock (adhesives, labels, stickers, pens, watercolors and ribbon to name a few). And head on over to the CutCardStock Facebook Page for more inspiration! Thanks so much for stopping by today – we’ll see you next time!
Scrappy hugs,