Hey everybody, Happy Tuesday! I’m delighted to share an awesome Keep It Simple DT inspiration project with you today. You may remember that our new Shaker Kits debuted on the website back in early August. We have a Facebook Live craft-along planned for October 5th to celebrate World Cardmaking Day where several members of our design team will demo the Life Is Sweet and Freshly Brewed kits. These are available as a bundle to purchase prior to the FB Live if you’re interested in joining in! But in the meantime, I’m sharing two cards I made with the Life Is Sweet kit. I’ll share the other two cards I made with the Freshly Brewed kit on the day of the Live.

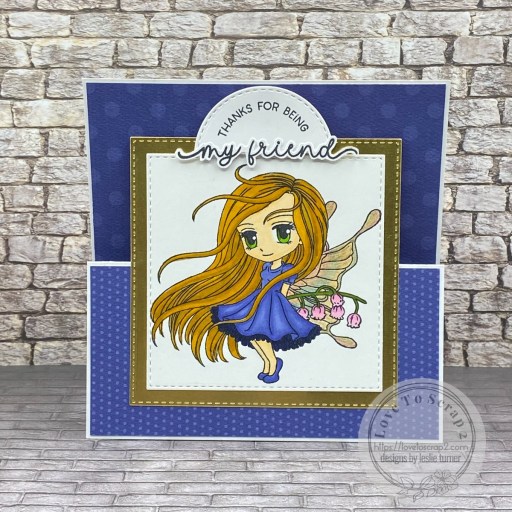
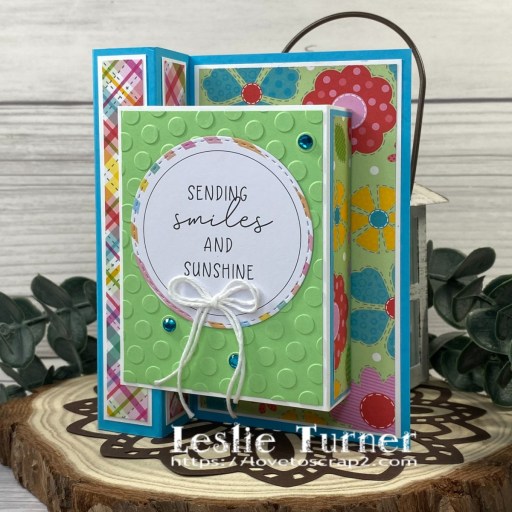
The card bases, adhesive foam, acetate, frames, ephemera, and shaker bits are all included in the kit. I made my cards a little different than the samples on the package. I added Back To Basics Mango and Rose Enamel Dots to the center of the flowers on the front of my first card.


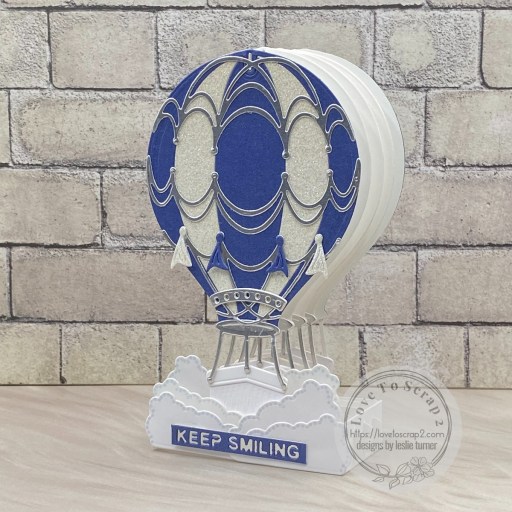
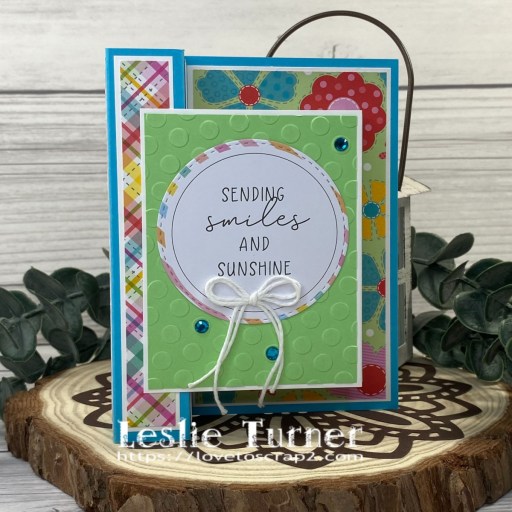
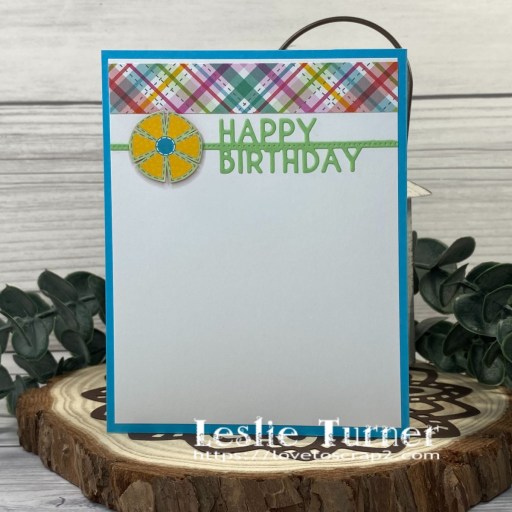
And this is my second card. I have a confession to make… I messed up the scalloped frame included in the kit so I had to go to Plan B… I die cut another frame from a paper in the Back To Basics Mango Collection Pack using a die in the KIS Shaker Frames A2 Frames #3. I honestly don’t think anybody would ever notice but I wanted to share that the A2 Frames work with this kit! These cards turned out so cute and the only extra ingredient needed to make them is adhesive. I used two kinds of double-sided tape and some small foam pads for dimension. I love that everything else is included!


Keep It Simple products used:
Life Is Sweet Shaker Kit
Back To Basics Mango Enamel Dots
Back To Basics Rose Enamel Dots
Back To Basics Mango 12×12 Collection Pack
KIS Shaker Frames A2 Frames #3
Affiliate links are used in this post at no cost to you – I really appreciate your support!
Other products used:
ACCESSORIES: My Sweet Petunia Precision Glue Press, Nuvo Deluxe Adhesive, Scrapbook.com Double-Sided Adhesive Roll, red liner tape, Stampin’ Up Mini Dimensionals
I hope you’ve loved seeing this project as much as I loved creating it and you’re inspired to get crafty! Be sure to check out ALL the fun goodies in the Keep It Simple online store! Save 10% on your entire order when you shop online using code LoveToScrap2 at checkout! There is no minimum purchase requirement and no usage limits, AND it combines with product, order, and shipping discounts! Is that cool, or what?! Be sure to Follow us on Facebook, Instagram, and Pinterest for lots of crafty inspiration! Thanks so much for stopping by today – we’ll see you next time!
Scrappy hugs,