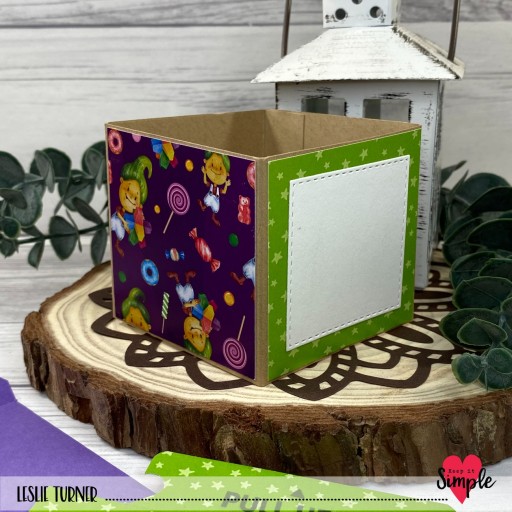
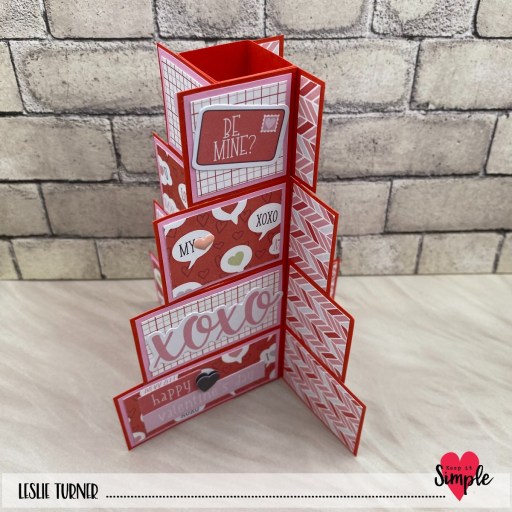
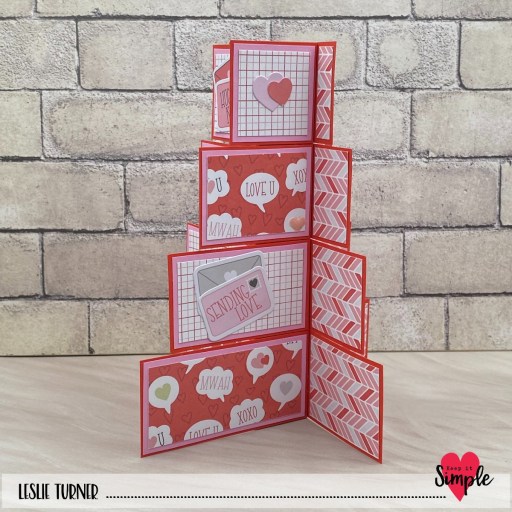
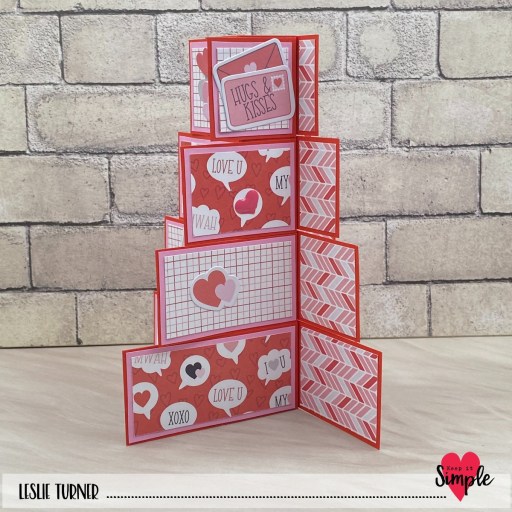
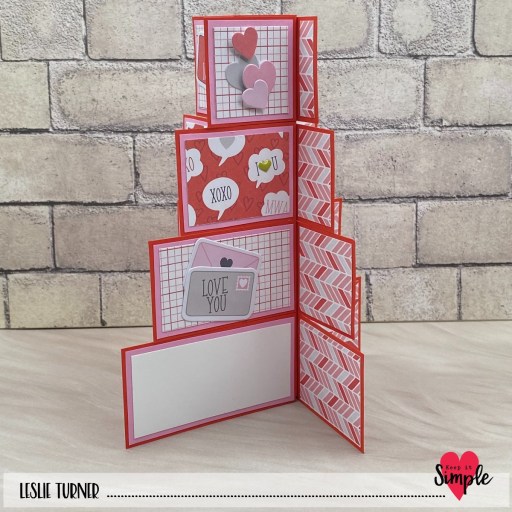
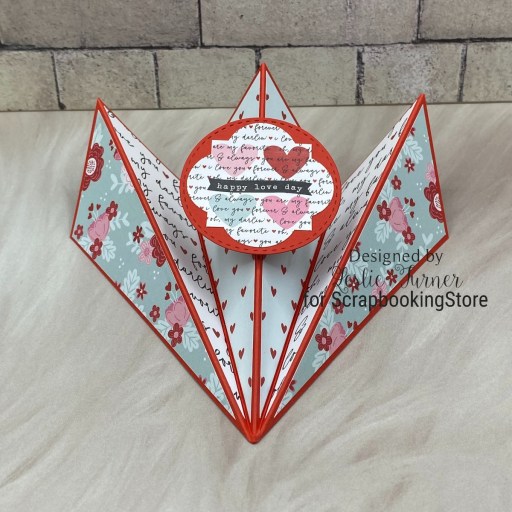
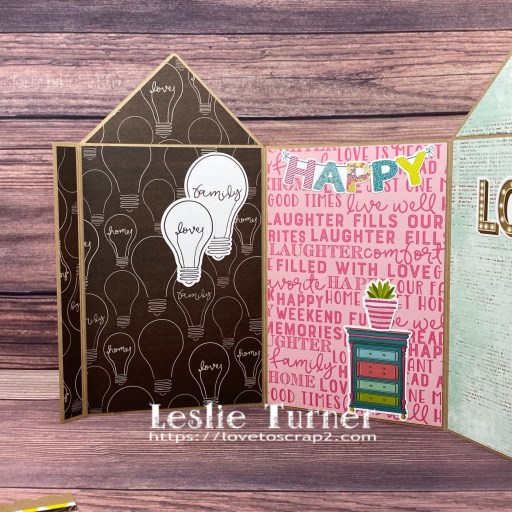
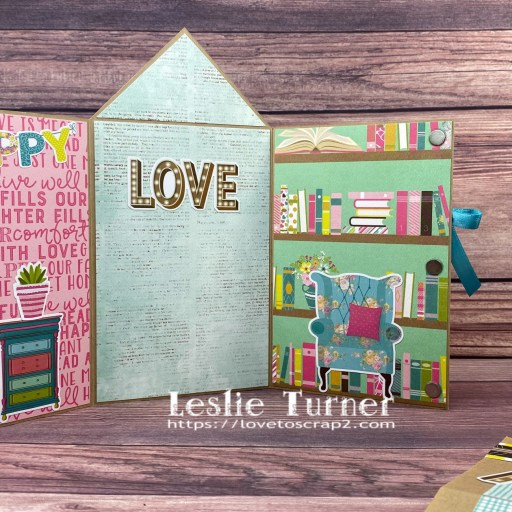
Hey everybody! I hope you’ve got some fun planned this weekend… and maybe your weather is warming up just a slight bit and looking toward Spring?! It’s a busy morning here with seven of my eight challenge blogs launching new challenges. This project is for Mix It Up Challenge Blog where MIUCB #70 – Anything Goes + optional Fancy Fold is live and we’d love to see your project with two or more folds – or straight anything goes if that’s your jam! But c’mon and admit it, you know you love fun folds, so come play with us either way! I had a large time creating this house-themed mini album (tutorial from Splitcoast Stampers HERE) using the Keep It Simple Namaste Home Collection.
This Collection is on clearance over at Keep It Simple Paper Crafts and has been deeply discounted, so if you’re so inclined to go shopping, be sure to use my discount code LoveToScrap2 for 10% off your entire order! The coolest thing about our specialized discount codes is that there is no minimum purchase requirement or usage limit, and the code combines with product, order, and shipping discounts!
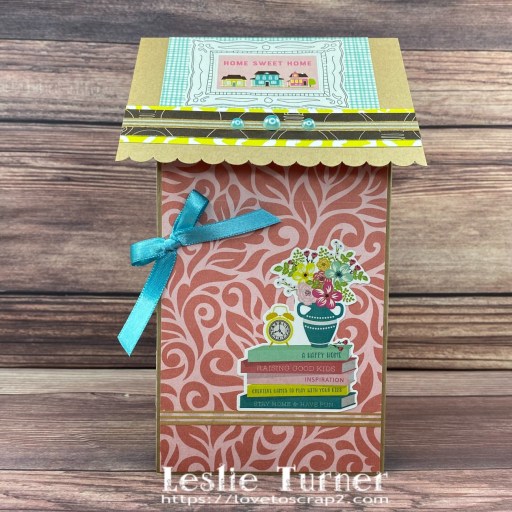
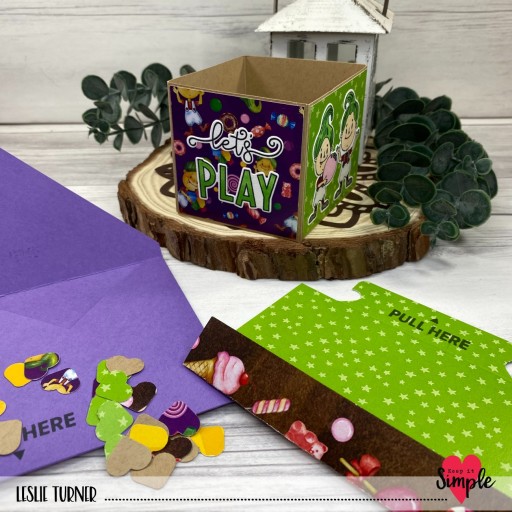
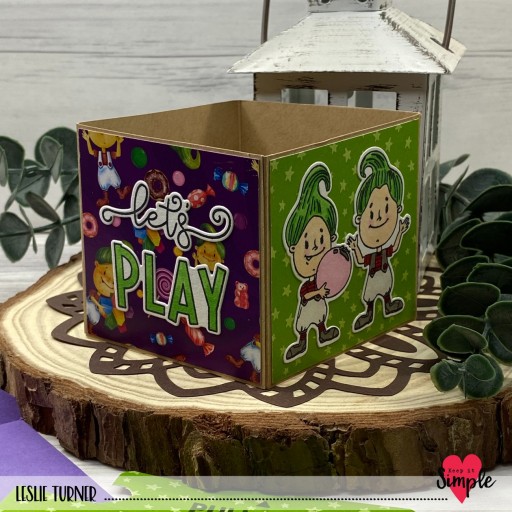
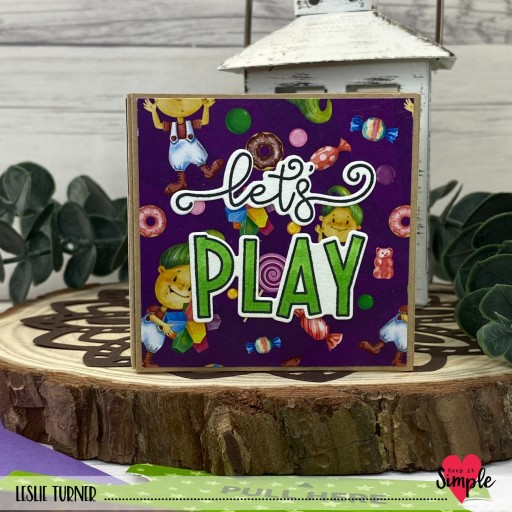
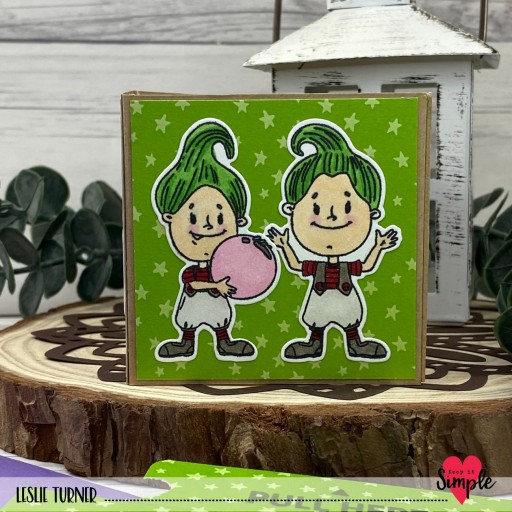
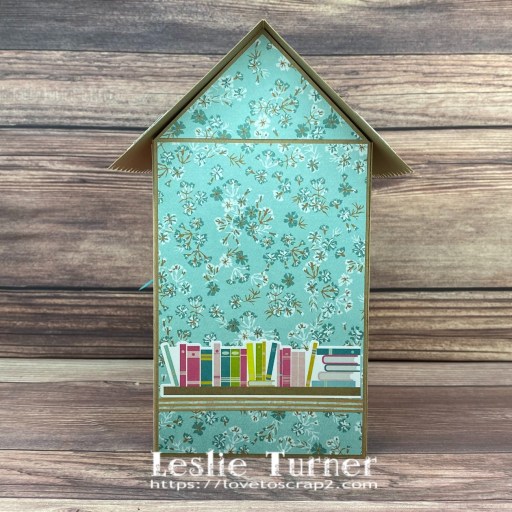
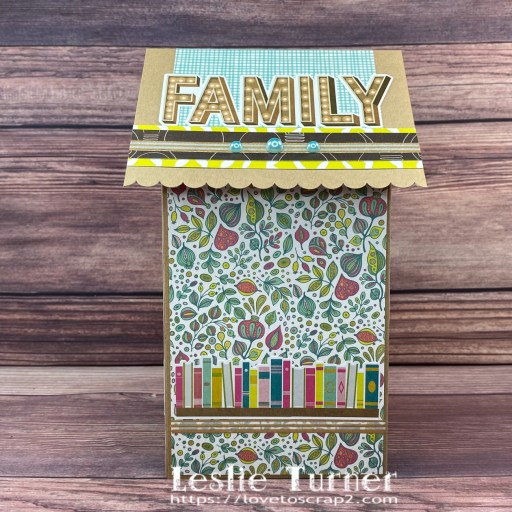
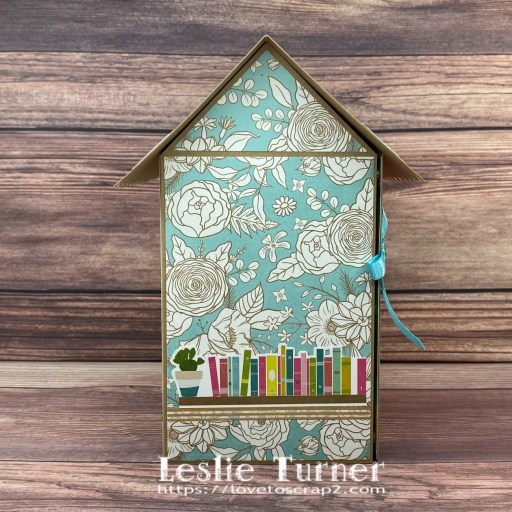
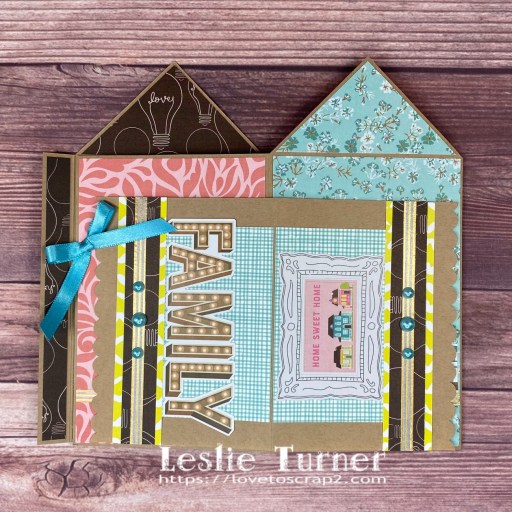
The mini album base and roof were cut from CutCardStock Twine 12×12 cardstock along with layering panels from coordinating papers in the Keep It Simple Namaste Home Collection. I scalloped the edges of the roof with the Stampin’ Up Scalloped Edge Punch, and then used Me & My Big Ideas washi tape, Keep It Simple Clementine pearls, and stickers from the Namaste Home sticker sheet to embellish the roof and all the sections. I used a couple disc magnets for the closure, and added a bow fashioned from some Ellen Hutson teal ribbon.
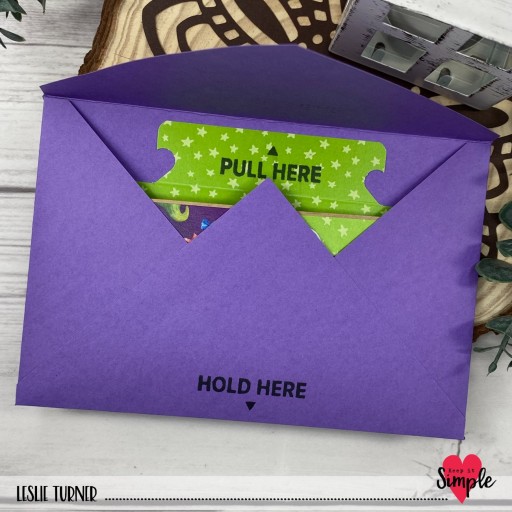
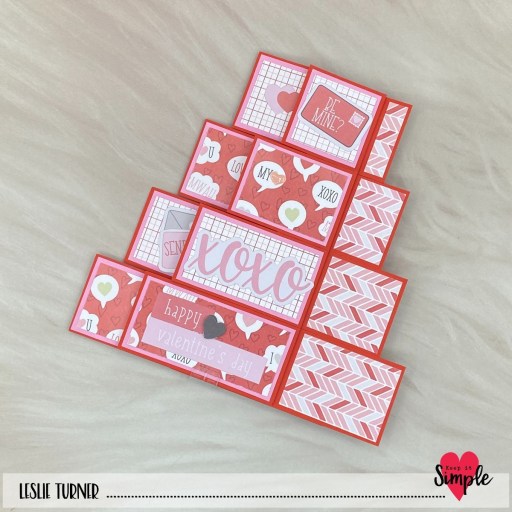
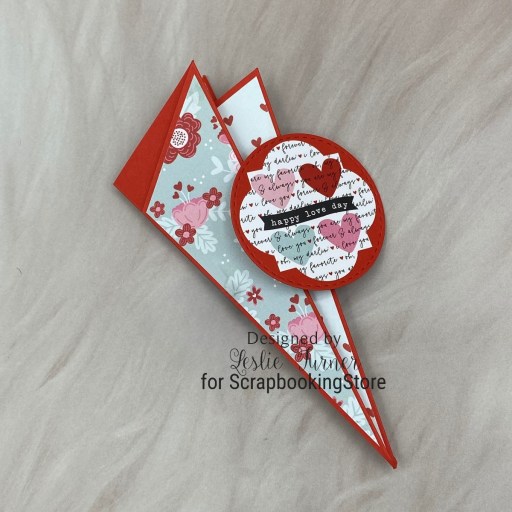
And here it is folded flat for mailing!
Sharing in the following challenges:
1. https://aperfecttimetocraft.blogspot.com/2024/03/a-perfect-time-to-craft-open-challenge.html
2. https://classicdesignchallenge.blogspot.com/2024/02/classic-design-challenge-02-2024-febmar.html
3. https://craftycatzweeklychallenge.blogspot.com/2024/02/crafty-catz-challenge-666.html
4. https://inkspirationalchallenges.blogspot.com/2024/02/inkspirational-challenge-310-mood-board.html (inspired by the colors)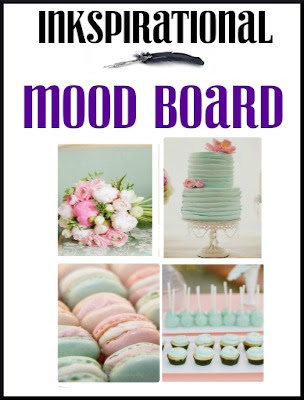
5. https://mmmchallengeblog.blogspot.com/2024/02/220-fun-folds-any-theme.html
Affiliate links are used in this post at no cost to you – I really appreciate your support!
Products used:
CARDSTOCK/PAPER: CutCardStock Twine 12×12 cardstock, Keep It Simple Namaste Home Collection Pack
DIES/PUNCHES: Stampin’ Up Scalloped Edge Punch
ACCESSORIES: Tonic Studios 12″ Guillotine Paper Trimmer, Tombow Mono Dots Adhesive, Bearly Art precision craft glue, Keep It Simple Clementine Pearls, MAMBI skinny gold stripe washi tape, small disc magnets, Ellen Hutson teal ribbon
I hope you’ve enjoyed seeing this project and will link up with us this time! Thanks so much for stopping by today – we’ll see you next time! ;)
Scrappy hugs,