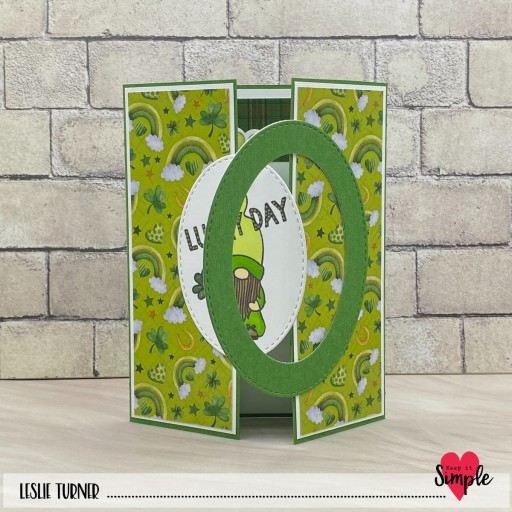
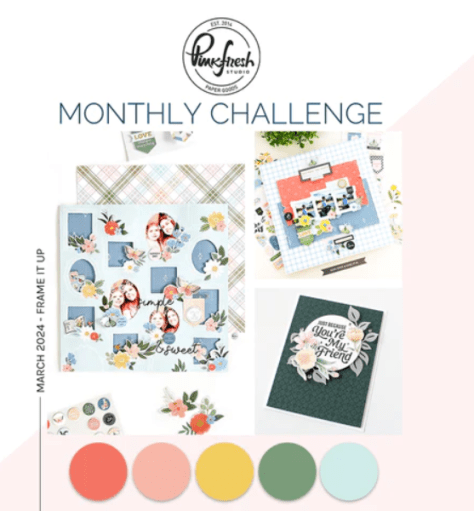
Hey everybody, Happy Monday! We’ve gotten several inches of snow here yesterday and the day before, and I can honestly say we’re ready for Mother Nature to get her act together and give us some real Spring weather! I’ve popped in this morning with a spanner panel card I made to enter into the Pinkfresh Studio March Challenge – Frame It Up! Challenge participants are invited to use a frame on their project or use any of the suggested colors of Pinkfresh Studio’s Mango Sorbet/Fruit Punch, Sunkissed, Sweet Mustard, Eucalyptus, and Ocean Breeze. I framed one of the florals on the focal image and used all but one of the colors.
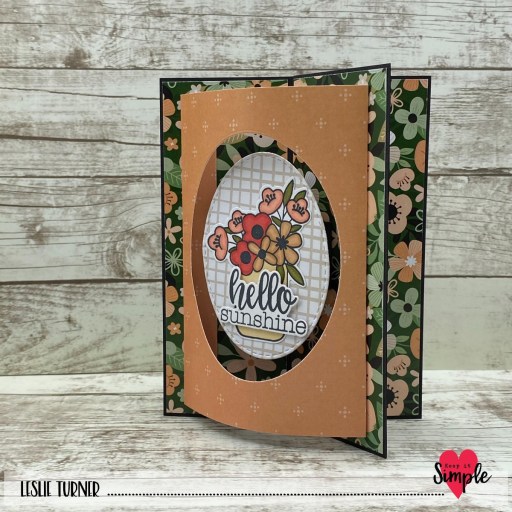
I used the Pinkfresh Studio Anemone Magic Washi Tape and Die for the focal image which I paired with the Pinkfresh Studio Just a Hello Floral sentiment stamps and dies. This spanner panel card was showcased in a Splitcoast Stampers newsletter HERE several years ago and I think this is only the second one I’ve made. It sure packs a punch and I really like how it turned out!

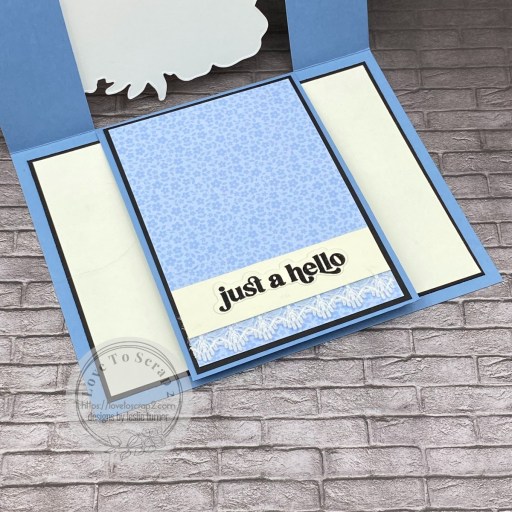
I cut the card base from CutCardStock Lessebo Misty Blue and layering panels from Lessebo Pitch Black and coordinating prints from the Doodlebug Design Ginham-Linen and Floral-Graph Rainbow Petite Prints 6×6 paper pads. I used the Pinkfresh Studio Anemone Magic Washi Tape and Die for the focal image and framed one of the florals with a round frame cut with Spellbinders Standard Circles dies from CutCardStock Bright Gold Foil cardstock. The florals are attached only to the narrow outside panels and the horizontal acetate spanner panel at the bottom with foam squares. I also used the Pinkfresh Studio Just a Hello Floral stamps and dies for the heat embossed sentiment visible through the acetate. I tucked a piece of pretty lace from 3 Girl JAM beneath the sentiment.

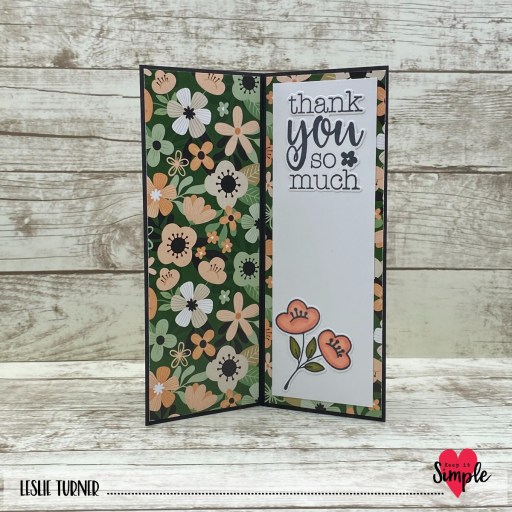
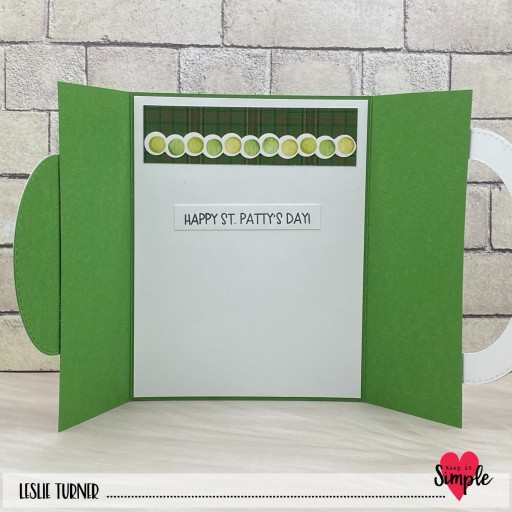
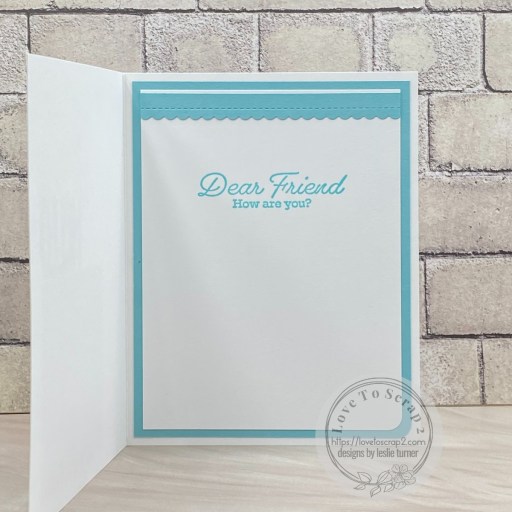
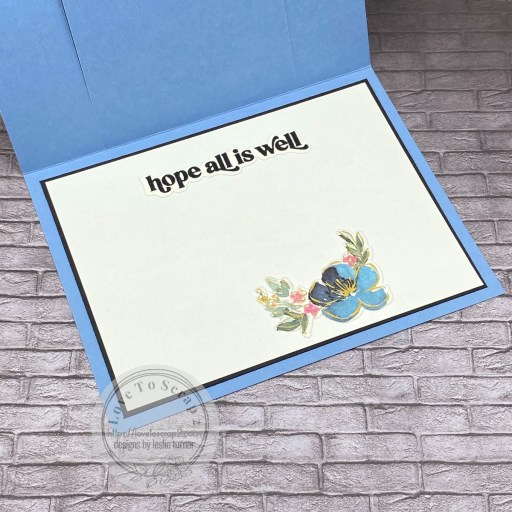
The inside of this card is fun… the narrow outside panels lift to reveal just the center panel. Then the center panel lifts to reveal the inside of the card which features an additional stamped and heat embossed sentiment and another Anemone Magic bloom positioned so it’s hidden under the center panel.
Sharing in these additional challenges:
1.https://aperfecttimetocraft.blogspot.com/2024/03/a-perfect-time-to-craft-open-challenge.html
2.https://barrelofmonkeyschallenges.blogspot.com/2024/03/march-barrel-of-monkeys-challenge-13.html
3.https://cardz4galz.blogspot.com/2024/03/221-spring-flowers-with-dies-and-or.html
4.http://disdigidesignschallenge.blogspot.com/2024/03/welcome-spring-challenge.html
Affiliate links are used in this post at no cost to you – I really appreciate your support!
Products used:
CARDSTOCK/PAPER: CutCardStock Lessebo Misty Blue, Lessebo Pitch Black, Basis Natural and Bright Gold Foil cardstock, Doodlebug Design Ginham-Linen and Floral-Graph Rainbow Petite Prints 6×6 papers
STAMPS: Pinkfresh Studio Just a Hello Floral stamps
INK: Ranger Black Soot Distress Archival ink, Versamark
DIES/PUNCHES: Pinkfresh Studio Anemone Magic Die and Just a Hello Floral Dies, Spellbinders Standard Circles Large and Small
ACCESSORIES: Fiskars 12″ ProCision Rotary Bypass Paper Trimmer, Elmer’s Craft Bond Tape Runner, Bearly Art precision craft glue, MISTI stamp tool, Big Shot, Pinkfresh Studio Anemone Magic Washi Tape, Hero Arts Clear Embossing Powder, Milwaukee heat tool, Scrapbook.com 1/4″ double-sided adhesive roll, 3 Girl JAM ribbon, Ranger 1″ Adhesive Strips, Grafix Crystal Clear Craft Plastic, Scrapbook Adhesives 3D Foam Squares (small white), Kat Scrappiness Gold Pearl Mix
I hope you’ve enjoyed seeing this pretty spanner card! Thanks so much for stopping by today – we’ll see you next time! ;)
Scrappy hugs,