1/10/26 Weekly Favorite at Splitcoast Stampers!
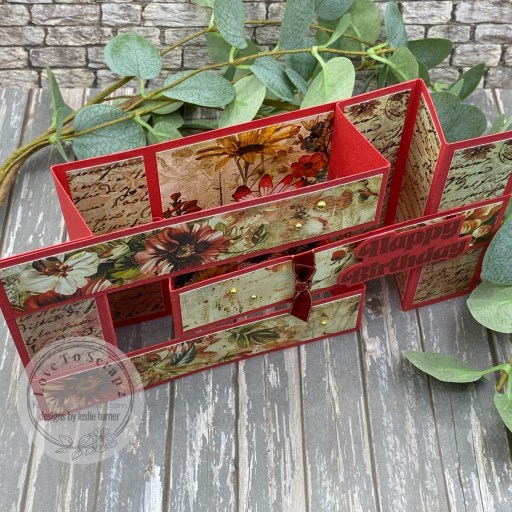
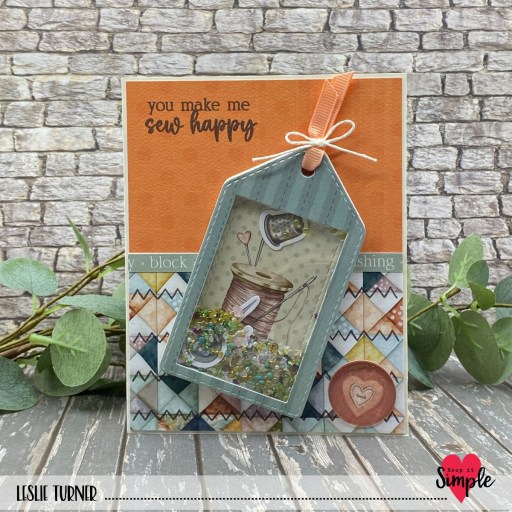
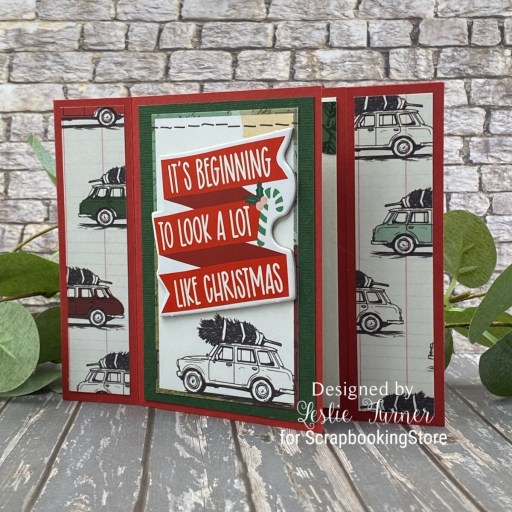
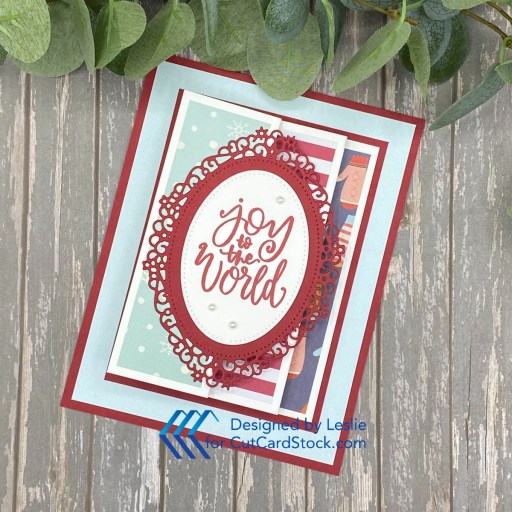
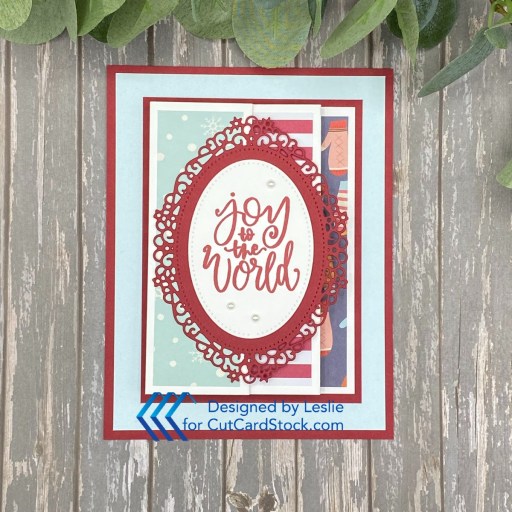
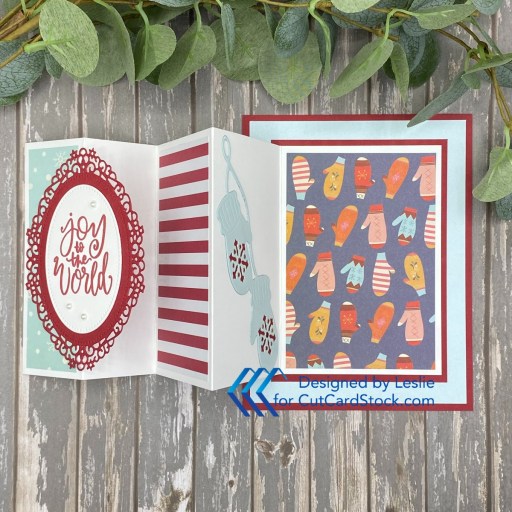
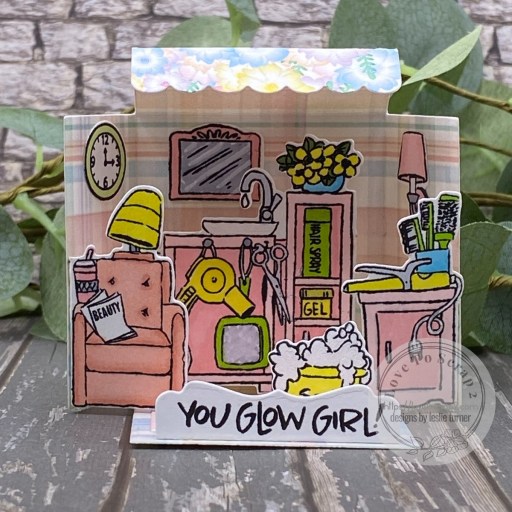
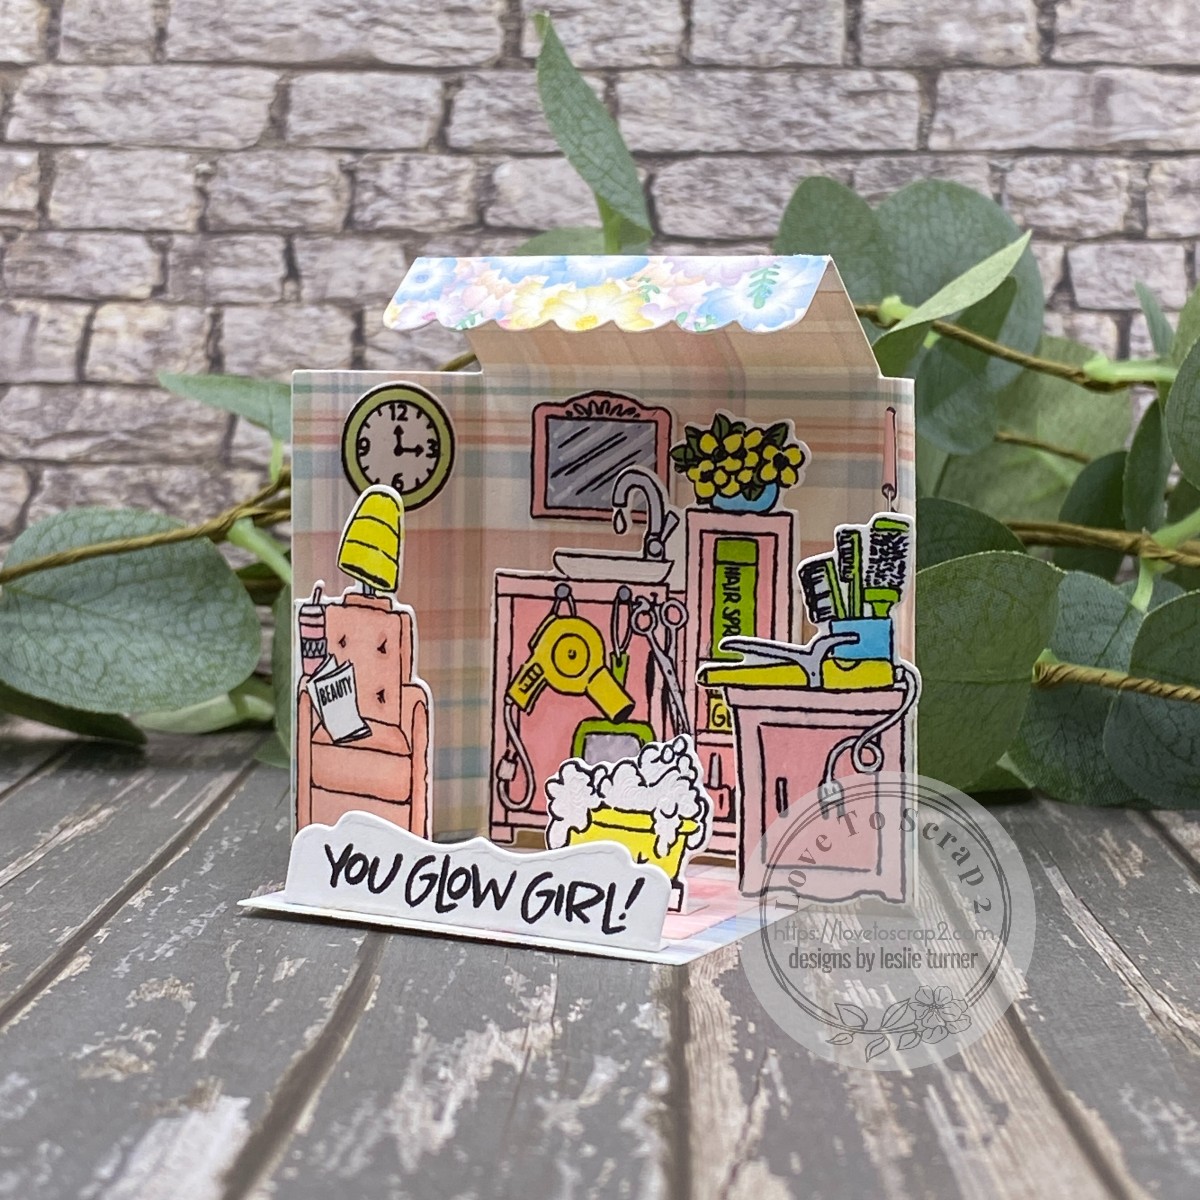
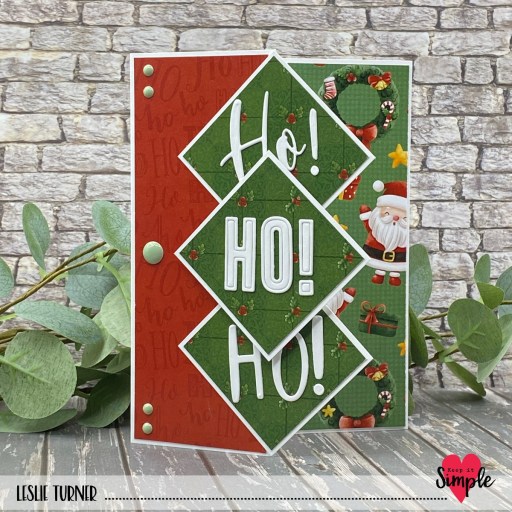
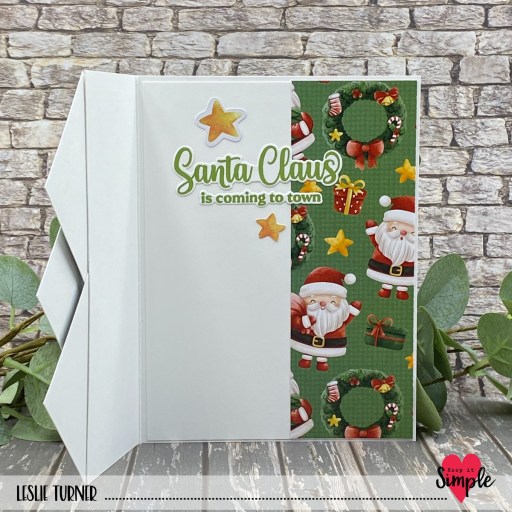
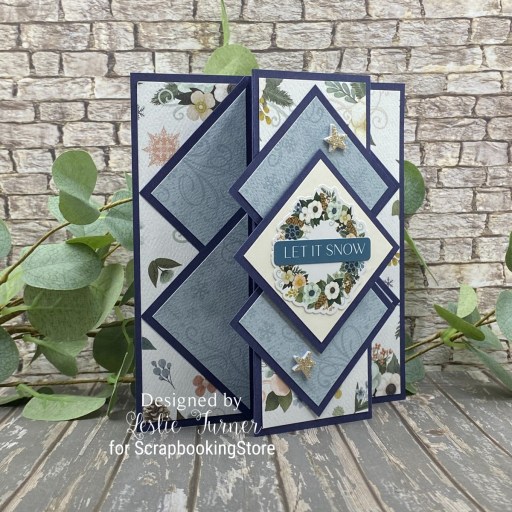
Howdy peeps, happy Thursday! I hope you’re having a great week! I have a pretty ScrapbookingStore DT inspiration project to share with you today created with items in the January 2026 Scrapbook Kit with Upgrades. This layered diamonds pop-up card is off the chain! My inspiration came from Connie Stewart and although it’s the second one I’ve made, it’s the first one to be showcased on my blog. You’ll see the other one in a few days, so stay tuned! It sure packs a punch with pretty papers and embellishments!

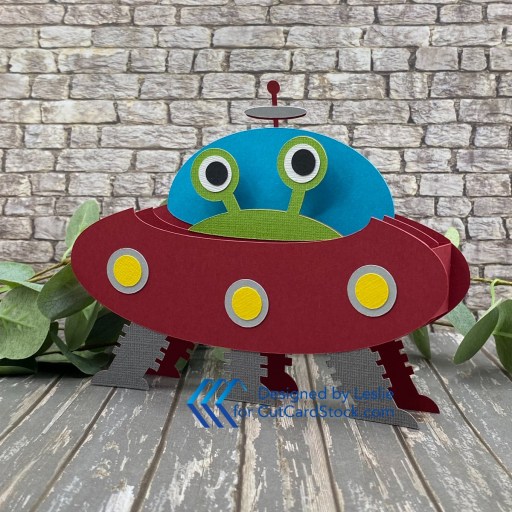
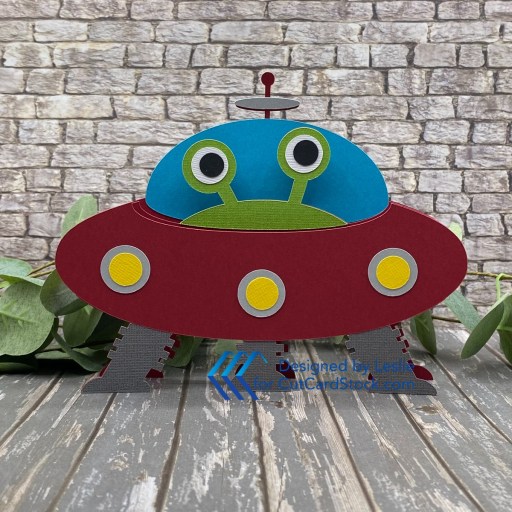
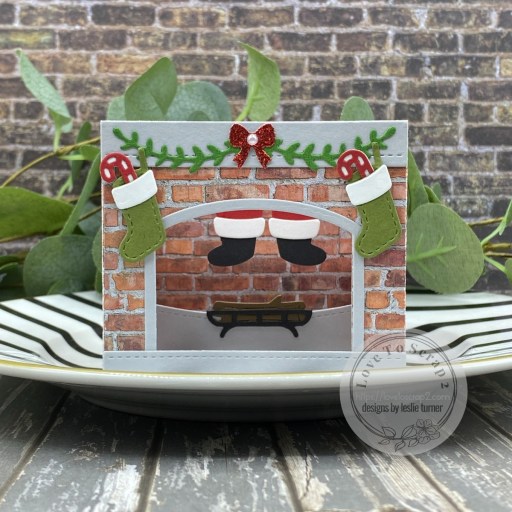
I cut the card base and diamond bases from CutCardStock Lessebo Navy Blue cardstock along with layering panels from two prints in the Carta Bella Winter Wonderland Collection Kit and the focal diamond from Neenah Classic Crest Recycled Natural White cardstock. I added image and sentiment stickers from the sticker sheet in the collection kit, along with a couple stars from the Rosie’s Studio Glitter Foam Stickers in the upgrades.
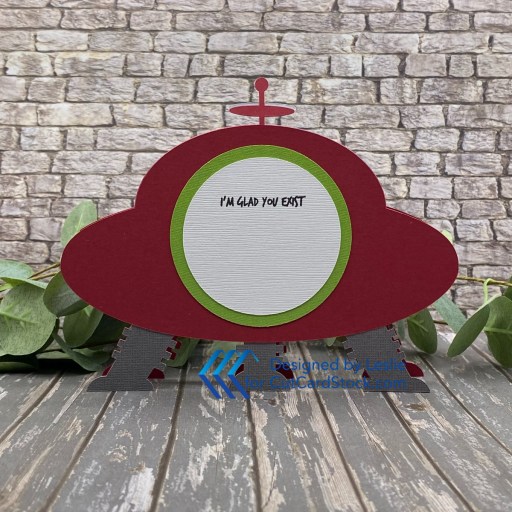
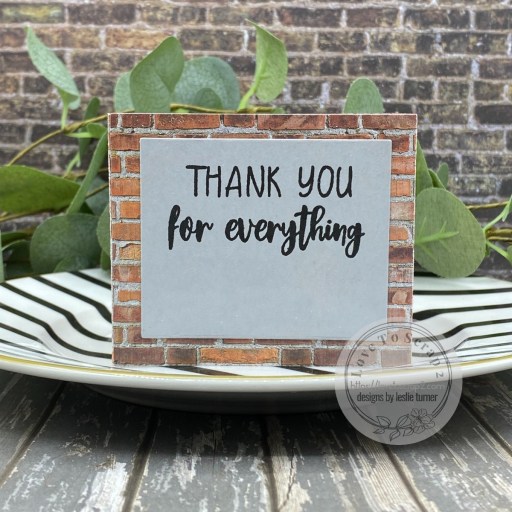
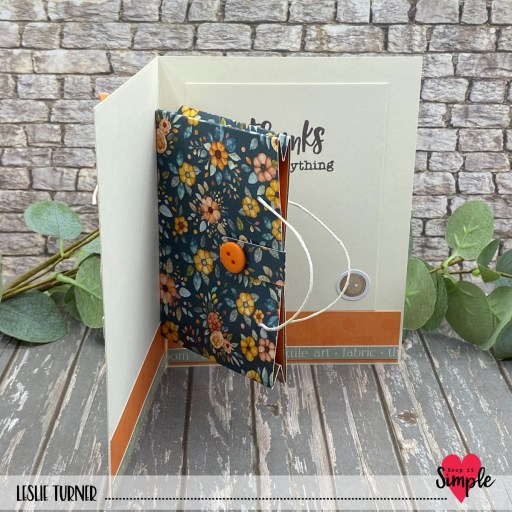
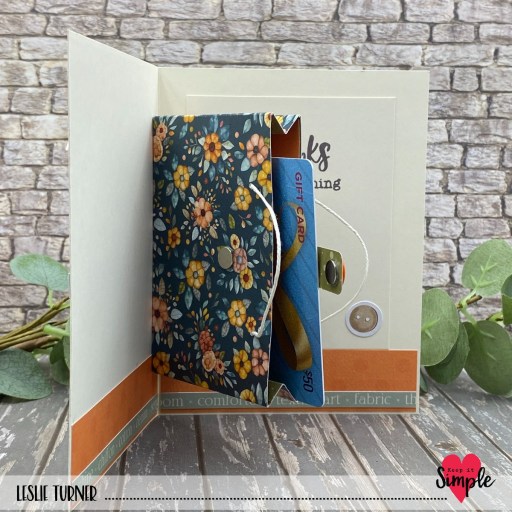
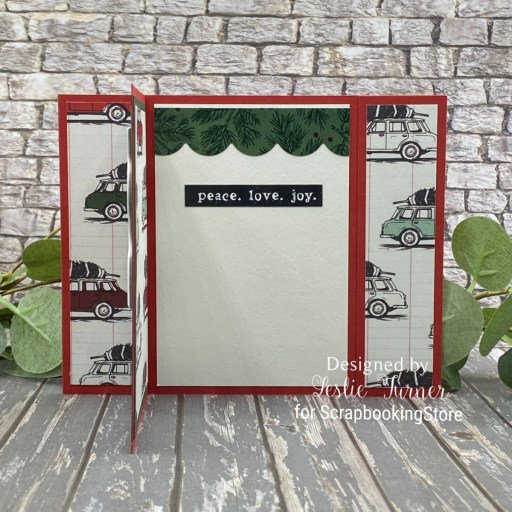
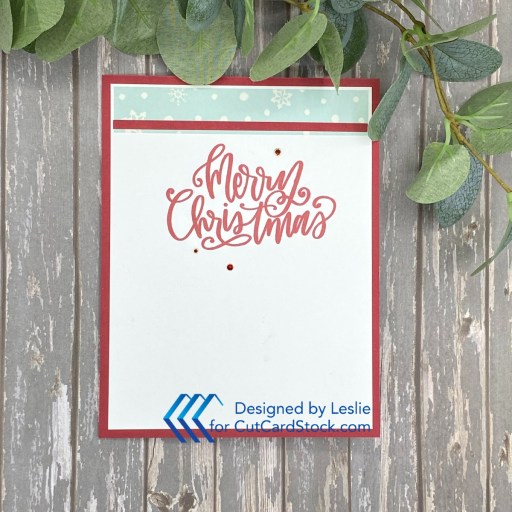
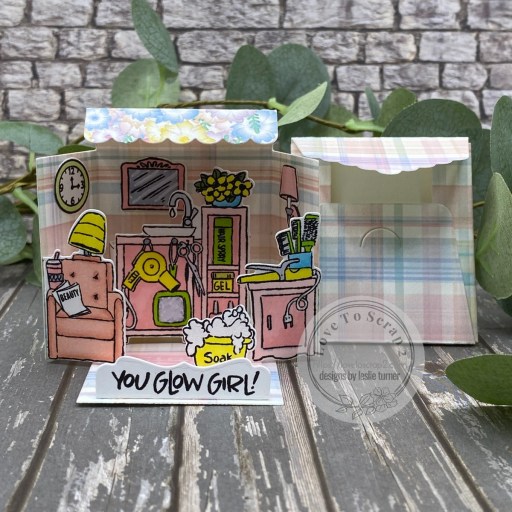
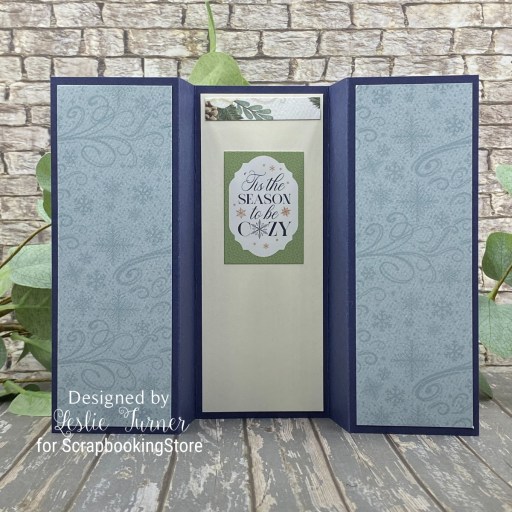
I cut the back panel from the Recycled Natural White cardstock, embellished it with a leftover scrap of the floral paper used on the front, and added an additional sentiment sticker from the sticker sheet.
Sharing in the following challenges:
1. https://dragonflydreamschallenges.blogspot.com/2026/01/january-challenge-floral.html
2. https://letscreatechallenges.blogspot.com/2026/01/challenge-227-ag-something-new.html (new January scrapbook kit)
3. https://paper-rocks-scissors.blogspot.com/2026/01/january-12-challenge.html (paper)
Affiliate links are used in this post at no cost to you – I really appreciate your support!
ScrapbookingStore products:
January 2026 Scrapbook Kit with Upgrades
Carta Bella Winter Wonderland Collection Kit
Upgrades: Carta Bella Winter Wonderland Frames & Tags
Rosie’s Studio Glitter Foam Stickers
Little Birdie Scroll Border Frames
Other products used:
CARDSTOCK/PAPER: CutCardStock Lessebo Navy Blue cardstock, Neenah Classic Crest Recycled Natural White cardstock
ACCESSORIES: Fiskars 12″ ProCision Rotary Bypass Paper Trimmer, Spellbinders 12×12 Scoring Board, TapeRunner Double-Sided Adhesive Tape, Scrapbook Adhesives Thin 3D Foam Squares
I hope you’ve enjoyed today’s project and you’re thinking about all the fun you could have with this month’s kit… you really ought to think about joining the Subscription Club! Be sure to Follow us on Facebook, Instagram, Pinterest and YouTube for lots of crafty inspiration! And if you do decide to join the Subscription Club, join our ScrapbookingStore Club Member Group on Facebook for more inspiration and to share your projects! Thanks so much for stopping by today – we’ll see you next time!
Scrappy hugs,