4/2/22 Winner at Pinkfresh Studio Monthly Challenges!
4/14/22 Winner at Creative Moments!
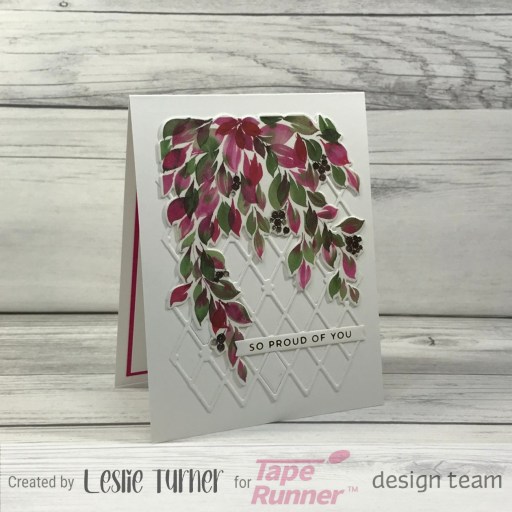
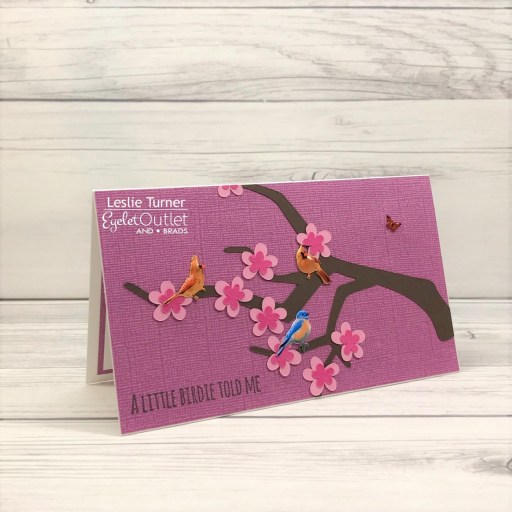
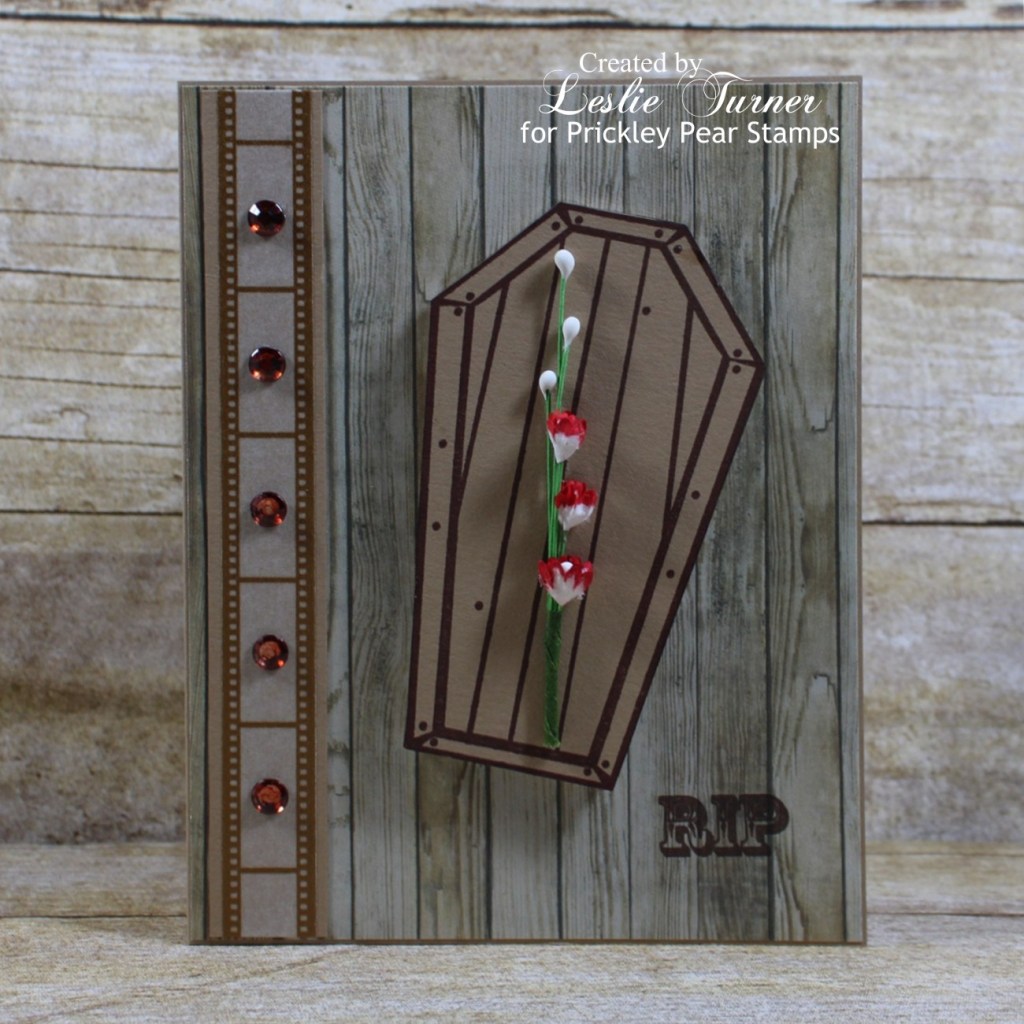
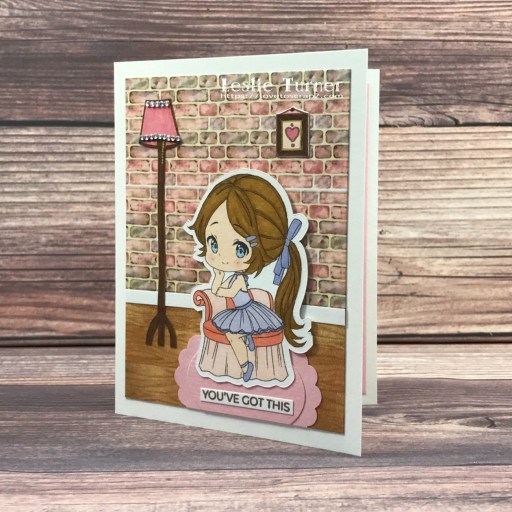
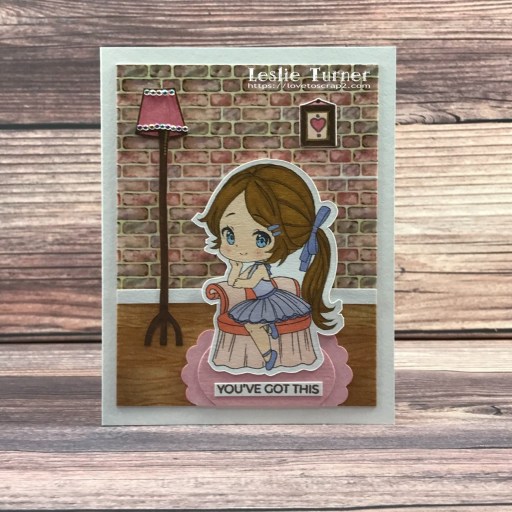
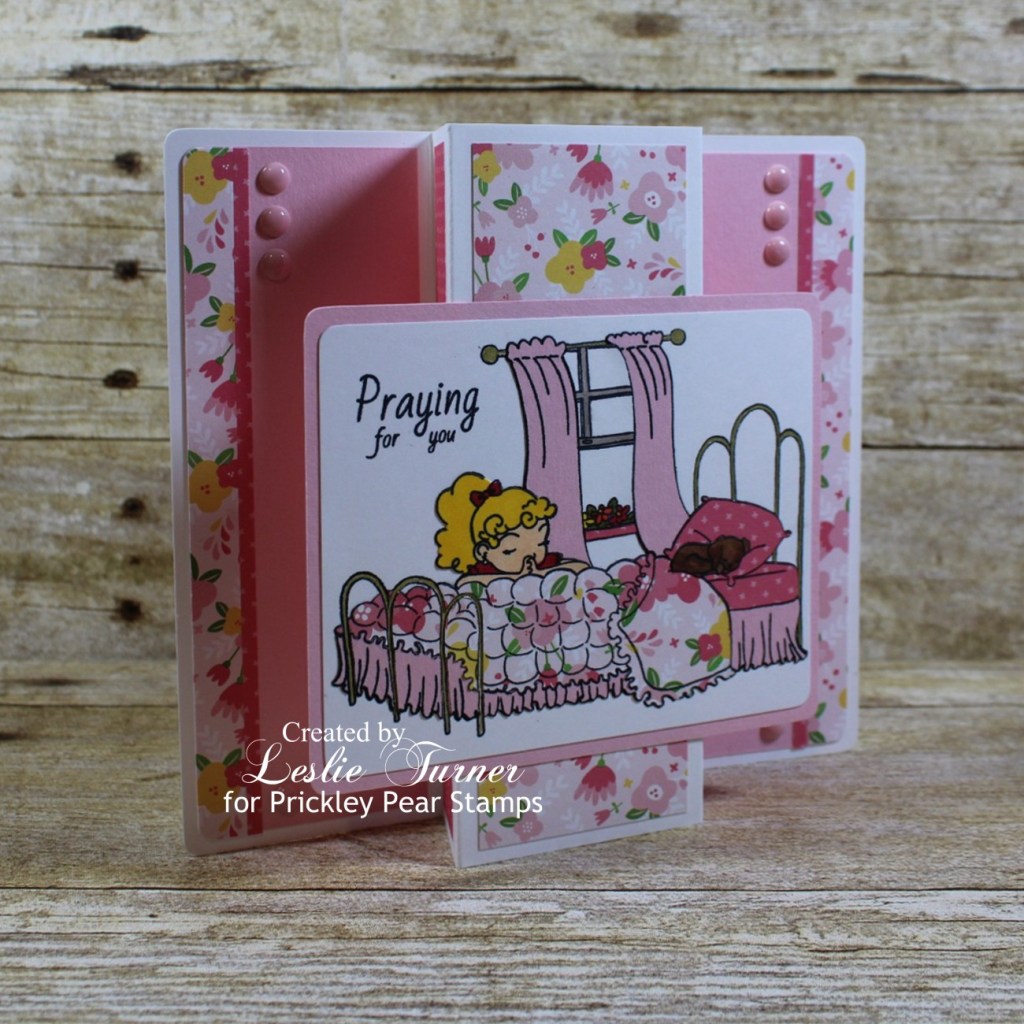
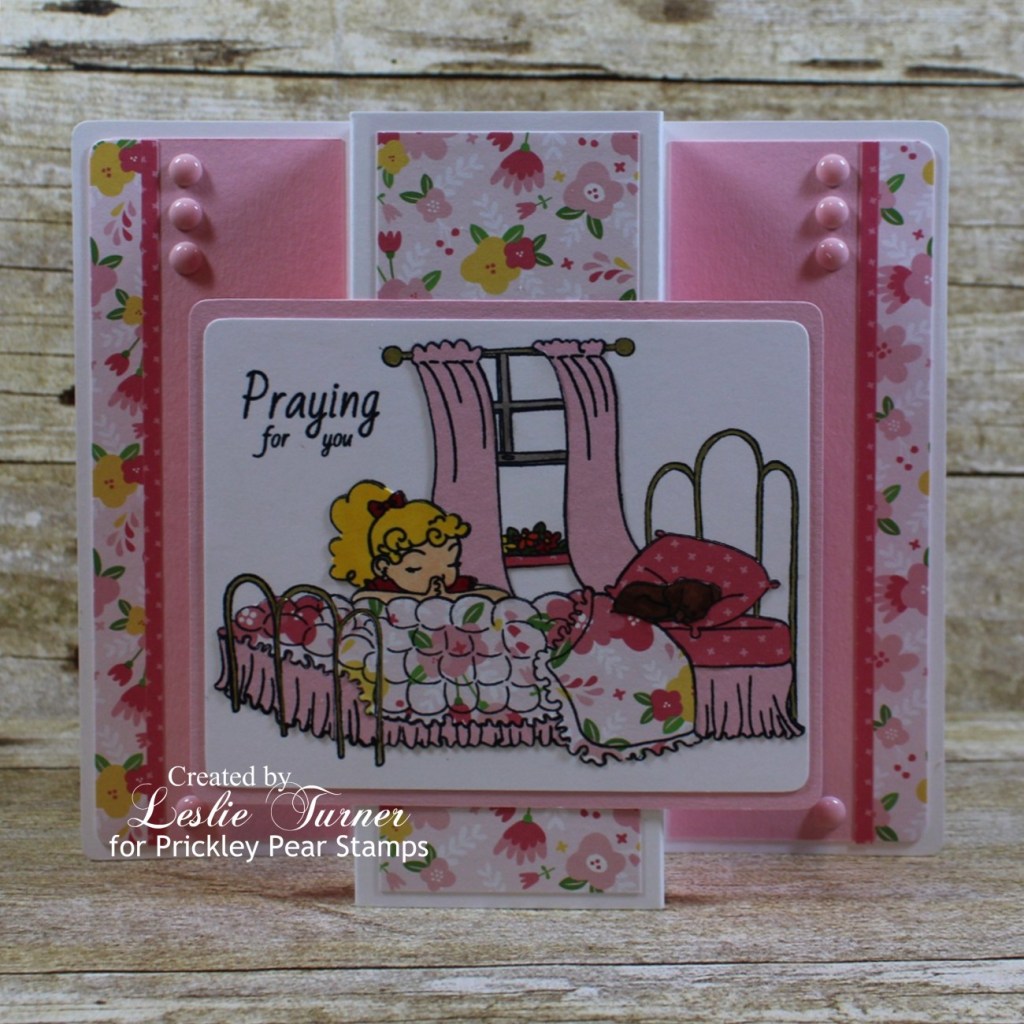
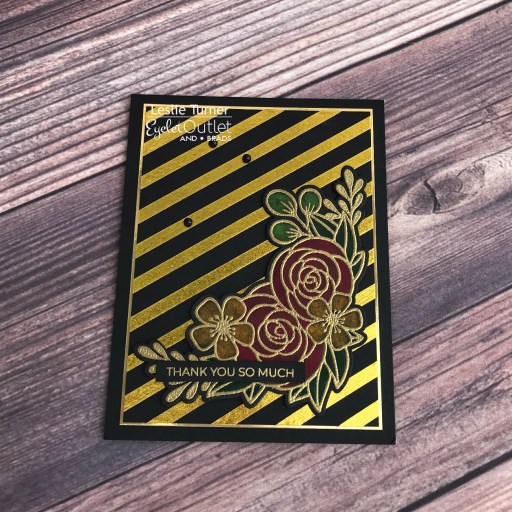
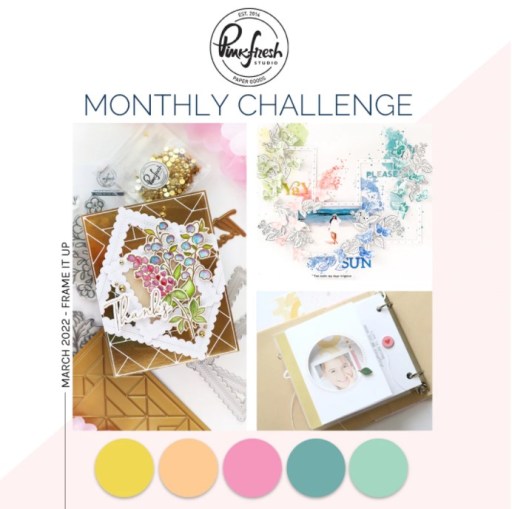
Hi friends! Happy Tuesday – I hope your week is off to a great start! Affiliate links are used in this post at no cost to you – I really appreciate your support! We’ve had a busy day today dropping off our two youngest feline fur babies to get fixed (yay, the last two to get fixed!), then heading in the opposite direction to pick up a big ol’ bag of prescriptions (LOL), and then driving back to get the fur babies. We just got home and we’re whipped. Bahahaha! We love living in a rural area but the downside is we have good distances to drive no matter what we need to do. Anyhoo, I’ve popped in this afternoon with a pretty floral friendship card I created to enter into the March 2022 Challenge – Frame It Up over at Pinkfresh Studio using their Just a Hello Floral stamps and dies. My friend Christi (the enabler) used these stamps and dies on a card several weeks ago and I fell in love with them, so I had to get them!
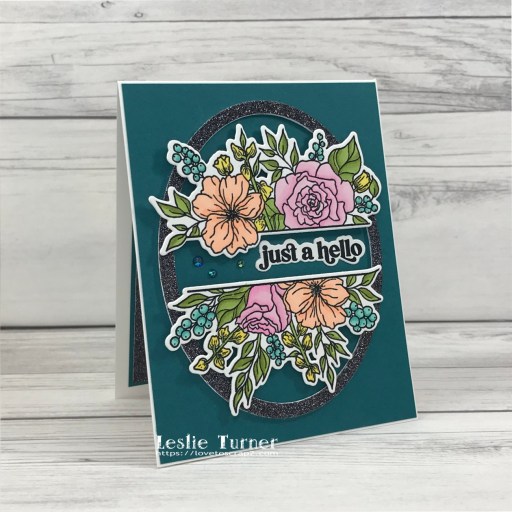
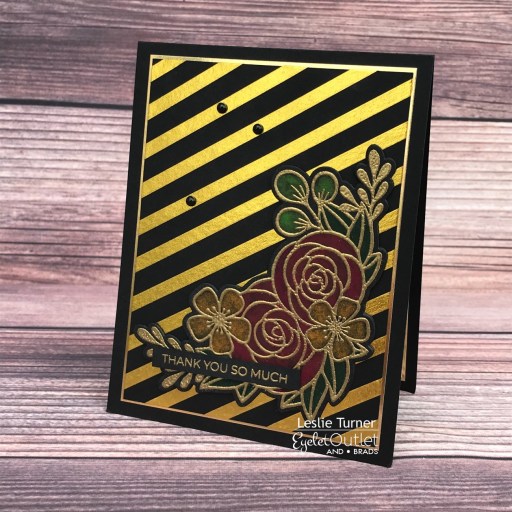
The Pinkfresh Studio challenge is all about frames and there is some gorgeous color inspiration as well! I used all the colors and created a glitter oval frame for my design.
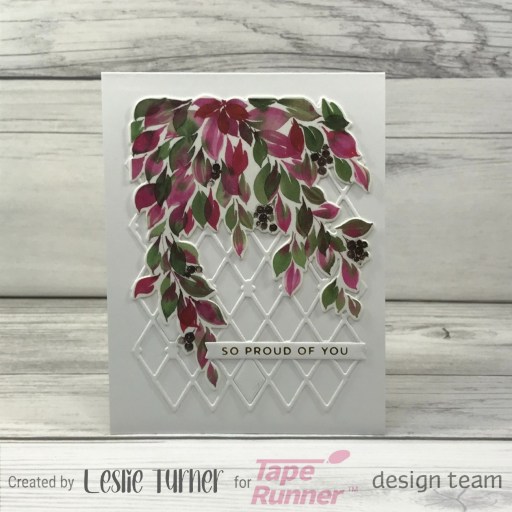
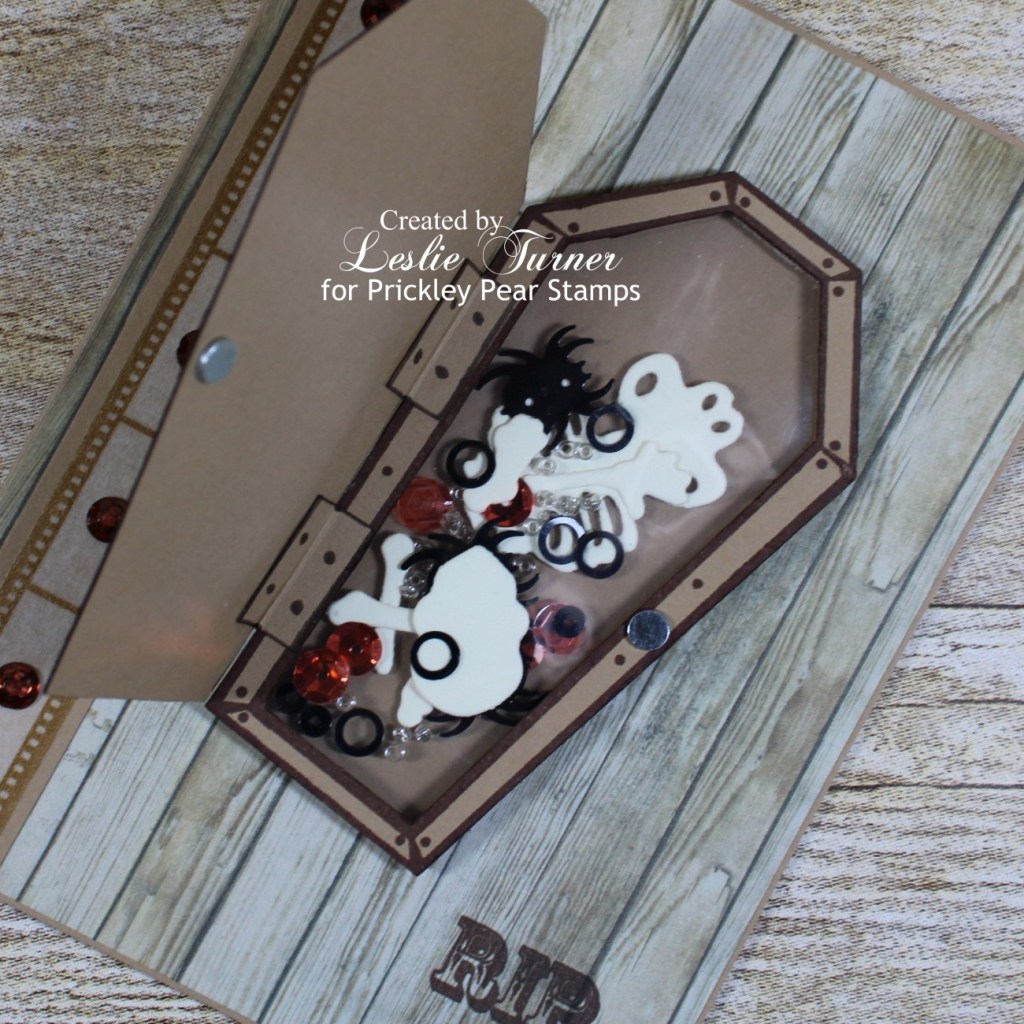
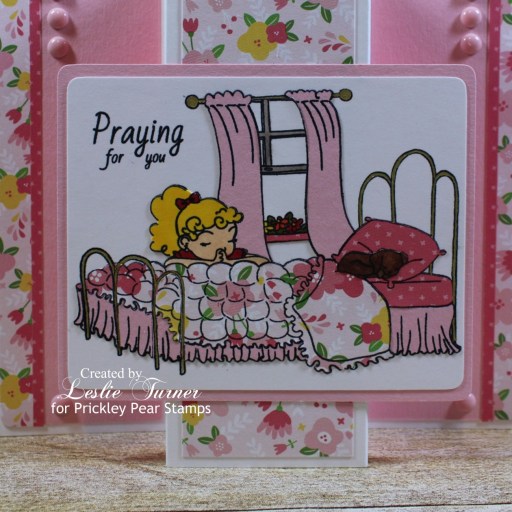
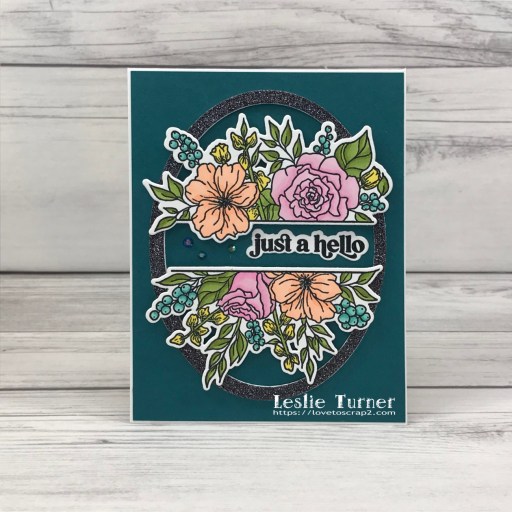
I cut a standard A2 top-folding card base from Neenah Classic Crest 110# Solar White cardstock along with a layering panel from CutCardStock Basis Teal cardstock and an oval frame from CutCardStock Silk Glitter Black Prince cardstock which I adhered onto three additional frames for dimension and then to the card base. Using the Pinkfresh Studio Just a Hello Floral stamp set, I stamped the images on Neenah Classic Crest 80# Solar White cardstock in black ink and then again in Versamark, and heat set them with Hero Arts Clear Embossing Powder. I colored them with alcohol markers and cut them with the coordinating Pinkfresh Studio Just a Hello Floral die set, and then layered each on an additional die cut for stability. I stamped the front and inside sentiments (from the same stamp set) in black ink and then again in Versamark, and heat set them with clear embossing powder also. I adhered the florals to the top and bottom of the oval frame and the sentiment in the center. I finished the front with three gemstones from the Trinity Stamps Melanite Magic Embellishment Mix using the Trinity Pick Up Stick.
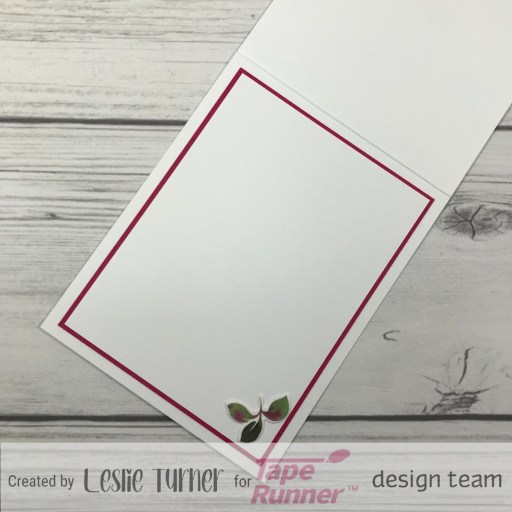
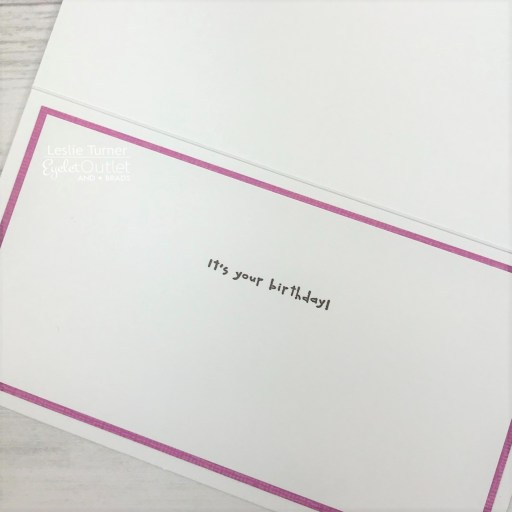
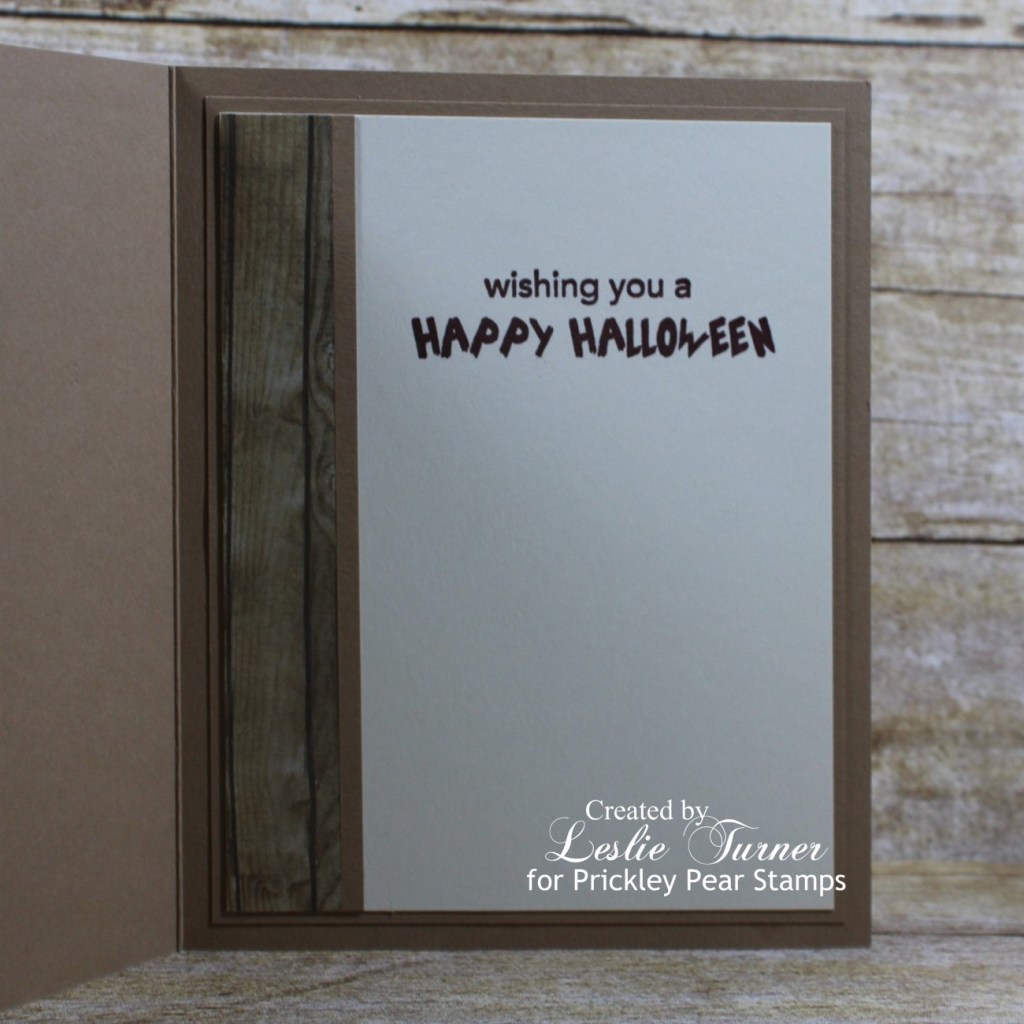
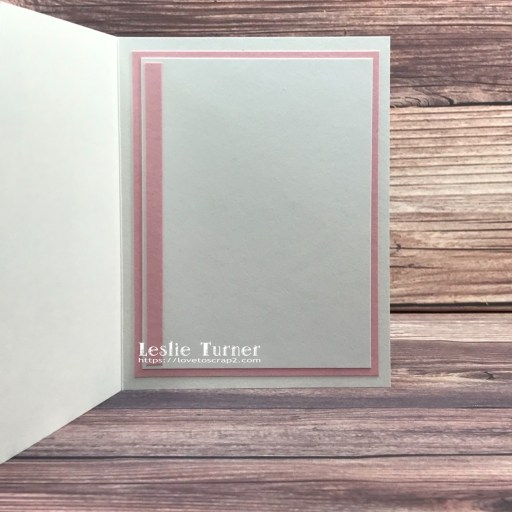
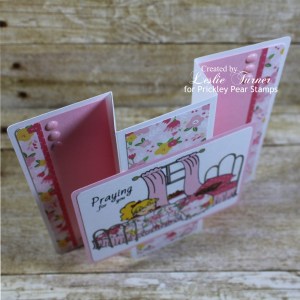
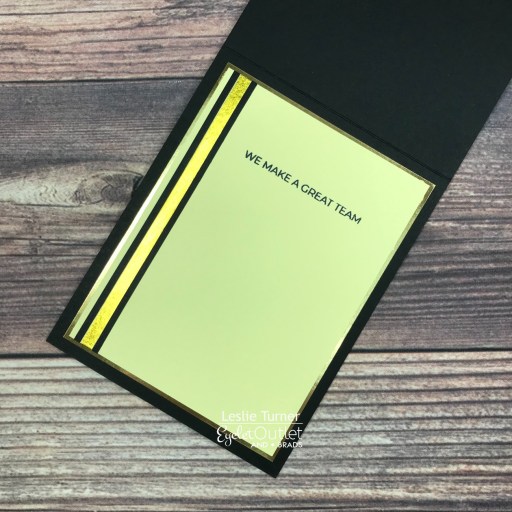
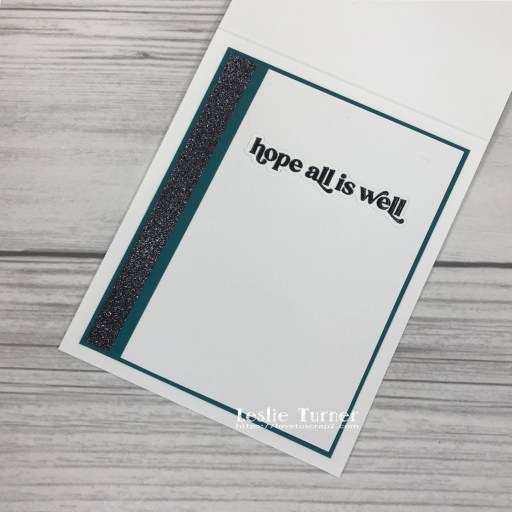
I cut the inside panel from Neenah Classic Crest 80# Solar White cardstock and embellished it with strips of the CutCardStock Silk Glitter Black Prince cardstock and CutCardStock Basis Teal cardstock. I adhered the stamped, embossed and die cut sentiment to the panel and layered the panel on teal cardstock.
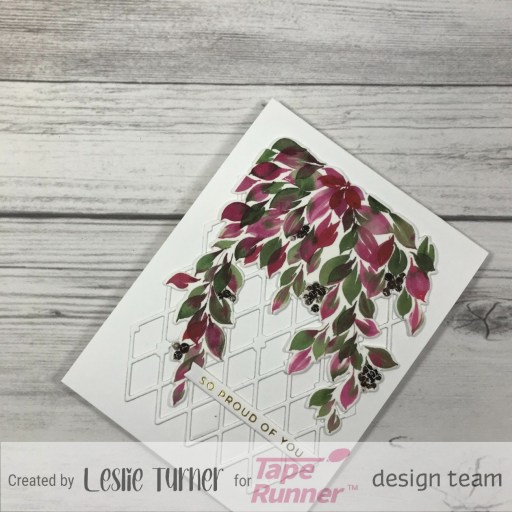
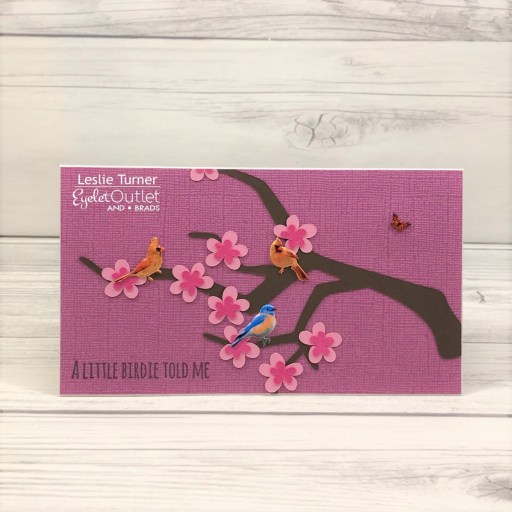
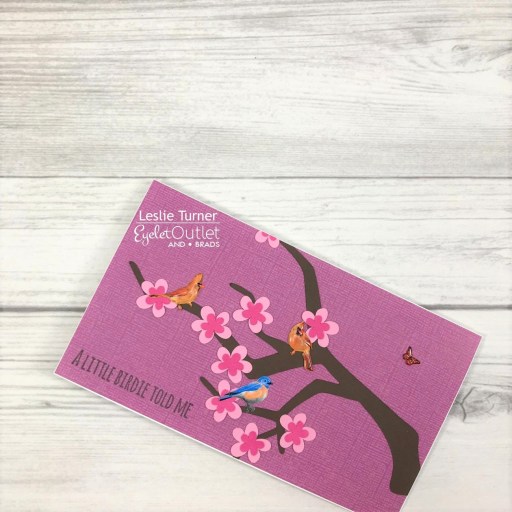
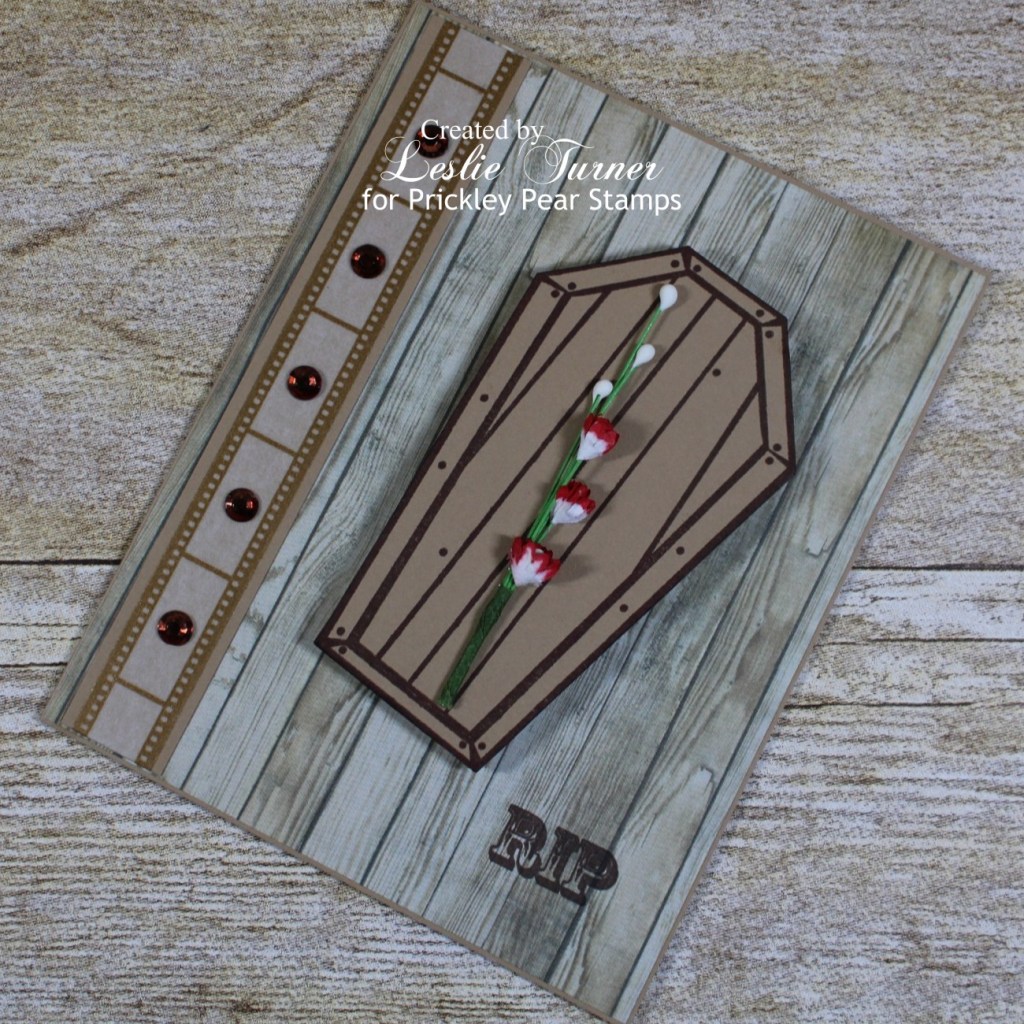
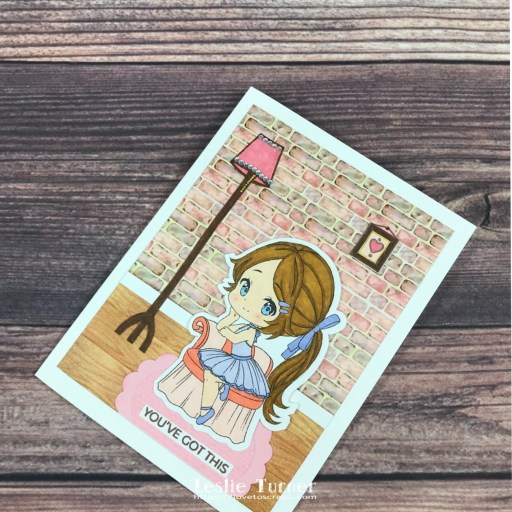
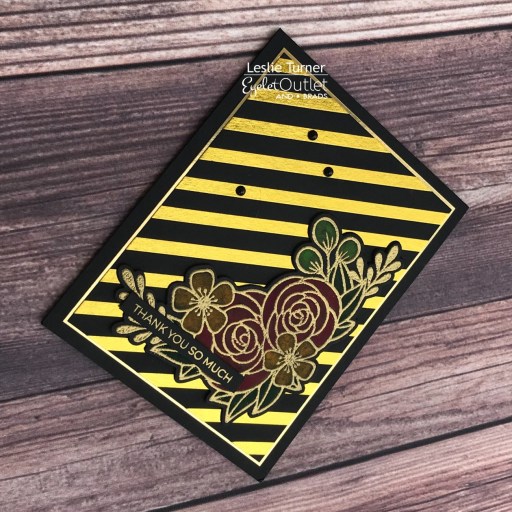
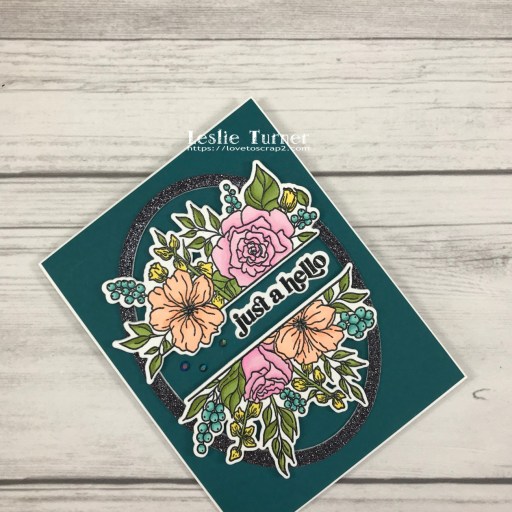
And one more peek… really loving how this turned out! Such gorgeous stamps and dies, and I’m so happy I found the Pinkfresh challenge!
Sharing in these additional challenges:
1. A Perfect Place To Craft Open Challenge: #3-2022 – Anything Goes
2. Addicted To Stamps and More: #425 – Die Cuts and/or Stencils
3. Classic Design Challenge: March #3 – Anything Goes
4. Crafty Catz: #587 – Add Some Glitter (black glitter oval frame)
5. Crafty Gals Corner: #229 – Add A Flower
6. Creative Moments: #232 – For A Special Lady
7. Fab ‘n’ Funky Challenges: #547 – Hand Colored Image
8. Lil Patch of Crafty Friends: #178 – Anything Goes
9. Little Red Wagon: #645 – Die Cuts
10. Try It On Tuesday: Say It With Flowers
11. Wednesday’s Creative Inspirations Challenge Blog: March Challenge – Spring Flowers
12. World Wide Open Design Team Challenge Blog: #03 March 2022 – Anything Goes
Products used:
Cardstock/Paper: Neenah Classic Crest 110# and 80# Solar White cardstock, CutCardStock Basis Teal cardstock, CutCardStock Silk Glitter Black Prince cardstock
Stamps: Pinkfresh Studio Just a Hello Floral stamp set
Ink: Memento Tuxedo Black ink, Versamark; Arteza alcohol markers- RP07/09, BG37/45, YG15/16, YR37, Y15
Dies/Punches: Pinkfresh Studio Just a Hello Floral die set, Memory Box Stitched Oval Layers
Accessories: We R Memory Keepers Large Guillotine Paper Trimmer, Bearly Art precision craft glue, MISTI stamp tool, brayer, Hero Arts Clear Embossing Powder, Big Shot, Darice Double-Sided Adhesive Foam Strips, Trinity Stamps Melanite Magic Embellishment Mix, Trinity Pick Up Stick
I hope you’ve enjoyed seeing this card! Thanks so much for stopping by today – we’ll see you next time! ;)
Scrappy hugs,