12/1/21 Top Pick at Christmas Crafts All Year ‘Round!
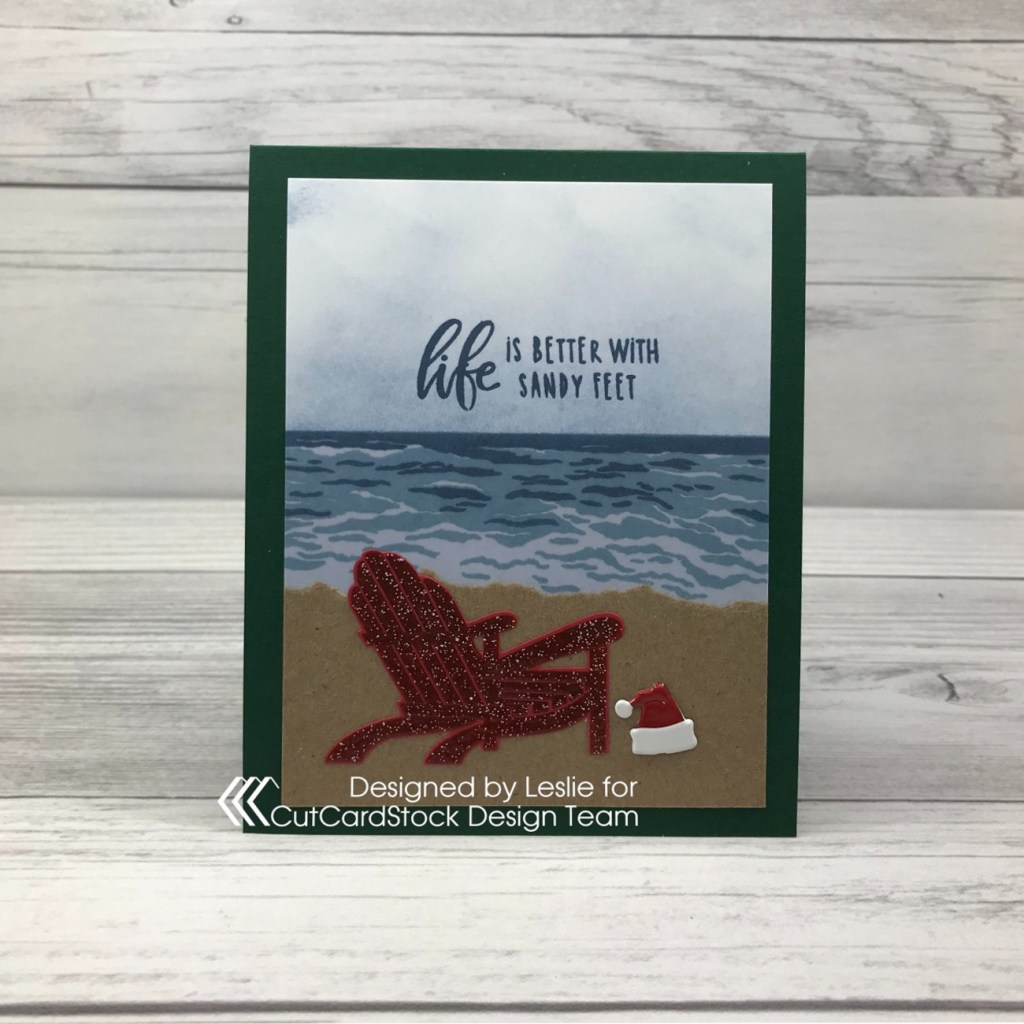
Hi everyone! It’s Hump Day already and I hope you’re having a great week! Time is flying by! Affiliate links are used in this post at no cost to you – I really appreciate your support! I’m stoked to be back on the CutCardStock blog today with an awesome DT inspiration project featuring more of our red, white and green cardstock that’s on sale this month! If you haven’t already, be sure to grab some for your holiday craft projects! I created a beach Christmas card – and I think it might only be the second one I’ve ever created! Why is that?! Stretching those stamp sets and getting a little more out of them is so much fun! ;)

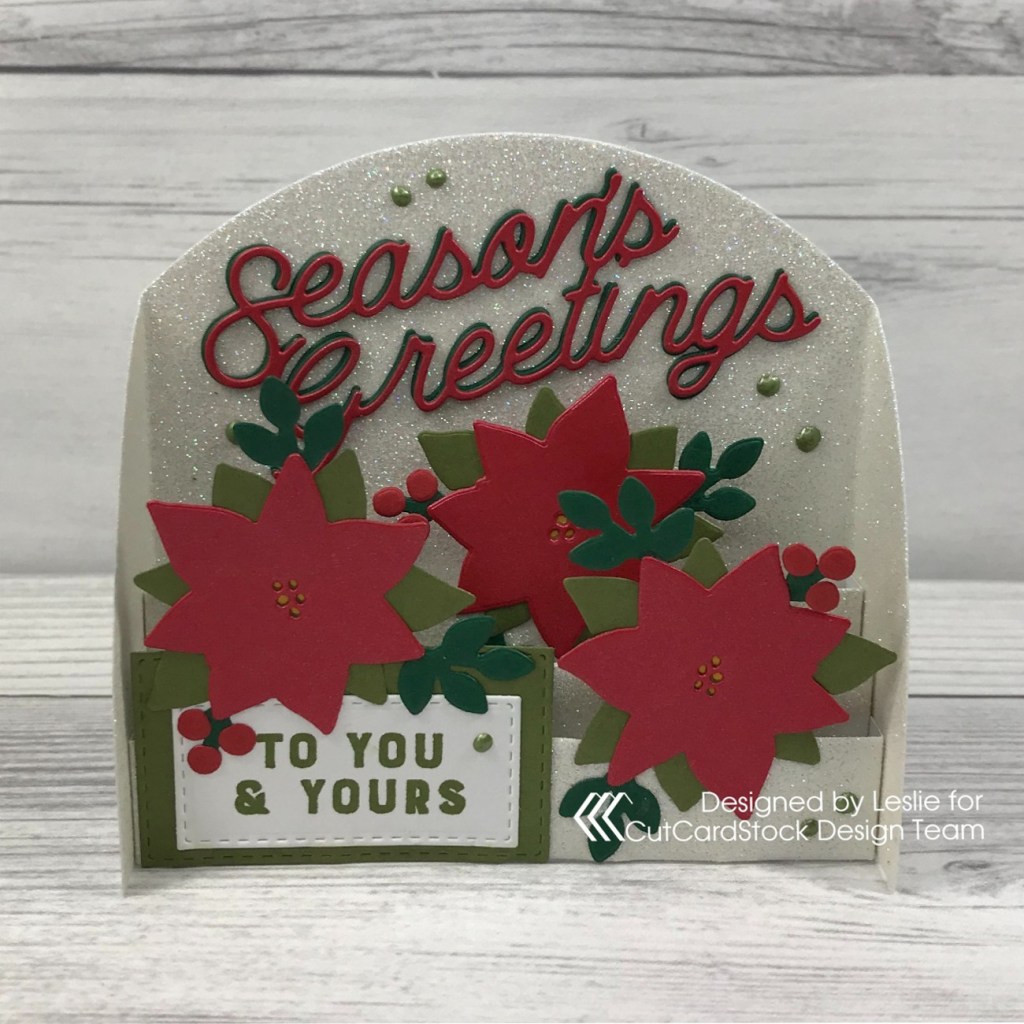
I cut a standard A2 size top-folding card base from CutCardStock Basis Green cardstock along with a layering panel cut from Neenah Classic Crest 110# Solar White cardstock and a wide strip cut from CutCardStock Brown Bag Kraft paper. I stamped the waves on the white cardstock using the Hero Arts Color Layering Waves stamp set and then lightly inked the sky with Ranger Stormy Sky and Shaded Lilac distress inks. I tore the kraft paper to make the sand shore line. I stamped the Adirondack Chair on CutCardStock Basis Red cardstock using the Dare 2B Artzy Flip Flops stamp set, heat embossed it with Ranger Clear Embossing Powder (with flecks of Hero Arts White Embossing Powder in it), and cut it with the coordinating Flip Flop & Adirondack Chair die set. I stamped the sentiment (also from the Hero Arts stamp set) in dark blue ink, adhered the chair and added a Santa hat brad before adhering the panel to the card base.
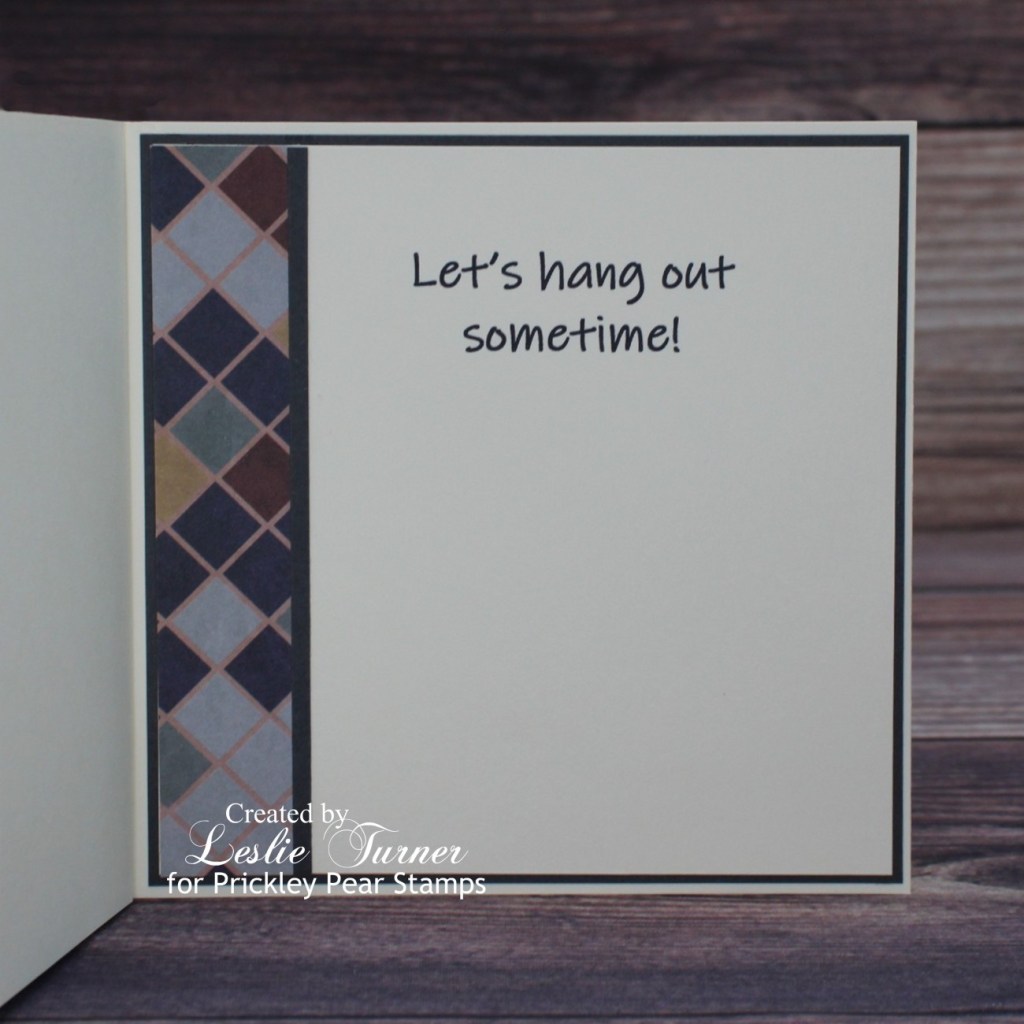
I cut the inside panel from Neenah Classic Crest Solar White 80# cardstock and embellished it with leftover strips of CutCardStock Basis Green cardstock and CutCardStock Basis Red cardstock, using a stitched borders die on the wide red cardstock strip for a little interest. I stamped the sentiment in dark blue ink and layered the panel on red cardstock.

And one more look… super happy with how this turned out! And it’s already ear-marked for a super awesome beach-loving friend! ;)

Sharing in the following challenges:
1. 613 Avenue Create: #11 – Anything Goes with optional twist of Thanks/Thankfulness
2. A Perfect Time To Craft: #11 – Anything Goes
3. Christmas Crafts All Year ‘Round: November – Something that starts with U, V and/or W (waves)
4. Classic Design Challenge: #11 – Anything Goes
5. Creative Inspirations Challenge Blog: November – Wonderful Winter/Feeling Festive
6. Pammie’s Inky Pinkies Challenges: #2146 – Anything Goes
7. QKR Stampede: #432 – Anything Goes
8. Sweet Stampers Challenge Blog: #62 – Christmas
9. The Creative Crafters: #46 – Anything Goes
10. World Wide Open Design Team Monthly Challenge: #11 – Anything Goes
CutCardStock products used:
Neenah Classic Crest Solar White 110# and 80# cardstock
CutCardStock Basis Green cardstock
CutCardStock Basis Red cardstock
CutCardStock Brown Bag Kraft paper
Other products used:
Stamps: Hero Arts Color Layering Waves stamp set, Hero Arts Year Round Messages stamp set, Dare 2B Artzy Flip Flops stamp set
Ink: Versamark, Ranger Distress Ink- Stormy Sky, Shaded Lilac; Catherine Pooler Tranquil, Stone Blue, Cove Blue and Rockin’ Red ink
Dies/Punches: Dare 2B Artzy Flip Flop & Adirondack Chair die set, Lawn Fawn Stitched Borders die
Accessories: Tonic Studios 12″ Guillotine Paper Trimmer, MISTI stamp tool, Big Shot, Bearly Art precision craft glue, Ranger Clear Embossing Powder, Hero Arts White Embossing Powder, Eyelet Outlet Santa Hat Brads
I hope you’ve enjoyed today’s project and you’re inspired to get crafty! Be sure to check out all the awesome cardstock and other goodies at CutCardStock (adhesives, labels, stickers, pens, watercolors and ribbon to name a few). And head on over to the CutCardStock Facebook Page for more inspiration! Thanks so much for stopping by today – we’ll see you next time!
Scrappy hugs,