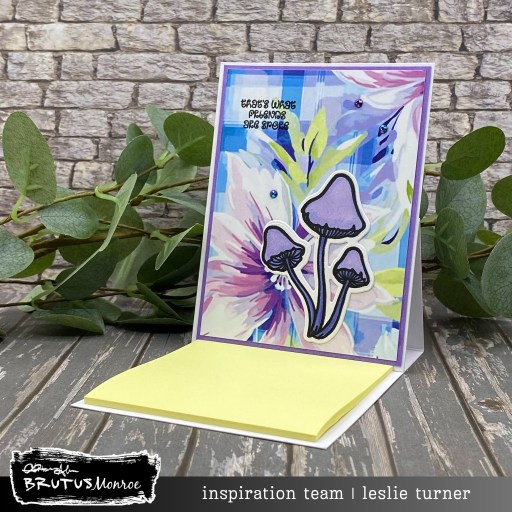
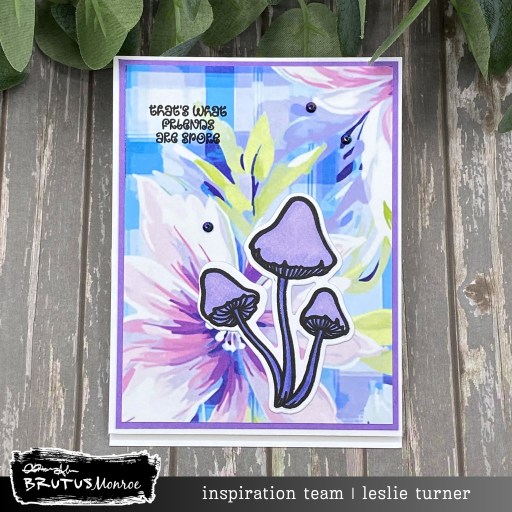
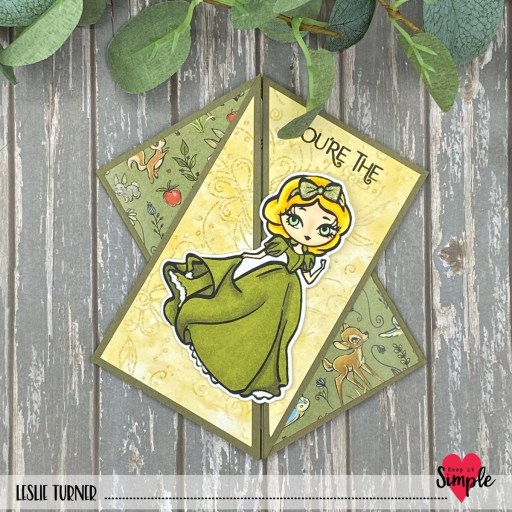
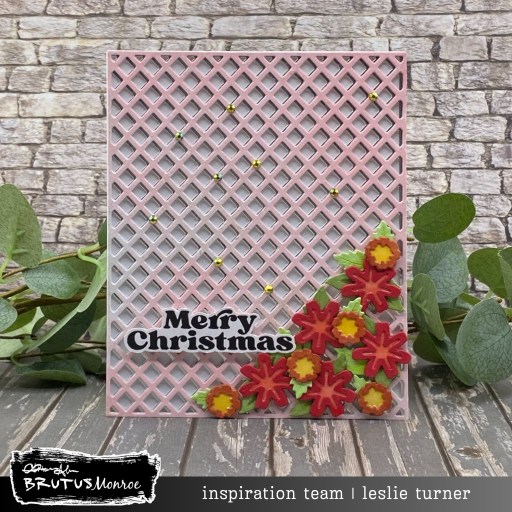
Hi friends, happy middle of August! Already. Yep, it’ll be Christmas before we know it, so you better get crackin’ on your cards (if you haven’t already)… I’m in Christmas card mode year round so no issues here building up my stash! This card for Brutus Monroe features the Garden Trellis Dies along with sentiments from the Occasional Greetings and Good Tidings stamp sets.

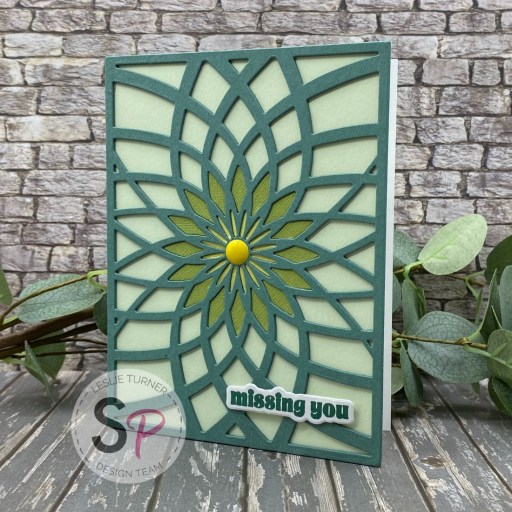
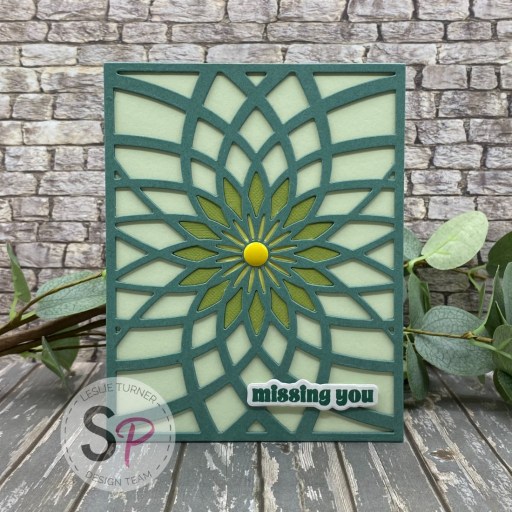
This was an easy card that started with a Pre-Scored A2 Card Base. I cut the trellis background four times from Perfect Blend Cardstock and once from CutCardStock Bright Silver Foil. I layered them all together, sandwiching the silver one between the white ones, and spritzed it with Holly Berry and Ornament Gold Chroma Mists.
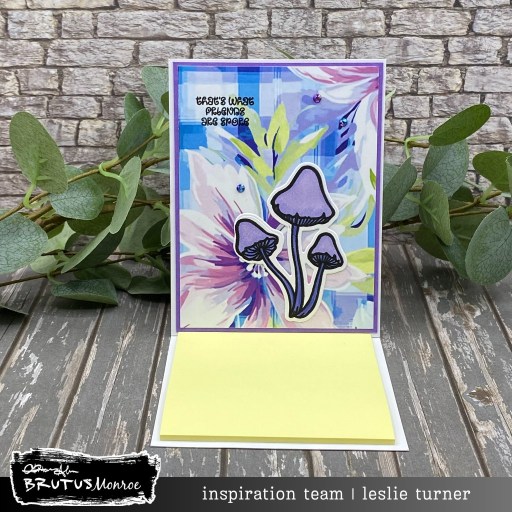
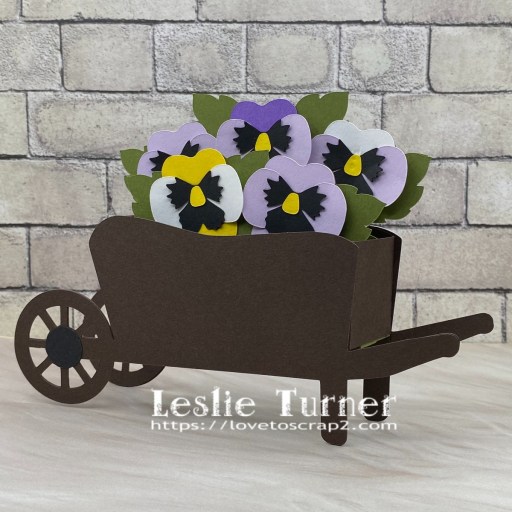
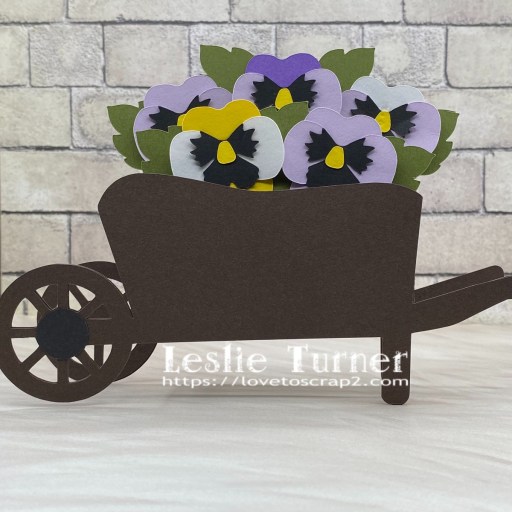
I cut the florals in the die set from Not Your Mamas Cardstock, colored them with a variety of Copic Ciao alcohol markers, and arranged them in the bottom right corner. I stamped a sentiment from the Occasional Greetings Stamp Set in Raven ink and fussy cut it. The finishing touch was adding some randomly placed Red Shift Flat Back Crystals.
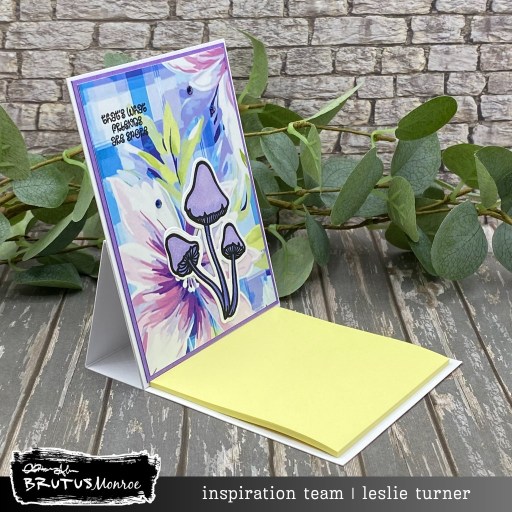
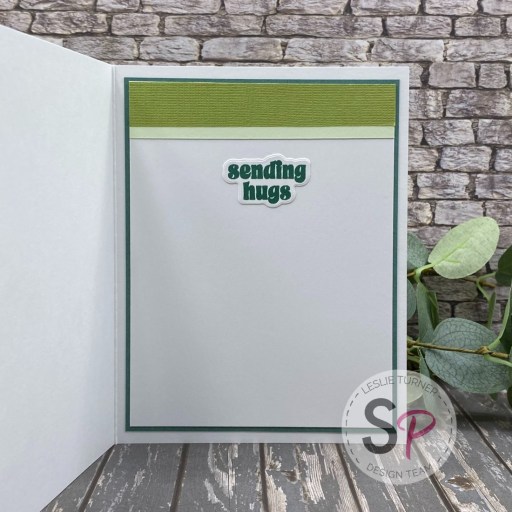
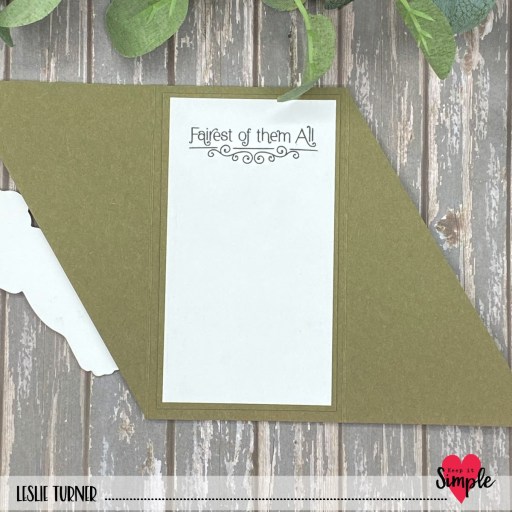
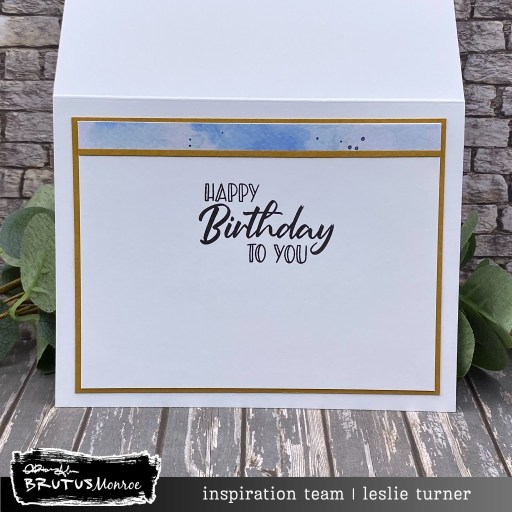
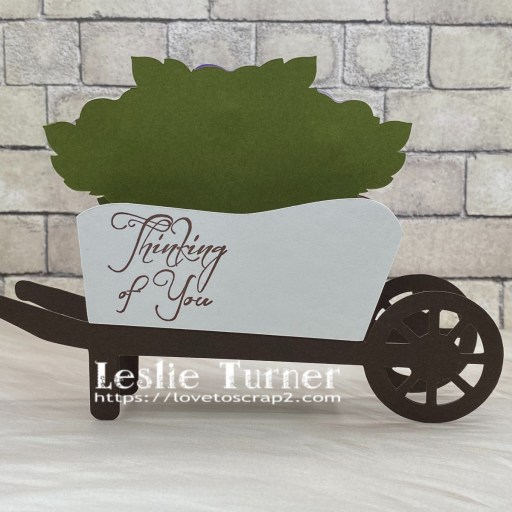
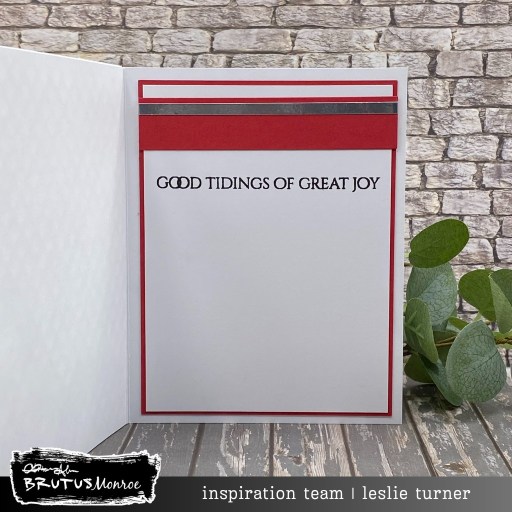
I cut the inside panel from Perfect Blend cardstock and embellished it with strips of Scarlet and CutCardStock Bright Silver Foil cardstock. I stamped a sentiment from the Good Tidings stamp set in Raven ink and layered the panel on Scarlet cardstock.
Affiliate links are used in this post at no cost to you – I really appreciate your support!
Brutus Monroe products used:
BRU2382 Garden Trellis A2 Cover Plate Die Set
BRU9306 Occasional Greetings Stamp Set
BRU8190 Holly Berry Chroma Mist
BRU8213 Ornament Gold Chroma Mist
BRU9494 Not Your Mamas Cardstock
BRU5144 Pre-Scored Card Bases
BRU4013 Perfect Blend Cardstock
BRU8547 Stick & Stamp Mat
BRU5413 Scarlet Cardstock
BRU2605 Good Tidings Stamp Set
BRU2543 Raven 2×2 Detail Ink
BRU2345 Red Shift Flat Back Crystals
Other products used:
CARDSTOCK/PAPER: CutCardStock Bright Silver Foil cardstock
INK: Copic Ciao alcohol markers- G82 Spring dim Green, G99 Olive, E08 Brown, YG03 Yellow Green, YG11 Mignonette, Y35 Maize, R14 Light Rouge, R29 Lipstick Red
ACCESSORIES: Fiskars 12″ ProCision Rotary Bypass Paper Trimmer, My Sweet Petunia Precision Glue Press, Bearly Art precision craft glue, MISTI stamp tool, Big Shot, Spellbinders Detail Scissors, Scrapbook Adhesives Thin 3D Foam Squares, Scrapbook Adhesives 3D Foam Squares, Trinity Pick Up Stick
I hope you’ve enjoyed seeing this project and you’re inspired to get your craft on! Be sure to check out all the amazing stamps and dies, pigments and mists, cardstock and tools (just to name a few) at Brutus Monroe! And if you happen to have a sweet tooth and like to munch while you craft (like I do, lol), check out Scoozie’s Confections & Curiosities! OMG, I’m hooked! ;) Follow us on Facebook, Instagram and YouTube for tons of crafty inspiration! And come on over and join our Fan Club Facebook Group to share your crafty makes using our products! Thanks so much for stopping by today – we’ll see you next time!
Scrappy hugs,