Hello, crafty friends! Happy Sunday – here’s wishing you a fabulous start to your week! It’s time for another fun challenge over at Love To Scrap Challenge Blog and I’m stoked to share my DT inspiration project for LTSCB #125 – Anything Goes! Our fabulous sponsor this month is CAS-ual Fridays Stamps so be sure to come on over and play for the chance to win a prize! I created a super cute Christmas card using the Naughty or Nice stamp set, which I don’t see on the website, however, I do see one called Naughty-isms which is similar and equally as fun!
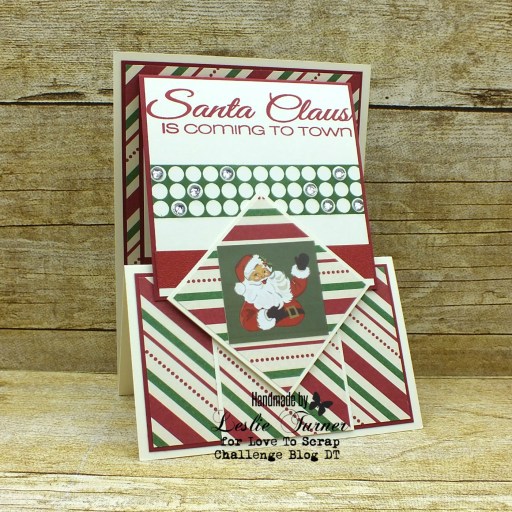
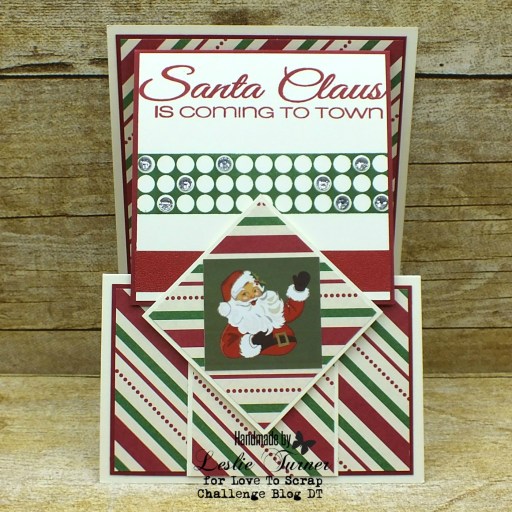
You know I absolutely love fun folds, and about three years ago I came up with a combined Joy fold and Z fold, which I called a Joy-Z fold. I haven’t seen another one like this, so I think it’s safe to say this is my own design, lol! If you’re interested, my original card is HERE. This Christmas version is a vertical orientation, done in the traditional red and green color combo, with added bling and a Santa sticker.
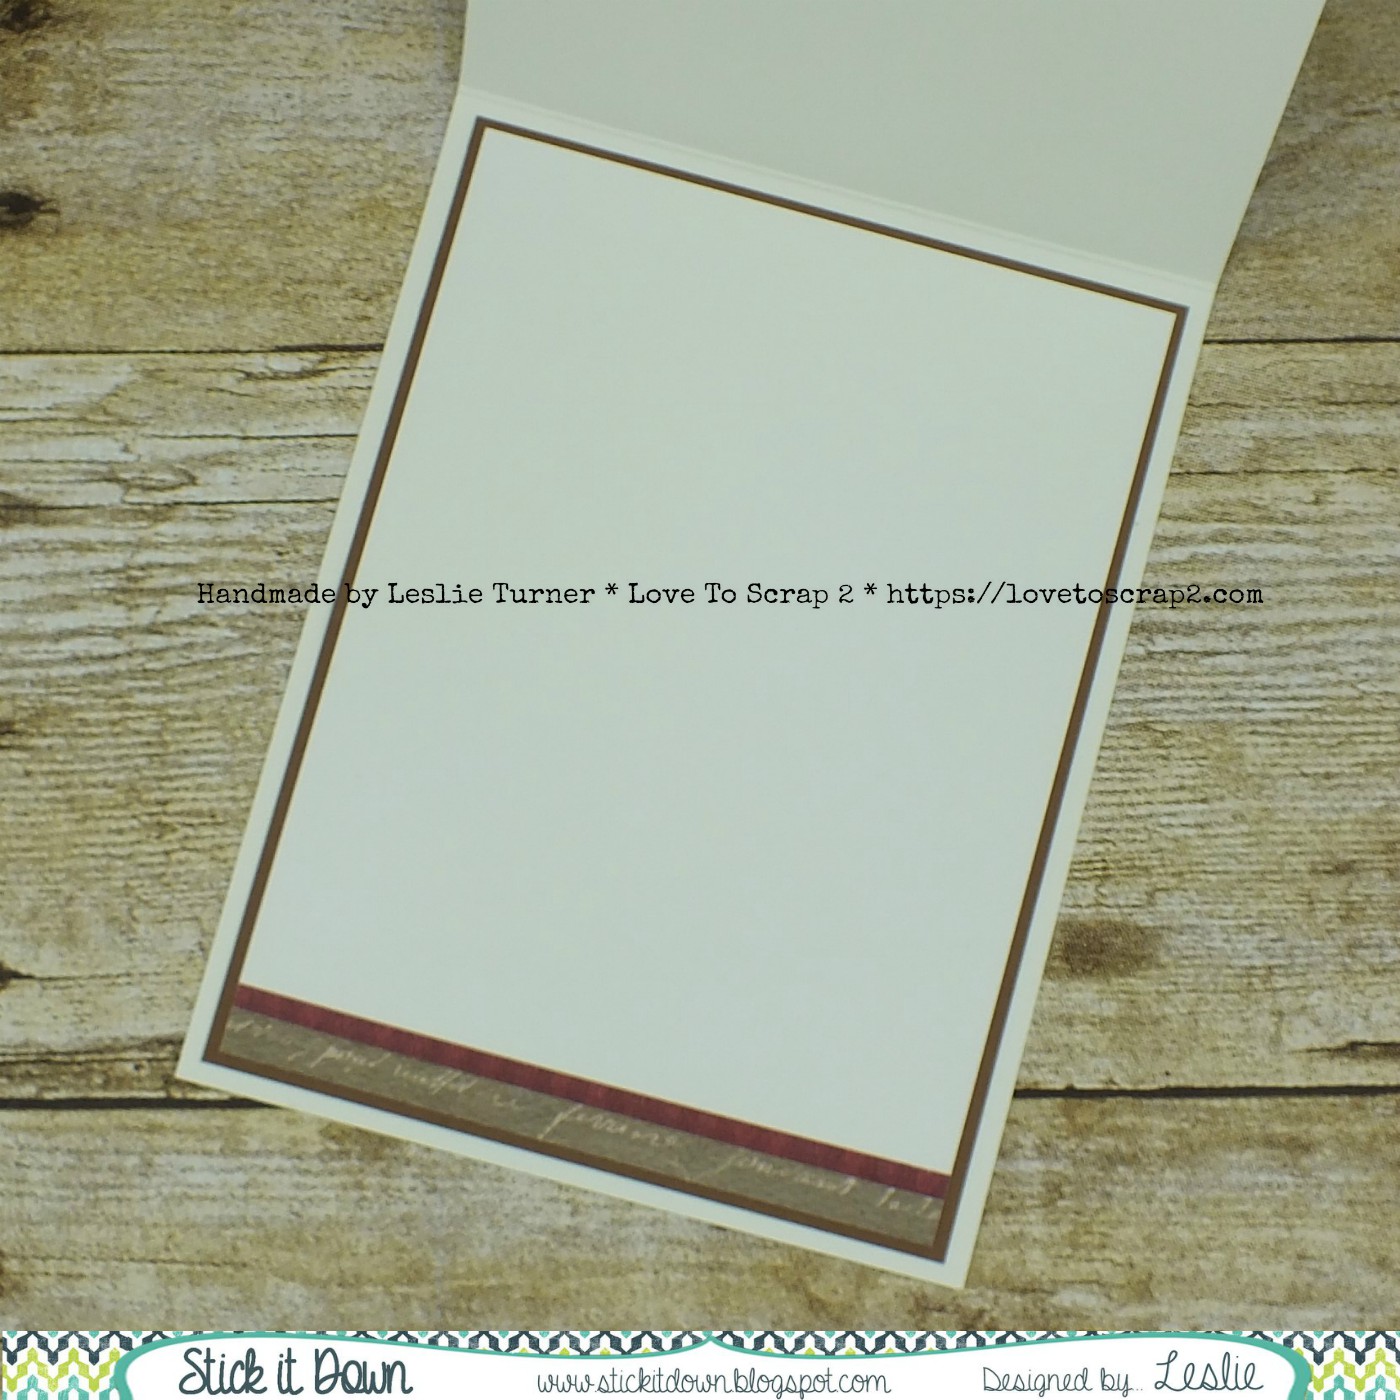
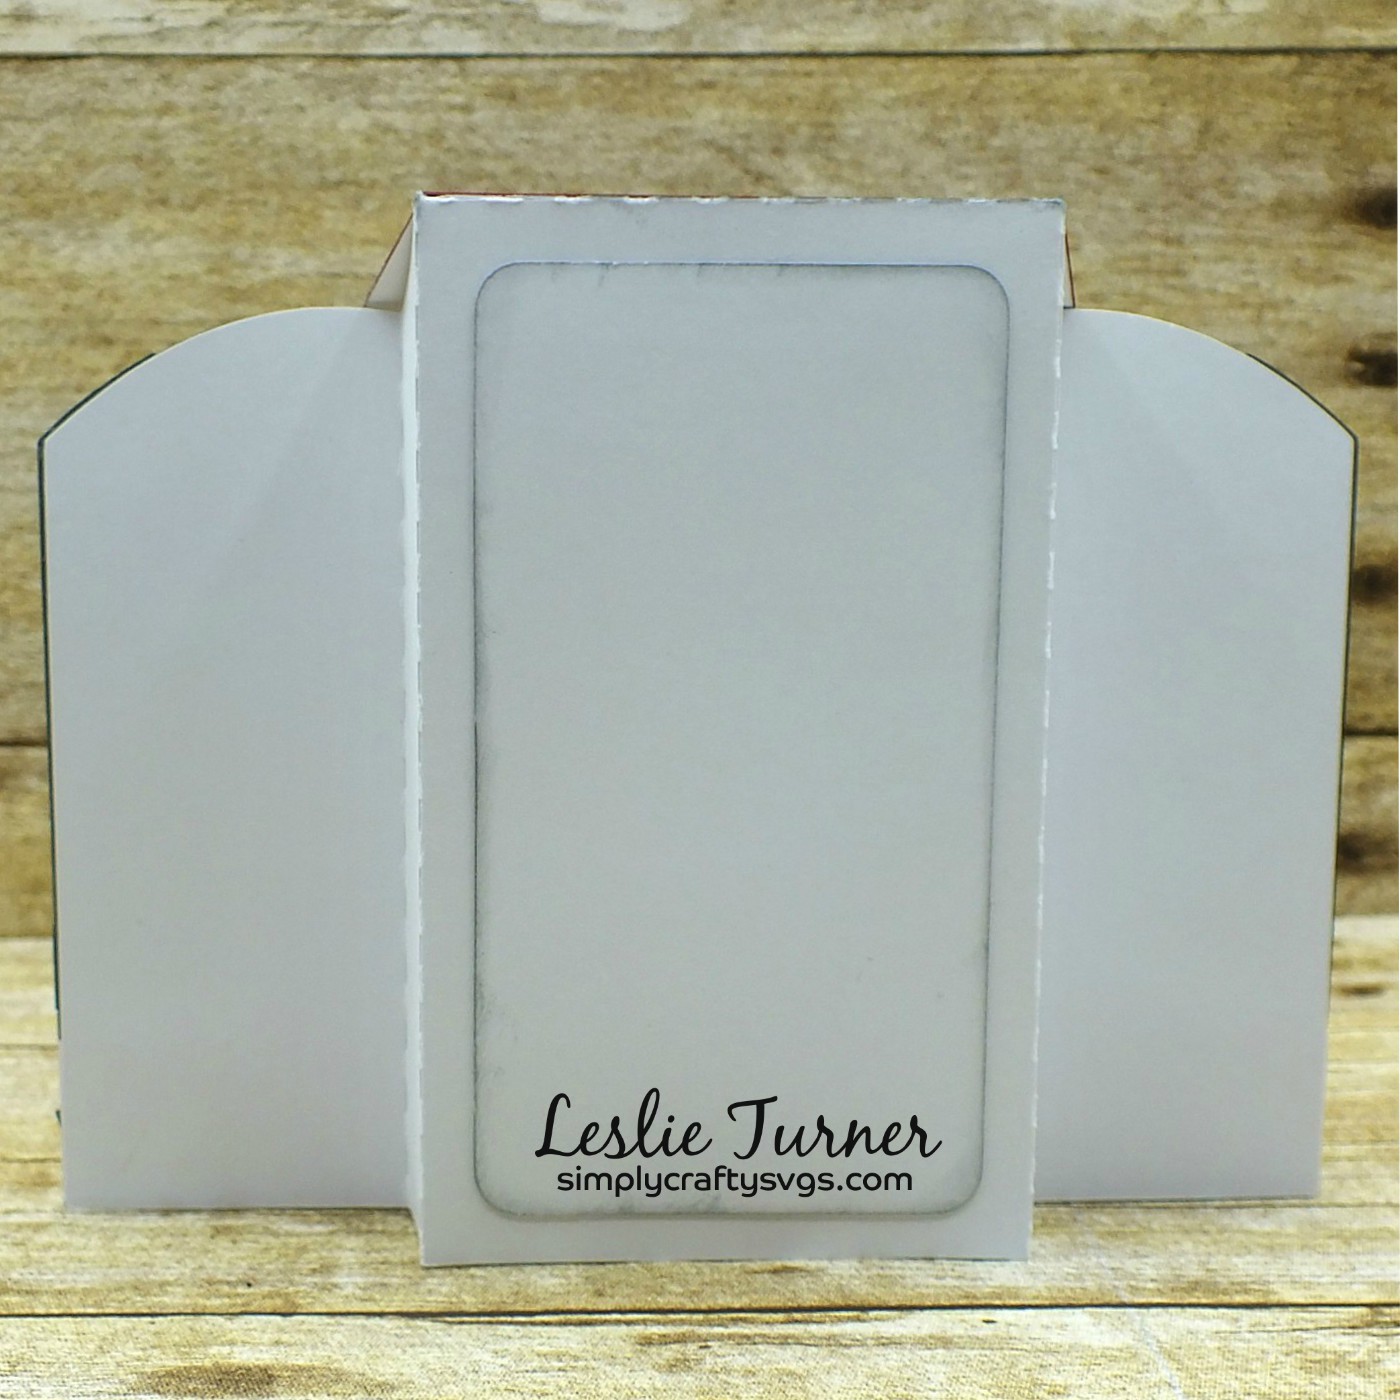
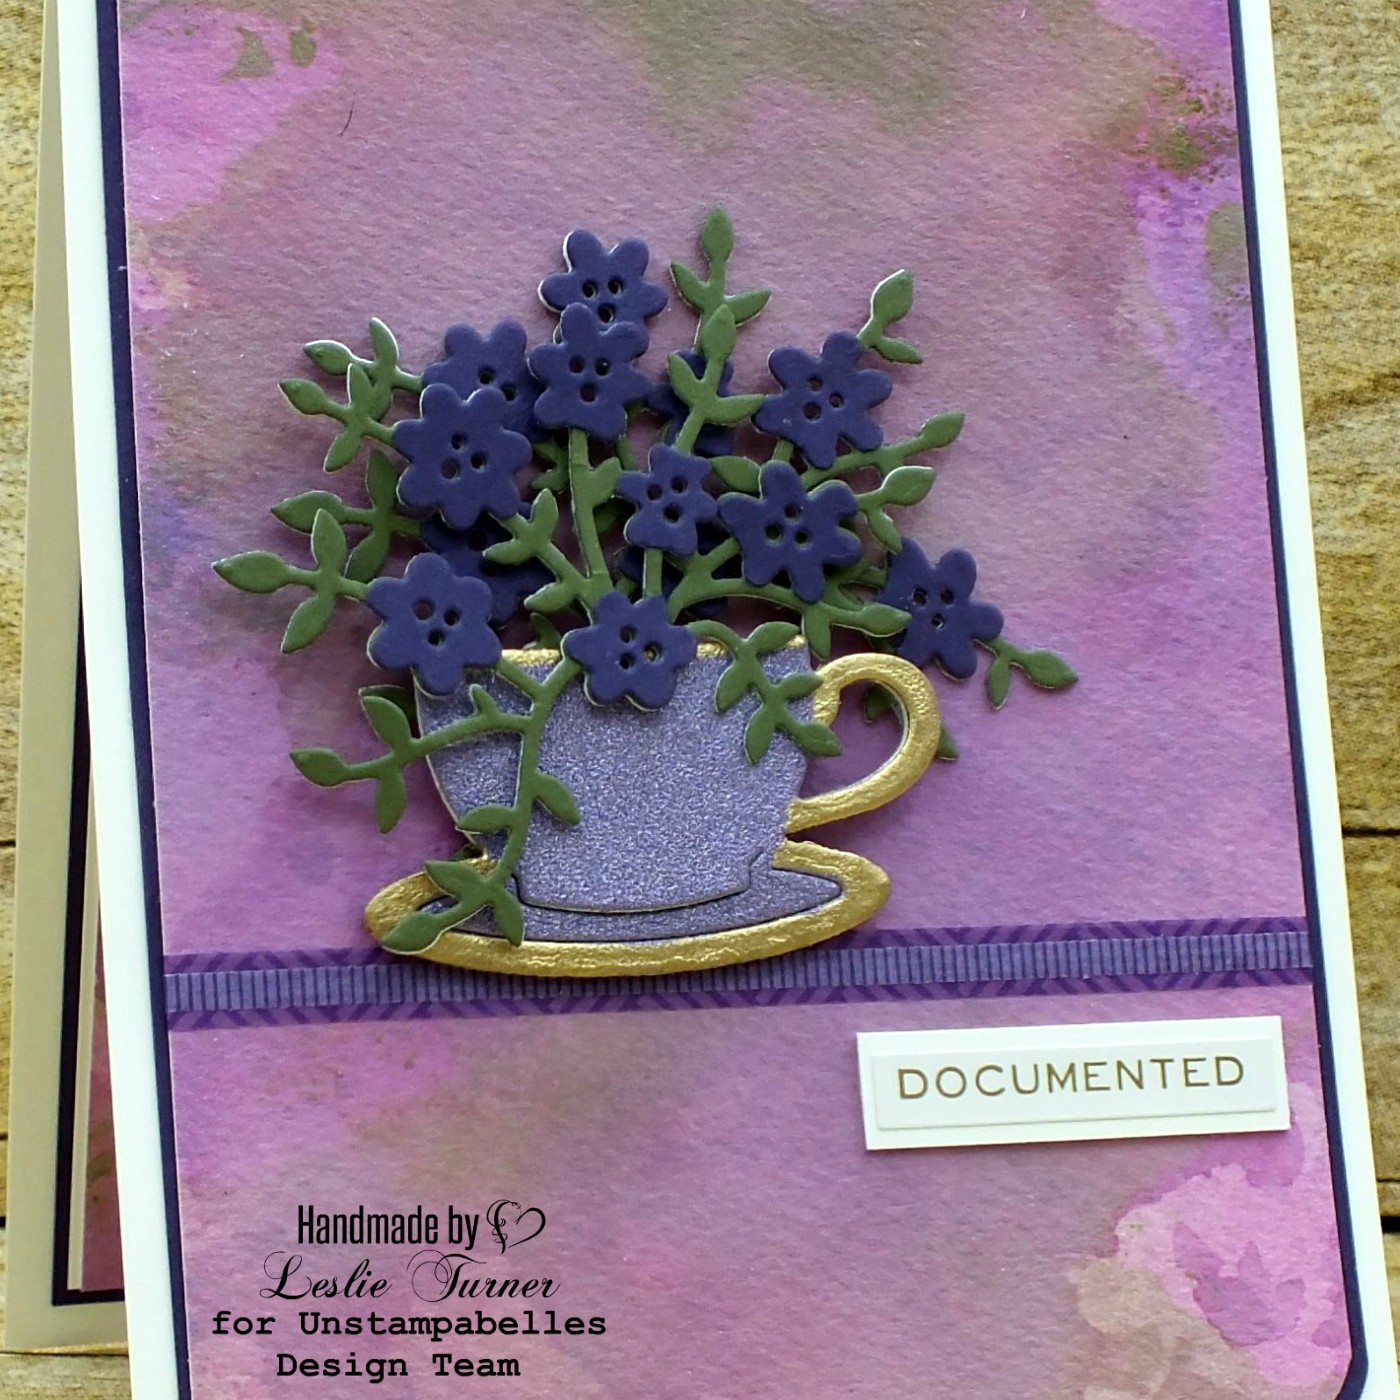
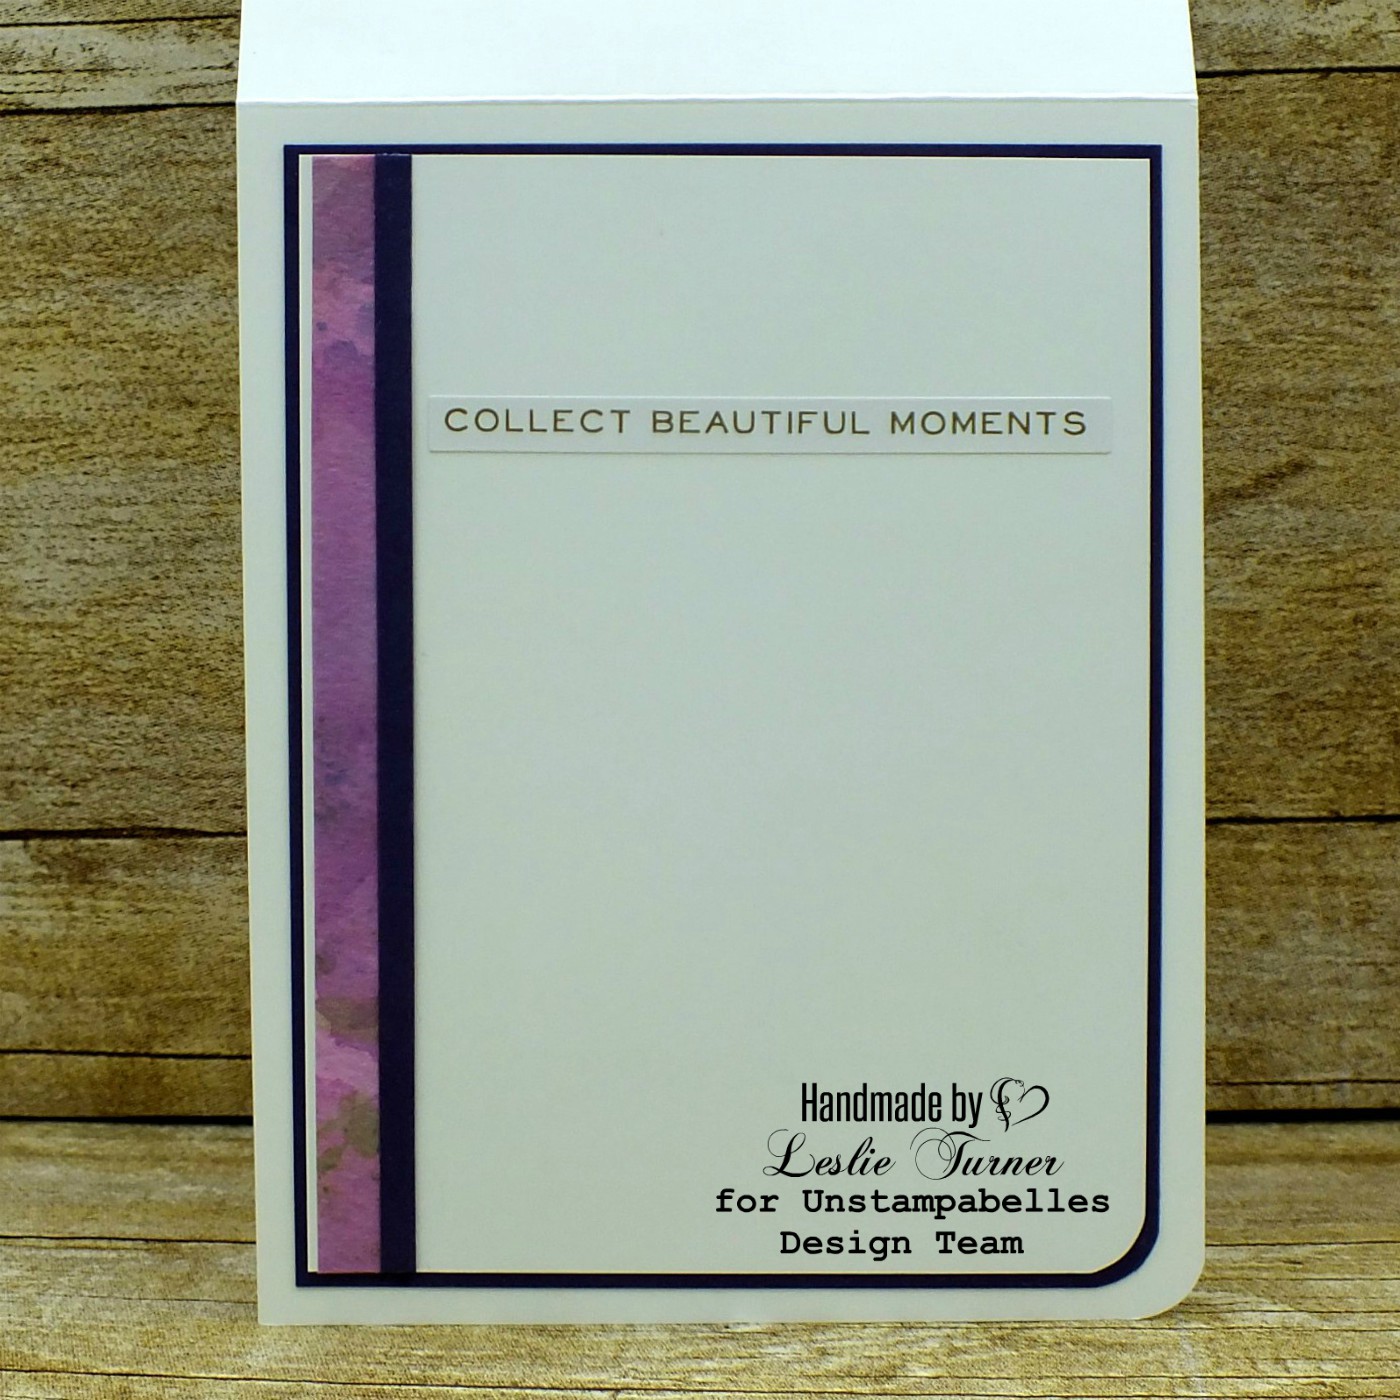
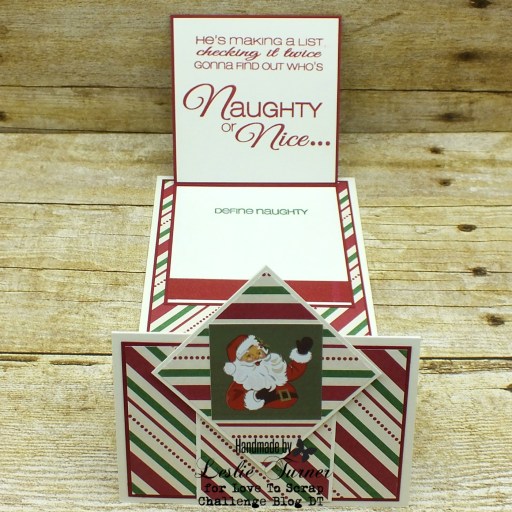
Here’s a shot of the Joy fold portion open to reveal the sentiments. Love, love, love! Needless to say, I chuckled a few times while this was in the making! ;)
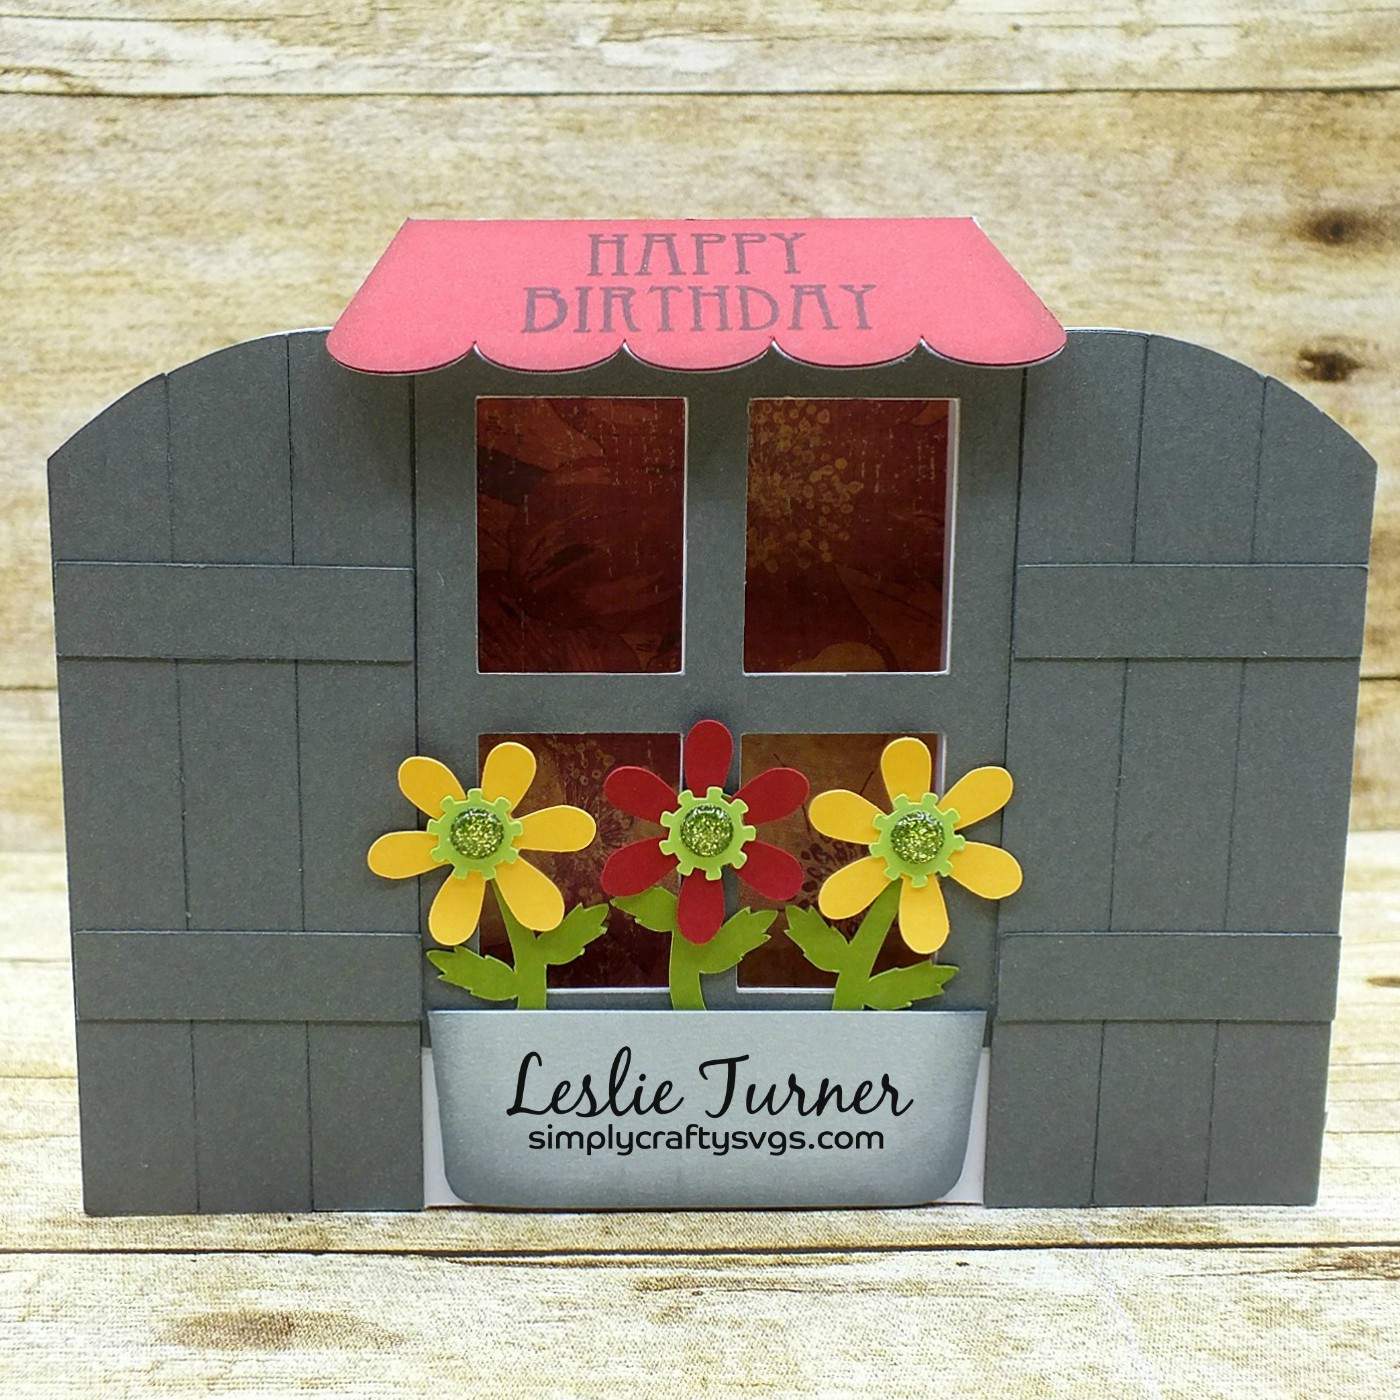
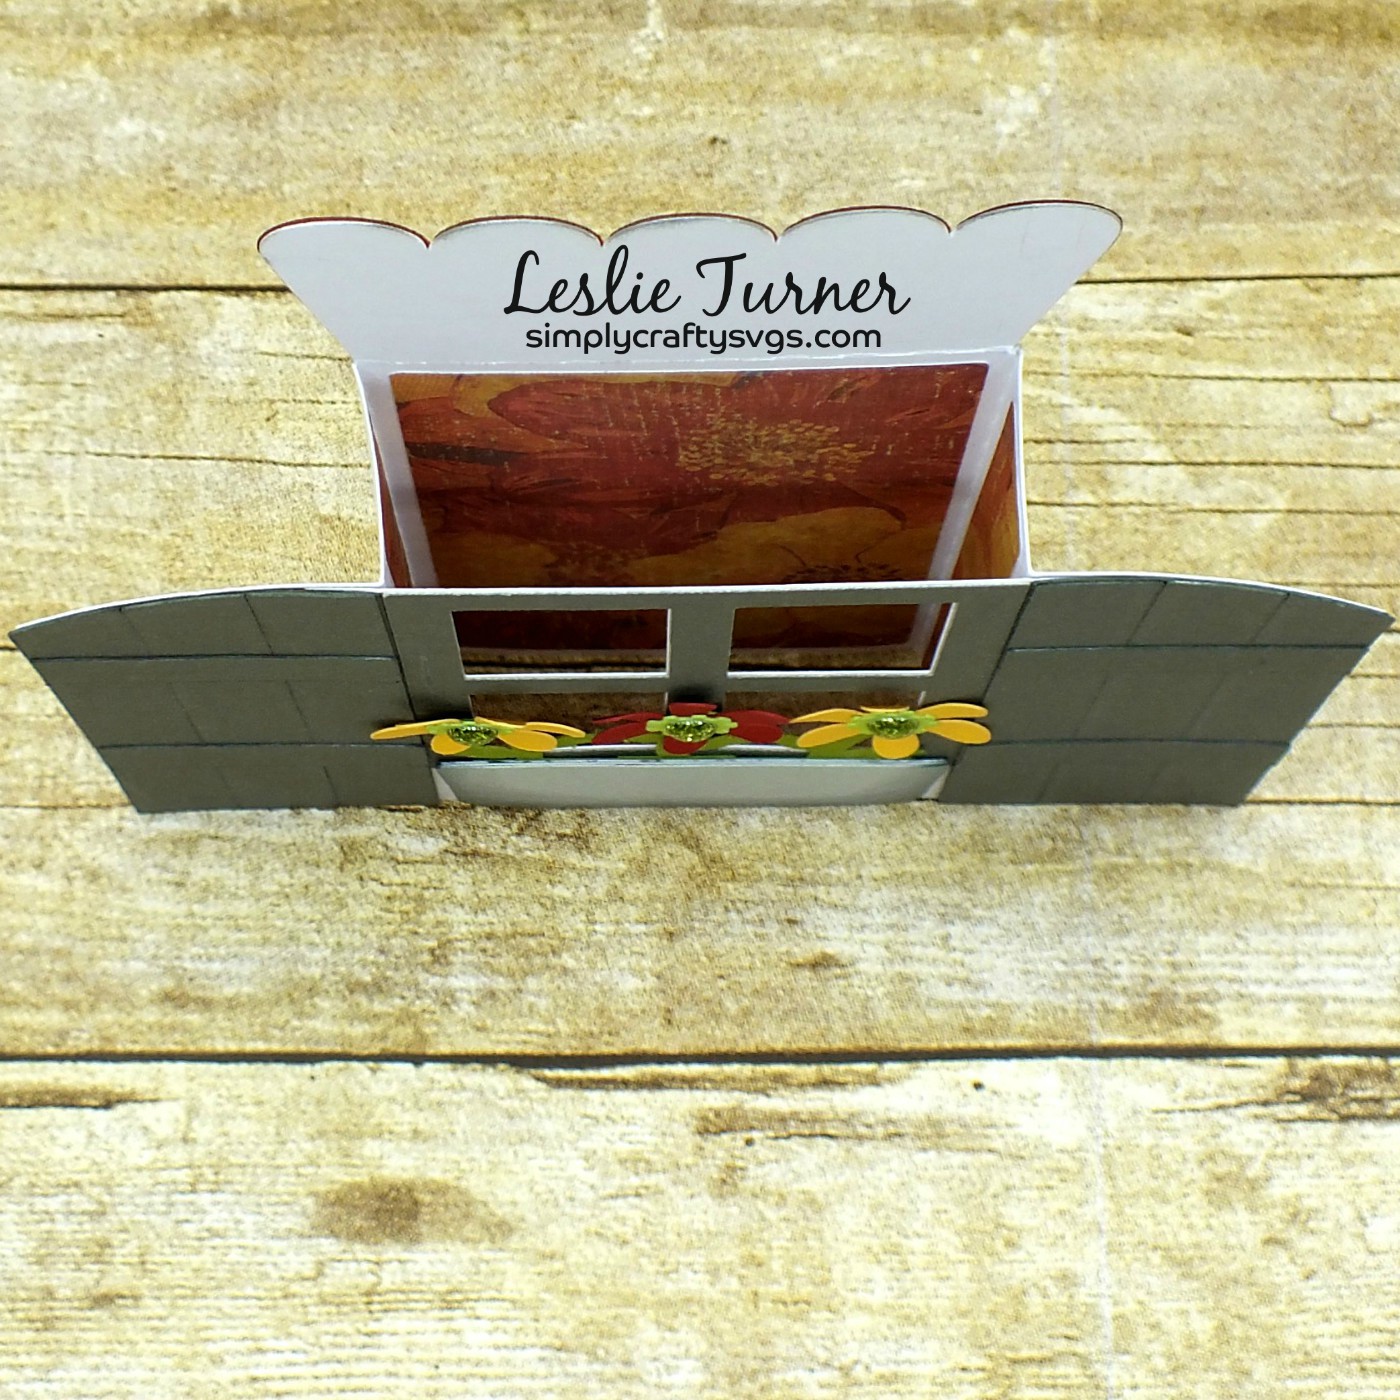
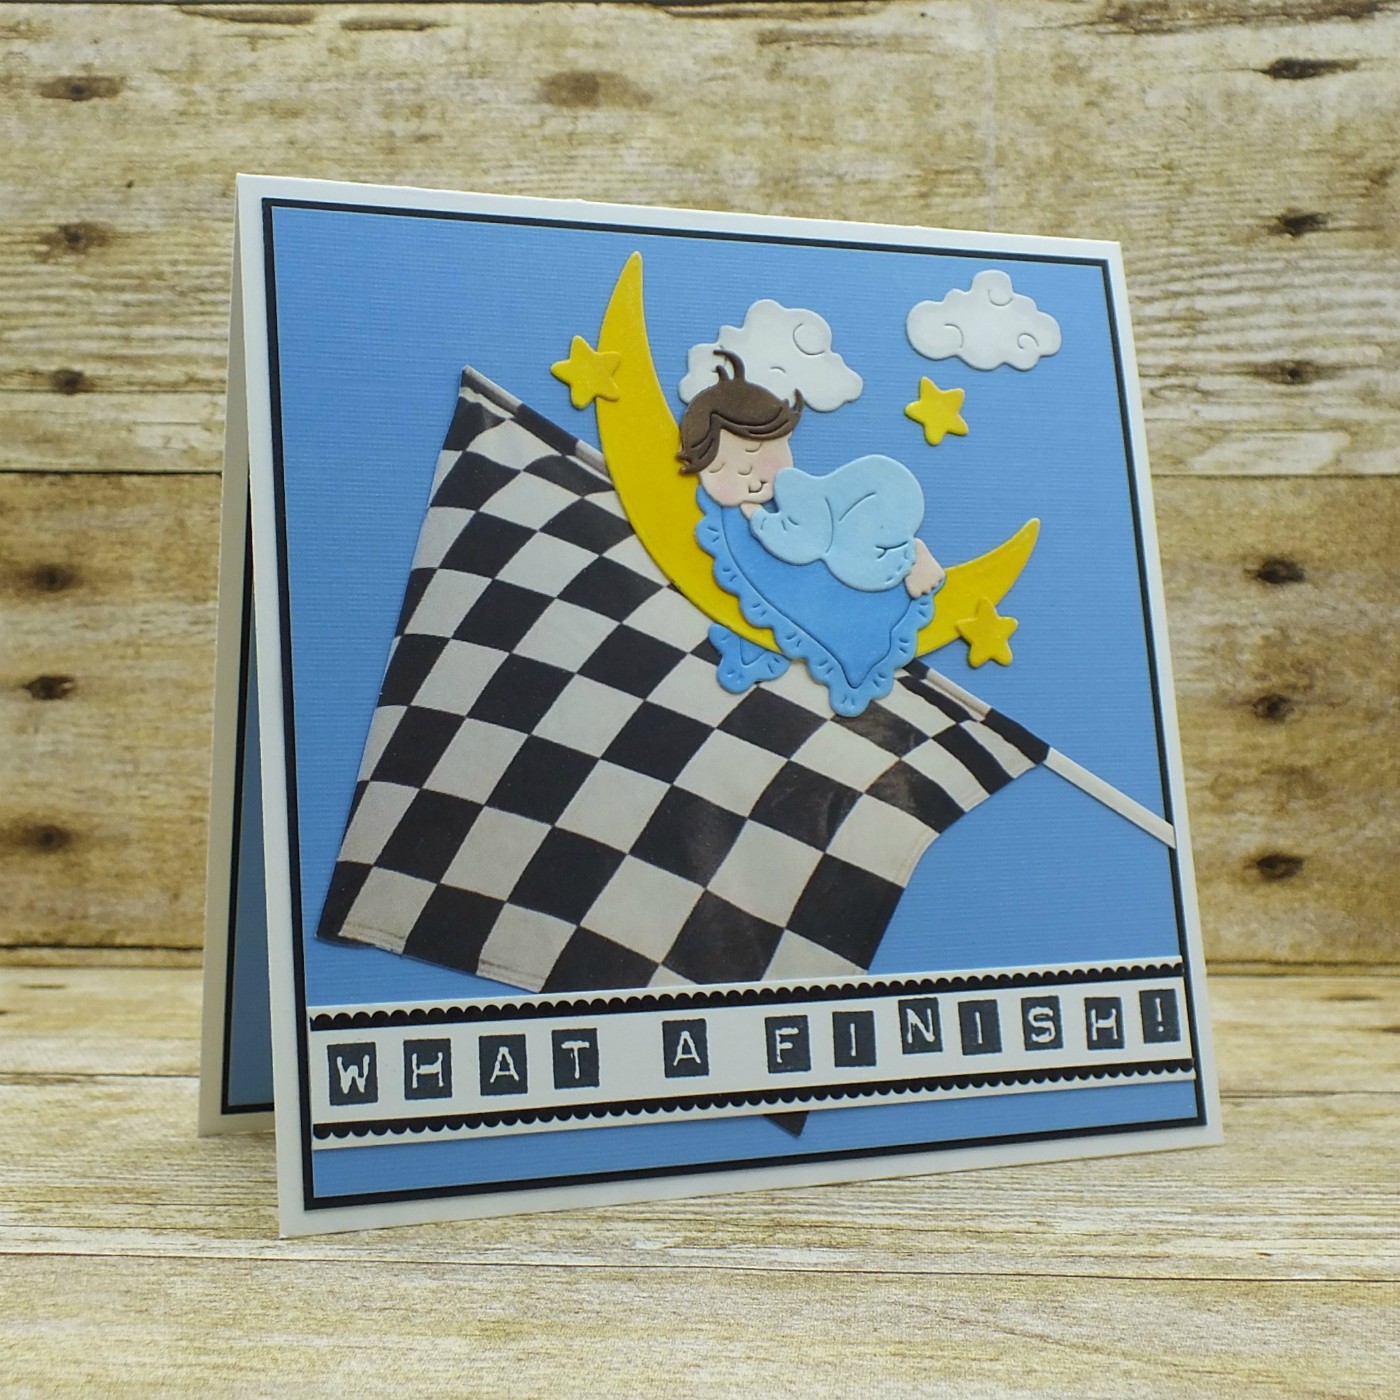
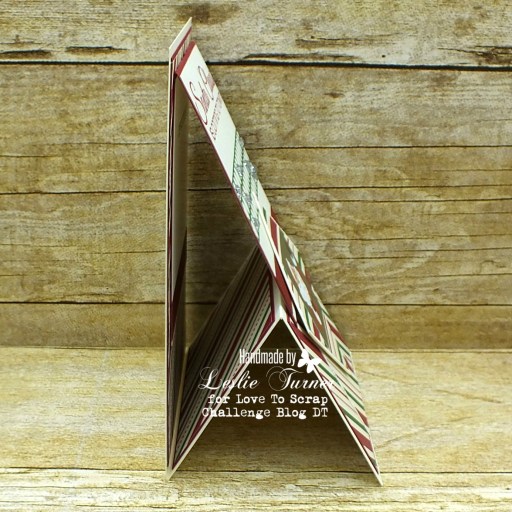
And here’s a side view so you can see the construction. It really is a cool fold! ;)
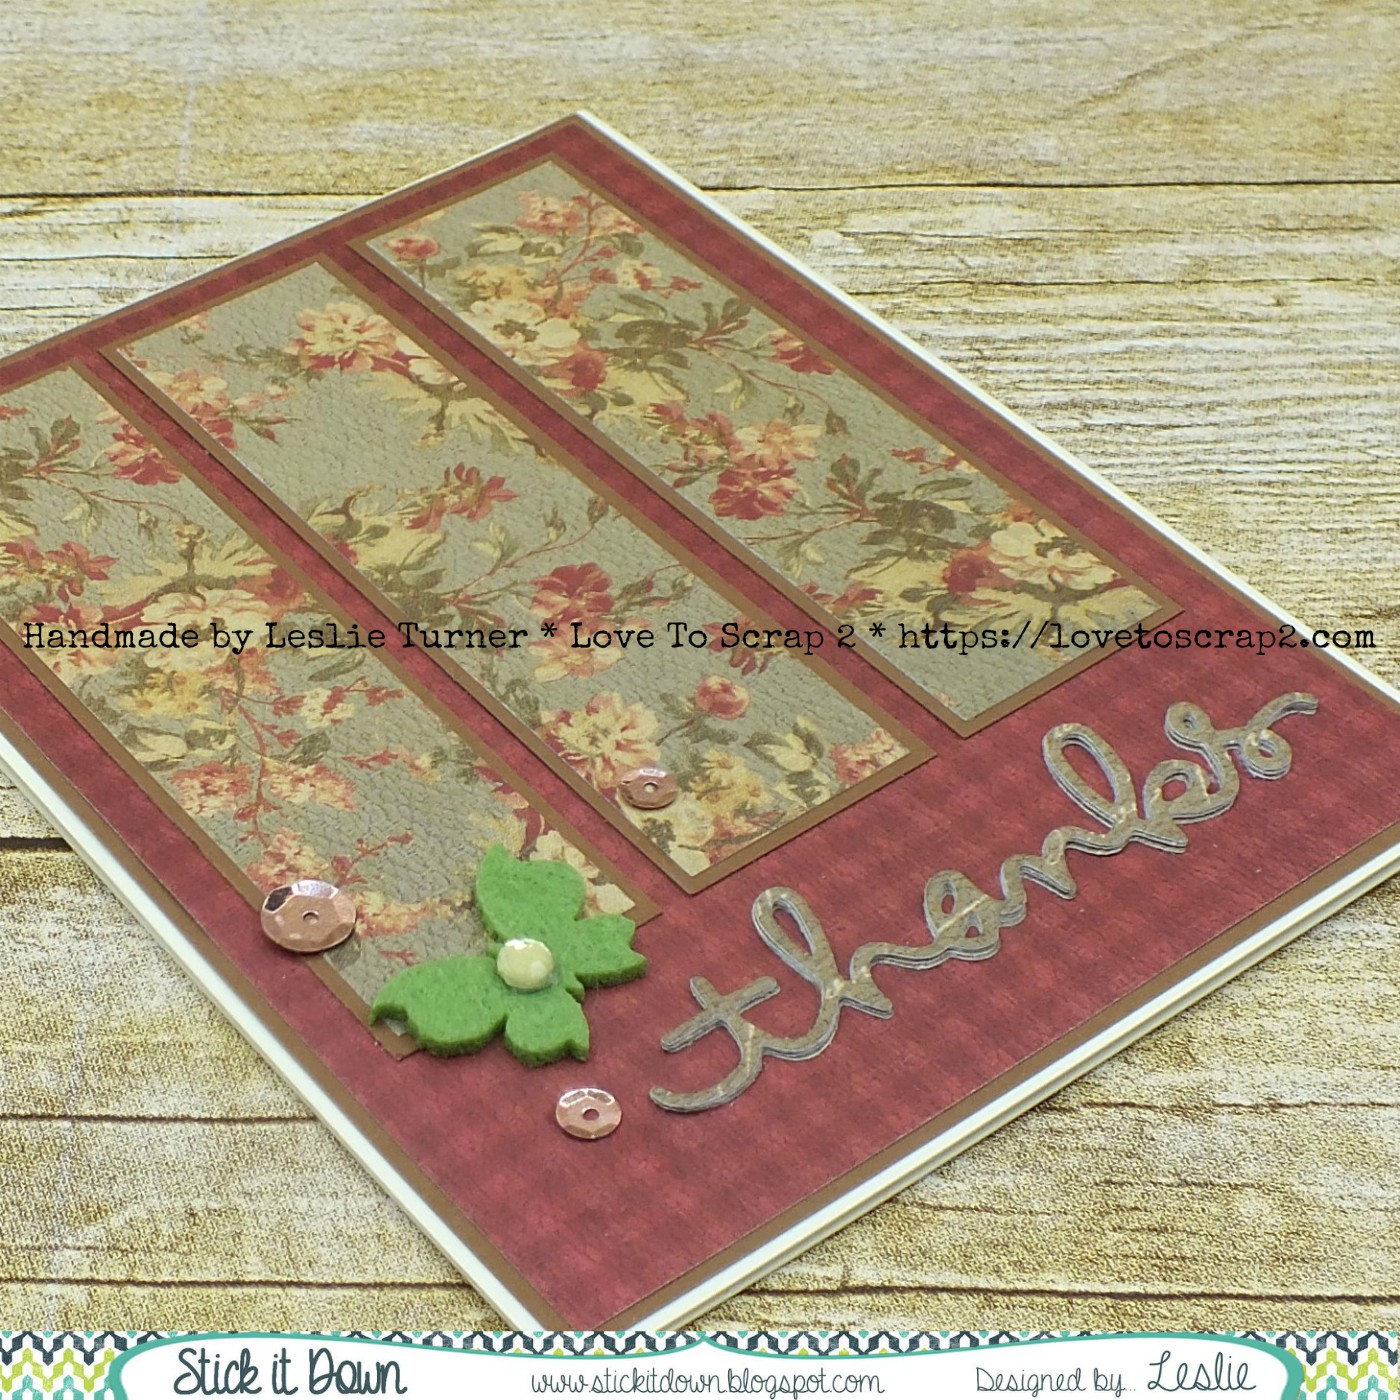
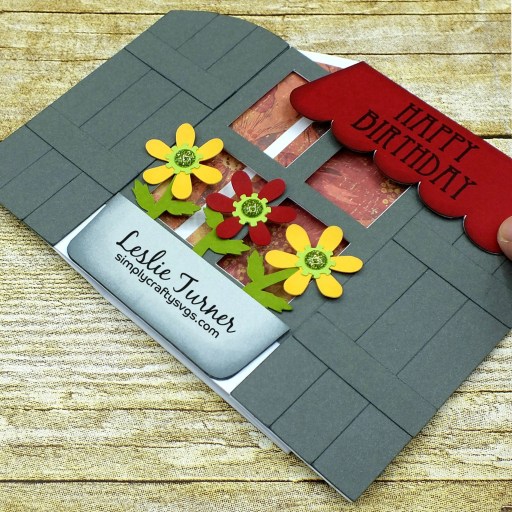
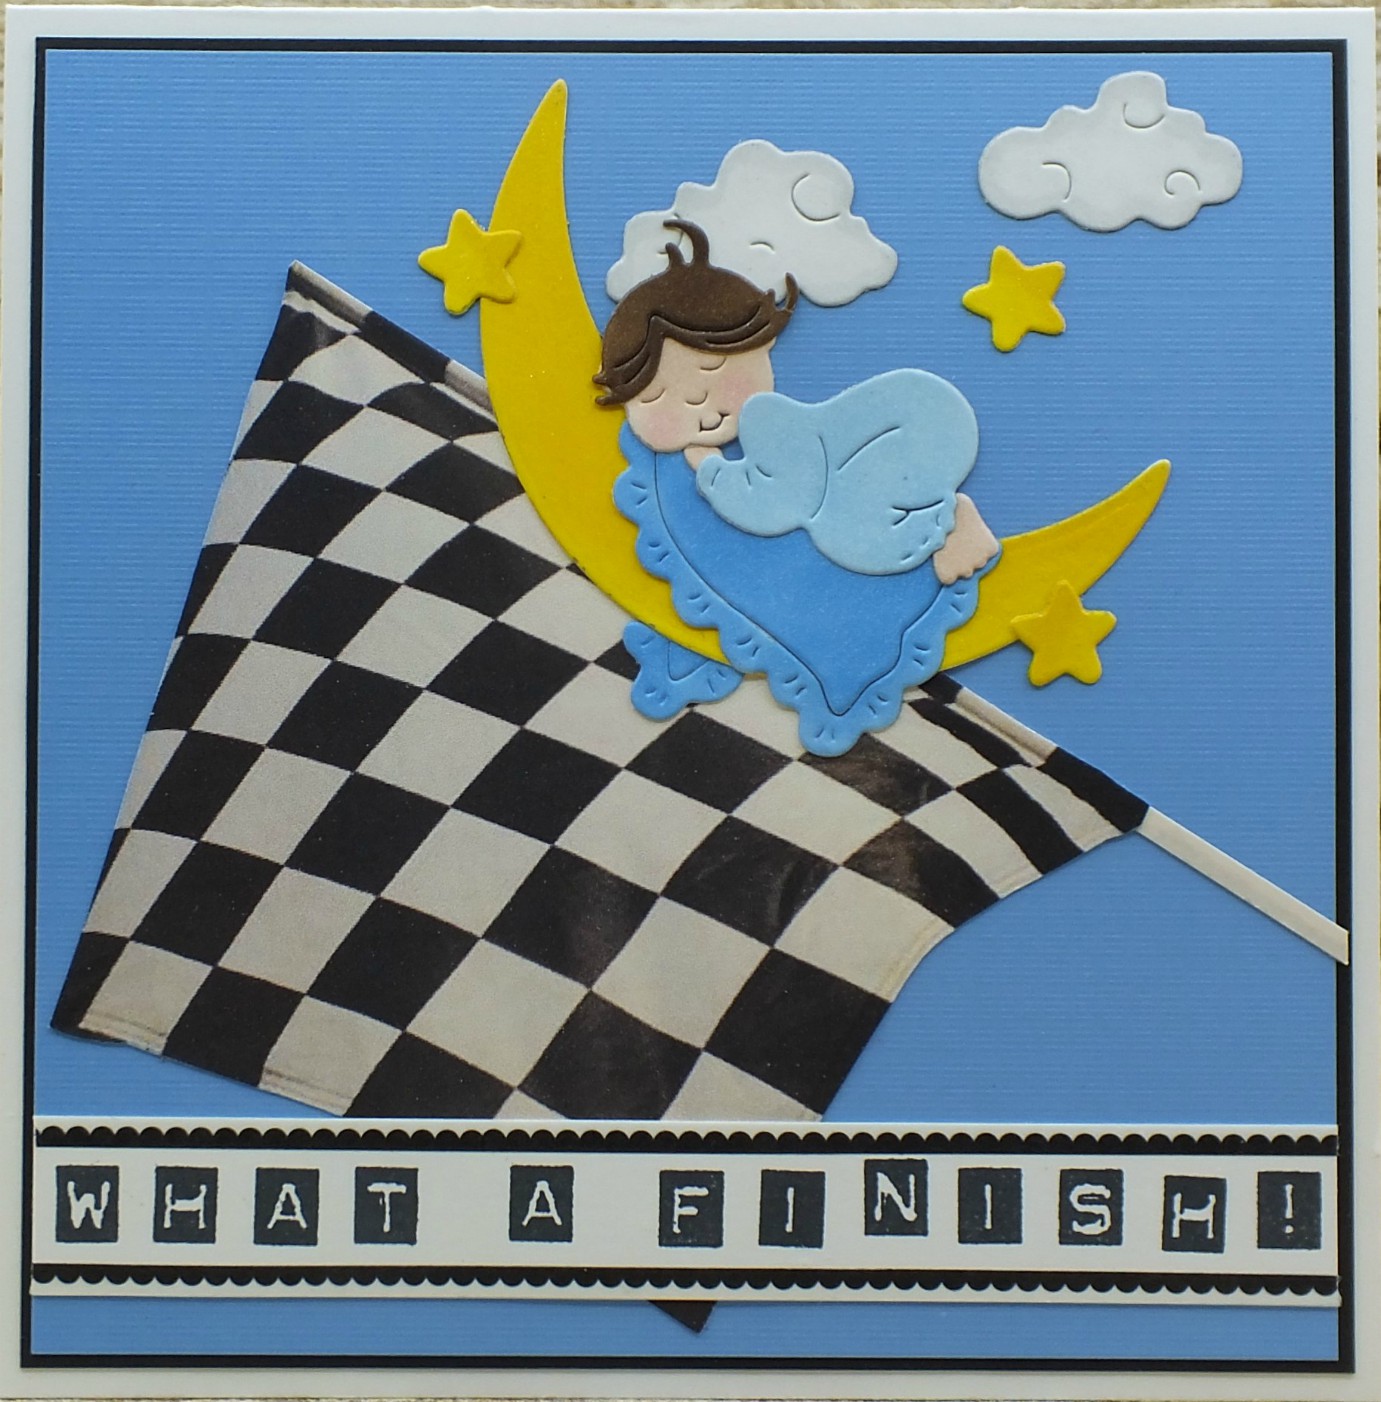
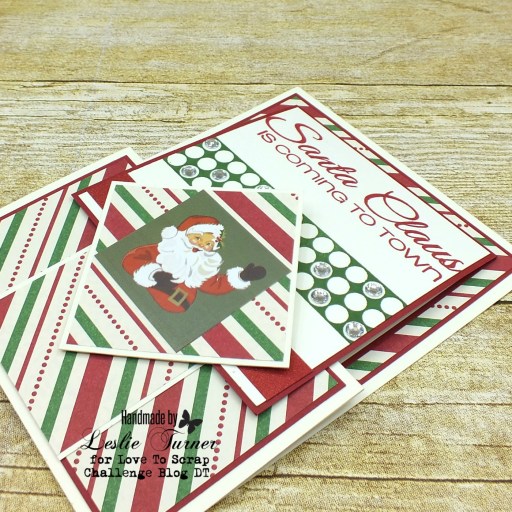
And one more look up close. I already have the recipient in mind and I know they are going to love it! ;)
Proud to enter this fun Christmas card into the following challenges:
a2z Scrapbooking September Challenge: Anything Goes
A Perfect Time To Craft: #9 – September Anything Goes
Classic Design Team Challenge Blog: #9 – September Anything Goes
Crafting by designs: September Anything Goes
Crafts Galore Encore Challenge Blog: September Anything Goes
Craftyhazelnut’s Patterned Paper September Challenge
Your Scrapbook Place: September Anything Goes
Products used:
Cardstock/Paper: Stampin’ Up thick and regular Very Vanilla cardstock, Stampin’ Up Cherry Cobbler cardstock, Stampin’ Up This Christmas Specialty DSP
Stamps: CAS-ual Fridays Stamps Naughty or Nice stamp set
Ink: Stampin’ Up Cherry Cobbler and Garden Green ink
Accessories: Tim Holtz stamp platform, Peachy Cheap red glitter Washi Tape, Stampin’ Up clear rhinestones, PhotoPlay Holiday Cheer Santa sticker
I hope you’ve enjoyed this fun Christmas card and will link up an ‘anything goes’ project with us this month! And be sure to check out all the fun goodies over at CAS-ual Fridays Stamps – I know you’ll find something you just can’t live without! Thanks so much for stopping by today – we’ll see you again soon! ;)
Scrappy hugs,