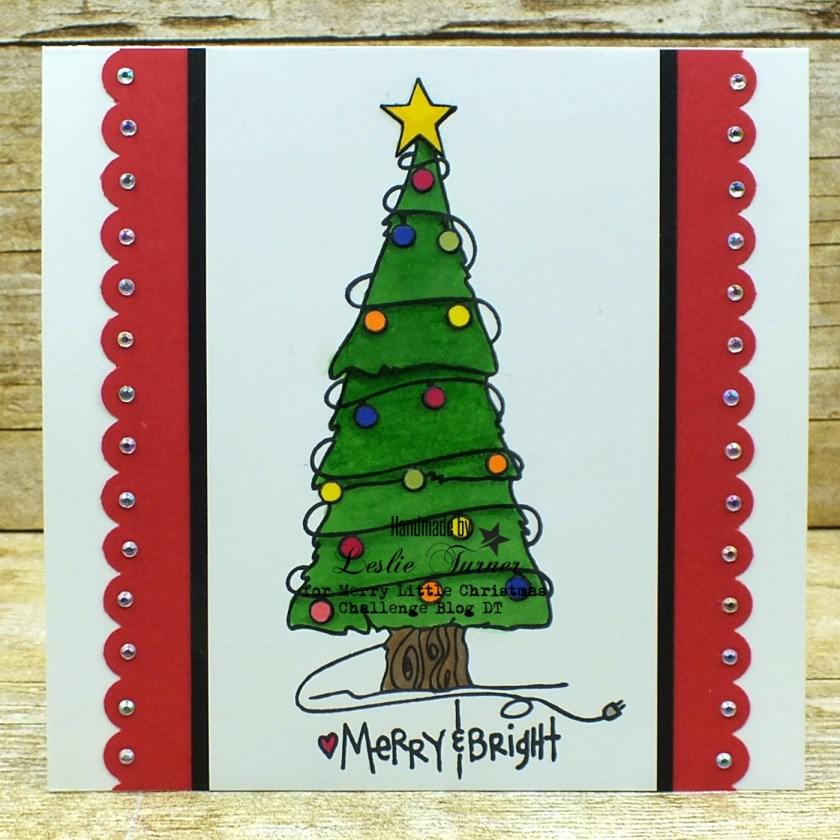
Hello, my peeps! Hope you’re getting your craft on! We’re another month closer to Christmas and a new challenge is live this morning over at Merry Little Christmas challenge Blog! I’m excited to share my DT inspiration with you today for MLCCB #13 – August Anything Christmas Goes! I created a super cute Christmas card featuring a rather large stamped Spellbinders Christmas tree image that I colored with my Studio 71 alcohol markers.
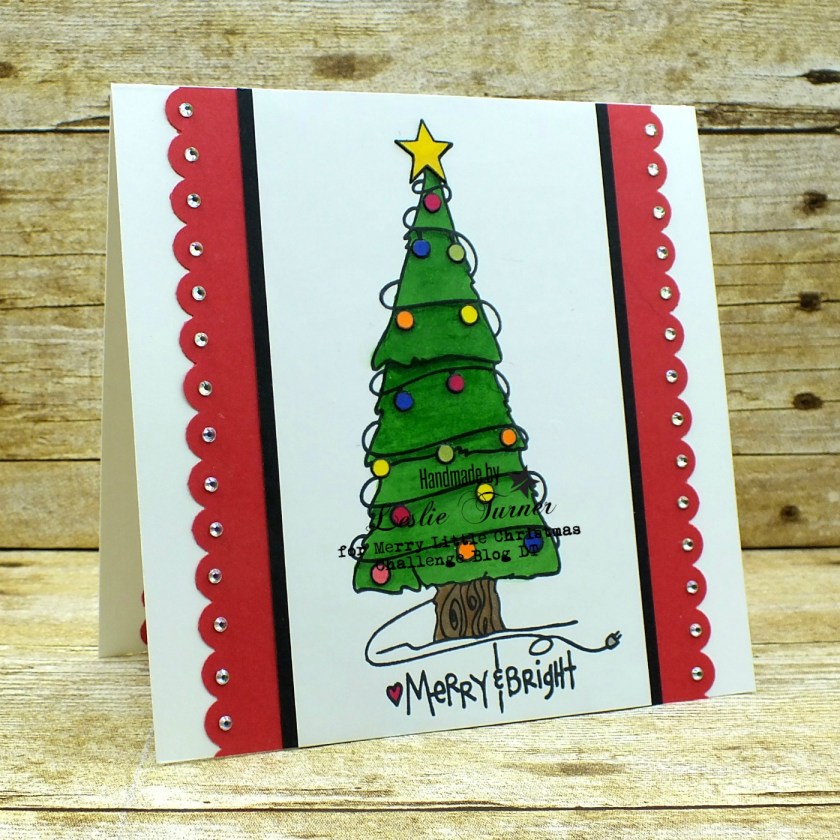
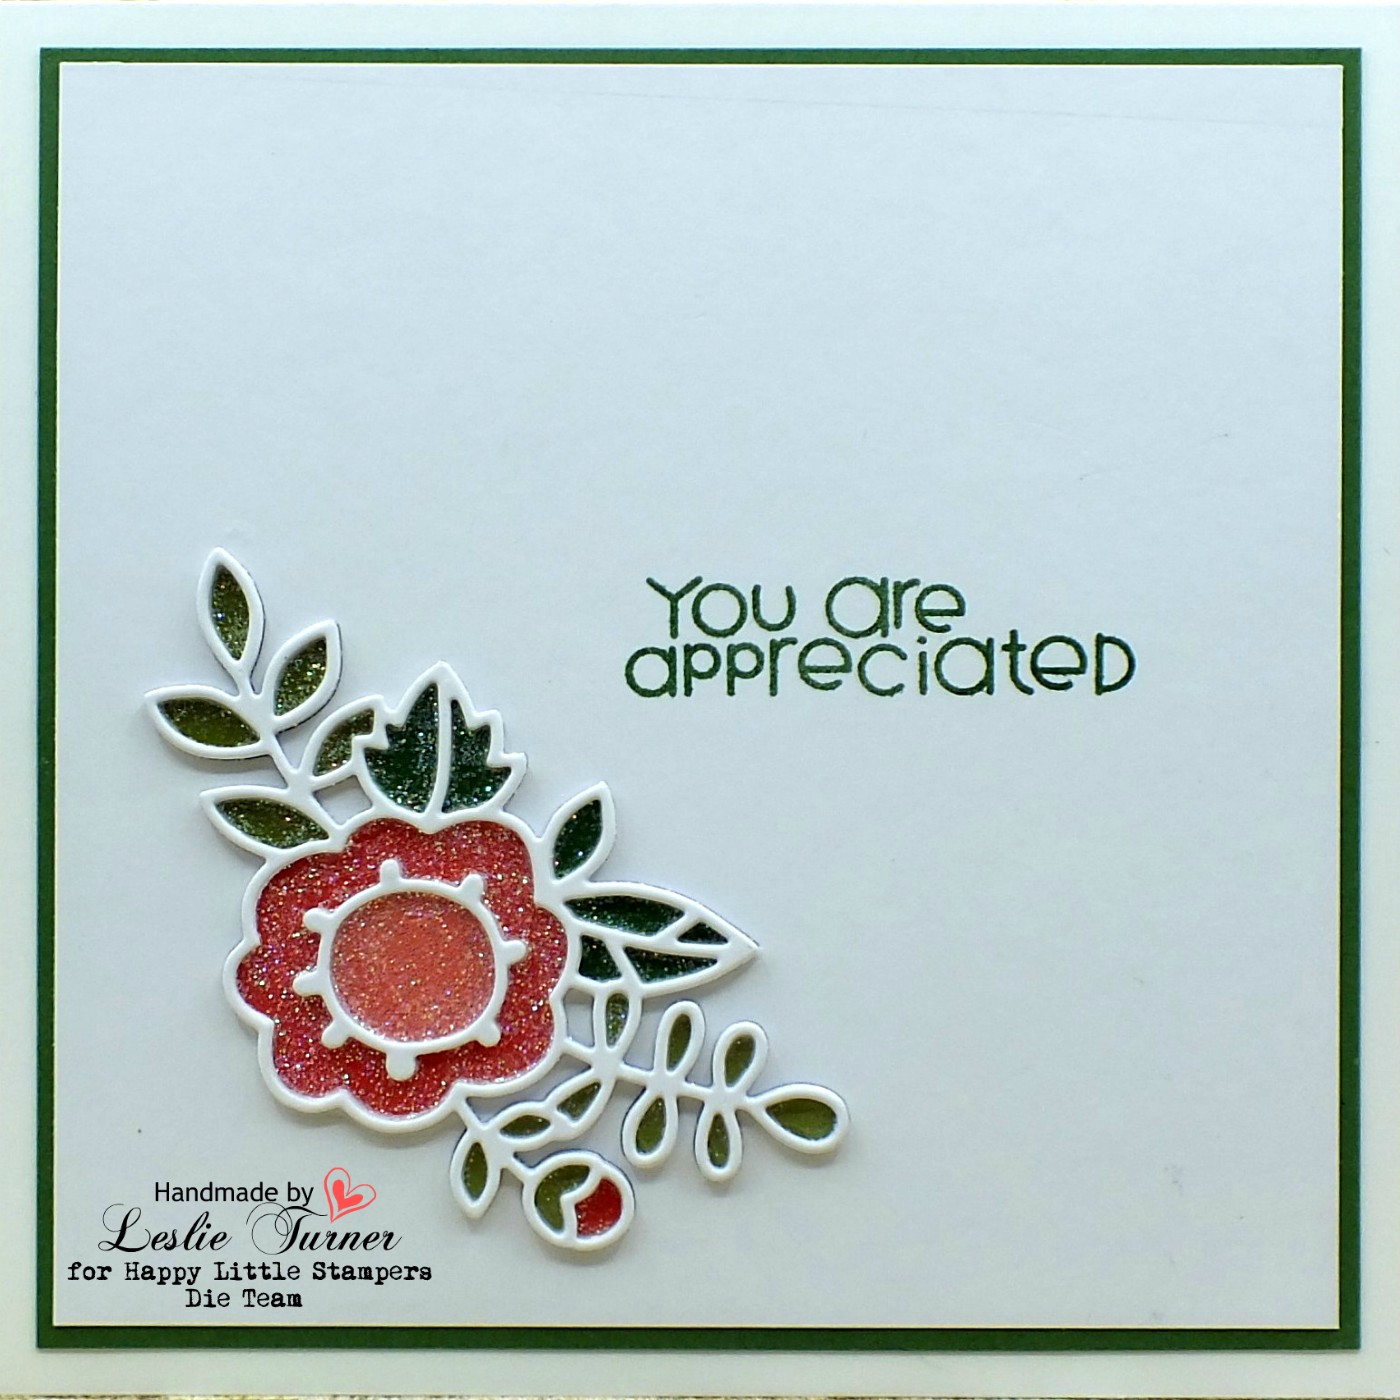
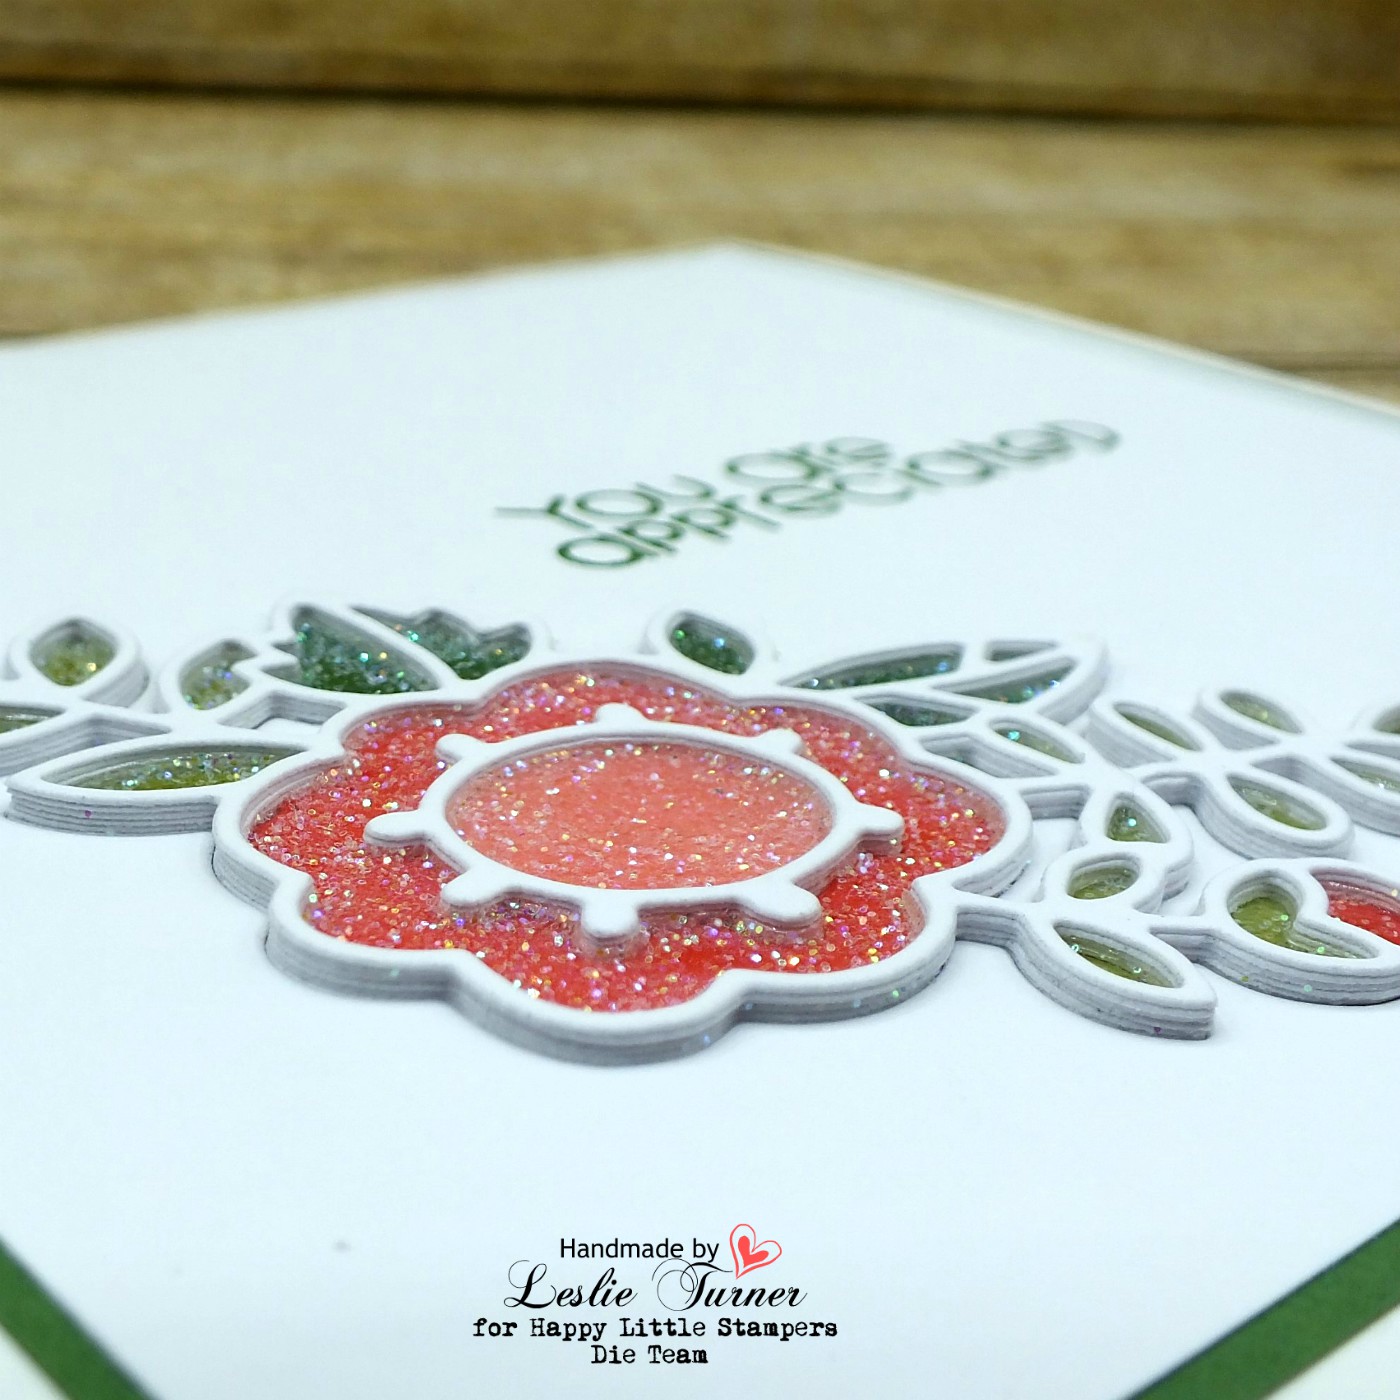
I layered the image on black cardstock, then again on red cardstock with punched scalloped edges embellished with tiny clear rhinestones. I stamped the image a second time on heavy cardstock, colored the star and Christmas lights with alcohol markers, fussy cut them all, and adhered them to the main image for a little dimension.
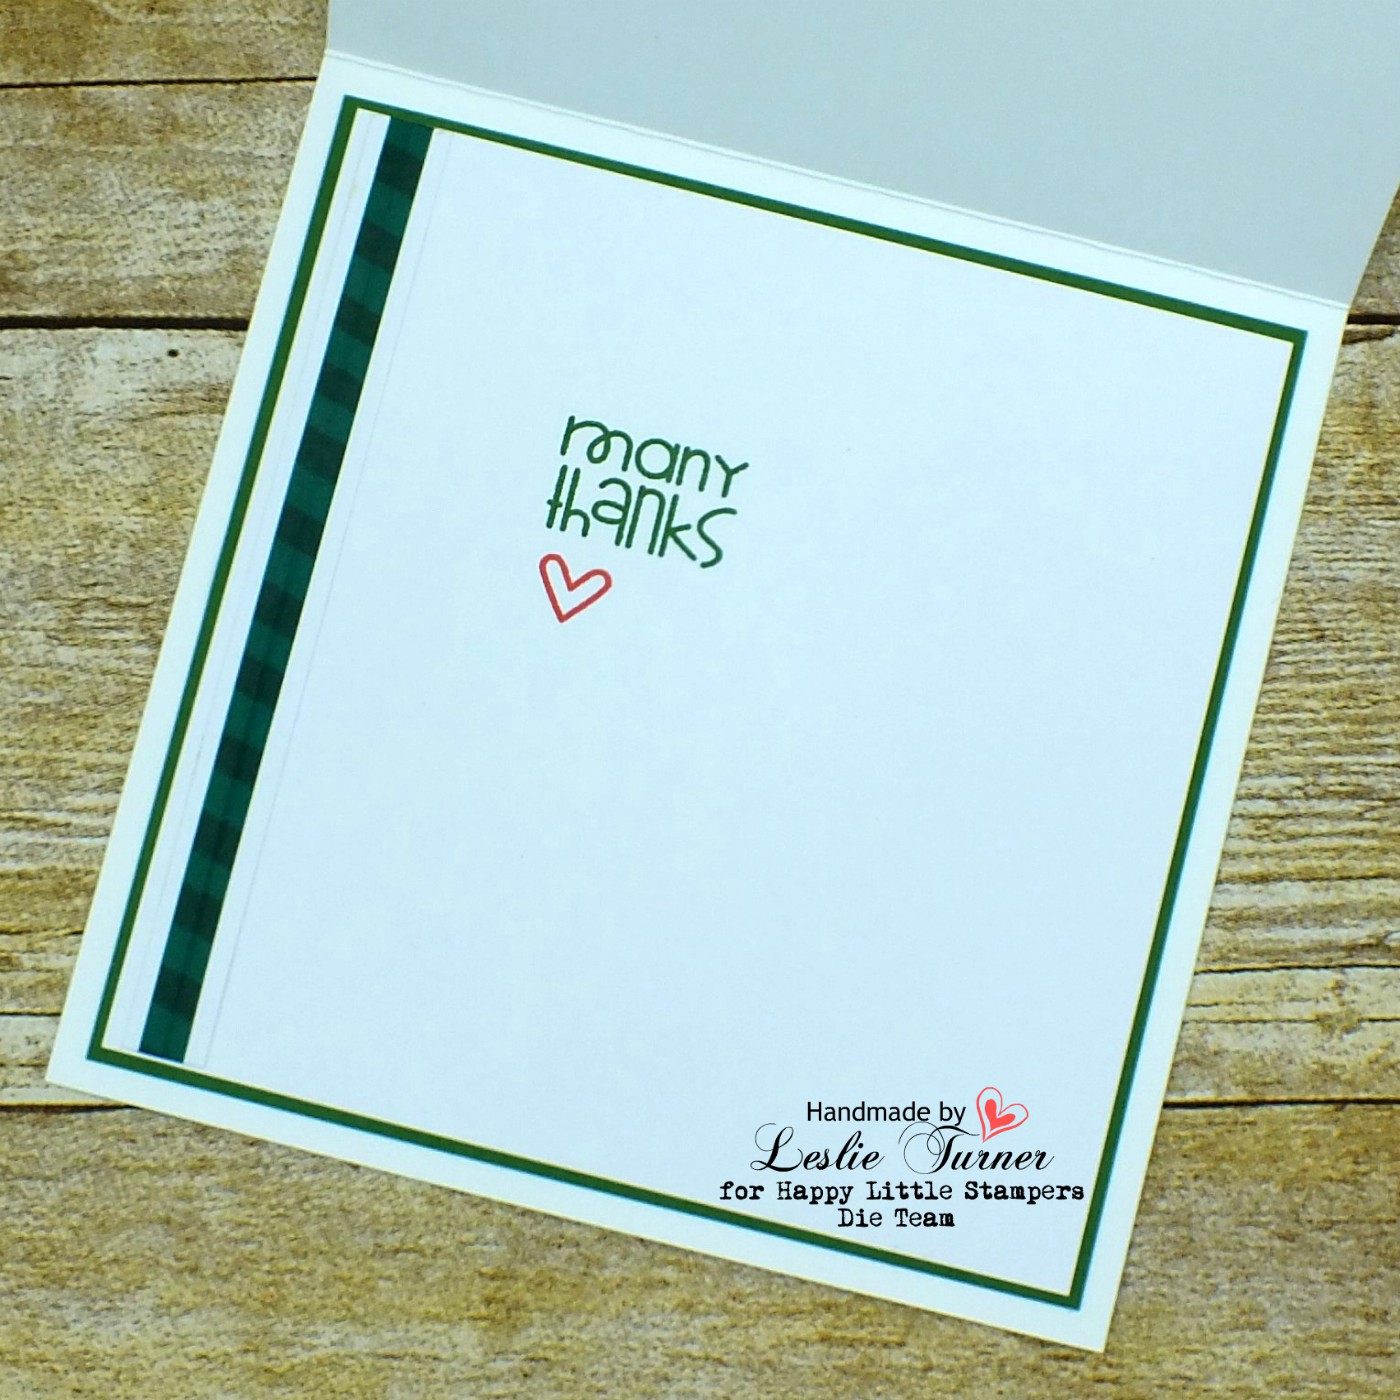
I stamped the CAS-ual Fridays Stamps sentiment on the inside panel and layered it on black cardstock and then again on red cardstock with punched scalloped edges, similar to the layout on the front.

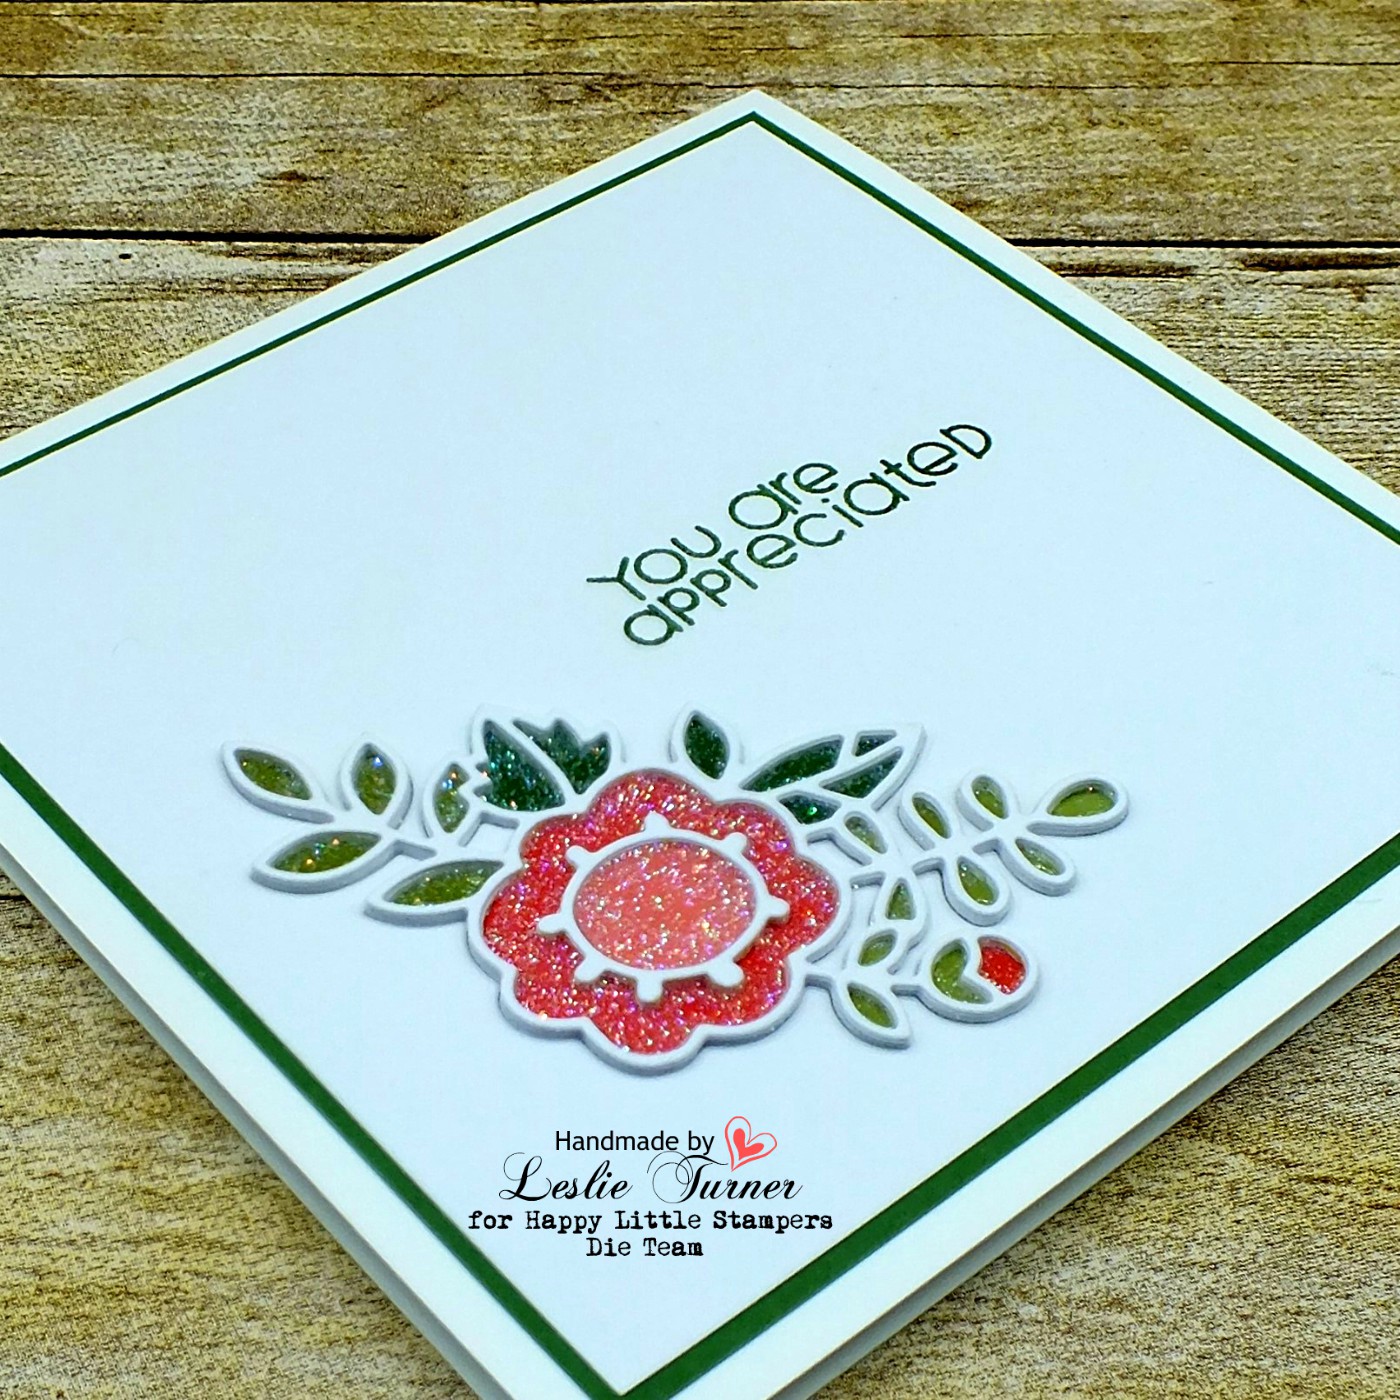
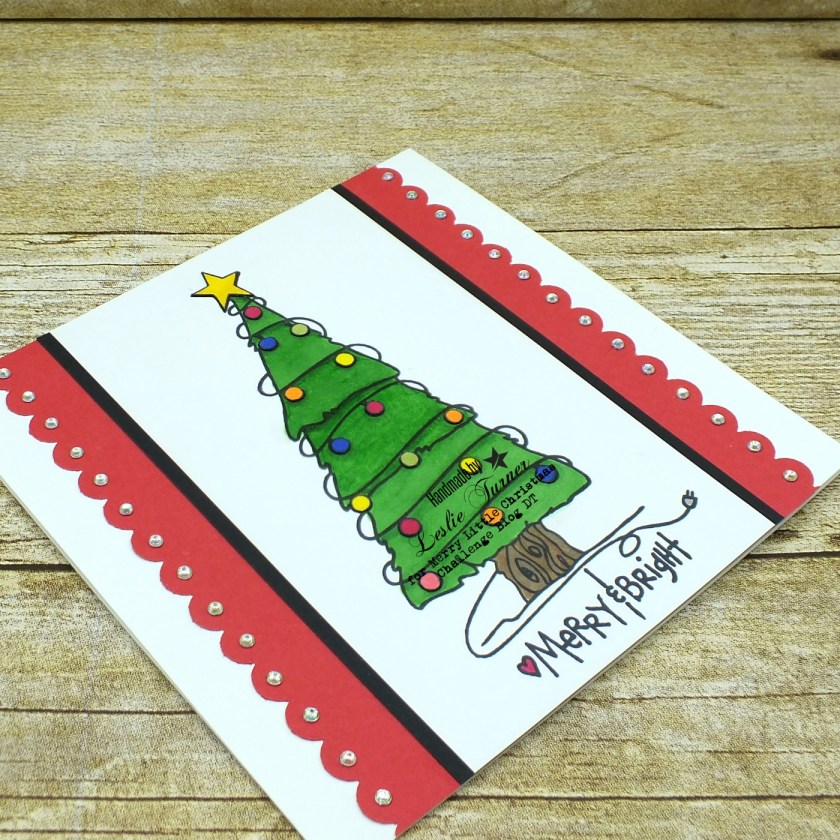
One more look… I just love this stamp and am thrilled with how this turned out!
Products used:
Cardstock/Paper: Stampin’ Up thick and regular Whisper White cardstock, Colorbok black and red cardstock
Stamps: Spellbinders Merry and Bright Tree stamp, CAS-ual Fridays Stamps Snowy Sayings stamp set
Ink: Studio 71 alcohol markers- BG3, BG7, BG8, E10, W6, R6, R18, YR15, B8, Y9, Y11, Y12; Memento Tuxedo Black ink
Dies/Punches: Stampin’ Up scalloped edge border punch
Accessories: Tim Holtz stamp platform, Darice clear rhinestones
I hope you’ve enjoyed this card and will link up a Christmas project with us this month! It’s never too early to start on those Christmas cards, and we’d love to see what you create! Thanks so much for stopping by today – we’ll see you next time! ;)
Scrappy hugs,