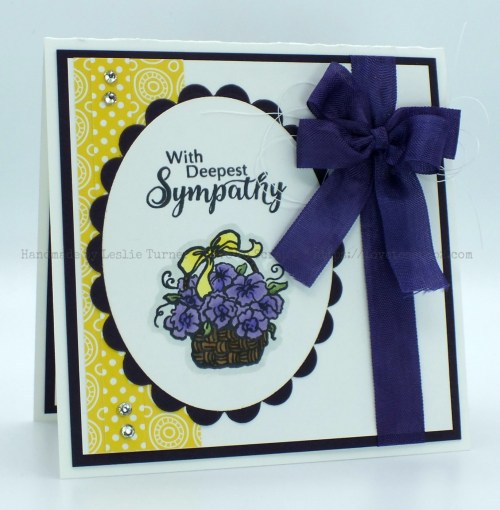
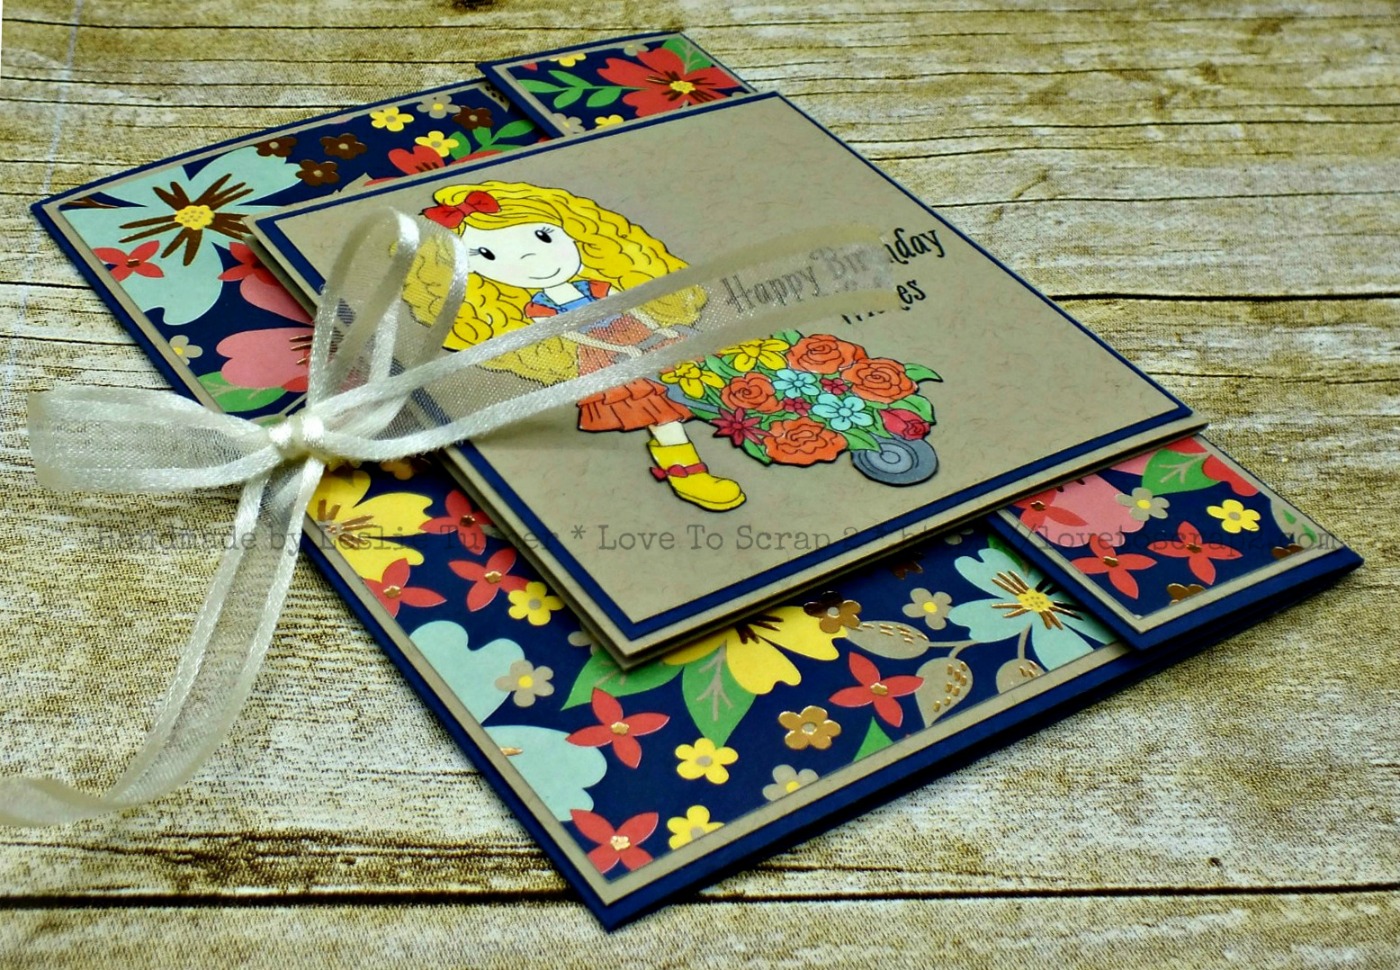
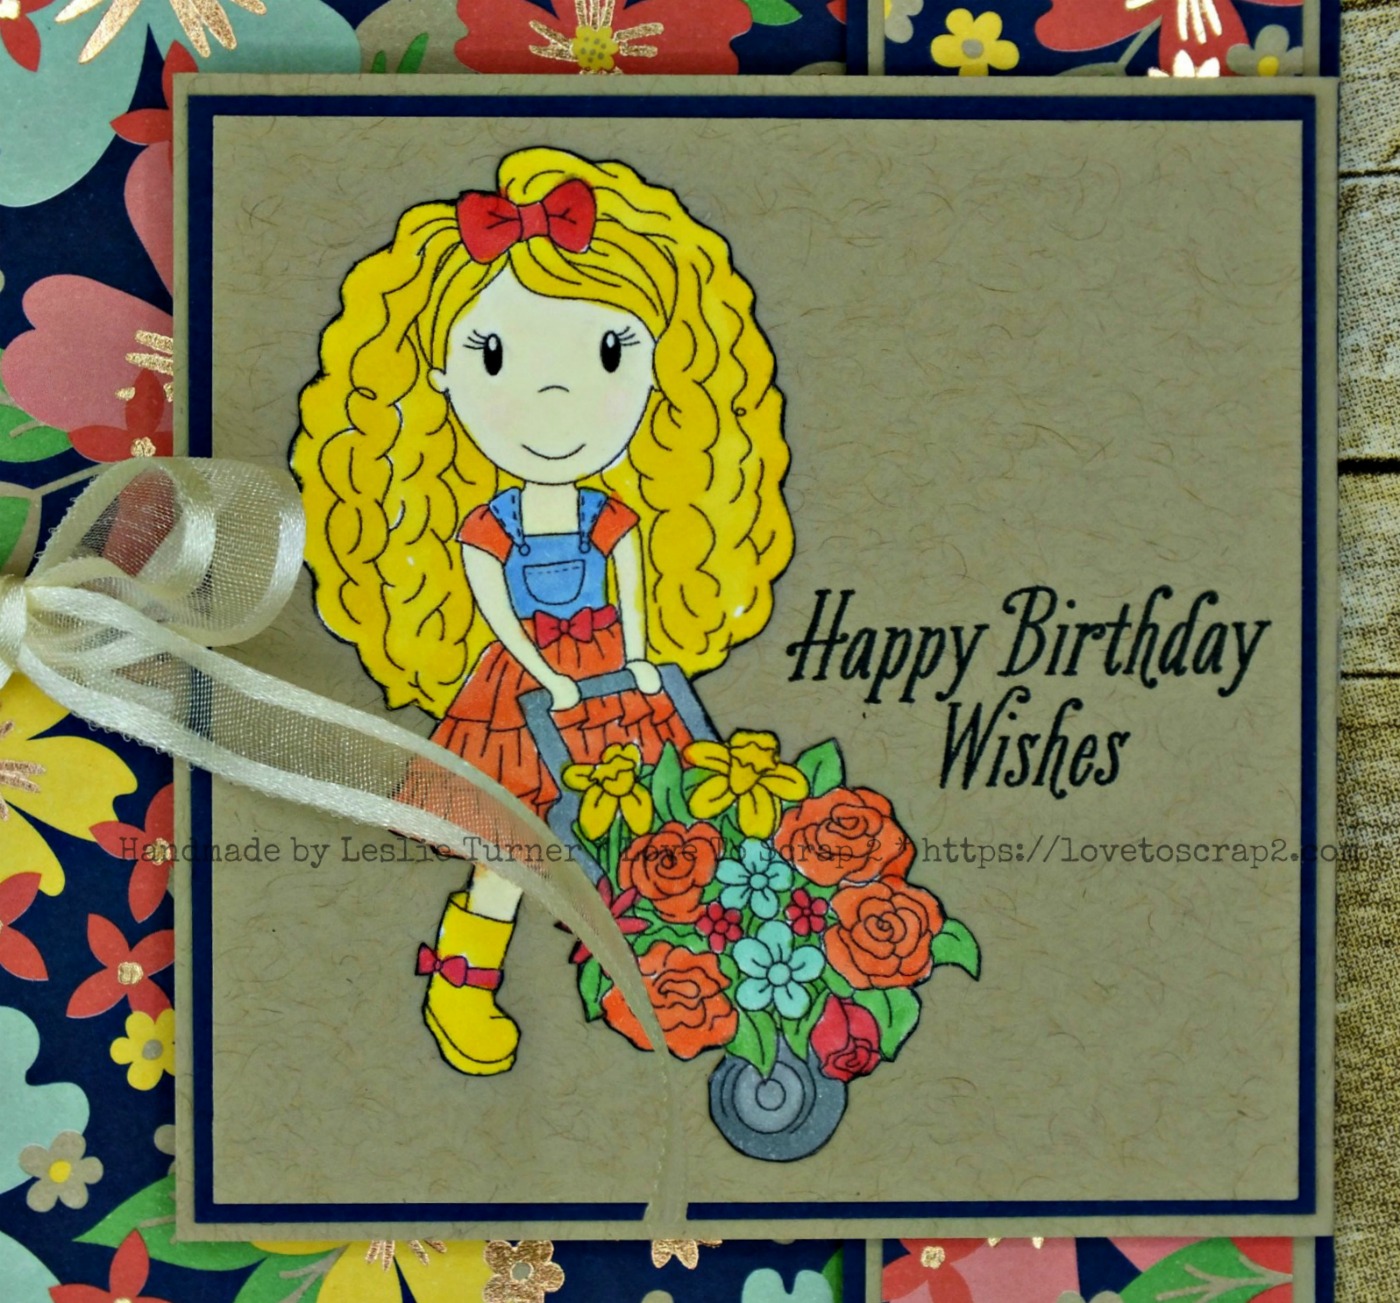
Hi everyone! Happy Weekend, Happy Sunday, Happy Easter! It’s time for another fun challenge over at Love To Scrap Challenge Blog and I’m stoked to share my DT inspiration project for LTSCB #108 – April Showers Bring May Flowers! We are being sponsored this month by the amazing CAS-ual Fridays Stamps so come on over and play with us for a chance to win a $25 gift certificate! I created a fun note card featuring fussy cut flowers and leaves from the Pretty Posies stamp set! I sure do love note cards as they are so versatile.

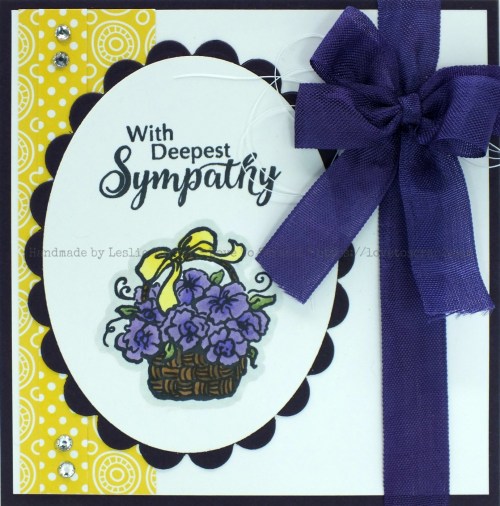
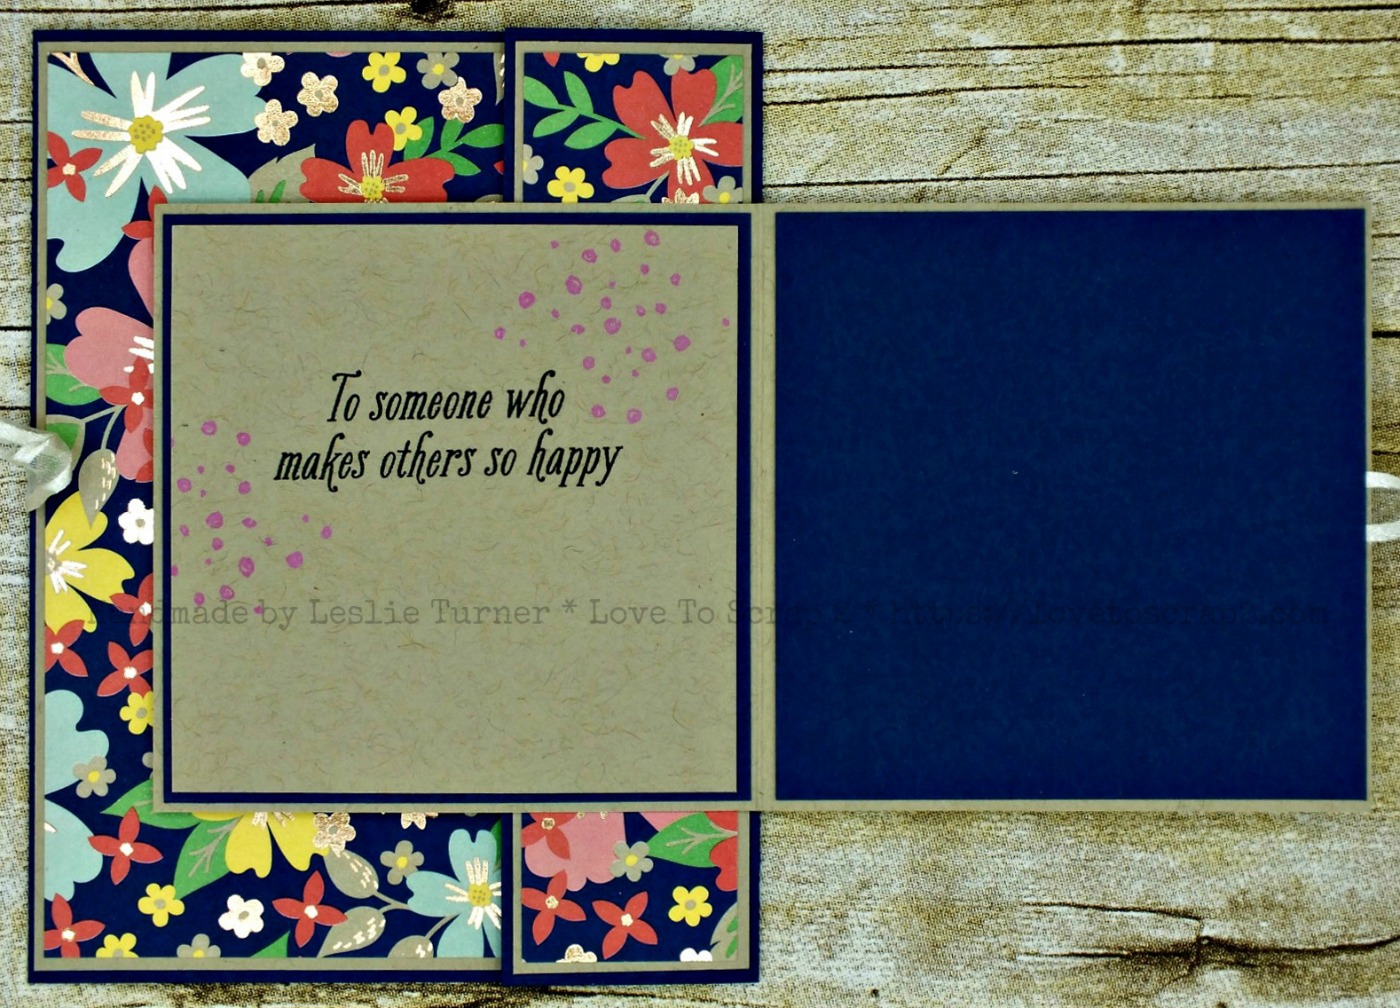
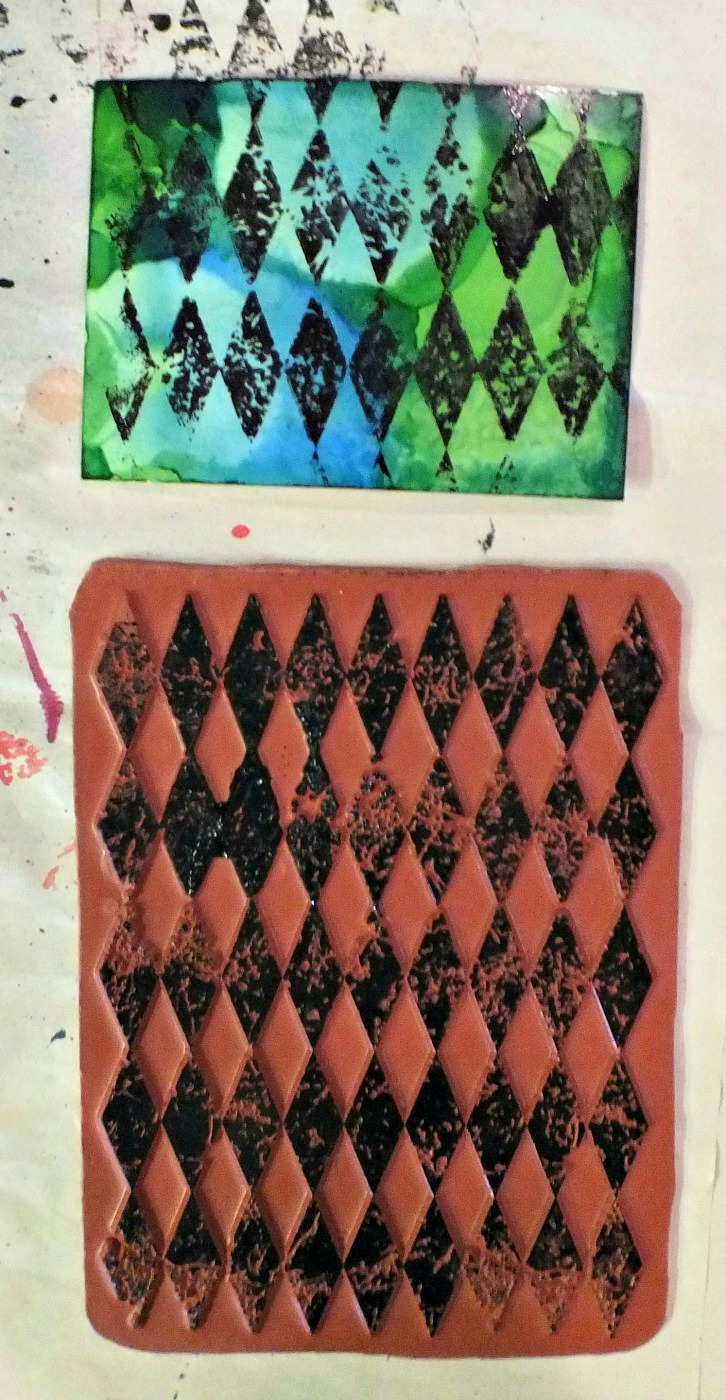
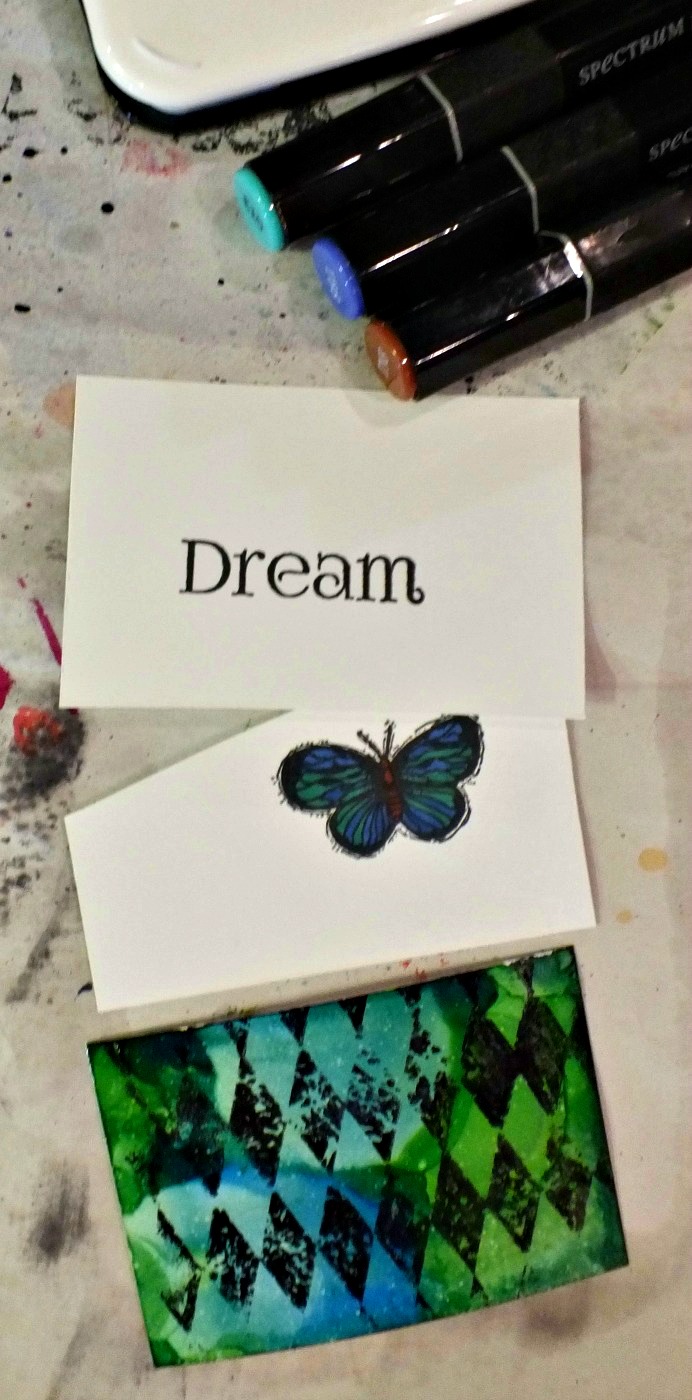
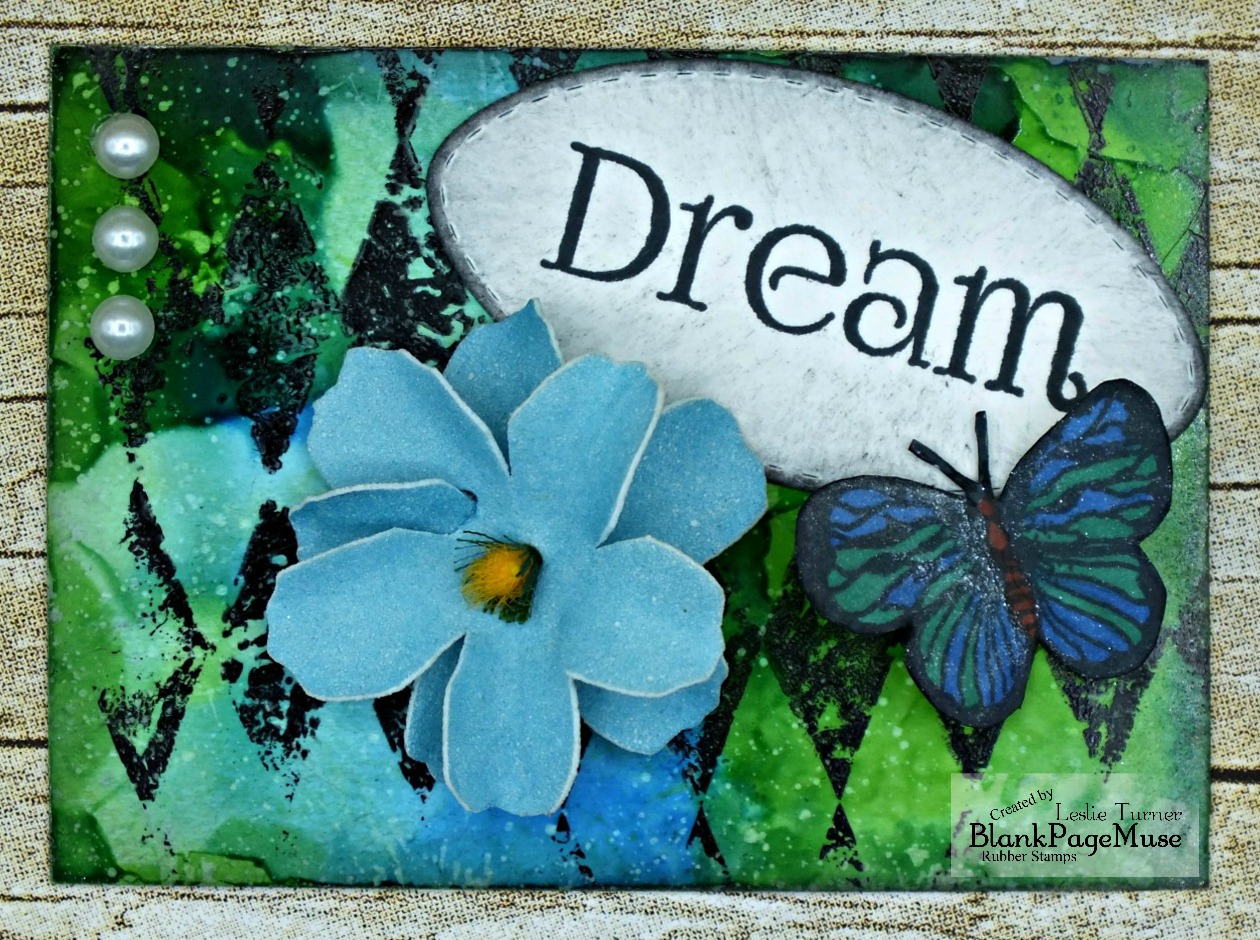
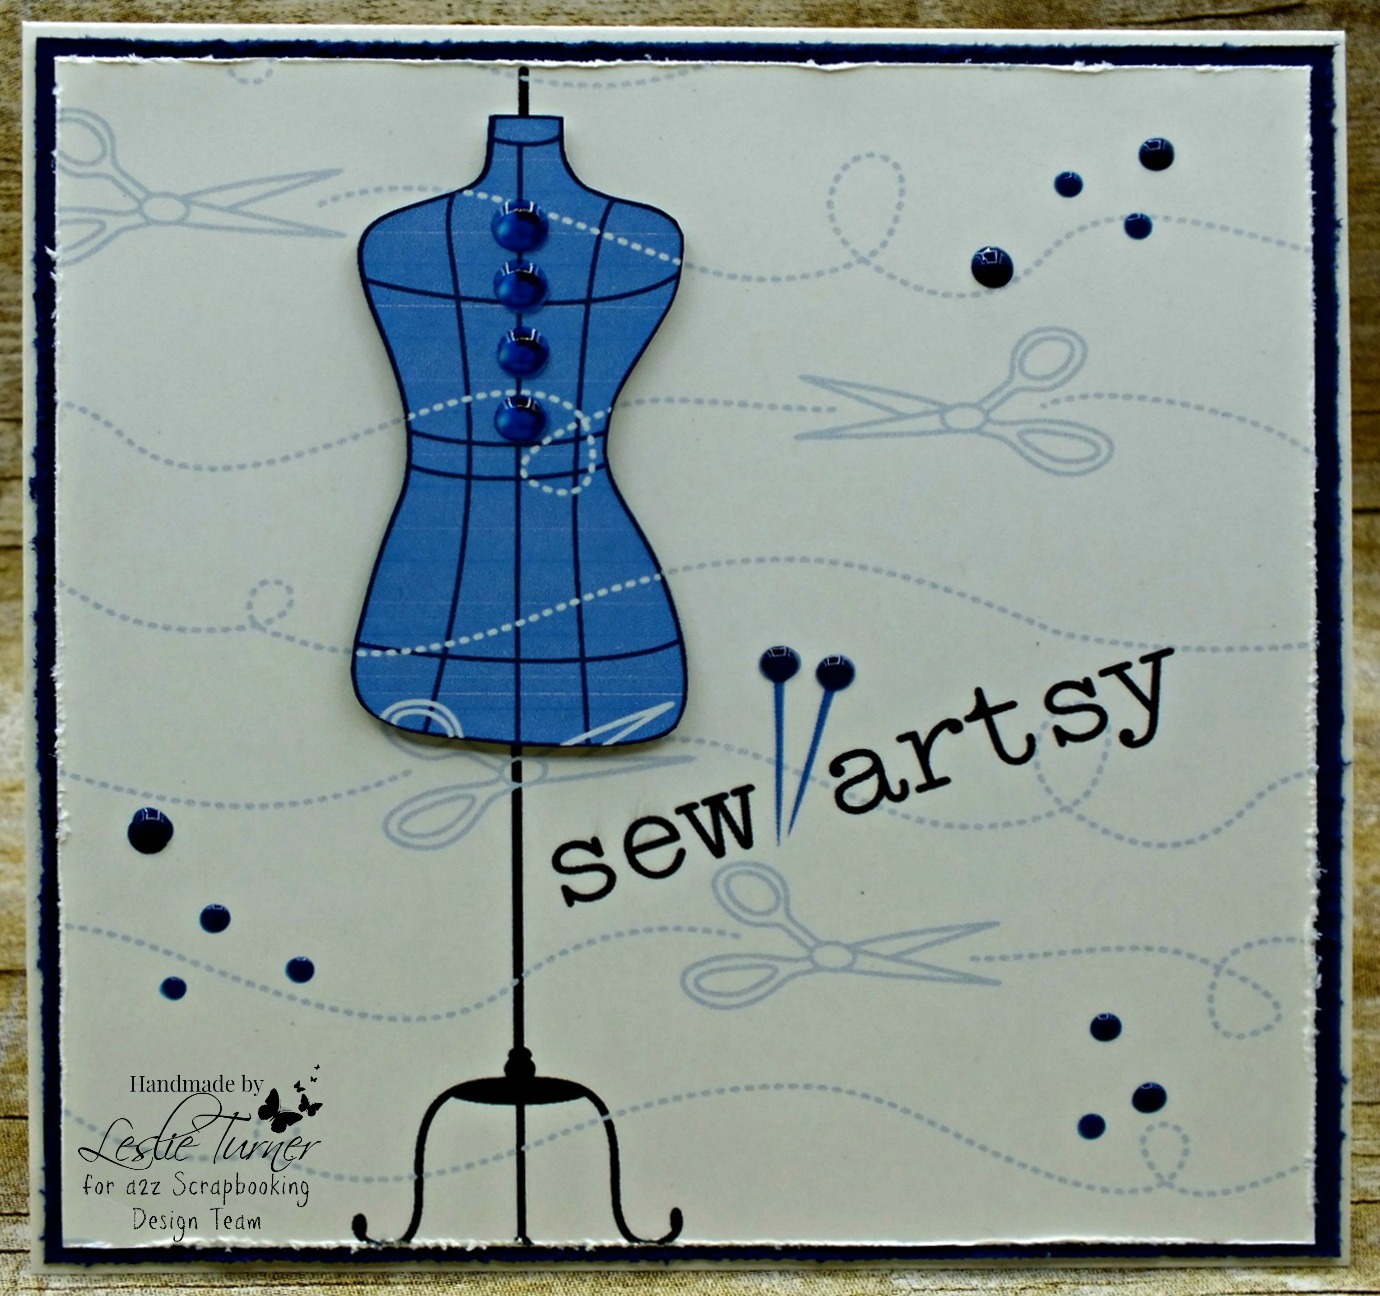
I stamped all the flowers and leaves on different patterned papers to coordinate with the colors in my handmade background. I created the background by swiping four distress oxide inks vertically and horizontally on watercolor paper, and spritzing with a little water. Once dry, I cut with a Dotted Ovals die. Then I placed all the flowers and leaves along the left side and stamped the sentiment.

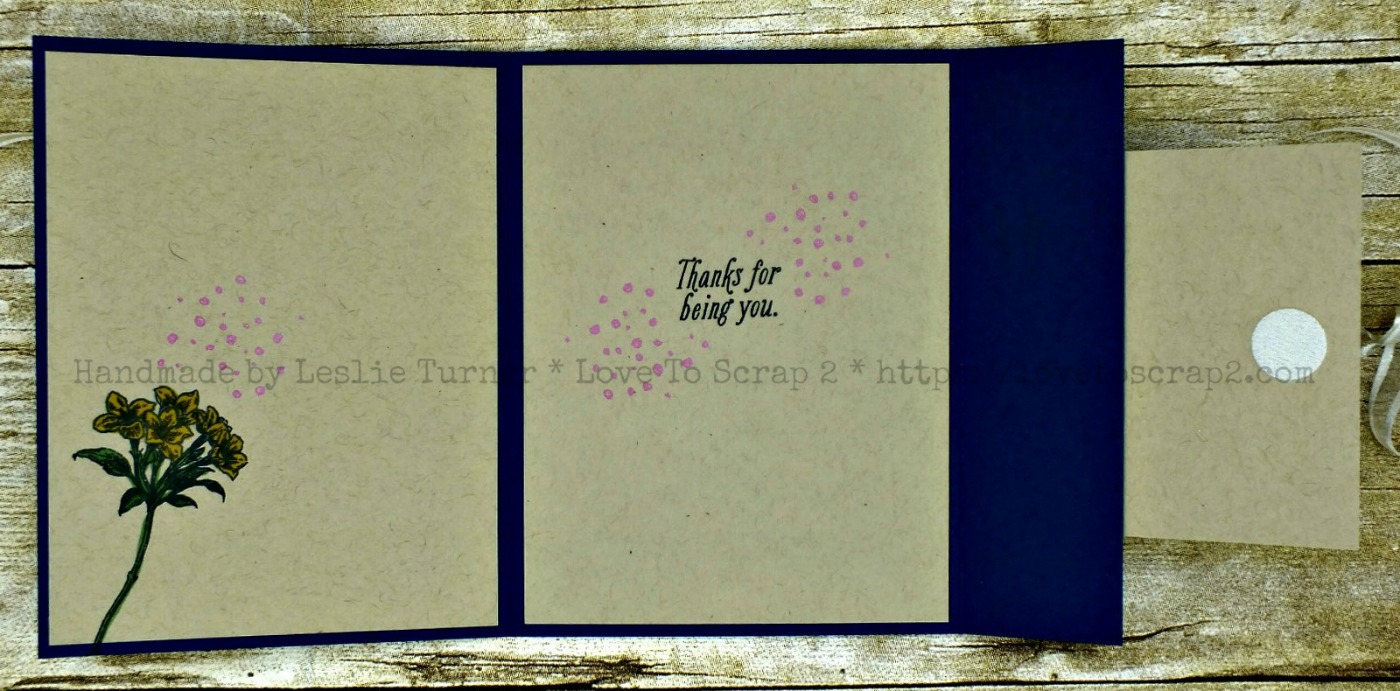
I used some Glossy Accents on the centers of the flowers and put a few dots on the background (which is kind of hard to see in these photos). I left the layered panel on the inside blank to write a custom message.


Products used:
Cardstock/Paper: Stampin’ Up Thick and regular Whisper White and Island Indigo cardstock, Canson Watercolor Paper, Doodlebug Designs dot-grid-daisy-stripe and gingham-linen 6×6 Rainbow Petite Prints, First Edition Paper Spring Drop 6×6 paper, Papermania Happy Days 6×6 paper
Stamps: CAS-ual Fridays Stamps Pretty Posies stamp set
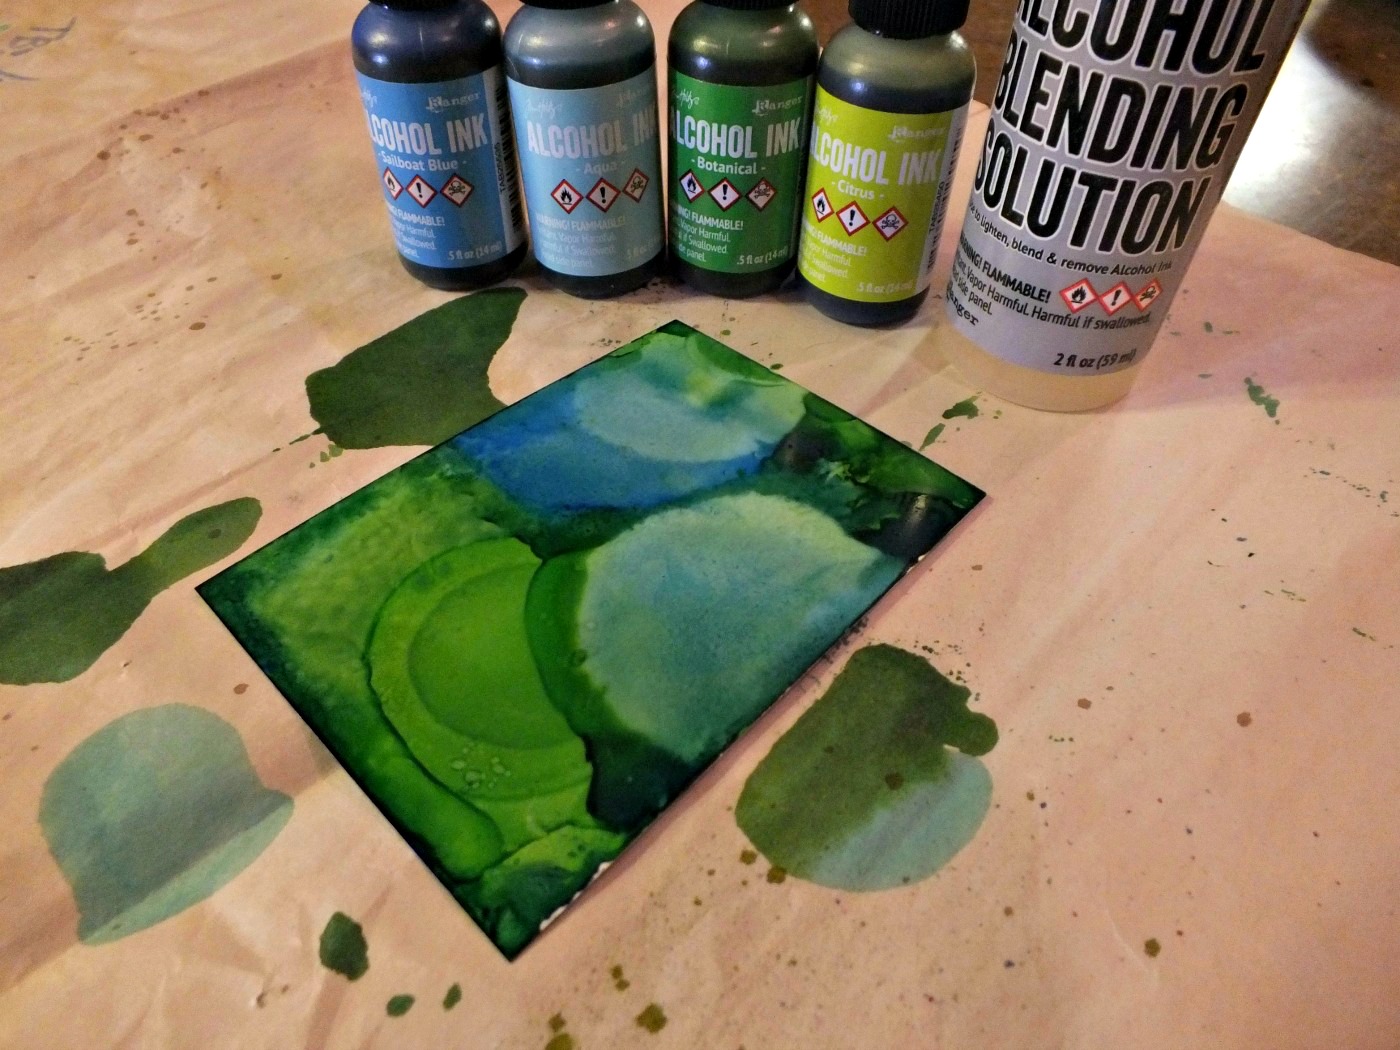
Ink: Memento Tuxedo Black ink, Ranger Distress Oxides- Salty Ocean, Twisted Citron, Peacock Feathers, Lucky Clover
Dies/Punches: Sizzix Dotted Ovals die
Accessories: Tim Holtz Stamp Platform, Glossy Accents
I hope you’ve enjoyed today’s project and will link up a project with us this month – we’d love to see your flowers, whether they are stamped, part of your patterned paper or embellishments! Be sure to check out all the fun stamps and dies at CAS-ual Fridays Stamps – you’re going to fall in love! Thanks so much for stopping by today – we’ll see you again soon!
Scrappy hugs,