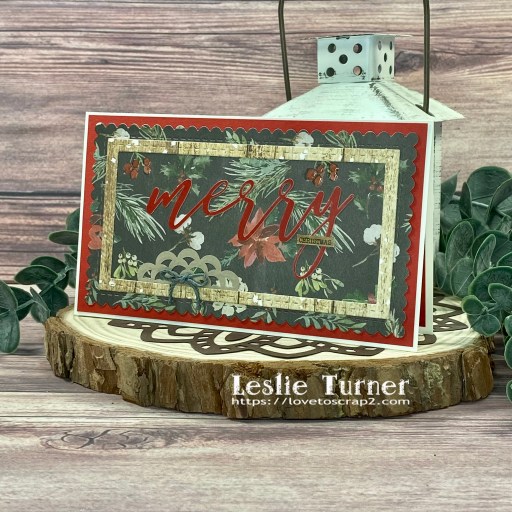
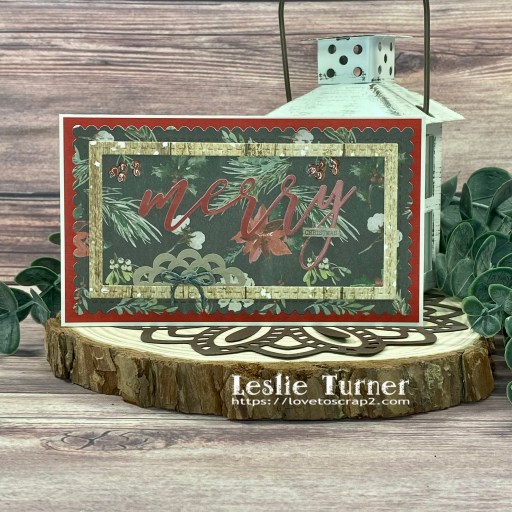
Hi friends! Happy Friday! The weekends sure seem to be coming around quickly these days! I’m up on the Prickley Pear Stamps blog today with an inspiration project featuring the new Thanks stamp set and coordinating Thanks die set! I created a mini slimline employing the raised inlaid die cut technique which I think always turns out so cool! These are amazing stamps and dies, and the large sentiment works perfectly for this technique and for a mini slimline card!

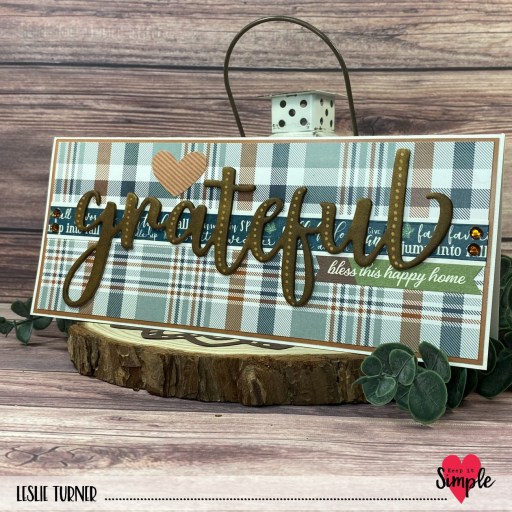
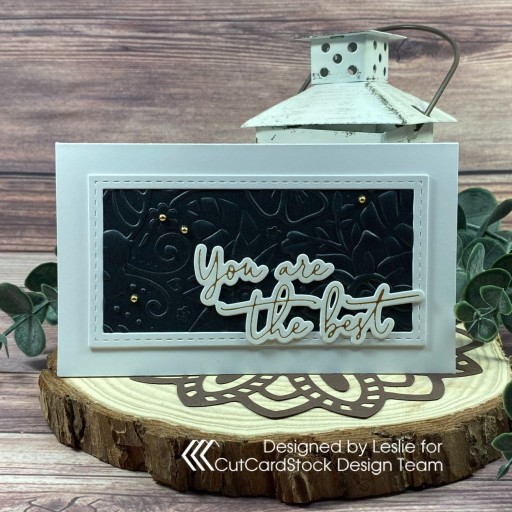
I cut a 3-1/2″ x 6″ mini slimline card base from CutCardStock Basis 110# Natural cardstock. I then cut a layering panel from a fabric print in the Keep It Simple Farmhouse Fall Collection Pack, die cut the large sentiment from the Thanks die set into the center of the panel, and adhered it to the card front on double-sided foam strips.
I stamped the Thanks sentiment in Memento Cottage Ivy ink on a piece of Basis Natural cardstock and colored it with alcohol markers. I die cut it with the coordinating Thanks die and adhered it into the negative space of the panel on the card front. I stamped the remainder of the sentiment on a Basis Natural scrap, trimmed it and adhered it beneath the sentiment. The finishing touch was stamping the dragonfly on a Basis Natural scrap in Memento Tuxedo Black ink which I colored, die cut and adhered to the upper left of the sentiment.

Sharing in the following challenges:
1. A Perfect Time To Craft Open Challenge: September #9-2023 – Anything Goes
2. A Place To Start: September 2023 – Anything Goes w/ optional All That Glitters
3. Classic Design Challenge: September #9 – Anything Goes
4. Penny’s Paper-Crafty Challenge Blog: #555 – Anything Goes with Paper
Affiliate links are used in this post at no cost to you – I really appreciate your support!
Prickley Pear Stamps products used:
Thanks stamp set
Thanks die set
Other products used:
CARDSTOCK/PAPER: CutCardStock Basis 110# Natural cardstock, Keep It Simple Farmhouse Fall 6×9 Collection Pack
INK: Memento Cottage Ivy and Tuxedo Black inks; Arteza alcohol markers- BR47, B17
ACCESSORIES: Tonic Studios 12″ Guillotine Paper Trimmer, Bearly Art precision craft glue, MISTI stamp tool, Big Shot, 1″ double sided foam strip
I hope you’ve enjoyed this project! Be sure to check out all the awesome stamps and dies at Prickley Pear Stamps! Save 10% on anything on the site when you shop at Prickley Pear Stamps by using coupon code LESLIE10 at checkout! And be sure to ‘like’ and ‘follow’ the Prickley Pear Stamps Facebook page to keep up with news and sales, and join Prickley Pear Pals (the fan group) for lots of fun crafty ideas and to share your creativity! And finally, we’d love to see you visit the Prickley Pear Stamps blog and become a Follower! Hope to see you there! Thanks so much for stopping by today – we’ll see you next time! ;)
Scrappy hugs,