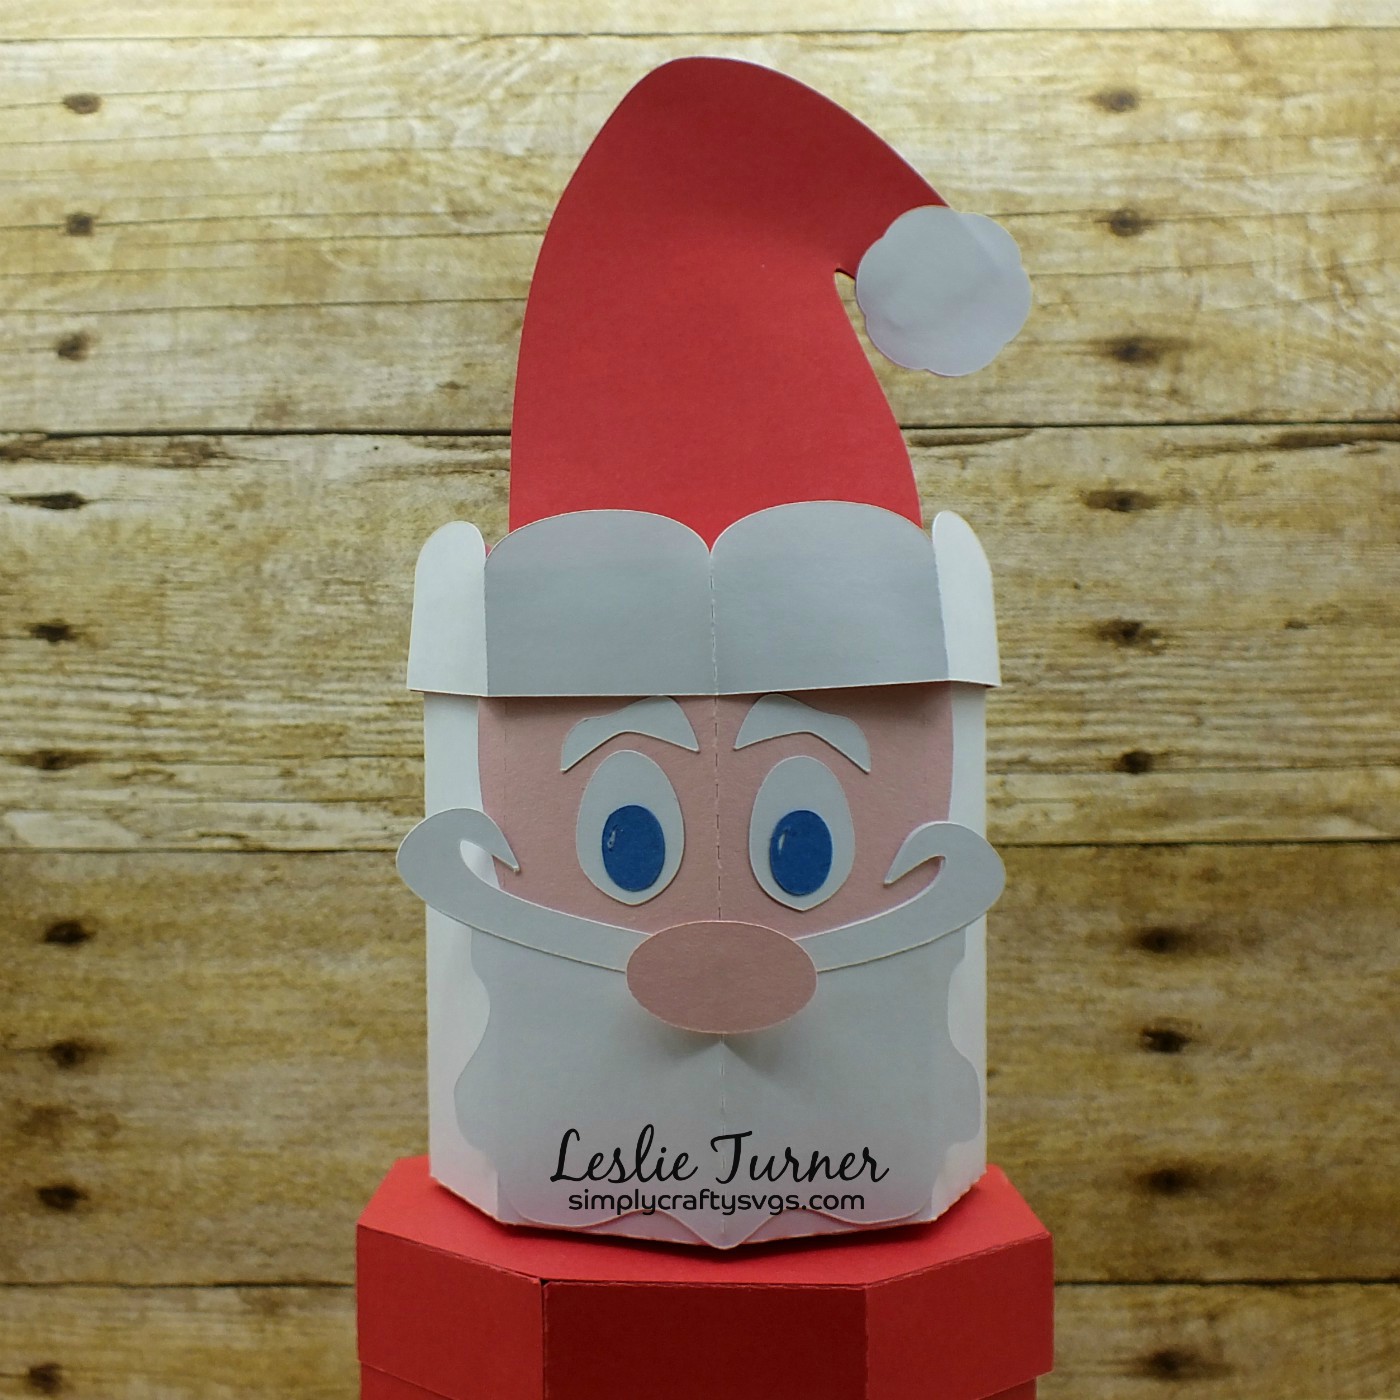
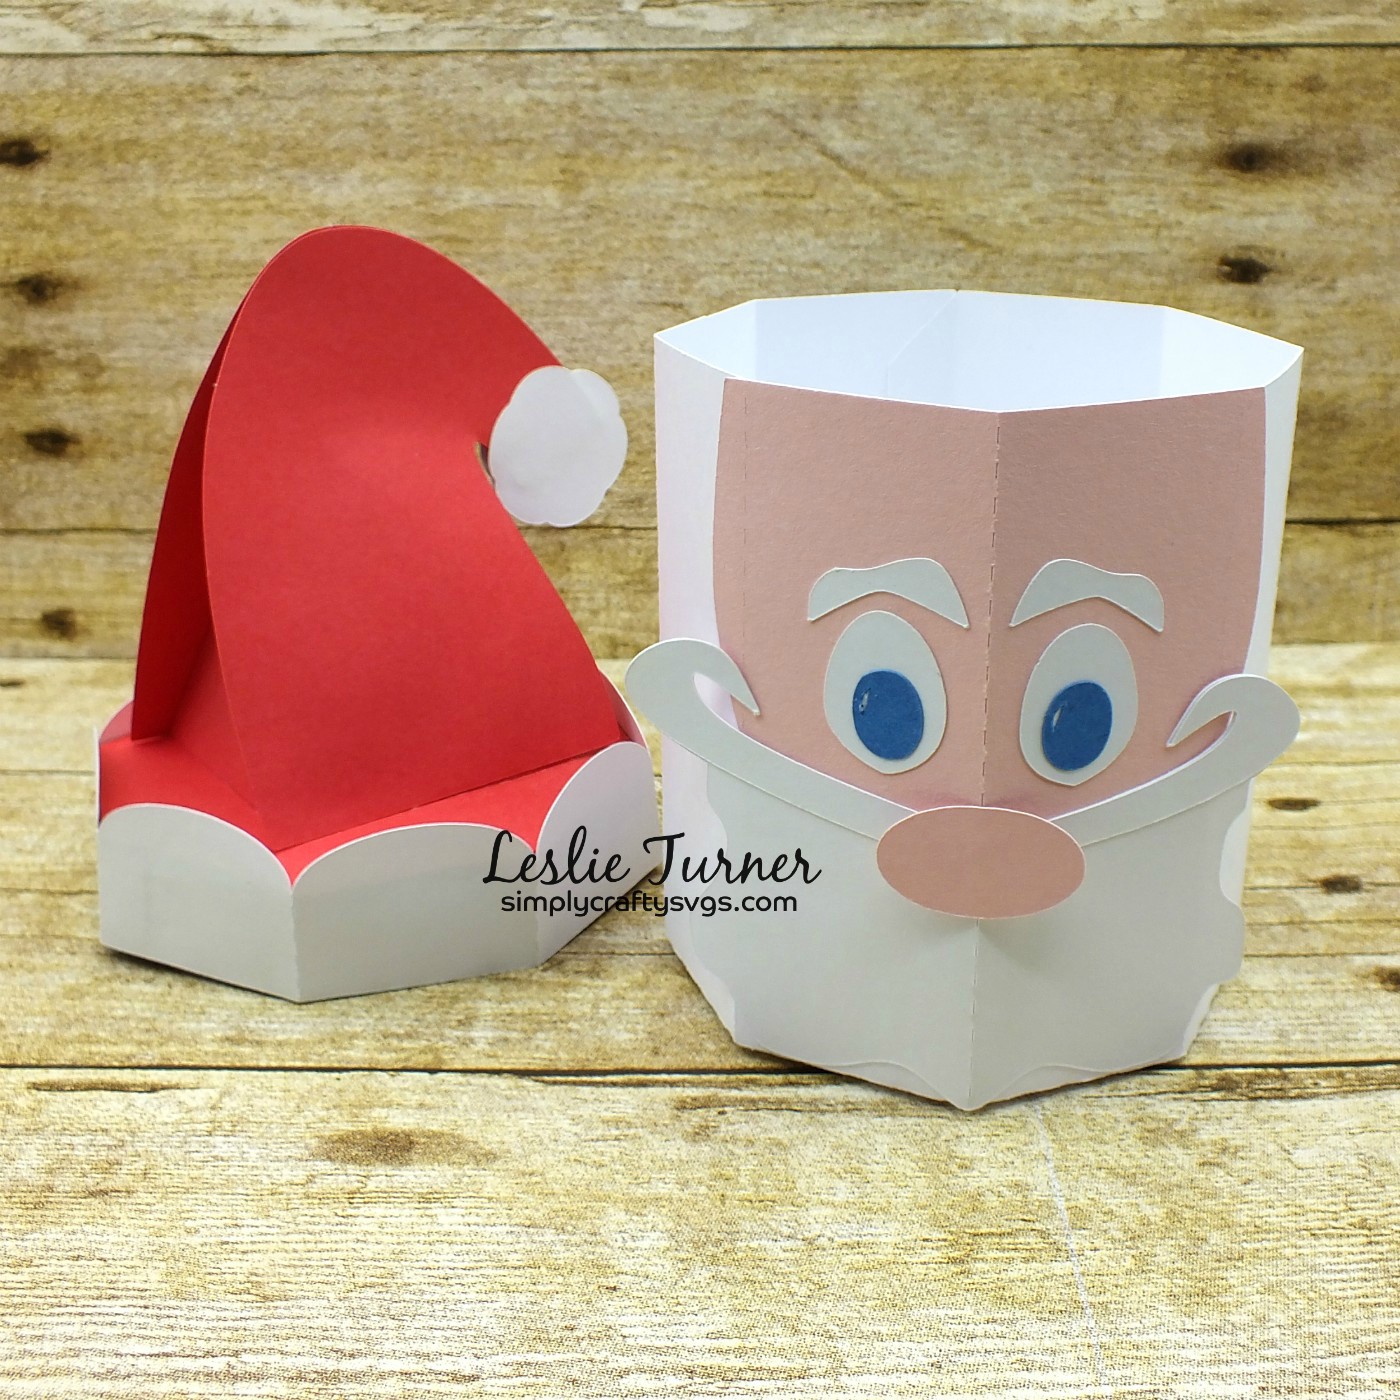
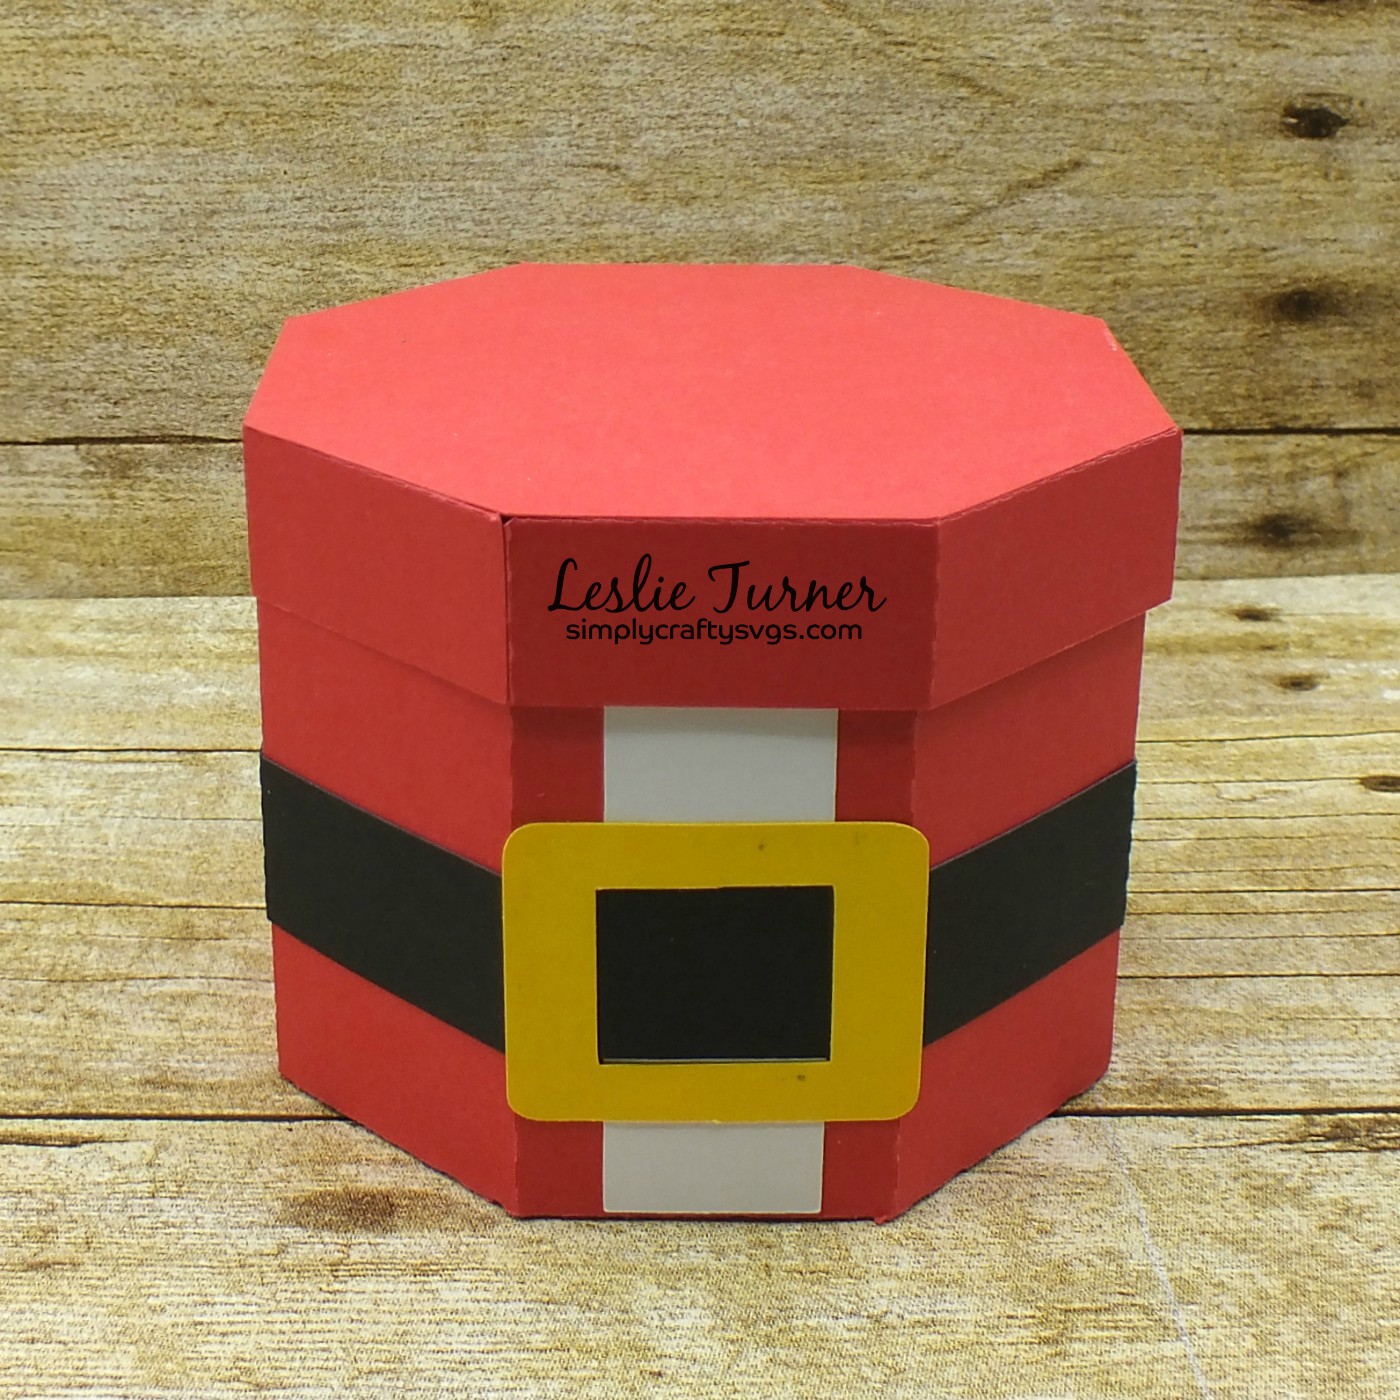
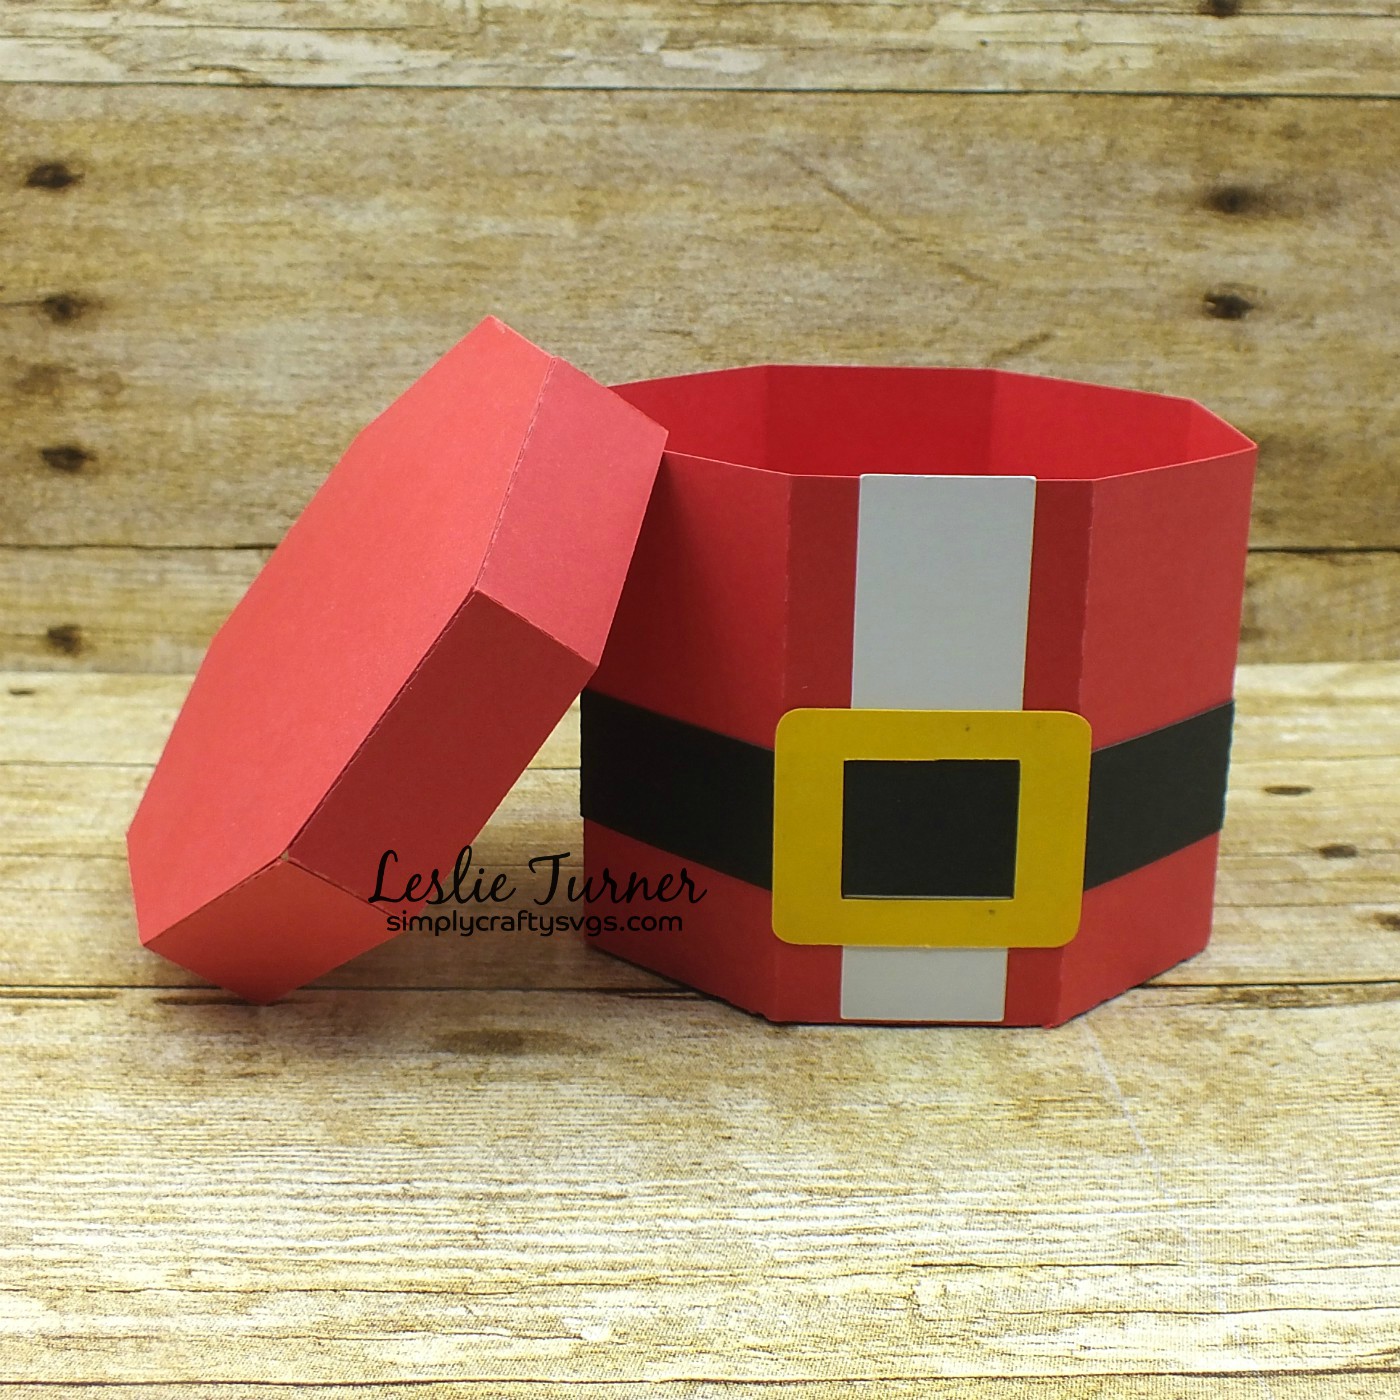
Hello, crafty friends! Today is my post day on the Simply Crafty SVGs Blog and I’m stoked to share my DT inspiration project with you, a super cute treat box for St. Patrick’s Day created with the Simply Crafty SVGs Leprechaun Hat Treat Box cut file. Have you EVER seen anything cuter than this?! OMG. And it’s about the right size for a Leprechaun to wear, lol!
This has to be one of the cutest treat boxes I’ve ever made! It will definitely be displayed with some green M&Ms in it! Out of reach of the cats, of course, lol!
And one final look from overhead… love, love, love!
Products used: Cardstock/Paper: American Crafts black cardstock, Colorbok yellow cardstock, GKD Grass Green and Fresh Asparagus cardstock Dies/Punches: Simply Crafty SVGs Leprechaun Hat Treat Box cut file
I hope you’ve enjoyed today’s project! Be sure to check out all the fun cut files in the Simply Crafty SVGs store – you’ll have so much fun! And there are tons of freebies to get started! Thanks so much for stopping by today – we’ll see you next time! ;)
Hi friends! Happy Hump Day! Check out this fun set of ten glittered vintage Santa ornaments created from a set of digital tags! These are SO super easy to make!
Thinking outside the box a bit, I used a fantastic sheet of Ephemoire digital vintage Santa tags to create the ornaments. I printed the tags on 60# Hammermill paper, fussy cut each one, embossed with iridescent embossing powder and then again with clear embossing powder. Each tag was adhered to heavy kraft cardstock to make into an ornament, and then I punched a 1/8″ hole in the top of each ornament and threaded narrow ribbon through the hole.
And one more peek at the set… totally loving how these ornaments turned out! Now I can’t wait for Christmas to gift them! ;)
Hi everyone! Happy Monday – I hope you had a great weekend! I’m super stoked to be on the CutCardStock blog today with my first DT inspiration project for this amazing company! First order of business is to let you know that this post contains affiliate links. We were provided a Designer’s Pack that was chock full of all kinds of awesome cardstock and other goodies, so I created a cheerful ‘feel better soon’ card featuring some of the Curious Metallics cardstock. So pretty!
I created an A2-sized card base from Classic Crest Solar White 110# cardstock and rounded the right bottom corner. I cut a slightly smaller panel from green and white gingham patterned paper and adhered it to the card base. I stamped the sentiment in black ink toward the top, leaving room for the flower arrangement.
Other products used: Paper: Simple Stories Wood & Gingham Basics 12×12 paper pad Stamps: CAS-ual Fridays Stamps Pretty Posies stamp set Ink: Stampin’ Up Strawberry Slush, Mint Macaron, Wisteria Wonder and Tranquil Tide ink; Versamark, Memento Tuxedo Black ink Dies/Punches: CAS-ual Fridays Pretty Posies die set, Kadomaru Pro corner rounder Accessories: ScraPerfect Best Glue Ever, MISTI stamp tool, Hero Arts clear embossing powder, heat tool, ScraPerfect Perfect Cleaning Cloth, Gemini Junior die cutting machine, Darice medium iridescent gemstones, ScraPerfect Embellie Gellie
I hope you’ve enjoyed today’s project and you’re inspired to get crafty! Be sure to check out all the awesome cardstock and other goodies at CutCardStock (adhesives, labels, stickers, pens, watercolors and ribbon to name a few). And head on over to the CutCardStock Facebook Page for more inspiration! Thanks so much for stopping by today – we’ll see you next time!
Hello, my crafty friends! Hope you’re having a good week! This month’s Anything Goes with Dies Challenge is live over at Happy Little Stampers and I’m thrilled to share my DT inspiration project with you today! I drifted back to my childhood when my sisters and I played with paper dolls quite frequently, and I created a couple sets using Julie Nutting stamps and dies. I’m showcasing one set today, and you’ll see the other set next month, so stay tuned! ;)
This beauty is Marisol, and she comes with ten dresses, all created from prints in the BasicGrey indie bloom paper pad and DCWV glitter and metallic stack!
I can’t describe the fun I had creating this set for my middle granddaughter! Each dress attaches to the doll by a velcro circle. So let the fashion show begin… here are shots of Marisol wearing each of her dresses!
And here’s one more look… I think I’ve made Marisol thick enough to withstand the hands of a young girl, lol! So fun!
Products used: Cardstock/Paper: GKD Ivory cardstock, DCWV Glitter and Metallic stack, BasicGrey indie bloom paper pad Stamps: Julie Nutting Marisol stamp set Ink: Memento Tuxedo Black ink (pad and marker); Studio 71- Y9, E16, R2, N10 Dies/Punches: Julie Nutting Marisol die set Accessories: MISTI stamp tool, velcro circles
I hope you’ve enjoyed today’s project and will link an anything goes project with us this month using dies! We’d love to see what you create! Remember to check out next month’s Happy Little Stampers Die Team post for the second paper doll set! Thanks so much for stopping by today – we’ll see you next time! ;)
Woo-hoo! So excited to share that I’m a new member of the CutCardStock Design Team! Been chomping at the bit to blab, and the new Spring 2020 team was announced this morning so here we are!
I have to tell you that cardstock is not all you’ll find at CutCardStock… there are lots of other goodies such as adhesives, labels, stickers, pens, watercolors and ribbon to name a few, so be sure to check it all out! And head on over to the CutCardStock Facebook Page for lots of crafty inspiration! Each of us will share DT inspiration projects a couple times a month on the CutCardStock blog so be sure to come by and visit us! My first post will be day after tomorrow, on March 9th, so come cheer me on! ;)
Hello, my friends! Hope you’re having a good week! This month’s ATC Challenge is live over at Happy Little Stampers and I’m excited to share my DT inspiration project with you today! The theme for our March ATC Challenge is Critters and we’d love to see what you create for our challenge this month!
I used my first-ever Vera Lane Studios digital image for this retro-looking ATC and I’m so smitten! My friend Carole created several projects with Vera Lane Studio cats during the Cat Lovers Hop back in October, and I just had to have some! So I bought Cat Life and Fat Cats! More to come, so stay tuned, lol!
I created a background using strips of cardstock alternating with strips of skinny Washi Tape. The cat is one from the Vera Lane Studios Cat Life collection that I fussy cut and ran a Tuxedo Black marker around the edge prior to adhering it to the background. The sentiment stamp was a freebie from The Cat’s Pajamas that was enclosed in my prize order from them a couple months ago. I finished the ATC off by adding dots of Nuvo Dandelion Yellow Crystal Drops.
Here’s one more look… loads of color and texture going on here! Love, love, love! ;)
Products used:
Cardstock/Paper: Stampin’ Up thick Whisper White cardstock, Stampin’ Up Elegant Eggplant and Perfect Plum cardstock
Stamps: Vera Lane Studios Cat Life digi, The Cat’s Pajamas I Love Mew sentiment stamp
Ink: Memento Tuxedo Black marker, Stampin’ Up Elegant Eggplant ink
Dies/Punches: Kadomaru Pro corner rounder
Accessories: ScraPerfect Best Glue Ever, Me & My Big Ideas skinny Washi Tape, Nuvo Dandelion Yellow Crystal Drops, Glossy Accents
I hope you’ve enjoyed today’s project and will link up an ATC with us this month! Feel free to create either a card or a coin… or both (wink-wink)! Thanks so much for stopping by today – we’ll see you next time! ;)
3/15/20 Top 3 at Artsystamper Digitals Challenge! 3/17/20 Top 3 at Double D Challenges!
Hello, friends! Hope you’re having a good week! Our new challenge is live over at Paper Funday Challenges and I’m excited to share my DT inspiration project with you today! Our challenges are always Anything Goes with an optional twist each month, and our twist this month is St. Patrick’s Day. Our sponsor is Jan’s Digi Stamps and I used Lucky Charm digi set from my stash to create a fun St. Patrick’s Day card. I absolutely LOVE Jan’s digis… especially the colored ones. She takes all the guess work, time and effort out of the equation! They are just beautiful! ;)
I used a pretty shaped die set to create the card base and layers. The patterned papers are from my new favorite paper pad. I printed a sentiment and pre-colored image from the set on white cardstock. I punched the sentiment out with a circle punch and layered it on a slightly larger punched circle. I cut the image with one of the card layer dies, and then used an old technique that I learned about five years ago to create gorgeous sparkle over the entire image. OMGoodness, what a fun technique that yields absolutely gorgeous results! And it’s easy – simply apply Versamark over the entire image (all the way out to the edges), apply a sparkle embossing powder and heat emboss it. Tip: If your sparkle embossing powder releases tiny bits of sparkle after it’s embossed, you can apply more Versamark and clear embossing powder, and heat emboss it again. I’ve also done this technique with bridal tinsel embossing powder in the past and needed to use the clear embossing powder over it.
I created a computer-generated sentiment for the inside, cut it with a card layer die and embellished it with coordinating paper from the same paper pad.
One more look… isn’t this just yummy?! Love, love, love! The sparkle is amazing!
Products used: Cardstock/Paper: Stampin’ Up Call Me Clover cardstock, GKD White cardstock, The Paper Studio Four Seasons and Everything In Between -2- paper pad Stamps: Jan’s Digi Stamps Lucky Charm digi set Ink: Versamark Dies/Punches: Crafter’s Companion Die’sire Stacey Create-A-Card die set, Stampin’ Up 1-1/4″ and 1-3/8″ circle punches Accessories: Gemini Junior die cutting machine, ScraPerfect Best Glue Ever, JudiKins Iridescent Sparkle Embossing Powder, Stampin’ Up Dimensionals
I hope you’ve enjoyed today’s project and will link up with us this month! Remember, our challenges are always ‘anything goes’ with an optional twist. Can’t wait to see what you create! Be sure to check out all the fun goodies at Jan’s Digi Stamps! Thanks so much for stopping by today – we’ll see you next time! ;)
Hi everyone! Well, it’s hard to believe it’s March already! I’m happy to share that I’m once again sponsoring and guest designing for C.R.A.F.T. Challenge, this time for C.R.A.F.T. Challenge #547 – Female! As a sponsor for this challenge, I have a great prize pack consisting of a package of Prima flowers, an adorable Crafter’s Companion Paintbox Poppets rubber stamp and a slew of handmade bows from Polly’s Paper Studio – all for a lucky winner over on the C.R.A.F.T. Challenge blog! So come on over and play with us!
I created an encouragement card. Those who know me know that I am a fancy fold fiend. I discovered a corner fold over on Liz’s Crafty Sunflower blog which looks very similar to one I made several years ago HERE but constructed a little differently. I see more of these little ballerinas on a birthday card for one of our granddaughters later this year using this fold! ;)
So, what’s better than an adorable little ballerina dancing her heart out?! FIVE adorable little ballerinas dancing their hearts out! ;) These stamps and dies are from CAS-ual Fridays Stamps and I’m so smitten! The sky is the limit with what one could create with these ballerinas using different sentiments!
As Liz mentioned in a comment on her blog, the construction of this card is very simple. I used a 10″ square piece of white cardstock, scored at 5″, rotated and scored again at 5″. Cut one center score line up from the bottom to the center, then diagonally score the two sections at the top and decorate. There’s a plain white panel ‘hidden’ underneath for a signature and handwritten message. I used a Unity stamp on that panel and added half of a Velcro circle to stabilize the card while in the open position.
The card folds into a 5″ square, flat for mailing. So fun! Love how it turned out!
Products used: Cardstock/Paper: American Crafts white cardstock, Colorbok Black cardstock, Colorbok Seeing Dots cardstock Stamps: CAS-ual Fridays Stamps Tutu stamps, Unity Strength and Dignity stamp set Ink: Memento Tuxedo Black ink; Spectrum Noir alcohol marker- CT2 Dies/Punches: CAS-ual Fridays Stamps Tutu dies Accessories: ScraPerfect Best Glue Ever, MISTI stamp tool, Gemini Junior die cutting machine, Stampendous green Dot Sparklers, 5/8″ Velcro circle cut in half
I hope you’ve enjoyed seeing this fun fold I created for our ‘Female’ challenge and you will link up with us this week! We’d love to see what you create! Thanks so much for stopping by and we’ll see you again soon! ;)
Hi everyone! Hope you’re having a great weekend! Our new challenge is live over at Love To Craft Challenge Blog and I’m excited to share my DT inspiration project for LTCCB #44 March Anything Goes! I actually CASE’d one of my own cards that I made for another DT a couple months ago – a pretty mixed media friendship card featuring the emboss resist technique with white heat embossing and inked background on the front and stamping on the inside.
I cut the card base with the largest die in the set. Then I stamped the background in Versamark and heat embossed it in white. Then the emboss resist fun began. I inked the background in graduating colors of distress inks, starting with the darkest at the top, and overlapping each color slightly as I went down the panel. I cut the panel with the second largest die in the set and traced around the outside of it on the back of a piece of coordinating cardstock (which I fussy cut) to get a slightly larger layer. I did the same technique for the sentiment layer and turned it sideways on the front of the panel. I cut the sentiment from shimmer cardstock and added a Tim Holtz metallic sentiment sticker. The final touch was a few drops of Crystal Drops.
After cutting the inside panel, I used the same technique of tracing around the second largest die in the set on the back of a piece of coordinating cardstock (which I fussy cut) to get a slightly larger layer. Then I stamped the sentiment from Clarity Stamp.
One more peek… I really love how this card turned out! Emboss resist is such a cool technique!
Products used:
Cardstock/Paper: Strathmore Bristol Smooth cardstock, DCWV Shimmer cardstock stack, The Paper Studio White cardstock, Stampin’ Up Lemon Twist cardstock
Stamps: Hero Arts Spice Market Deco background stamp, Clarity Stamp Line Writing Sentiments stamp set
Ink: Versamark; Ranger mermaid lagoon, peacock feathers, cracked pistachio, twisted citron distress inks; Stampin’ Up Island Indigo ink
Dies/Punches: Crafter’s Companion Die’sire Ruth Create-A-Card die set, Crafter’s Companion Gemini Opulent Swirls die, Tim Holtz Quotations Metallic Stickers
Accessories: Gemini Junior die cutting machine, Hero Arts White Embossing Powder, MISTI stamping tool, Nuvo Gloss White Crystal Drops
I hope you’ve enjoyed this card and will link up an ‘anything goes’ project with us this month! Whatever you’re working on, we want to see it! Thanks so much for stopping by today – we’ll see you again soon! ;)
3/31/20 DT Favorite at A perfect Time To Craft Open Challenge!
Hi everyone! Hope you’re having a great weekend – it’s fast coming to an end, lol! Our March challenge is live this morning over at Love To Scrap Challenge Blog and I’m excited to share my DT inspiration project for LTSCB #131 – Anything Goes! I created a retirement card featuring the black ice technique. I officially retire in a few months so I’m in that kind of mind-set! This is the first time I’ve done the black ice technique and I think it turned out pretty well although it was a little difficult getting good photos in my light box.
I’ve typically seen this technique done with silver mirror cardstock so I decided to try it with gold. I used Stampin’ Up Lovely As A Tree stamp set, StazOn Jet Black ink and Versamark for the main panel. The sentiment is stamped from a Lily of the Valley circular sentiment stamp set that I’ve had in my stash for years.
I embellished the inside panel with a leftover strip of the black ice panel trimmed off the front and a thin strip of black cardstock, and layered the panel on black cardstock. The inside sentiment, stamped in black ink, is from Pretty Pink Posh.
One more peek… LOVE how this turned out! I’ll definitely be doing this technique again, but on silver mirror cardstock next time!
Products used:
Cardstock/Paper: GKD Pure Luxury Ivory cardstock, Stampin’ Up Gold Foil Sheet, American Crafts black cardstock
Stamps: Stampin’ Up Lovely As A Tree stamp set, Lily of the Valley For You Circular Sentiments stamp set, Pretty Pink Posh Everyday Greetings stamp set
Ink: StazOn Jet Black ink, Versamark, Memento Tuxedo Black ink
Dies/Punches: Hero Arts Clear embossing powder, Stampin’ Up 1-3/4″ circle punch
Accessories: MISTI stamping tool
I hope you’ve enjoyed this black ice technique and will consider giving it a try! We’d love to see what you create for our Anything Goes challenge this month! Thanks so much for stopping by – we’ll see you again soon! ;)