9/15/23 Top 5 at Halloween Crafts All Year ‘Round!
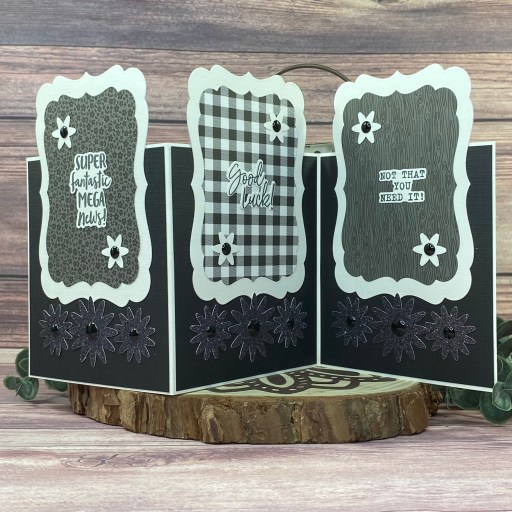
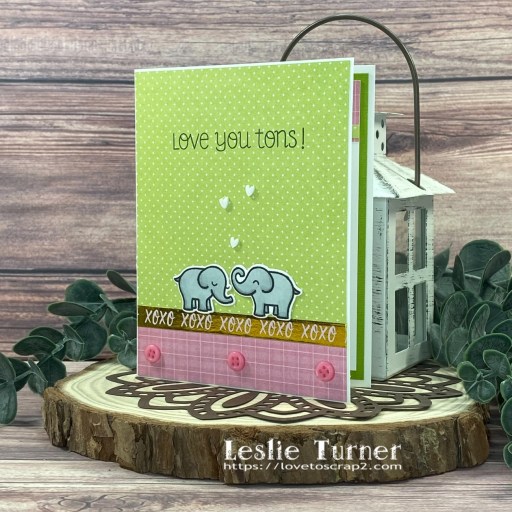
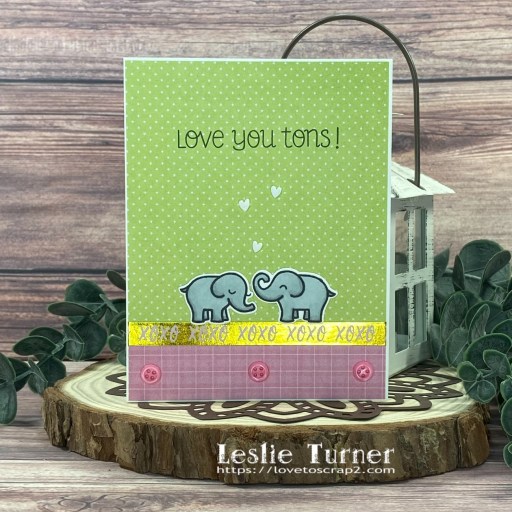
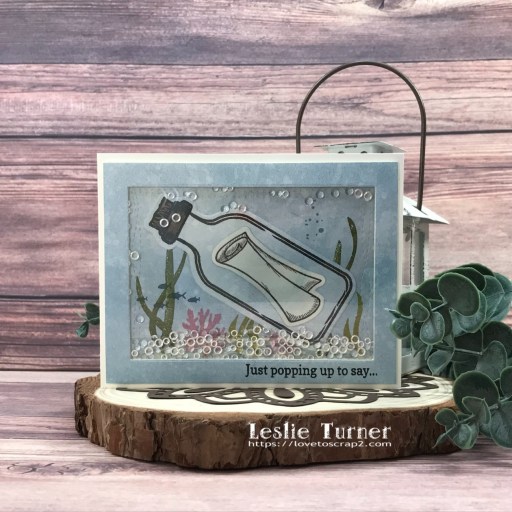
Hey everybody! I hope you’re having a great week so far! I’m back with my second post this morning and this one is a super cute Keep It Simple DT inspiration project created with items in the NEW too-cute-to-spook A Wee Bit Wicked Collection! OMGoodness, I’m having THE best time with this collection! I’ve made another swing flap card which has quickly climbed to the top of my all-time favorite fun folds! It packs such a punch and is great for any occasion!

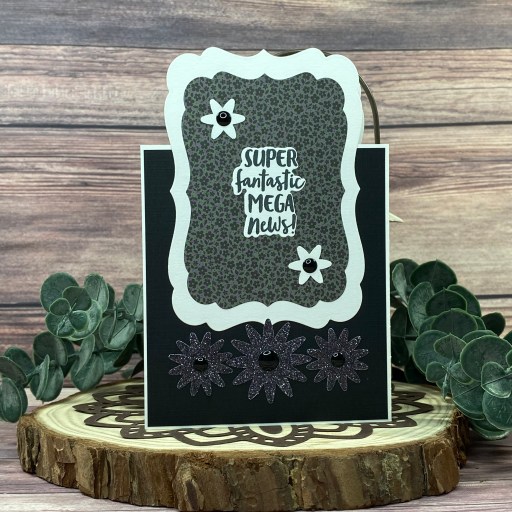
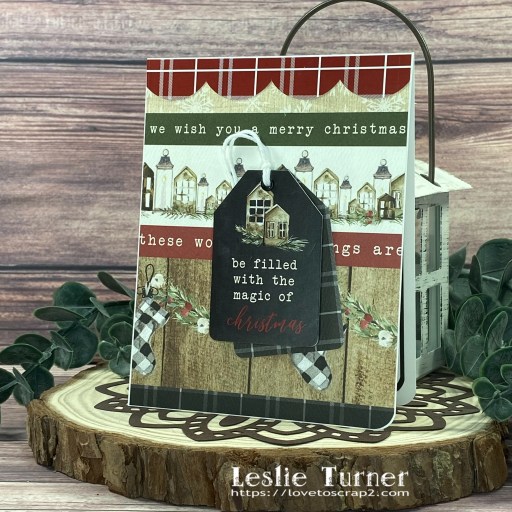
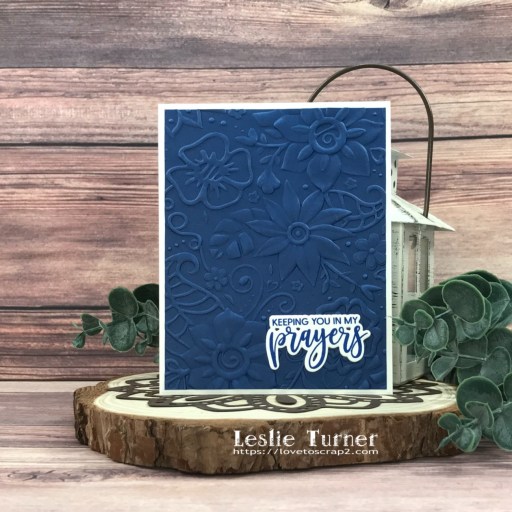
I cut the card base from CutCardStock Basis Black cardstock along with a layering panel from a spider web print in the A Wee Bit Wicked 12×12 Collection Pack. I adhered the witch and cloud (from the Wee Bits Die Cut Pieces) to a square cut from Basis Black using the Stitched Squares Nested Dies. I added the front sentiment, a black and white striped strip and stars from the Cards and Phrases Die Cut Pieces, which completed the card front.
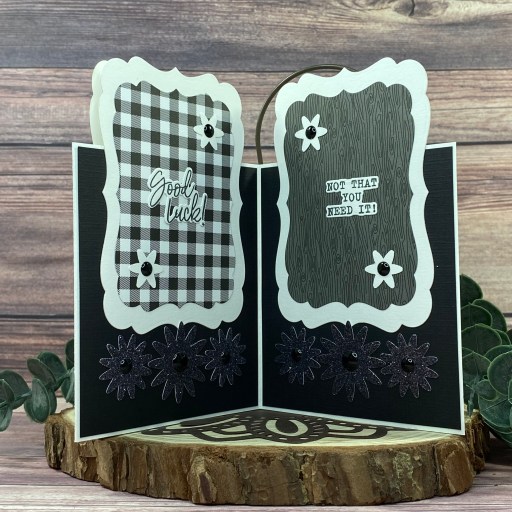
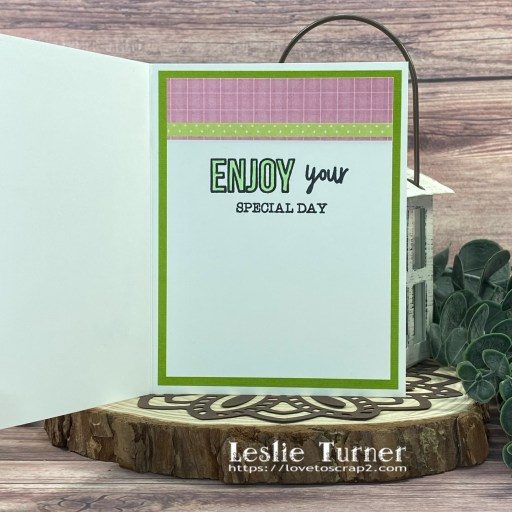
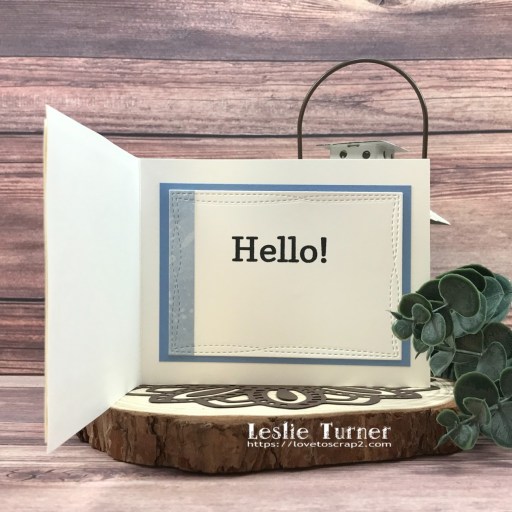
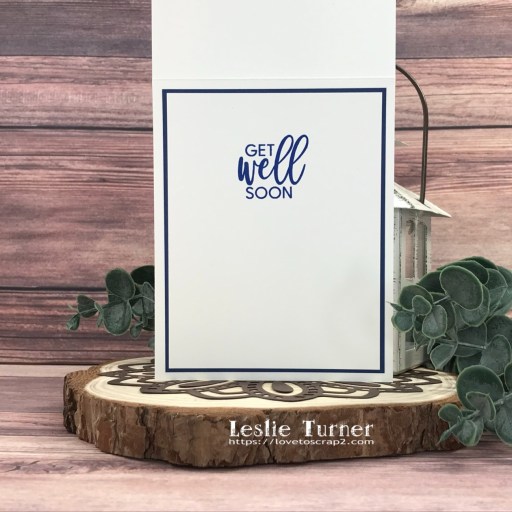
I layered an orange dot panel from the 12×12 Collection Pack on the inside, then stamped a sentiment in Memento Tuxedo Black ink from the Halloqueen Sentiments stamp set and cut it with the coordinating Halloqueen Outline Dies. I also added another star from the Cards and Phrases Die Cut Pieces and a cat from the Wee Bits Die Cut Pieces to complete the inside.


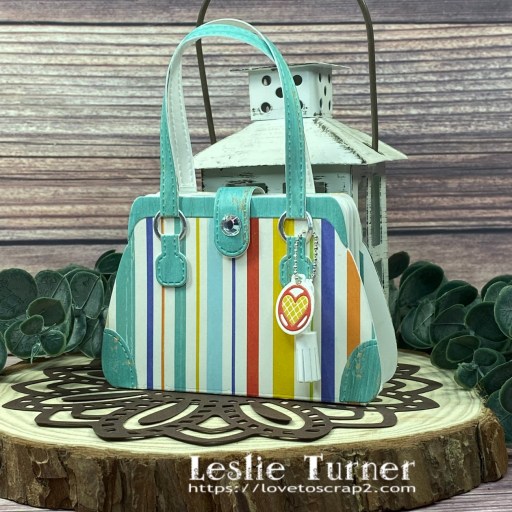
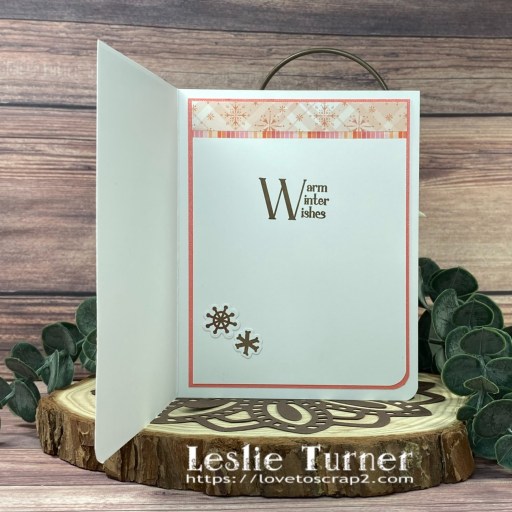
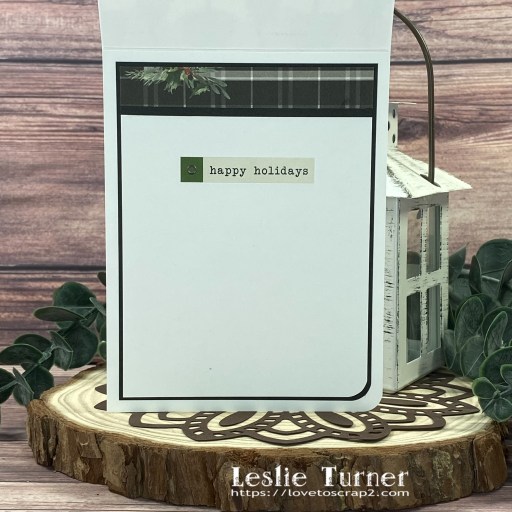
Here’s a shot of the card folded flat for mailing. Swoon! I SO love this fold!

Sharing in the following challenges:
1. 613 Avenue Create: September 2023 – Purely Anything Goes
2. A Perfect Time To Craft Open Challenge: September #9-2023 – Anything Goes
3. Classic Design Challenge: September #9 – Anything Goes
4. Crafts Galore Encore Challenge Blog: #115 – Anything Goes
5. Crafty Calendar Challenge: September Anything Goes
6. Halloween Crafts All Year ‘Round: Anything Goes
7. Jan’s Digi Stamps Challenges: September 2023 Anything Goes
8. Little Red Wagon: #721 – Square or Rectangle
Keep It Simple products used:
A Wee Bit Wicked 12×12 Collection Pack
A Wee Bit Wicked Cards and Phrases Die Cut Pieces
A Wee Bit Wicked Wee Bits Die Cut Pieces
A Wee Bit Wicked Halloqueen Sentiments Stamps
A Wee Bit Wicked Halloqueen Outline Dies
Back To Basics Stitched Squares Nested Dies
Affiliate links are used in this post at no cost to you – I really appreciate your support!
Other products used:
CARDSTOCK/PAPER: CutCardStock Basis Black cardstock, Neenah Classic Crest 80# Solar White cardstock
INK: Memento Tuxedo Black ink
ACCESSORIES: Tonic Studios 12″ Guillotine Paper Trimmer, Tombow Mono Dots adhesive, Bearly Art precision craft glue, MISTI stamp tool, Big Shot
I hope you’ve loved seeing this project as much as I loved creating it, and you’re inspired to get crafty! Be sure to check out ALL the fun goodies in the Keep It Simple store such as paper, stamps, die cuts, ephemera, washi tape and enamel dots to name just a few! You’ll go crazy! Be sure to Follow us on Facebook, Instagram, and Pinterest for lots of crafty inspiration! Thanks so much for stopping by today – we’ll see you next time!
Scrappy hugs,