Hi everyone! Happy Hump Day! Can’t believe it’s the middle of June already! I’m stoked to be back on the CutCardStock blog today with an awesome DT inspiration project featuring more of the Pop-Tone cardstock that’s on sale this month, so be sure to grab a few colors to add to your stash! Affiliate links are used in this post at no cost to you. I really appreciate your support! I have a cool upcycled project to share today – I turned three business card size inspirational cards into greeting cards. If you’ve ever ordered from CutCardStock, you know that they always, without fail, include a note pad and a handwritten thank you note for supporting their family business, and they wrap the packages of cardstock in bubble wrap (with lots of TLC) to keep them from getting damaged in transit. In an order I received a few months back, they also included three inspirational cards with awesome messages that you may have received too, so I left them out on my desk with the intention of eventually upcycling them because the messages were so awesome. I’m super proud that this upcycling project happened sooner rather than later! ;)
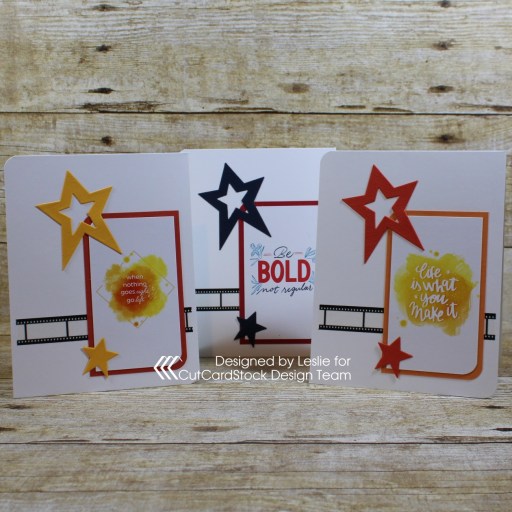
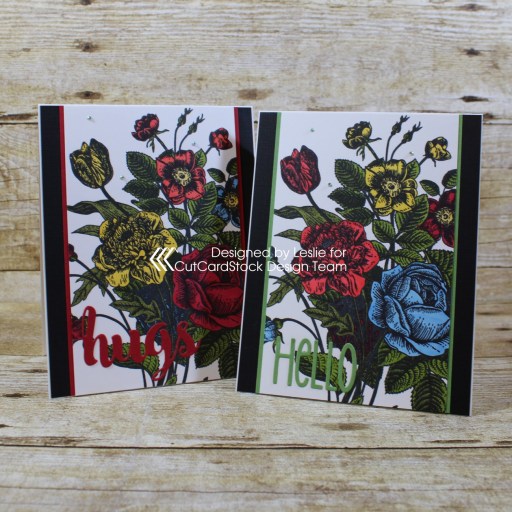
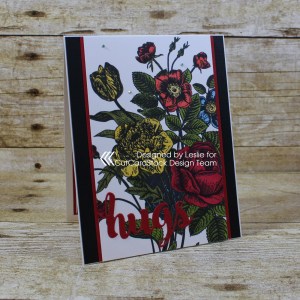
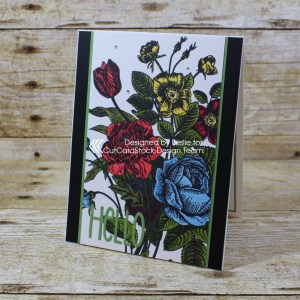
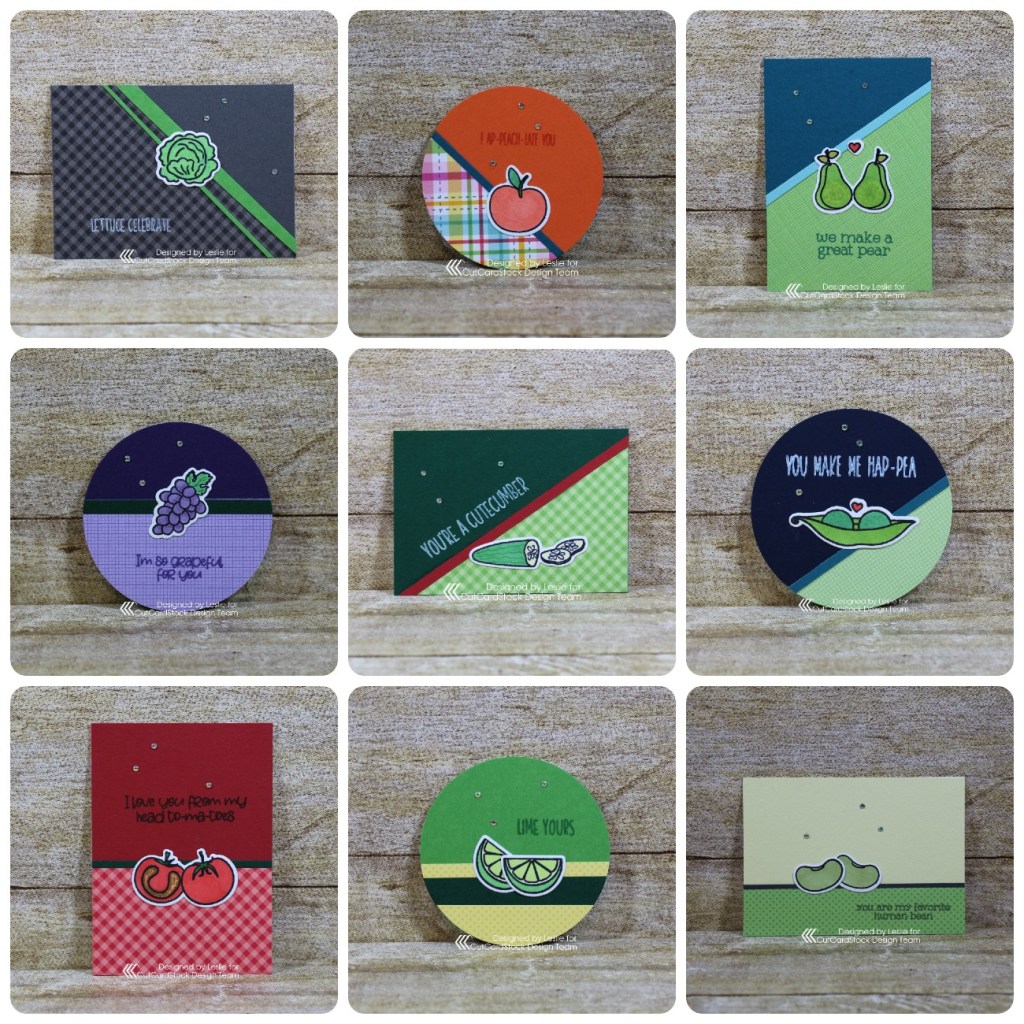
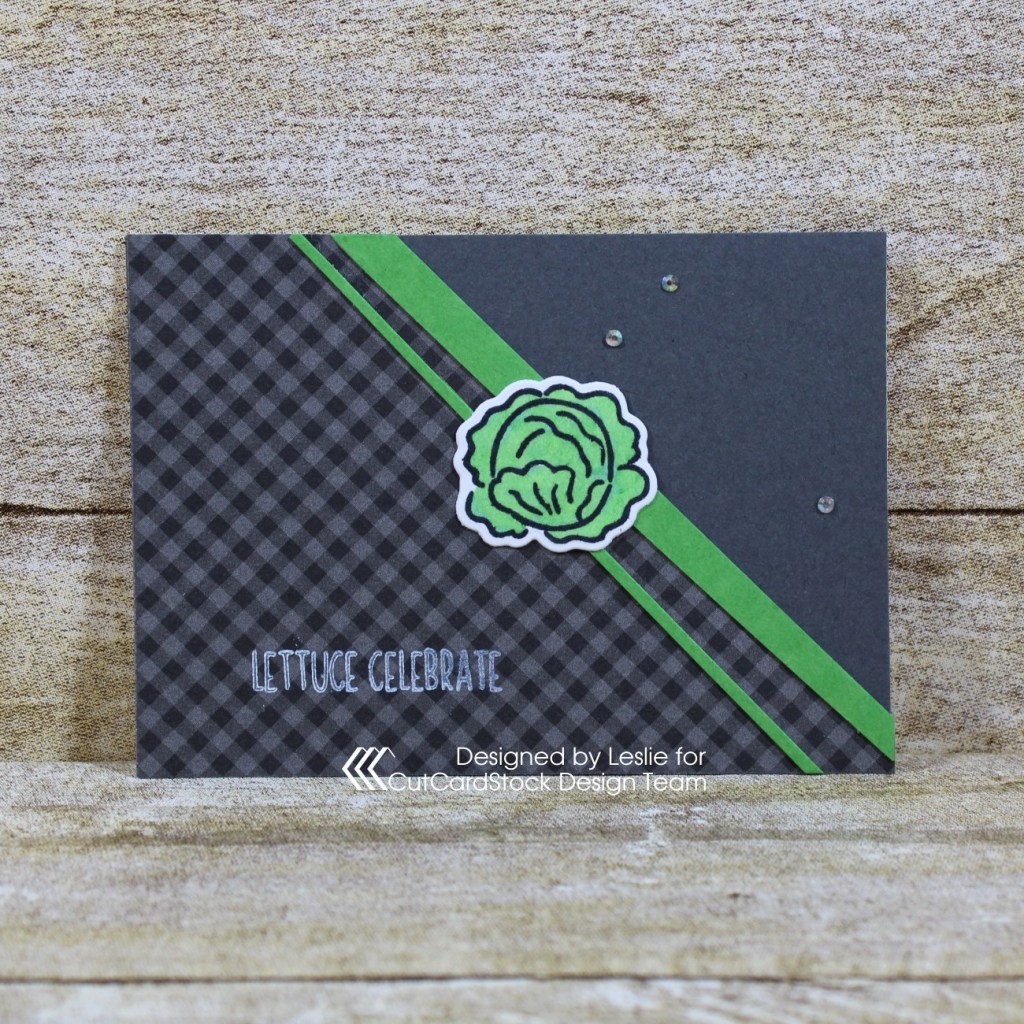
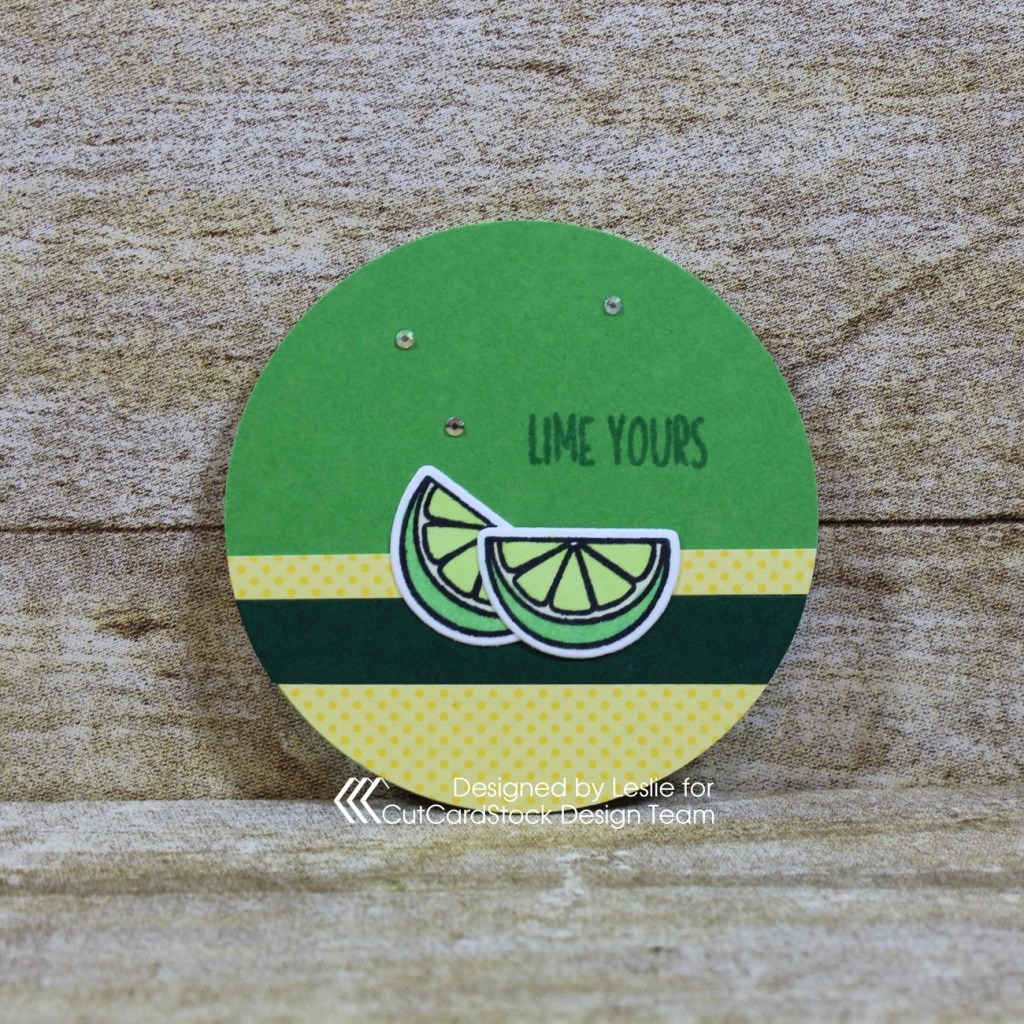
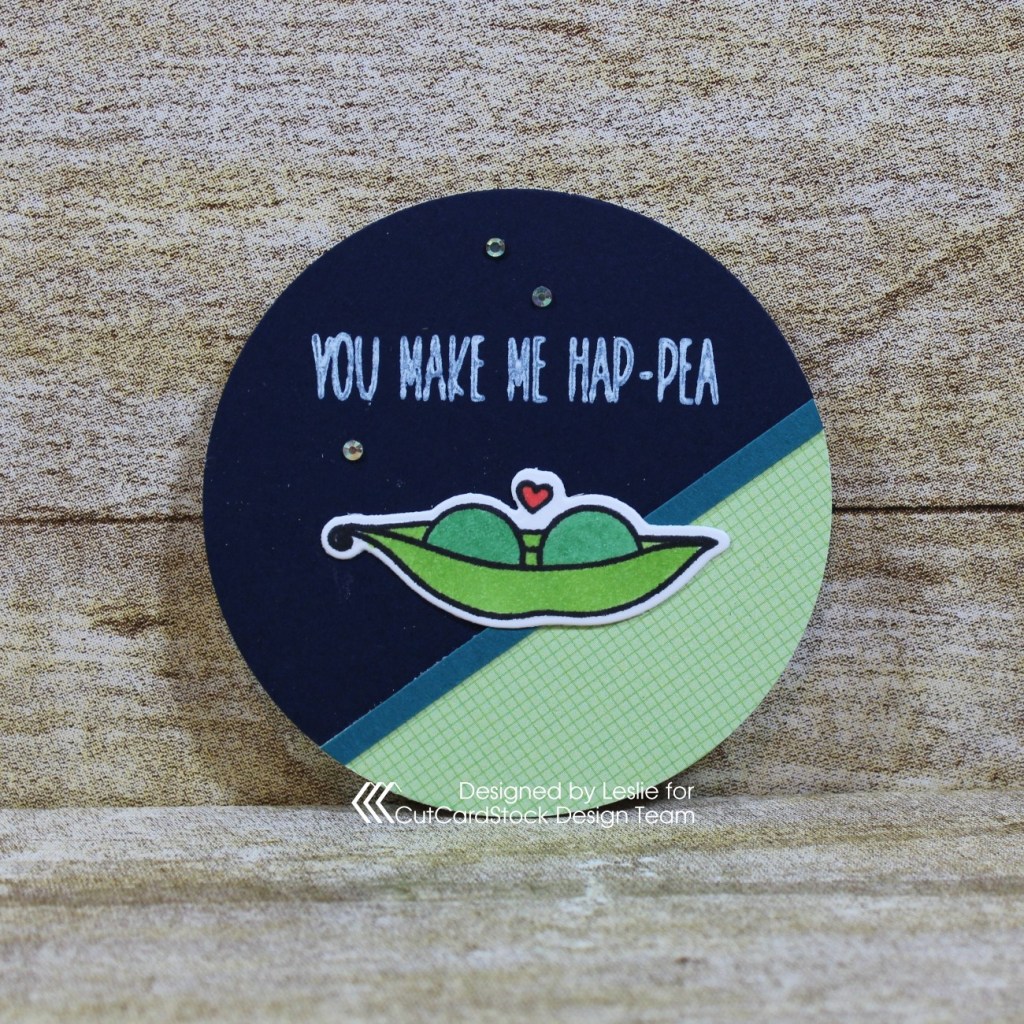
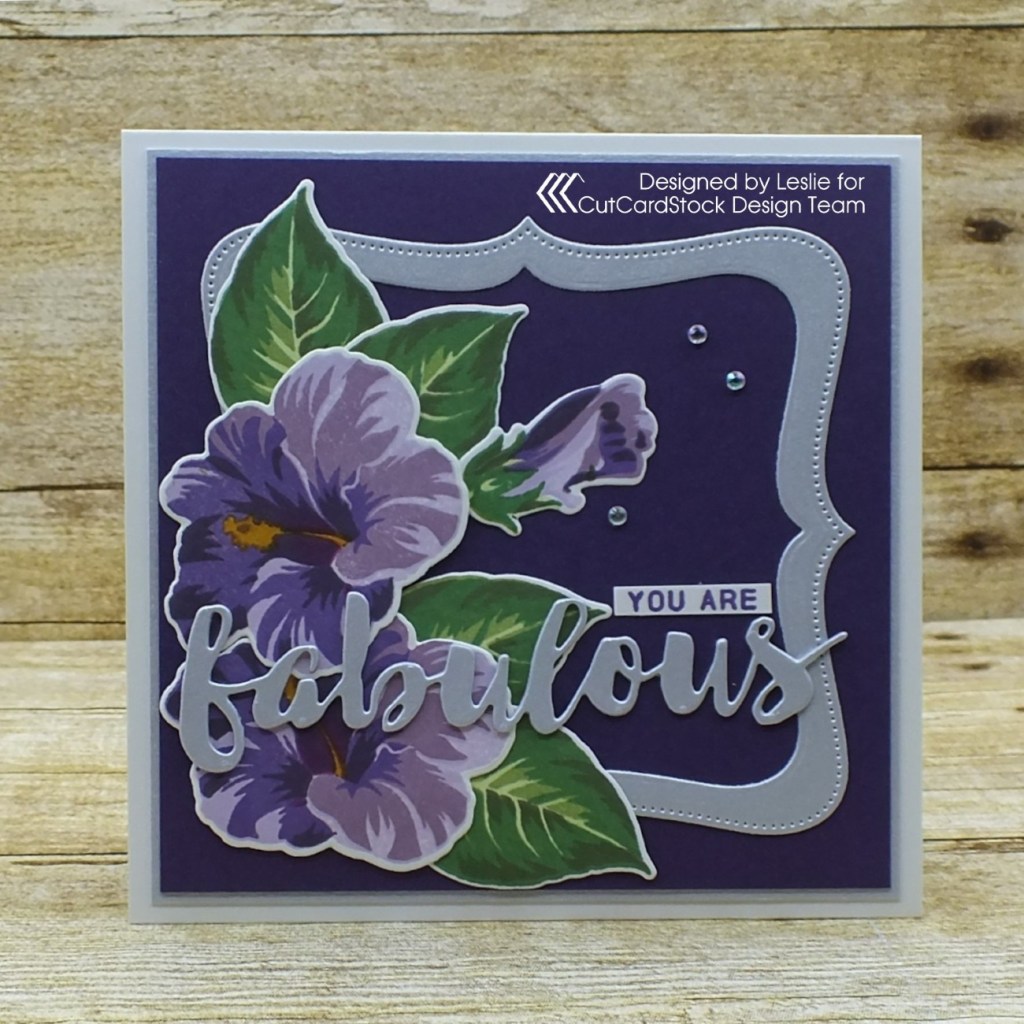
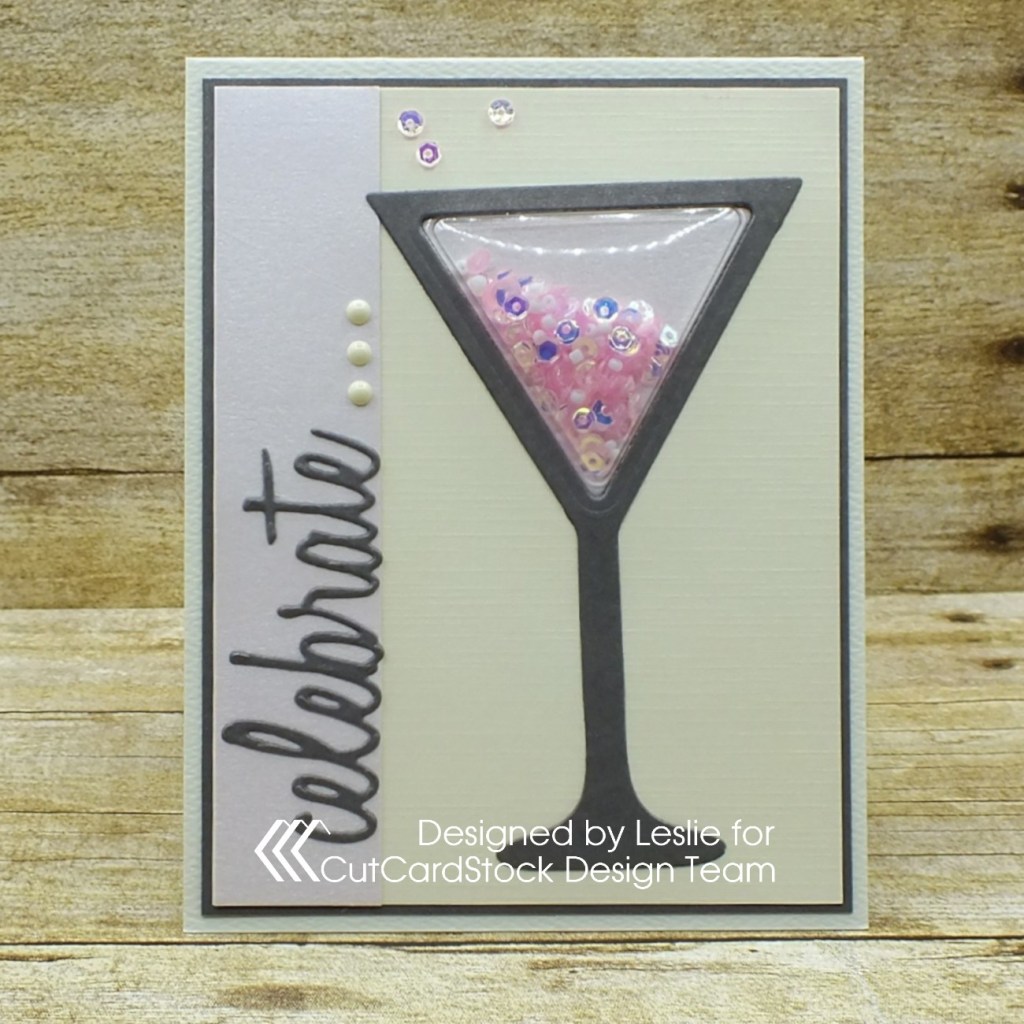
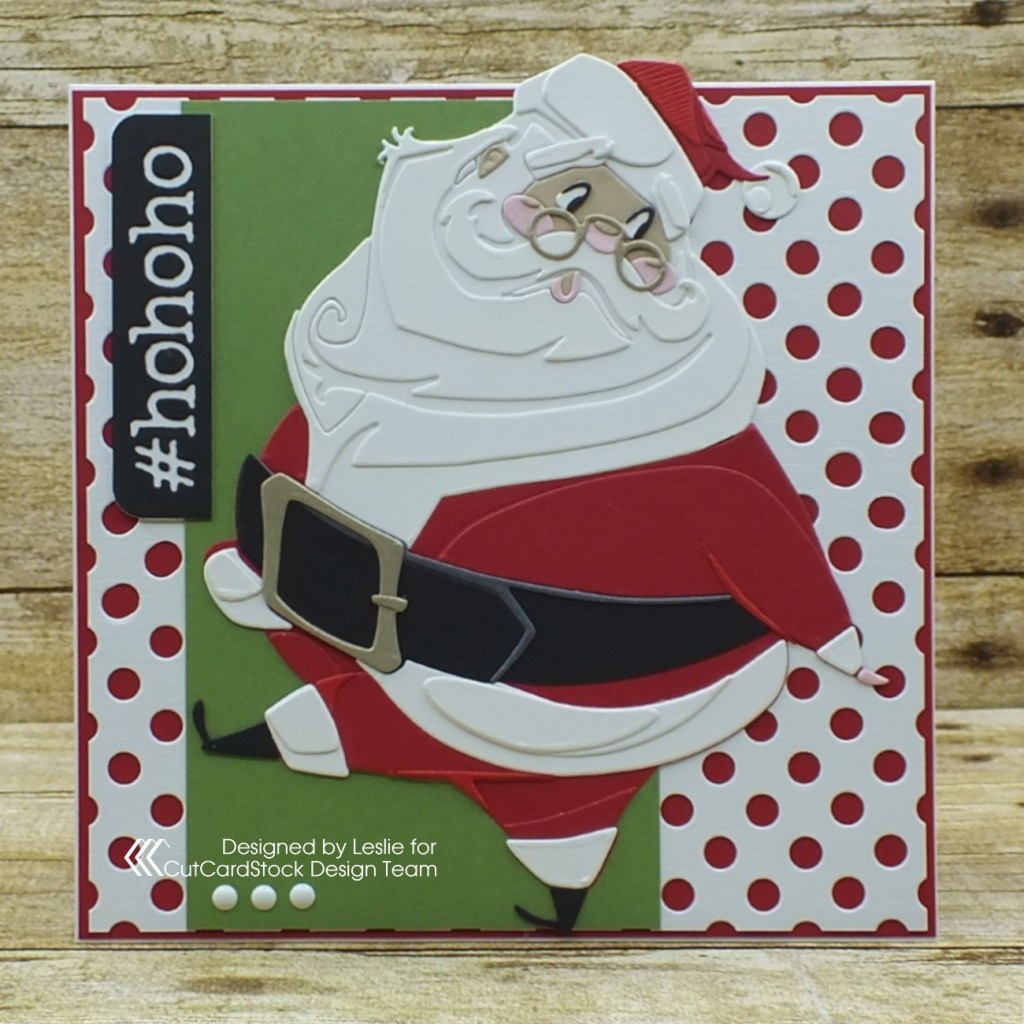
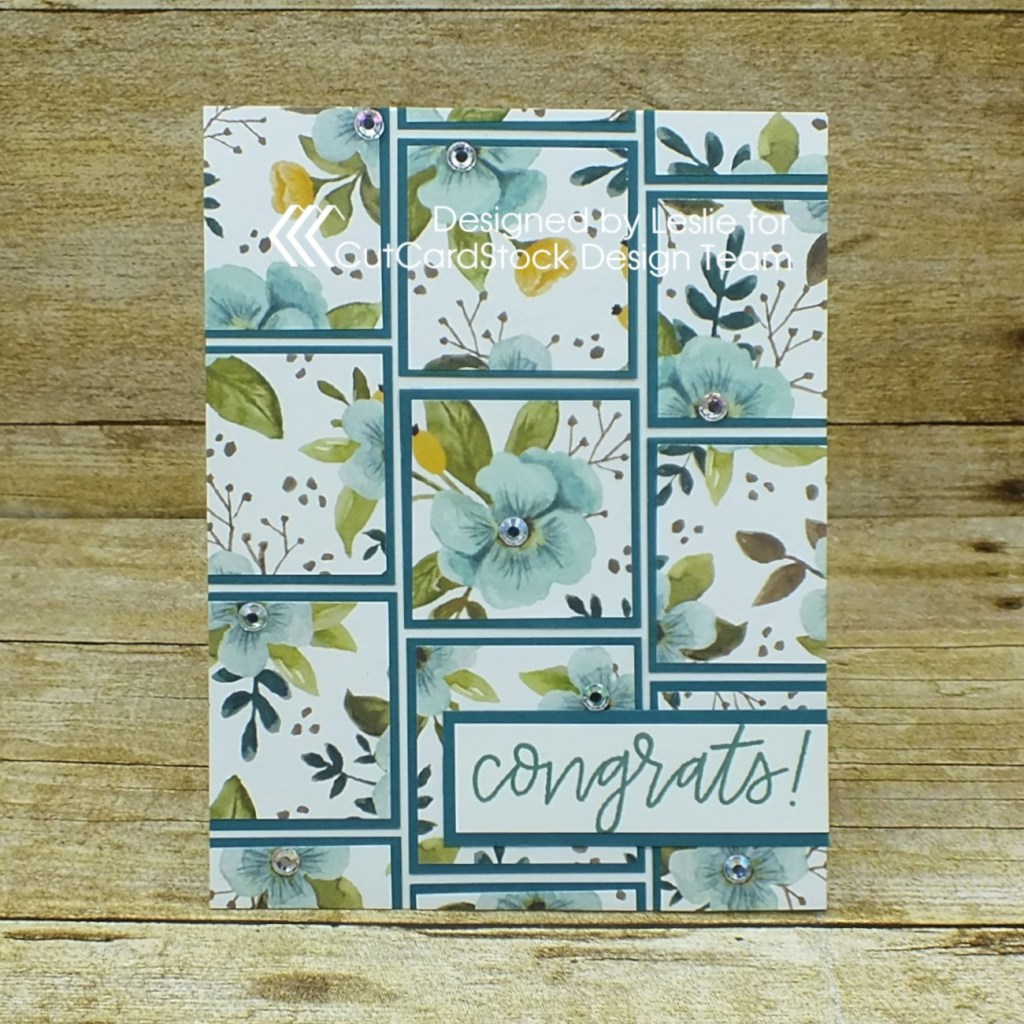
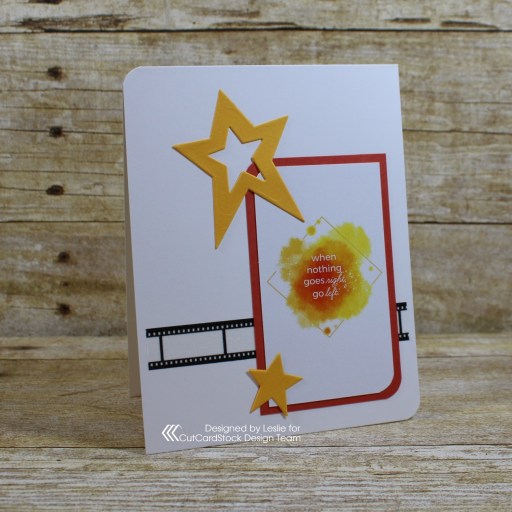
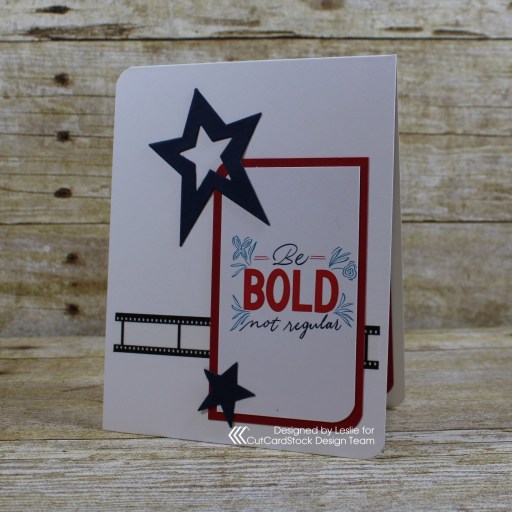
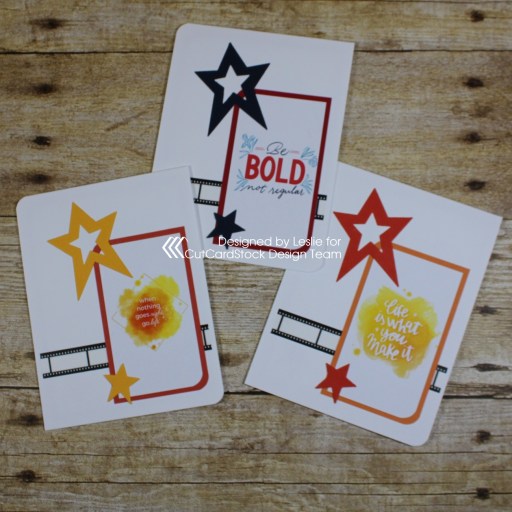
The design is the same on all three cards. I cut standard A2 size card bases from Neenah Classic Crest Solar White 110# cardstock and rounded the top left and bottom right corners. I rounded the same two corners of the inspirational cards and cut small layering panels for those from CutCardStock Pop-Tone 65# Tangy Orange cardstock, Pop-Tone 65# Wild Cherry cardstock and Pop-Tone 65# Orange Fizz cardstock. Pop-Tone cardstock is the perfect layering weight without adding a huge amount of bulk to your cards. I washi-taped two nesting primitive star dies together and cut stars from CutCardStock Basis 80# Gold cardstock, CutCardStock Basis 80# Navy cardstock and CutCardStock Adobo 80# 4×6 cardstock, using both the large outline and the small full size die cuts. I started with a strip of washi tape, then added the layered inspirational cards and stars. Super simple design! I realized not too awfully long ago – after 45+ years of crafting – that I navigate toward the right with most of my designs, presumably because I’m left-handed. So there you have it… in case you’ve ever wondered, lol! ;)
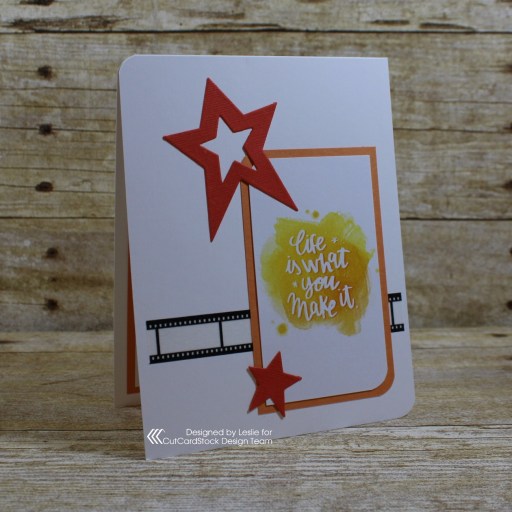
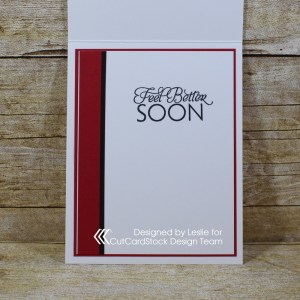
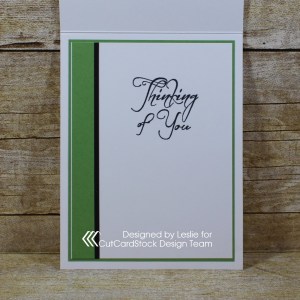
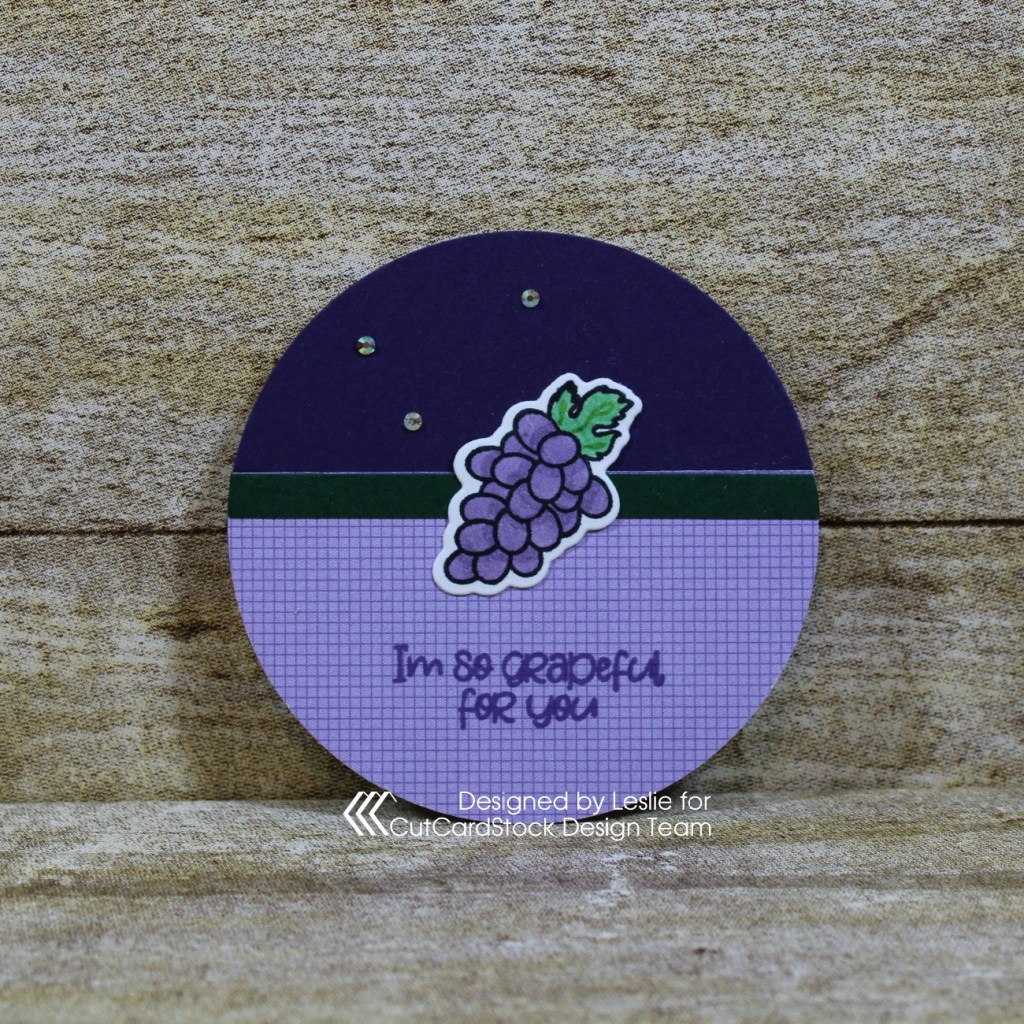
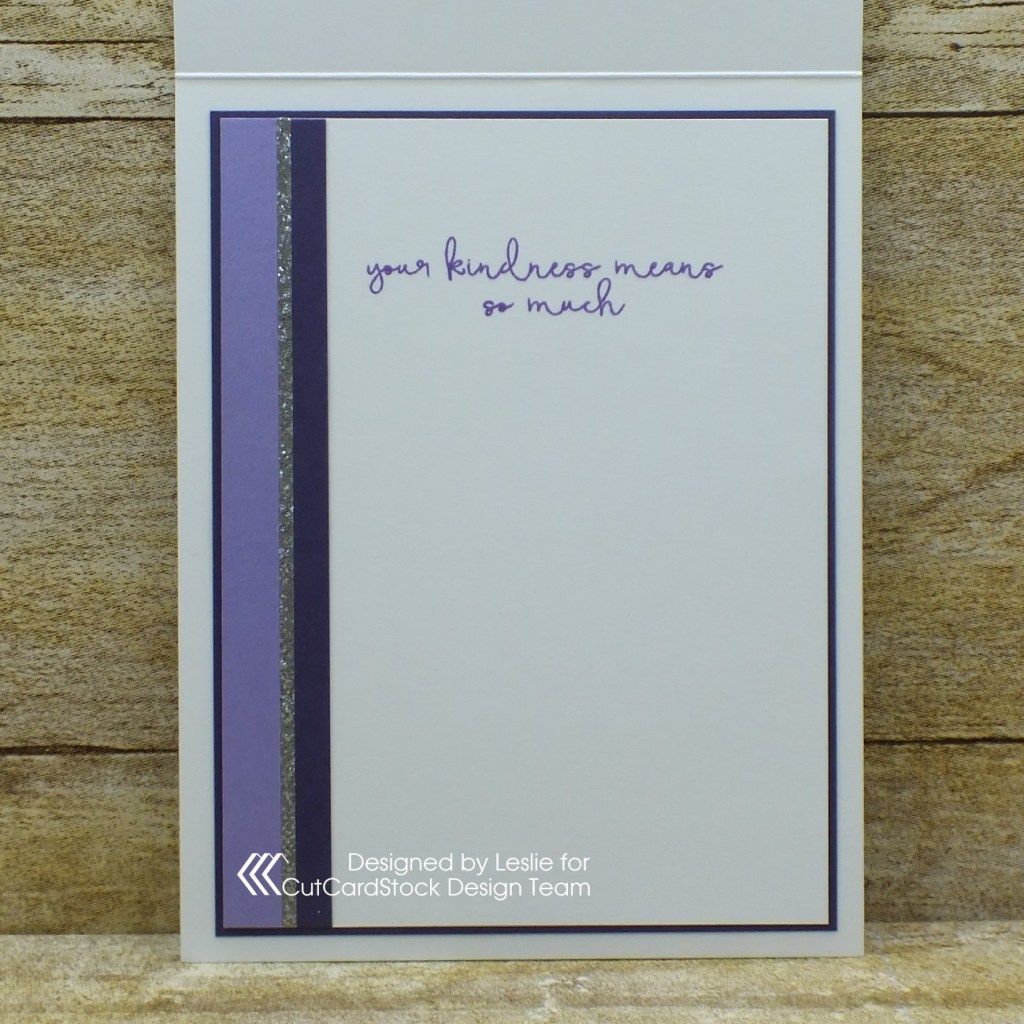
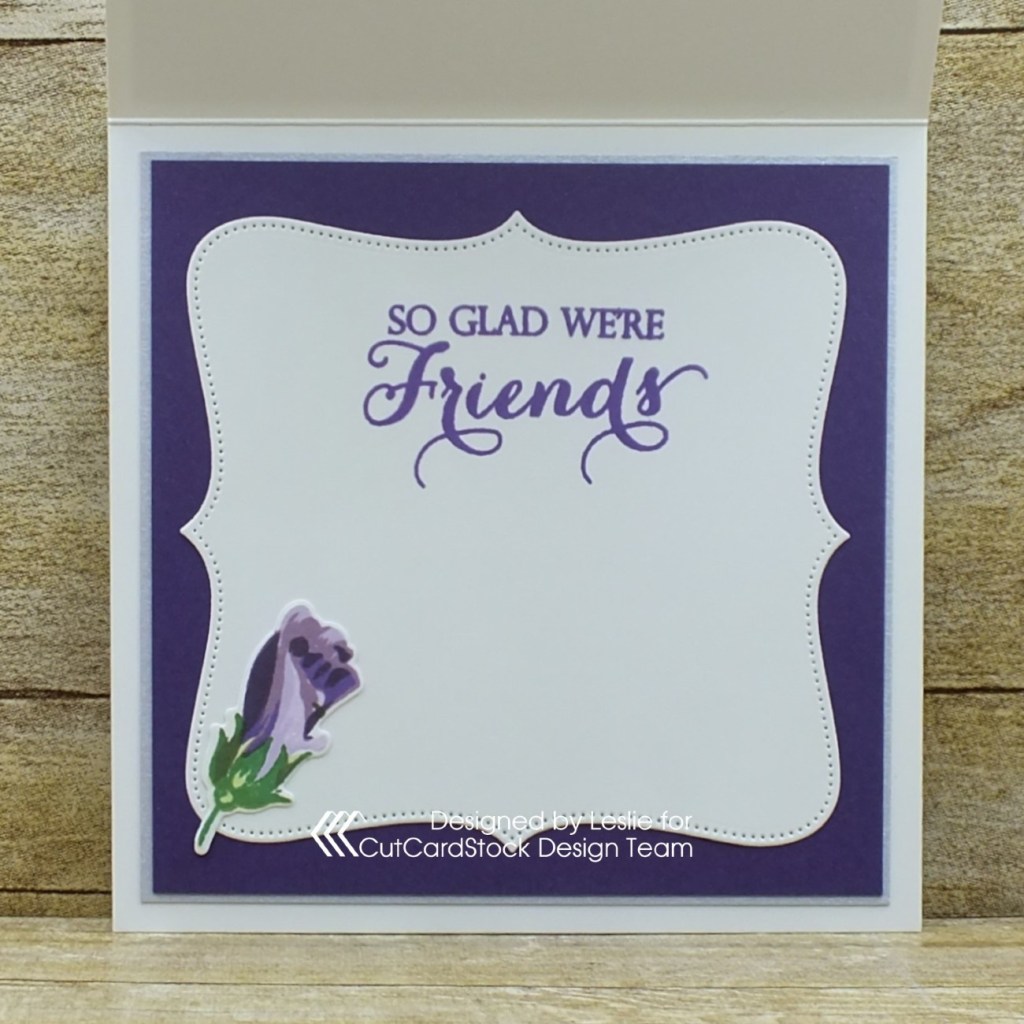
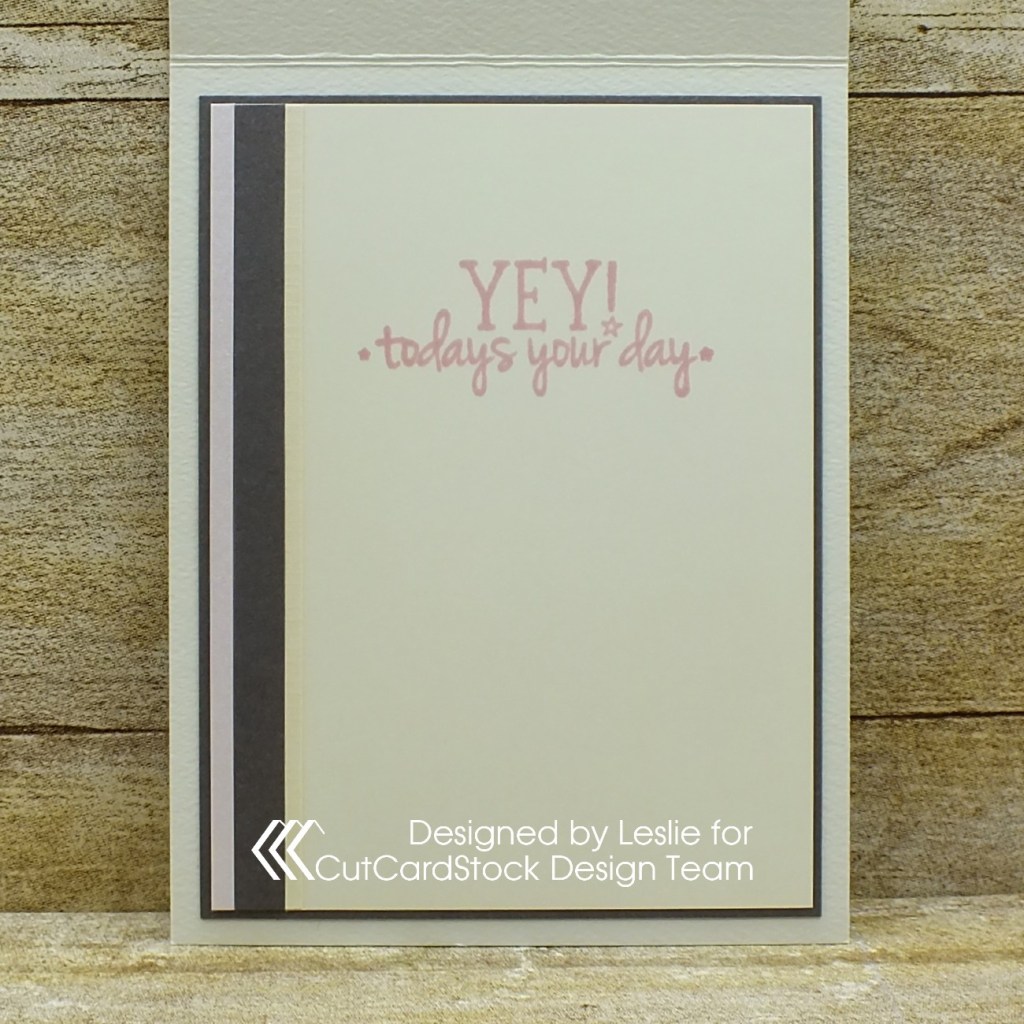
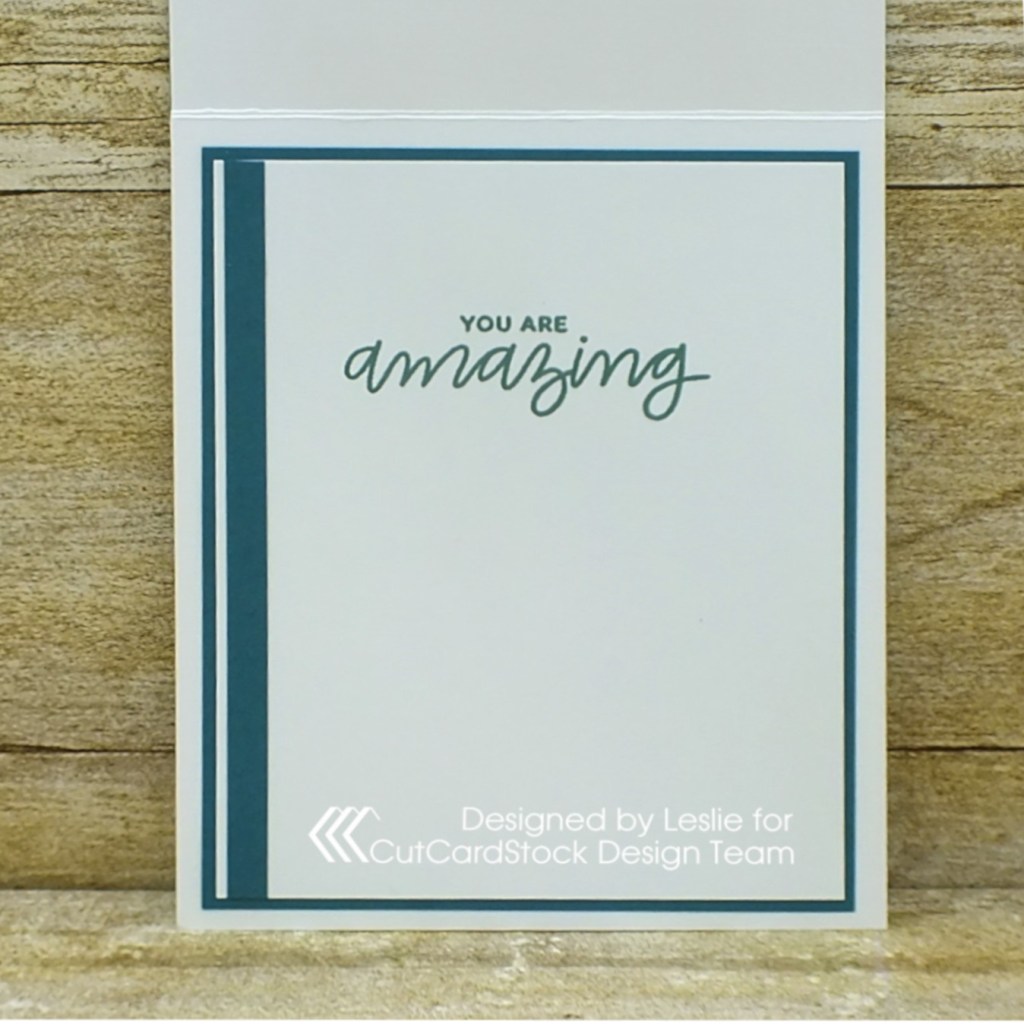
I cut inside panels from Neenah Classic Crest Solar White 80# cardstock along with layering panels from CutCardStock Pop-Tone 65# Tangy Orange cardstock, CutCardStock Pop-Tone 65# Wild Cherry cardstock and CutCardStock Pop-Tone 65# Orange Fizz cardstock and rounded the top left and bottom right corners of each. I stamped the same sentiment on the inside of each in black ink and added a small star die cut from coordinating cardstock.

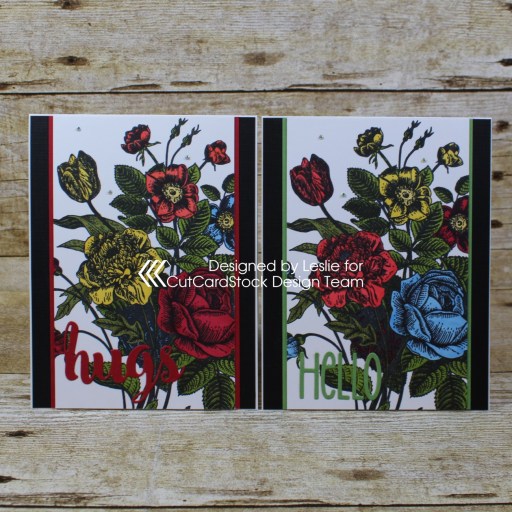
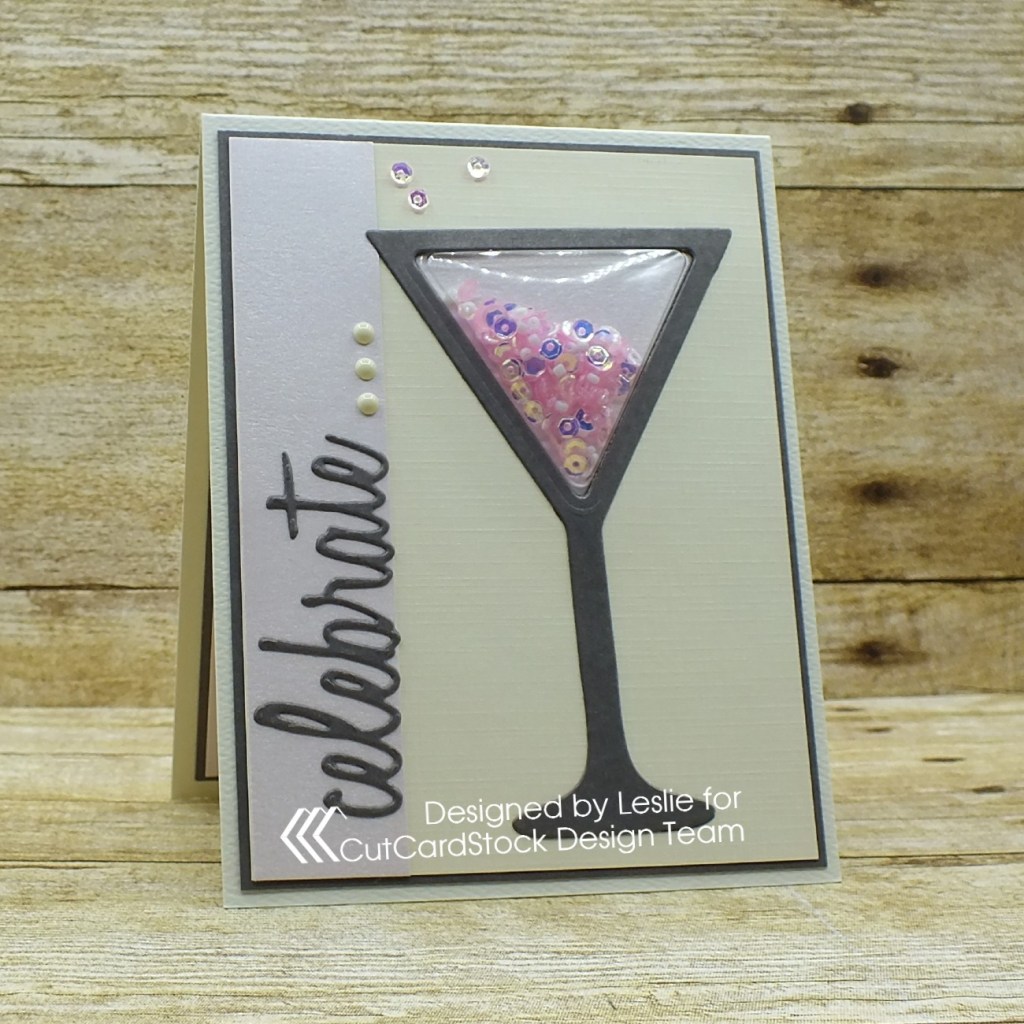
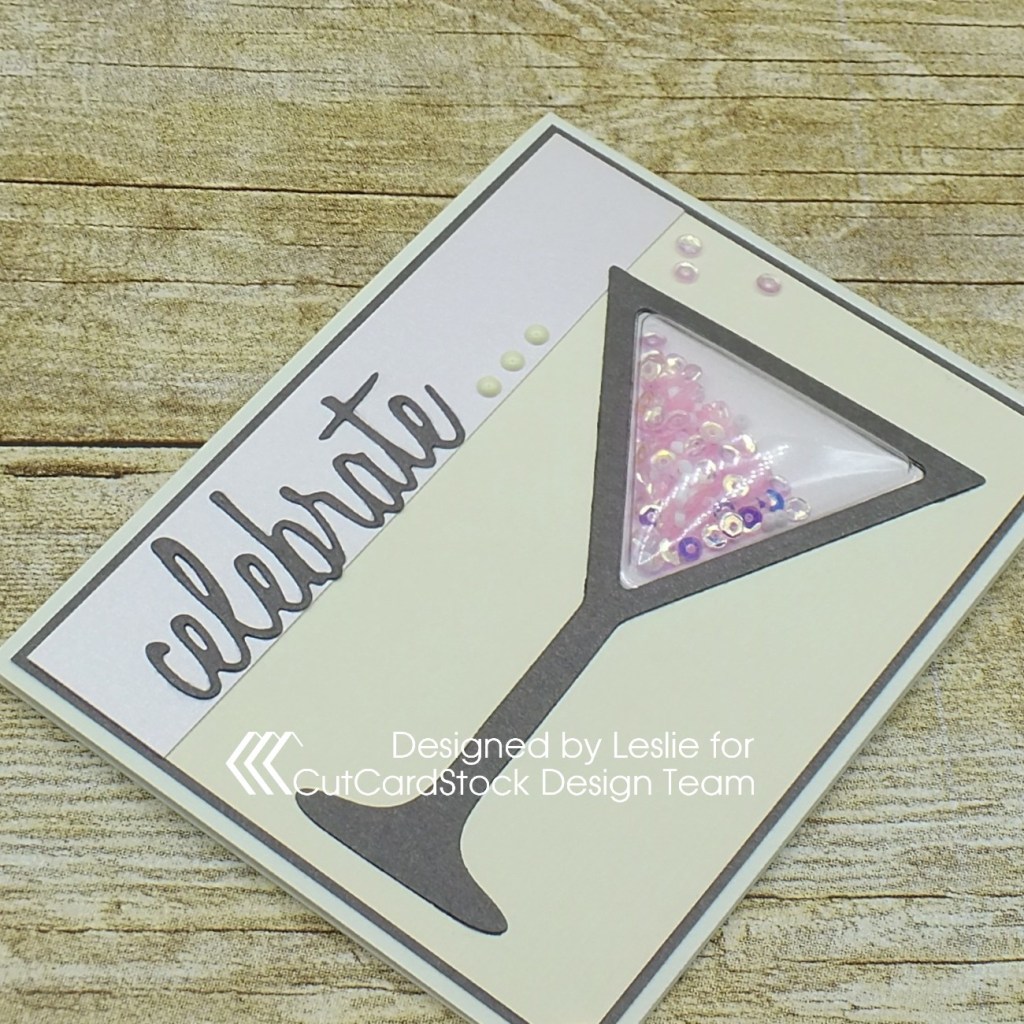
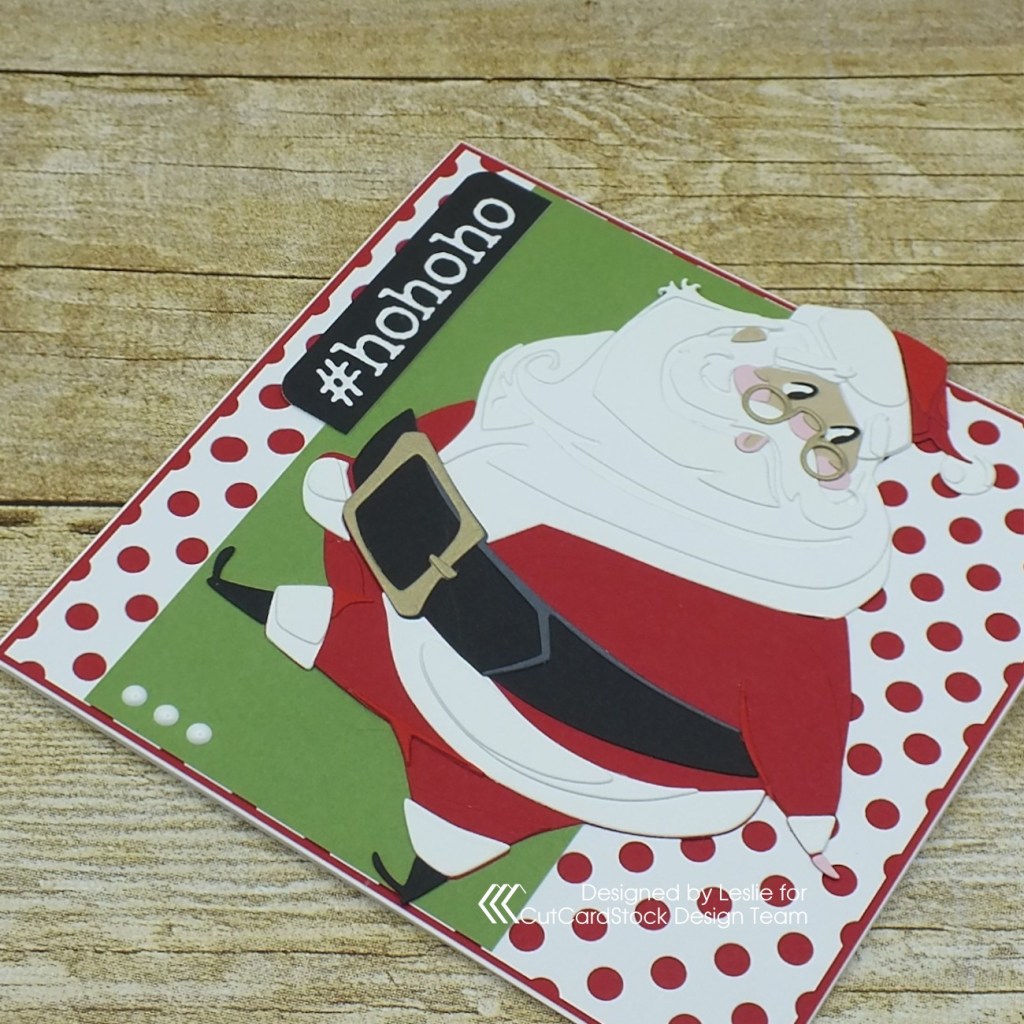
And one more look… super happy with how these turned out and I’m so glad these awesome little inspirational cards didn’t wind up in the trash!
CutCardStock products used:
Neenah Classic Crest Solar White 110# and 80# cardstock
CutCardStock Pop-Tone 65# Tangy Orange cardstock
CutCardStock Pop-Tone 65# Wild Cherry cardstock
CutCardStock Pop-Tone 65# Orange Fizz cardstock
CutCardStock Basis 80# Gold cardstock
CutCardStock Basis 80# Navy cardstock
CutCardStock Adobo 80# 4×6 cardstock
Other products used:
Stamps: Pretty Pink Posh Everyday Greetings stamp set
Ink: Memento Tuxedo Black ink
Dies/Punches: Kadomaru Pro corner rounder, Sizzix Primitive Stars Framelits
Accessories: Tonic Studios 12″ Guillotine Paper Trimmer, Big Shot, MISTI stamp tool, Bearly Art precision craft glue, Eyelet Outlet Film Strip Washi Tape
I hope you’ve enjoyed today’s project and you’re inspired to get crafty! Be sure to check out all the awesome cardstock and other goodies at CutCardStock (adhesives, labels, stickers, pens, watercolors and ribbon to name a few). And head on over to the CutCardStock Facebook Page for more inspiration! Thanks so much for stopping by today – we’ll see you next time!
Scrappy hugs,