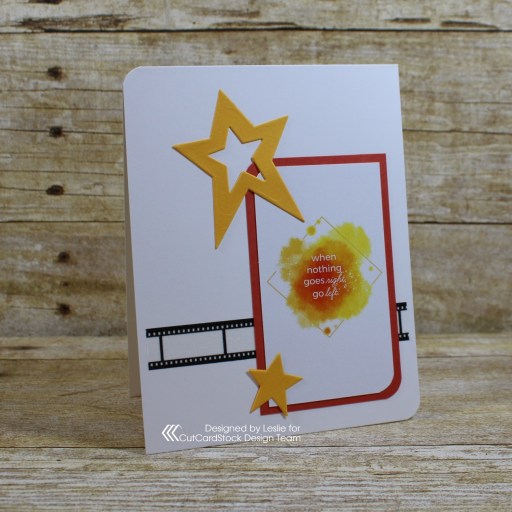
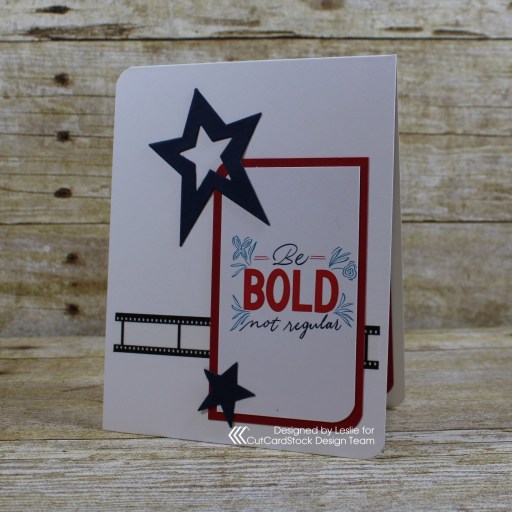
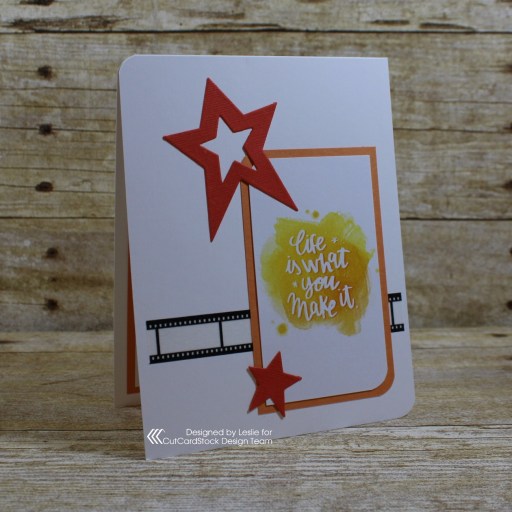
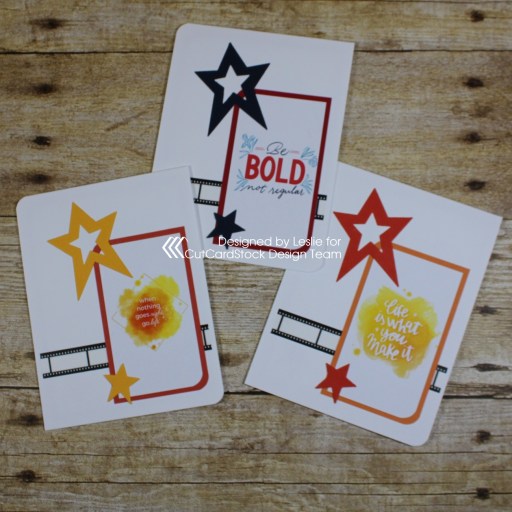
Hey everybody! Happy Tuesday – I hope your week has started off very nicely! We are enjoying some glorious temperatures out here in Colorado so that makes me happy! I’m stoked to be back on the CutCardStock blog today with an awesome DT inspiration project featuring more of our Autumn cardstock in brown, orange and gold colors, which is on sale this month so be sure to get some! I paired these beautiful colors with Natural cardstock. Affiliate links are used in this post at no cost to you. I really appreciate your support! You know how I love fun folds, and I’ve had this ‘M fold’ (also called a ‘W fold’) in my arsenal for some time so I thought I’d try it out. Of course, it was a fun one! :D
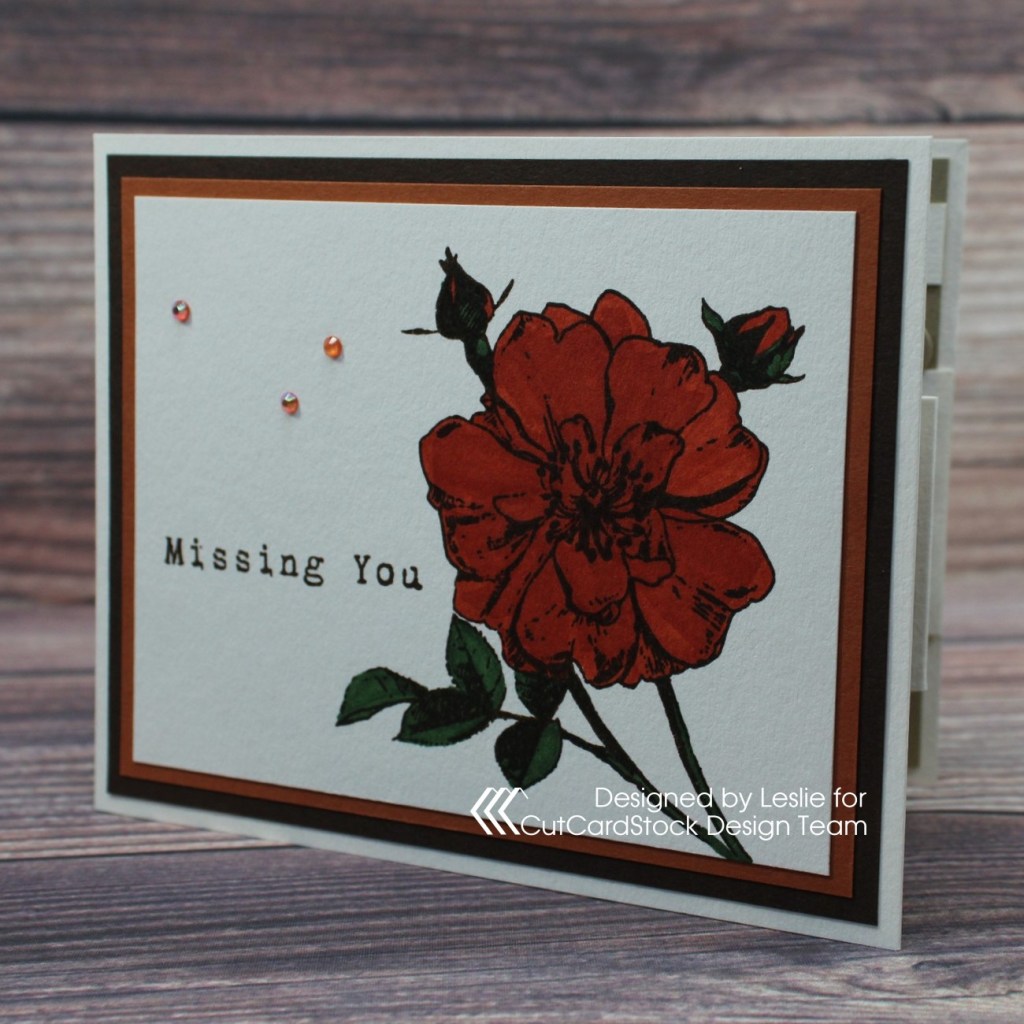
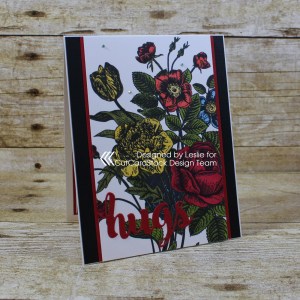
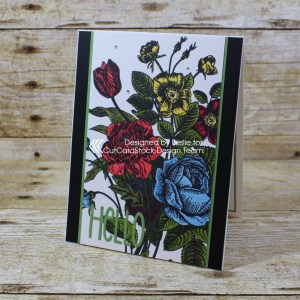
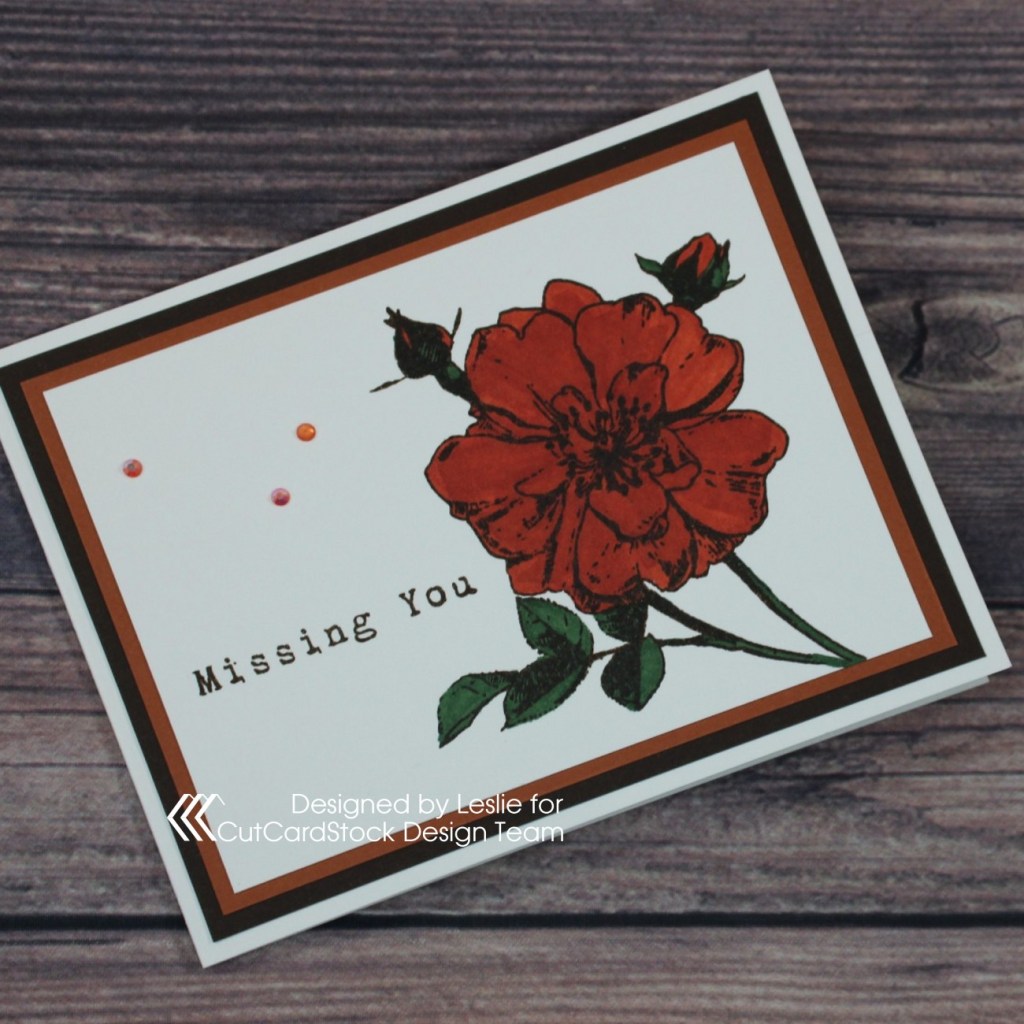
I cut the card base and strips for the inside from Basis Natural 110# cardstock, along with layering panels for the front from Basis Brown 80# cardstock, Basis Dark Orange 80# cardstock and Basis Natural 110# cardstock which I adhered together. I stamped the rose and sentiment in brown ink and colored the rose with alcohol markers. The finishing touch to the front of the card was the addition of several gemstones.

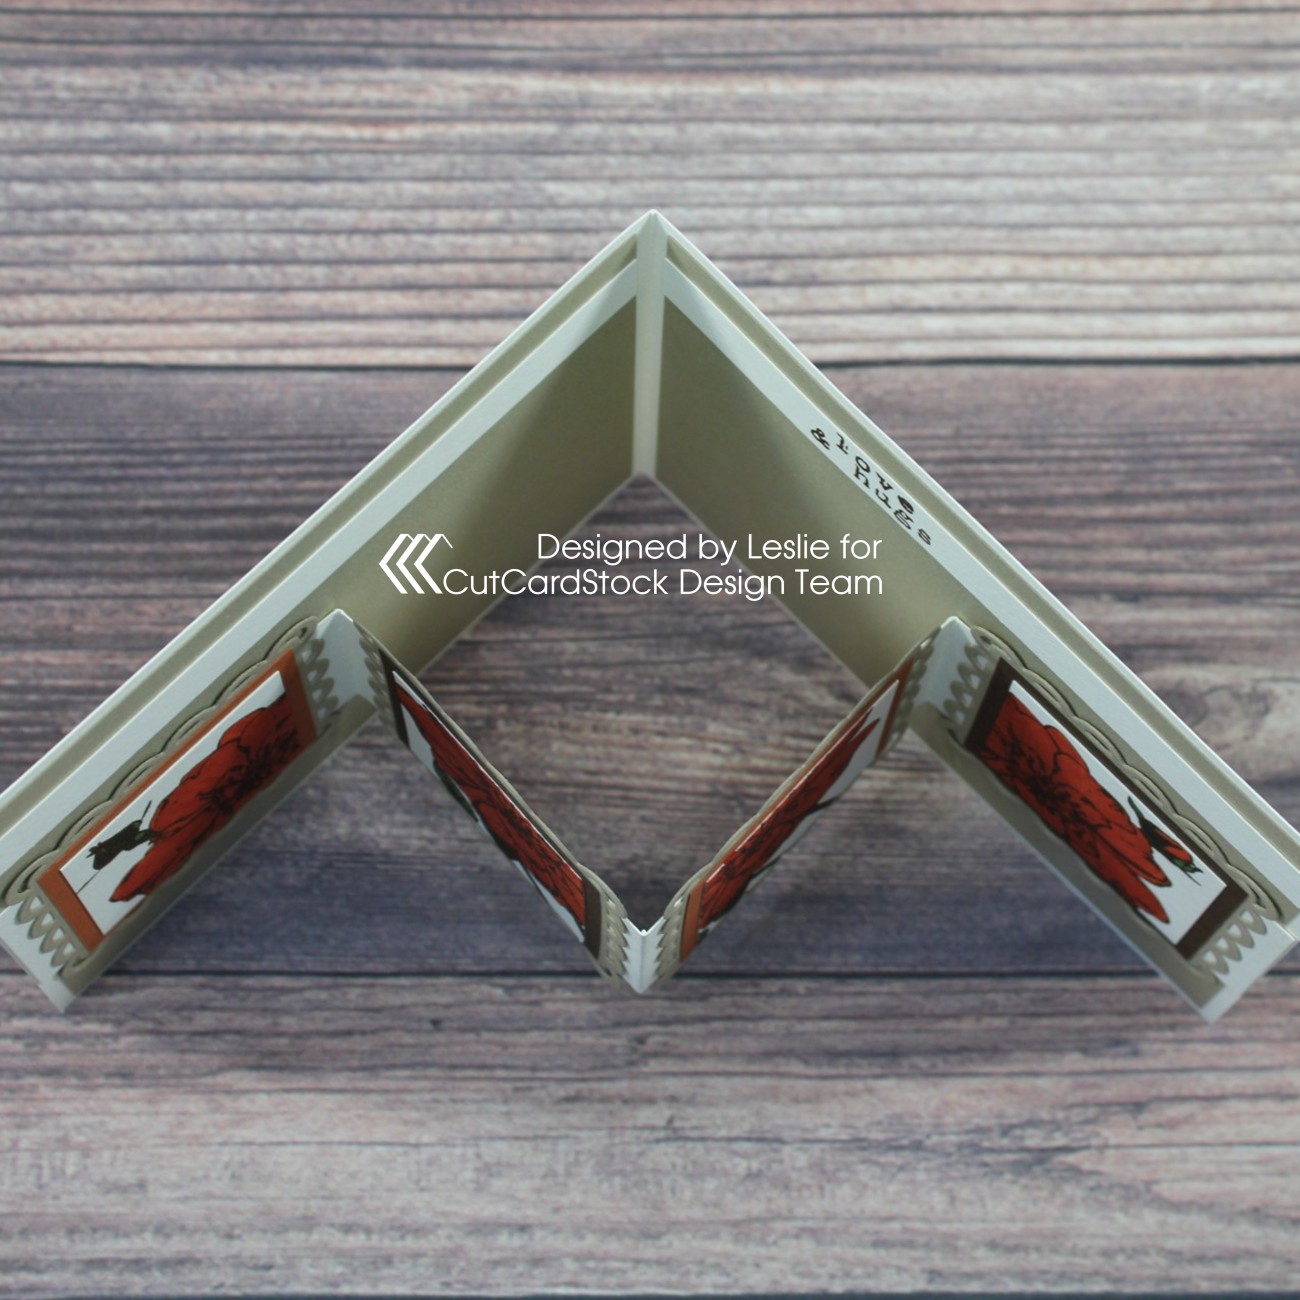
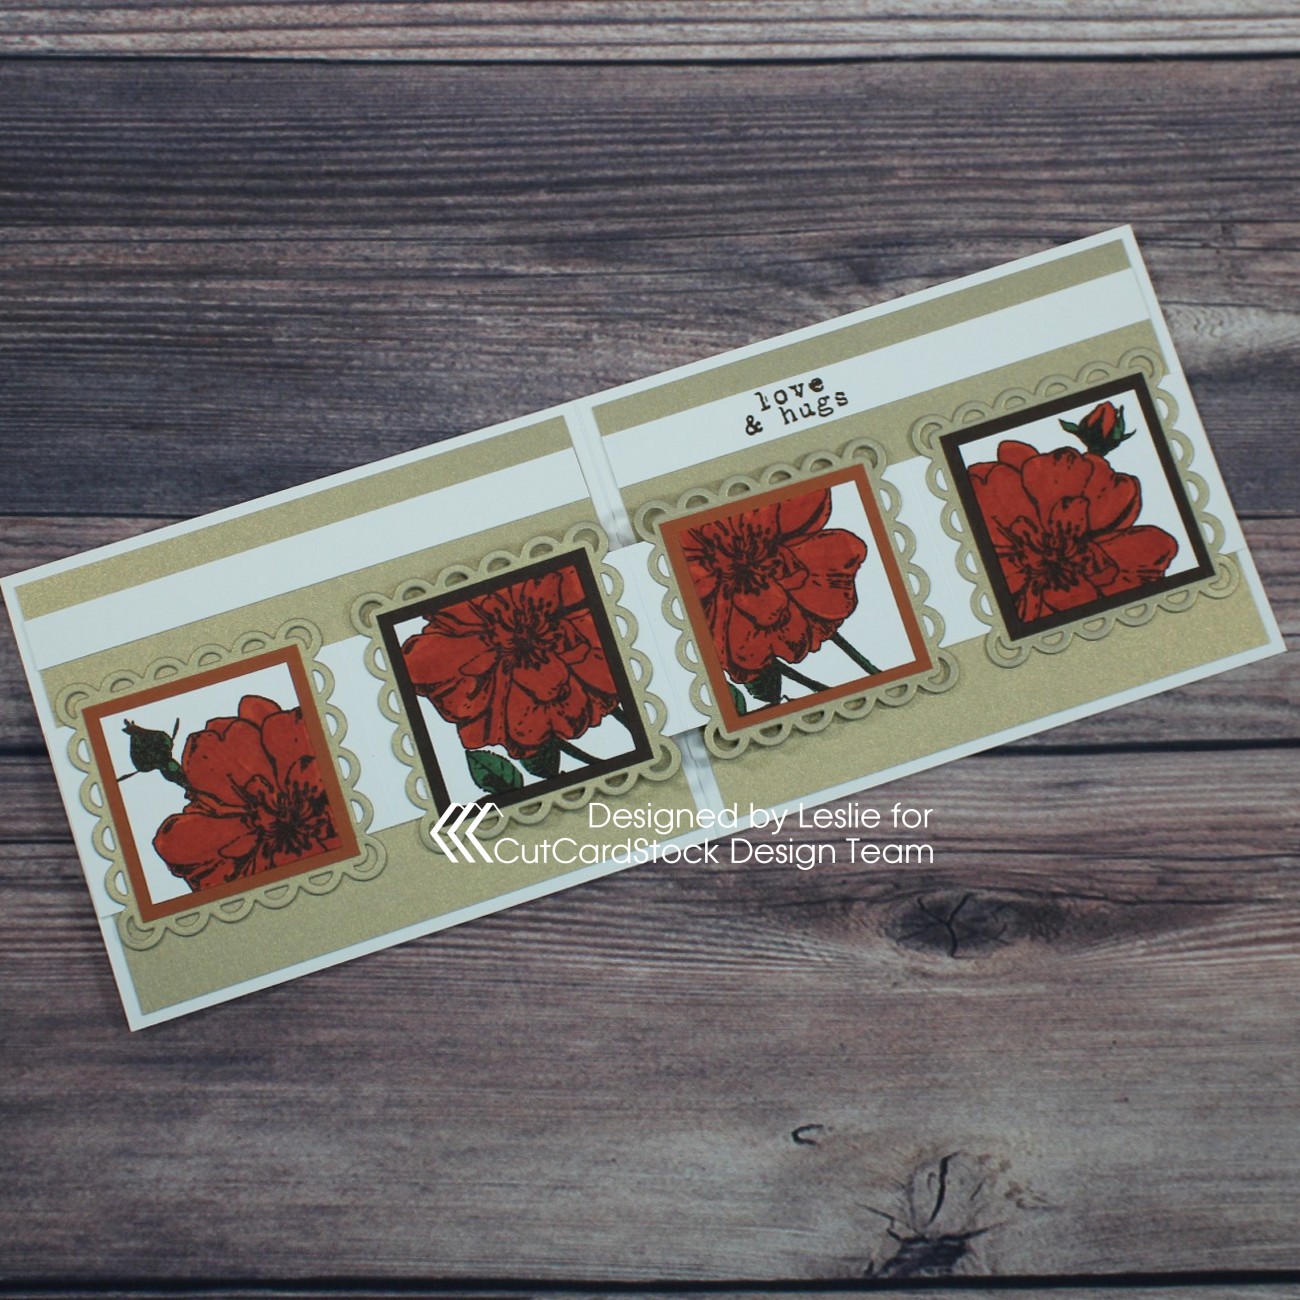
I cut layering panels and four small lacy squares for the inside from Curious Metallic Gold Leaf 92# cardstock, along with small layering squares from Basis Brown 80# cardstock, Basis Dark Orange 80# cardstock and Basis Natural 110# cardstock. I stamped different areas of the rose on the four natural squares and colored them with the same alcohol markers used on the front. I assembled the squares and adhered them to the scored strip. I adhered narrow strips across the top and stamped the inside sentiment in brown ink… my own twist I added to the design to make it mine. ;)
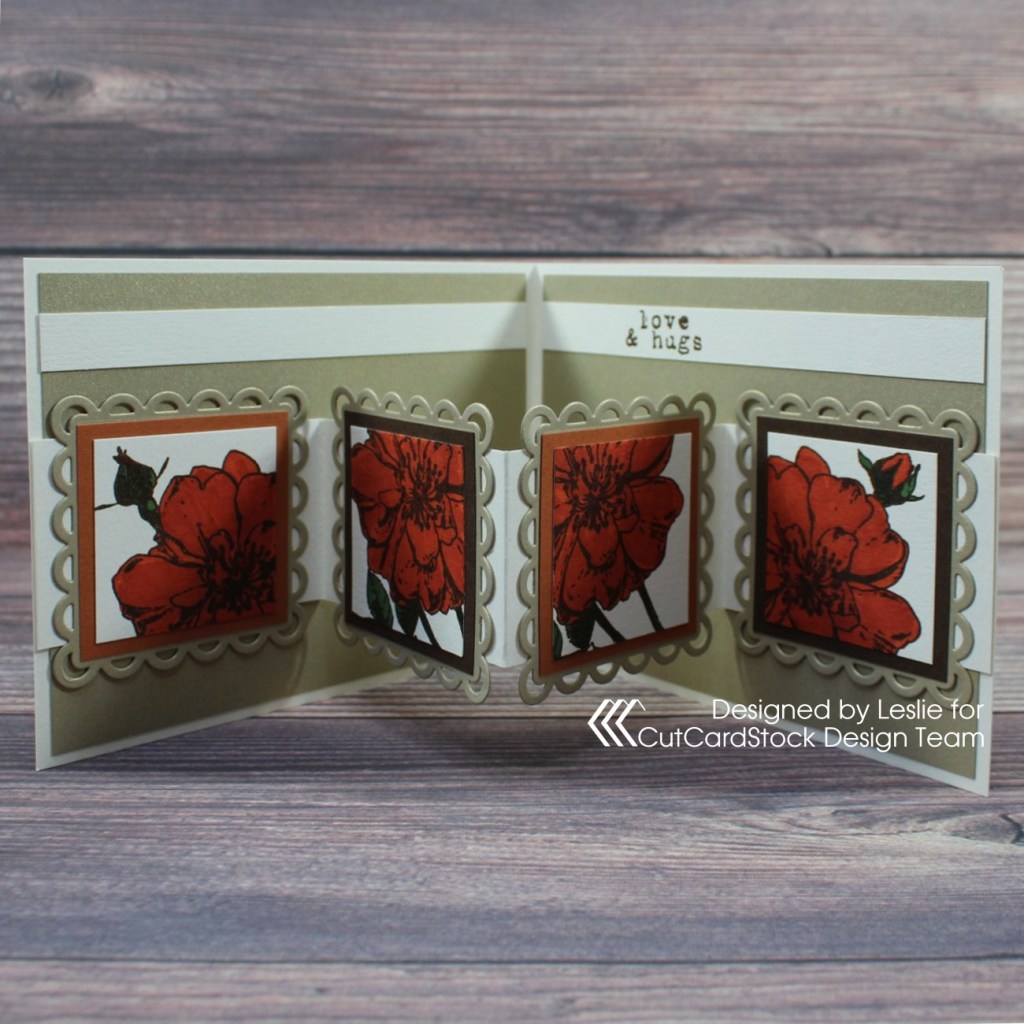
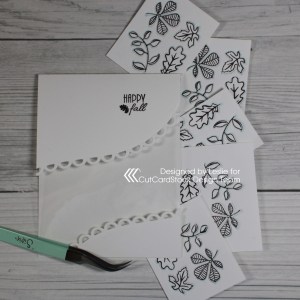
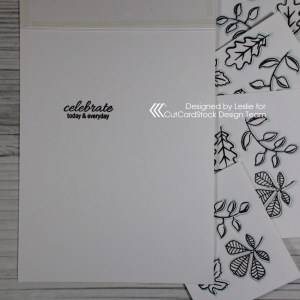
Here are shots showing the ‘M fold’ and inside of the card opened completely up.
And one more peek… totally loving how this turned out! These cardstock colors are ah-maaaazing!
CutCardStock products used:
Basis Natural 110# cardstock
Basis Brown 80# cardstock
Basis Dark Orange 80# cardstock
Curious Metallic Gold Leaf 92# cardstock
Other products used:
Stamps: Hero Florals Rose Stem stamp set
Ink: Catherine Pooler Icing On The Cake ink; Arteza alcohol markers- YR00, YG01
Dies/Punches: Spellbinders Lacy Squares die
Accessories: Tonic Studios 12″ Guillotine Paper Trimmer, MISTI stamp tool, Big Shot, Bearly Art precision craft glue, Trinity Stamps Topaz Twinkle Embellishment Mix, Trinity Stamps Pick Up Stick
I hope you’ve enjoyed today’s project and you’re inspired to get crafty! Be sure to check out all the awesome cardstock and other goodies at CutCardStock (adhesives, labels, stickers, pens, watercolors and ribbon to name a few). And head on over to the CutCardStock Facebook Page for more inspiration! Thanks so much for stopping by today – we’ll see you next time!
Scrappy hugs,