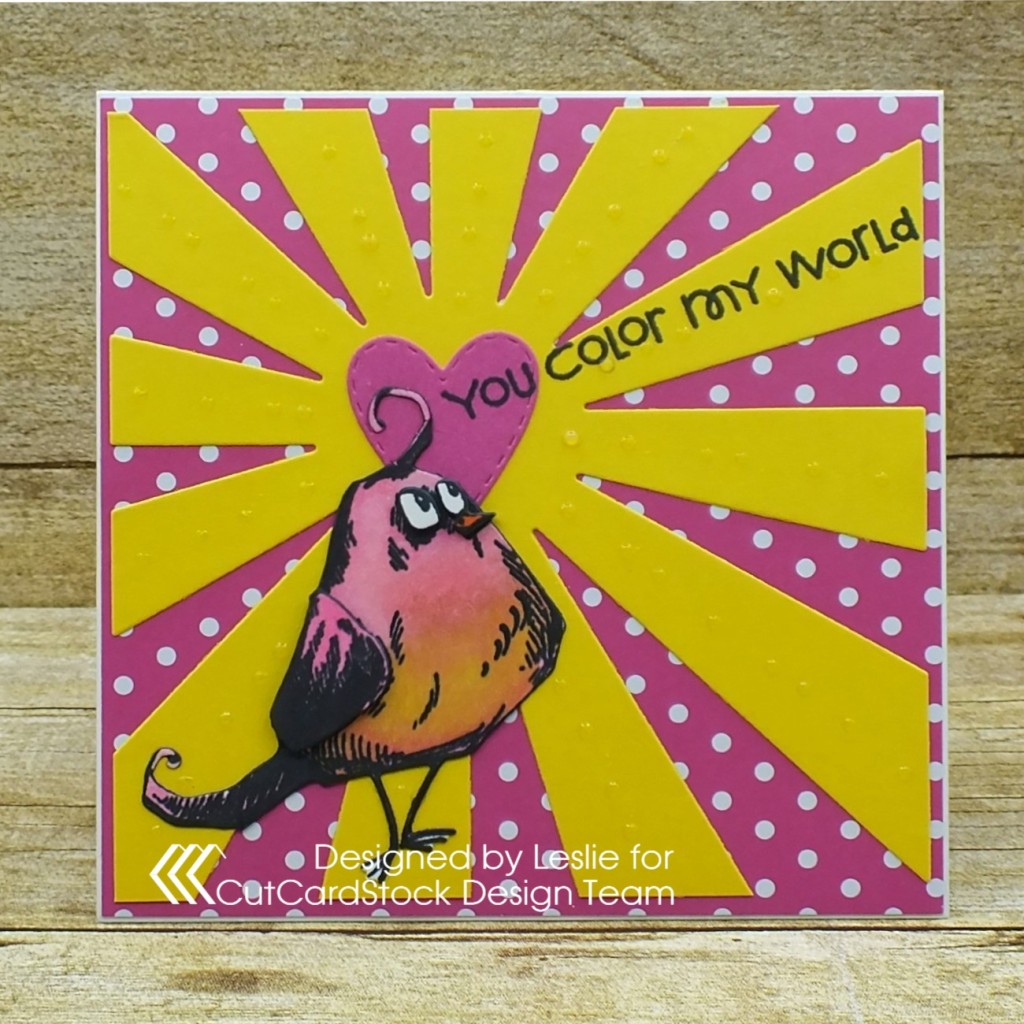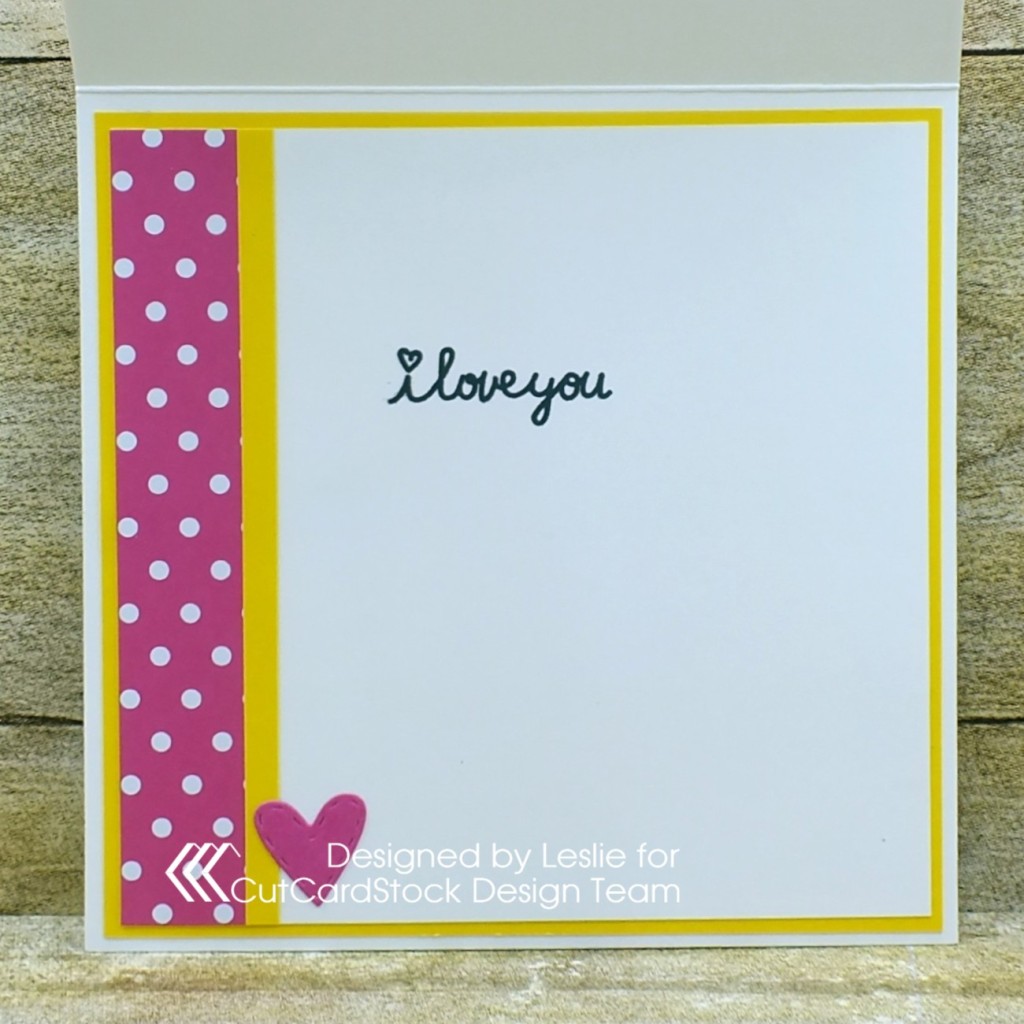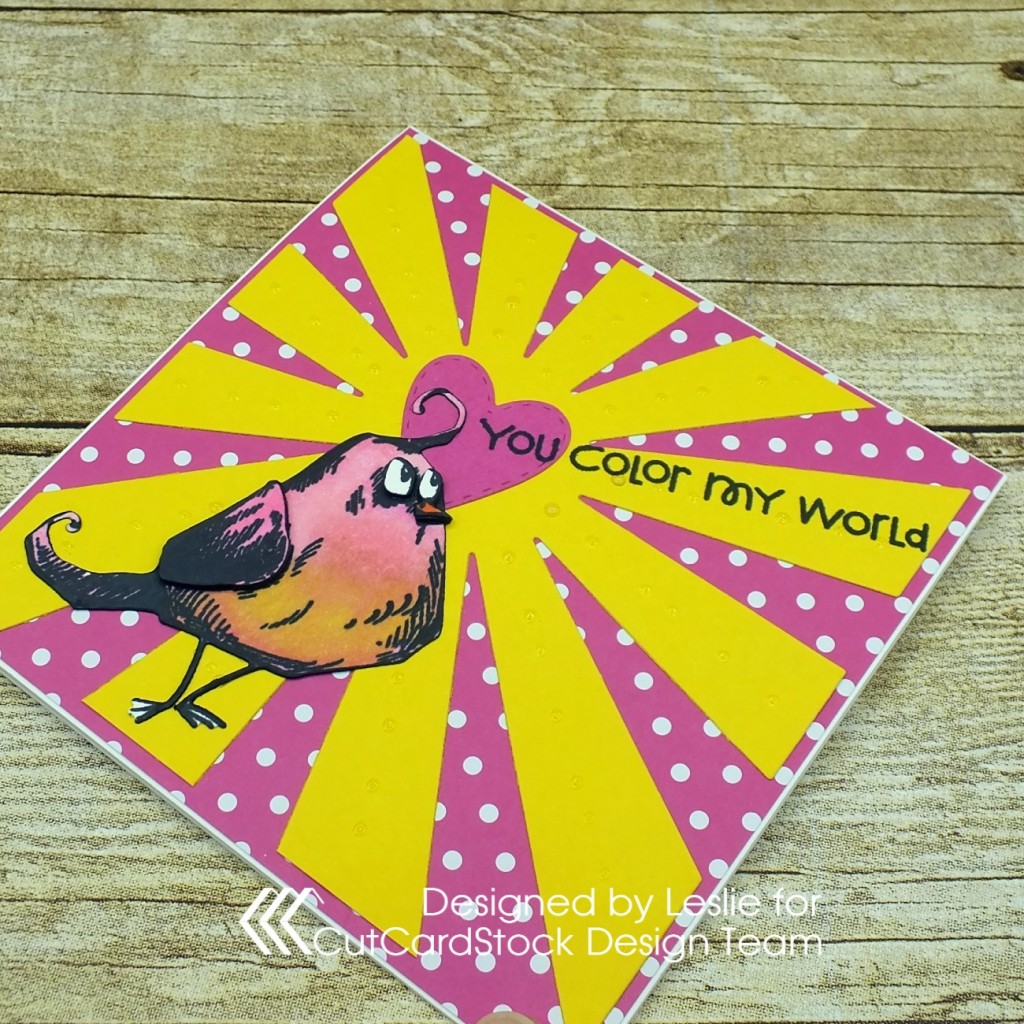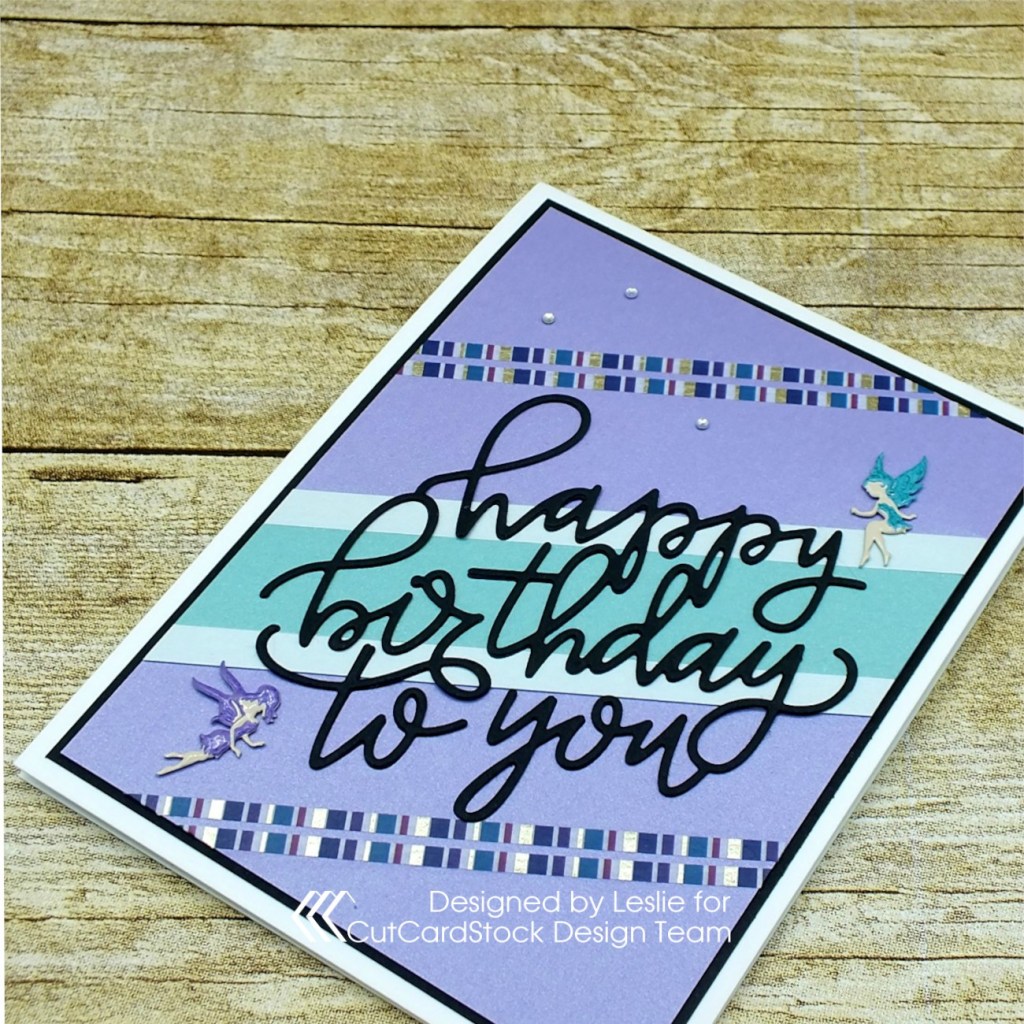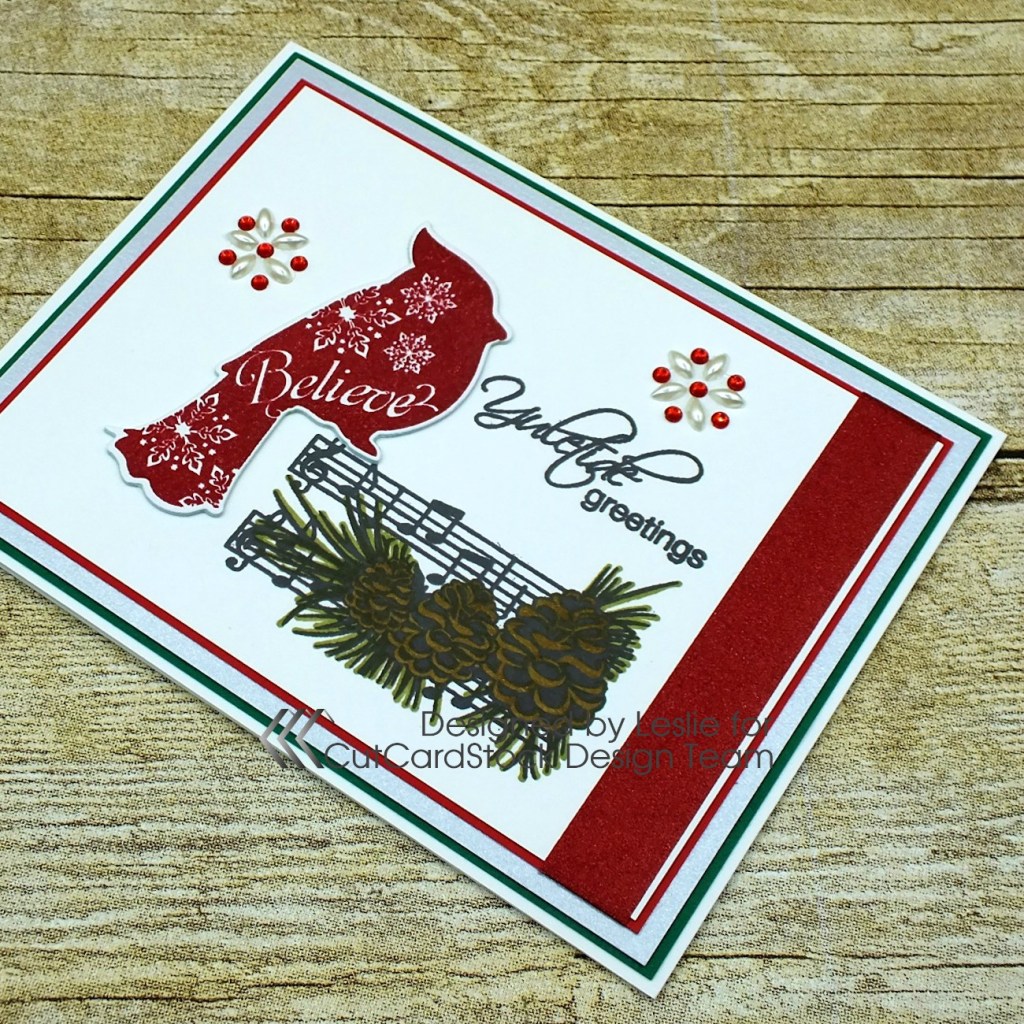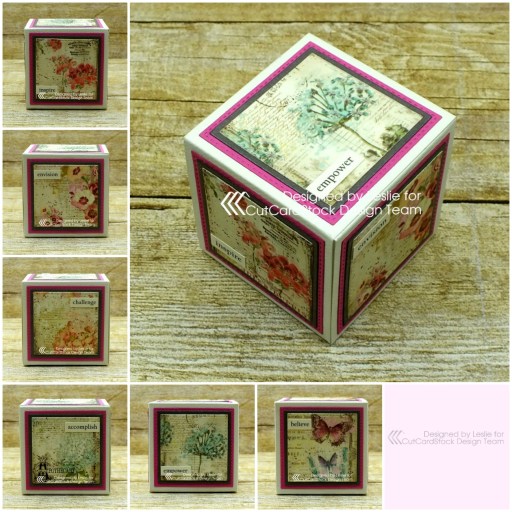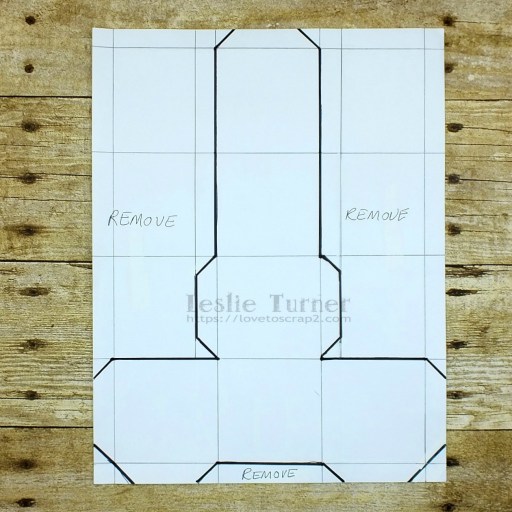
Happy Monday, friends! I’m stoked to be back on the CutCardStock blog today with an awesome DT inspiration project featuring Royal Sundance cardstock that was included in our Designer’s Pack! Affiliate links are used in this post at no cost to you. I really appreciate your support! I created a cool masculine card that would be great for Father’s Day or a male birthday!
I created a standard A2 top folding card base from Royal Sundance Felt Natural cardstock with the textured side up. This cardstock is amazing – it’s sturdy and has a really nice texture on one side with a smoother texture on the other side. I cut a background panel from map paper along with a black layering panel and a wide strip from Pop-Tone Black Licorice cardstock. I created a dotted squares die cut with the smoother side up, stamped the classic car and sentiment in black ink, and adhered it to the background panel. The final touch was the addition of several small black gemstones.
Other products used: Paper: Stampin’ Up Typeset Specialty DSP Stamps: The Project Bin Classic Man stamp set Ink: Memento Tuxedo Black ink Dies/Punches: Sizzix Dotted Squares die Accessories: MISTI stamp tool, Big Shot, Tombow Mono permanent adhesive, Darice black gemstones
I hope you’ve enjoyed today’s project and you’re inspired to get crafty! Be sure to check out all the awesome cardstock and other goodies at CutCardStock (adhesives, labels, stickers, pens, watercolors and ribbon to name a few). And head on over to the CutCardStock Facebook Page for more inspiration! Thanks so much for stopping by today – we’ll see you next time!
Hi everyone! Happy Hump Day! I’m stoked to be back on the CutCardStock blog today with an awesome DT inspiration project featuring Classic Linen, Curious Metallic and Pop-Tone cardstock that was included in our Designer’s Pack. Affiliate links are used in this post at no cost to you. I really appreciate your support! Fall is my favorite time of year so I created a pretty Fall-themed card with a little sparkle to share with you today!
I stamped and die cut more leaves and arranged all of them on the triangular panel. I stamped and embossed the sentiment and cut it with a stitched circle die. I layered the sentiment on a slightly larger orange stitched circle die cut and adhered it in the center of the leaves.
I embellished the inside panel with strips of the gold pearl and orange cardstock, stamped the sentiment and some additional leaves, and layered the panel on the chestnut cardstock.
And one more peek… absolutely loving how this turned out! I can’t say enough about this ah-maaaazing cardstock!
Other products used: Stamps: Prickley Pear Stamps Fall Leaves clear stamp set Ink: Ranger distress archival ink- peeled paint, vintage photo, barn door, fossilized amber and spiced marmalade Dies/Punches: Prickley Pear Stamps Leaf Set dies, Memory Box Stitched Circle Layers dies Accessories: Gemini Junior, 1/4″ Scor-Tape, Bearly Art precision craft glue, MISTI stamp tool, Hero Arts clear embossing powder, Milwaukee heat tool, ScraPerfect Best Glue Ever, Stampin’ Up dimensionals, Darice orange gemstones
I hope you’ve enjoyed today’s project and you’re inspired to get crafty! Be sure to check out all the awesome cardstock and other goodies at CutCardStock (adhesives, labels, stickers, pens, watercolors and ribbon to name a few). And head on over to the CutCardStock Facebook Page for more inspiration! Thanks so much for stopping by today – we’ll see you next time!
9/10/20 Top 3 at Cardz 4 Galz! 9/22/20 Top 5 at Try It On Tuesday!
Hi everyone! Can you believe we’re headed into September already?! I keep saying it’ll be Christmas before we know it… and you know I’m right! Our new CutCardStock DT term starts today and I’m stoked to be back on the CutCardStock blog with an awesome DT inspiration project featuring Curious Metallic Gold Leaf and CCS Gold Glitter cardstock! Affiliate links are used in this post at no cost to you. I really appreciate your support! I created a note card – and this is not your ordinary note card! This note card features a gold starburst background!
I sure had fun with this! I created an A2 size top-folding card base from Classic Crest Baronial Ivory cardstock along with an extra panel for the front and two panels for the inside. I cut strips between 3″ and 5″ long from CCS Gold Glitter cardstock and Curious Metallic Gold Leaf cardstock. The width of the strips for this background can be 1/2″, 3/4″ or 1″ depending on the size of your card. I used 3/4″ wide strips for this note card. I cut each strip in half diagonally, from top right down to bottom left.
Adhering the strips to the panel is absolutely the most fun part of this card! I started at about 10 o’clock and worked my way around the panel in a counter-clockwise fashion, leaving a very thin border between the strips. I then die cut a stitched oval to cover the ends, adhered a die cut sentiment to the oval, and trimmed the right side of the oval even with the right side of the panel. I adhered the panel to the card base and added a few tiny gold flat-back pearls.
I embellished the inside panel with leftover strips of the gold glitter and the gold leaf cardstock, then layered the panel onto another ivory panel for some tone-on-tone interest. I adhered the panel to the inside of the card base and left it blank to write a custom message.
And one more peek… sure am loving how this turned out! So elegant!
Other products used: Dies/Punches: Memory Box Stitched Oval Layers die, Gemini Opulent Swirls die set Accessories: Tombow Mono permanent adhesive, Bearly Art precision craft glue, Gemini Junior, Flourish with a Bling Antique Gold flat-back pearls
I hope you’ve enjoyed today’s project and you’re inspired to get crafty! Be sure to check out all the awesome cardstock and other goodies at CutCardStock (adhesives, labels, stickers, pens, watercolors and ribbon to name a few). And head on over to the CutCardStock Facebook Page for more inspiration! Thanks so much for stopping by today – we’ll see you next time!
9/2/20 Top 3 at Aud Sentiments Challenge Blog! 9/4/20 Top 3 at Cut It Up! 9/4/20 Top Rocker at 613 Avenue Create! 9/6/20 Winner at 613 Avenue Create!
Hi everyone! A big huge giant WELCOME to the CutCardStock blog‘s Fall Fun Blog Hop going on Sunday and Monday – August 23rd and 24th! The hop was supposed to go live on Saturday but due to some technical difficulties, we’re starting today! Affiliate links are used in this post at no cost to you. I really appreciate your support! COME HOP WITH US!
There is a $40 CutCardStock gift card up for grabs!
The winner will be randomly selected via number generator and announced on Tuesday, August 25th on the CutCardstock blog, Instagram story and Facebook page! To be eligible for the $40 gift card, you must comment at each stop along the hop (your name goes in once for the gift card) or upload a Fall-themed project (your name goes in twice for the gift card).We would absolutely LOVE IT if you link up a project with us PLUS it will increase your chances to win! ;)
The wreath is full of several types of die cut leaves in a variety of Fall colors. I used some traditional Thanksgiving patterned paper and did a little stamping in dark brown ink.
I cut the card base and inside panel from Classic Crest Baronial Ivory cardstock. I cut a patterned paper layer for the front and a strip for the inside, as well as front and inside layers (and a narrow strip for the inside) from Pop-Tone Orange Fizz cardstock. I adhered the panels and layers together, and then adhered the round frame to the front panel on the card base.
I arranged the leaves all around the frame, stamped the front sentiment on an oval punched from Classic Crest Baronial Ivory cardstock, and stamped the sentiment on the inside panel. I cut the top and bottom off of the oval sentiment for a little interest. I also punched an oval from the Pop-Tone Wild Cherry cardstock (not shown in photo) and cut the top and bottom off of it as well, and layered it beneath the sentiment.
I adhered the sentiment on the inside of the wreath, and added some bling and a plaid bow.
Other products used: Paper: Ranger Yupo paper, The Paper Studio Four Seasons and Everything In Between -2- paper pad Stamps: Paper Wings Productions Fall Mix It Up clear stamp set Ink: Ranger alcohol ink- lettuce, lemonade, sunset orange, cranberry, eggplant, gold mixative; Memento Espresso Truffle Dies/Punches: Cottage Cutz Oak Leaf Mini, Maple Leaf Mini and Leaf Mini dies; Memory Box Stitched Circle Layers dies, Stampin’ Up Extra Large Oval Punch Accessories: Ranger alcohol blending solution, Gemini Junior, MISTI stamp tool, plaid ribbon from Really Reasonable Ribbon Colors of Autumn Collection
= = = = = = = = = = = = = = = =
Okay, let’s get back to the hop! Here is the complete list of stops:
You should have arrived here from Larissa‘s blog and your next stop is Judy‘s blog. The linky tool is at the end of the post on the CutCardstock blog so that’s where you’ll want to head to link up your project – two projects per person!
I hope you are enjoying the hop and seeing all the Fall projects! If you get lost along the way or if you landed here in the middle of the hop somehow and want to join in the fun, be sure to head on over to the CutCardstock blog to read all the details and start from the beginning!
In closing, I hope you’ve enjoyed seeing my Thanksgiving card and you’re inspired to get crafty AND hop with us AND link up a Fall-themed project! Be sure to check out all the awesome cardstock and other goodies at CutCardStock (adhesives, labels, stickers, pens, watercolors and ribbon to name a few). And head on over to the CutCardStock Facebook Page for lots of crafty inspiration! Thanks so much for stopping by today – we’ll see you next time!
Hi everyone! A big Happy Monday to you! I’m stoked to be back on the CutCardStock blog today with an awesome DT inspiration project featuring more of the Classic Crest cardstock that was included in our Designer’s Pack! Affiliate links are used in this post at no cost to you. I really appreciate your support! I created a fun birthday card for a retro friend, lol!
I cut a standard size A2 top-fold card base from Classic Crest Baronial Ivory cardstock along with another panel for the inside, and rounded the bottom right corner. I cut a strip of Pop-Tone Razzleberry cardstock for the front and a thin strip for the inside. I cut a piece of Pop-Tone Orange Fizz cardstock for the front and another panel for the inside. I stamped the jukebox, boomerang, two stars and two jacks on the ivory cardstock and cut them with coordinating dies. I created two extra jukebox die cuts and layered them on top of each other for a little dimension. I also cut an extra boomerang die cut which I layered beneath the stamped one for just a tad extra dimension. I really enjoyed putting this card together – reminded me very much of my dad’s stereo system with the huge speaker in the living room that had boomerangs, stars and jacks on the fabric! Very 60s, lol!
I embellished the inside panel with some of the retro paper and Razzleberry cardstock, stamped the sentiment in black and layered the panel on the Orange Fizz cardstock.
And one more look… totally loving how this turned out! Retro is so awesome! Hey, I resemble that remark! ;)
Other products used: Paper: Retro paper from Polly’s Paper Studio Stamps & Dies: The Project Bin Jukebox Birthday stamp and die set Ink: Memento Tuxedo Black ink, Stampin’ Up Pumpkin Pie and Melon Mambo ink Punches: Kadomaru Corner Rounder Accessories: Tombow Mono permanent adhesive, Bearly Art precision craft glue, MISTI, Gemini Junior
I hope you’ve enjoyed today’s project and you’re inspired to get crafty! Be sure to check out all the awesome cardstock and other goodies at CutCardStock (adhesives, labels, stickers, pens, watercolors and ribbon to name a few). And head on over to the CutCardStock Facebook Page for more inspiration! Thanks so much for stopping by today – we’ll see you next time!
Hello, my friends! Happy Saturday – hope you have a fun weekend planned! I’m stoked to be back on the CutCardStock blog today with an awesome DT inspiration project featuring Classic Crest cardstock that was included in our Designer’s Pack! Affiliate links are used in this post at no cost to you. I really appreciate your support! I created an adorable ‘love you’ card for one of our granddaughters.
This was such a fun card – and a super easy design! I cut a standard A2 size top fold card base from Classic Crest Solar White 110# cardstock and another panel from 80# Solar White for the inside. I cut panels for the front and the inside from yellow texture paper. I stamped the popcorn box, popcorn, loose kernels and sentiments on the 110# Solar White cardstock and cut them with the coordinating dies. I colored the popcorn with Nuvo alcohol markers. Then the fun part – which is always arranging the elements! ;)
I embellished the inside panel with a piece of the yellow texture paper used on the front, adhered the sentiment and some loose kernels, and layered the panel on the same yellow texture paper.
And one more peek… love, love, love! So stinkin’ cute I can’t stand it! ;)
Other products used: Paper: The Paper Studio Entirely Textures 2 12×12 paper pad Stamps & Dies: The Project Bin Just Poppin’ stamp and die set Ink: Nuvo alcohol markers- 403, 473; Stampin’ Up Real Red ink, Memento Tuxedo Black ink Accessories: Tombow Mono permanent adhesive, MISTI stamp tool, Gemini Junior
I hope you’ve enjoyed today’s project and you’re inspired to get crafty! Be sure to check out all the awesome cardstock and other goodies at CutCardStock (adhesives, labels, stickers, pens, watercolors and ribbon to name a few). And head on over to the CutCardStock Facebook Page for more inspiration! Thanks so much for stopping by today – we’ll see you next time!
7/30/20 DT Favorite at Classic Design Challenge Blog! 8/5/20 Top 3 at Jan’s Digi Stamps Challenges! 8/18/20 Top 3 at Not Just Cards Challenges!
Hi, friends! Happy Monday – hope you had a wonderful weekend! I’m stoked to be back on the CutCardStock blog today with an awesome DT inspiration project featuring more of the Curious Metallic and Glitter cardstock that was included in our Designer’s Pack! Affiliate links are used in this post at no cost to you. I really appreciate your support! I created a glitzy and glamorous little handbag to hold birthday chocolates, jewelry or a gift card! OMG, how stinkin’ cute is this?!
I found this stamp and die set at one of my favorite online stores several months ago and could not wait to get my hands on it! I cut all the purse pieces from CCS Silver Glitter cardstock and Curious Metallic White-Silver cardstock. I also used Pop-Tone Wild Cherry cardstock for a pop of red on the charm and one of the tags, and then to tie in that pop of red I used a few red flat-back pearls. I stamped both tags in red ink (tone-on-tone stamping on the red tag) and then heat embossed the sentiment tag with clear embossing powder over top the red ink. I had a small ball chain in my stash that I used to hang the charm, tassel and tags off one of the straps.
Here’s a shot of the back…
And one more look… I love it so much I can’t stand it! And I can’t wait to make some more using different colors and patterns of cardstock. So fun!
Other products used: Stamps: Concord & 9th Everyday Purse stamp set Ink: Stampin’ Up Real Red ink Dies/Punches: Concord & 9th Everyday Purse die set Accessories: Bearly Art precision craft glue, Gemini Junior, MISTI stamp tool, Hero Arts clear embossing powder, Flourish With A Bling red flat-back pearls, small ball chain from stash
I hope you’ve enjoyed today’s project and you’re inspired to get crafty! Be sure to check out all the awesome cardstock and other goodies at CutCardStock (adhesives, labels, stickers, pens, watercolors and ribbon to name a few). And head on over to the CutCardStock Facebook Page for more inspiration! Thanks so much for stopping by today – we’ll see you next time!
Hi everyone! A very Happy Friday to you! I’m stoked to be back on the CutCardStock blog today with an awesome DT inspiration project featuringCurious Metallic and Glitter cardstock that was included in our Designer’s Pack! Affiliate links are used in this post at no cost to you. I really appreciate your support! I created a Christmas card in gold tones with a pop of traditional red and green. It’s never too early to work on those Christmas cards!
I created the poinsettia embellishment first from CCS Gold Glitter cardstock, using Pop-Tone Wild Cherry cardstock for the center and Basis Green cardstock for the leaves, and set it aside. I cut a standard A2 size top-fold card base from Classic Crest Baronial Ivory cardstock and layered a panel of Curious Metallic Gold Leaf cardstock onto the card base. I adhered a strip of the gold glitter cardstock horizontally across the front panel and then layered a narrow strip of the gold leaf metallic cardstock onto the glitter strip. I adhered the poinsettia embellishment on the left side and then stamped the sentiment in red ink on the bottom right. I embellished the center of the poinsettia with Crystal Drops and then added a few more dots to the background for a little interest.
I embellished the inside panel with strips of the gold glitter and gold leaf metallic cardstock, stamped the sentiment in red ink, and layered the panel on the gold leaf metallic cardstock.
One more peek… I’m so smitten with this design! Absolutely loving the elegant look of the gold glitter cardstock on the gold leaf metallic cardstock!
Other products used: Stamps: The Project Bin Merriest Christmas stamp set Ink: Stampin’ Up Real Red ink Dies/Punches: Hero Arts Paper Layering Poinsettia die set Accessories: Tombow Mono permanent adhesive, Bearly Art precision craft glue, Gemini Junior, MISTI stamp tool, Nuvo Red Berry Crystal Drops
I hope you’ve enjoyed today’s project and you’re inspired to get crafty! Be sure to check out all the awesome cardstock and other goodies at CutCardStock (adhesives, labels, stickers, pens, watercolors and ribbon to name a few). And head on over to the CutCardStock Facebook Page for more inspiration! Thanks so much for stopping by today – we’ll see you next time!
Hi everyone! Happy Hump Day! Today is my baby’s 34th birthday and his big sister will be 37 in January. I feel so old… where has the time gone?! I’m stoked to be back on the CutCardStock blog today with an awesome DT inspiration project featuring more of the Pop-Tone cardstock that was included in our Designer’s Pack! First order of business is to let you know that this post contains affiliate links. I created a set of ‘hello’ cards using what I call the phantom die cutting technique.
I’m still experimenting. I’ve used foam beneath the sentiment on past phantom die cutting projects, and this time I used four layers of cardstock which yielded an equally cool result. This technique is very easy – you simply die cut the sentiment into the background, adhere the positive pieces back into the negative spaces, then adhere several additional sentiment layers on top of the original sentiment on the background. I cut the four card bases from Classic Crest Solar White 110# cardstock. The front panels and die cut sentiments were cut from Pop-Tone Grape Jelly cardstock, Pop-Tone Orange Fizz cardstock, Pop-Tone Razzleberry cardstock and Pop-Tone Wild Cherry cardstock. The only other embellishment used was Crystal Drops. Such a simple monochromatic design!
The inside panels were cut from Classic Crest Solar White 80# cardstock, embellished with a strip of cardstock and floral Washi Tape, and a sentiment stamped in black ink. All four inside panels are the same.
One more look at all four cards… sure am loving how these turned out! I think I will recreate this project using the same Pop-Tone colors with black foam beneath the sentiment for some interest. I think that would look really cool! ;)
Other products used:
Stamps: Paper Wings Productions Sayings and Sentiments stamp set
Ink: Memento Tuxedo Black ink
Dies/Punches: Mama Elephant hello script die
Accessories: Gemini Junior die cutting machine, floral Washi Tape, MISTI stamp tool, Nuvo Ivory Seashell Crystal Drops
I hope you’ve enjoyed today’s project and you’re inspired to get crafty! Be sure to check out all the awesome cardstock and other goodies at CutCardStock (adhesives, labels, stickers, pens, watercolors and ribbon to name a few). And head on over to the CutCardStock Facebook Page for more inspiration! Thanks so much for stopping by today – we’ll see you next time!
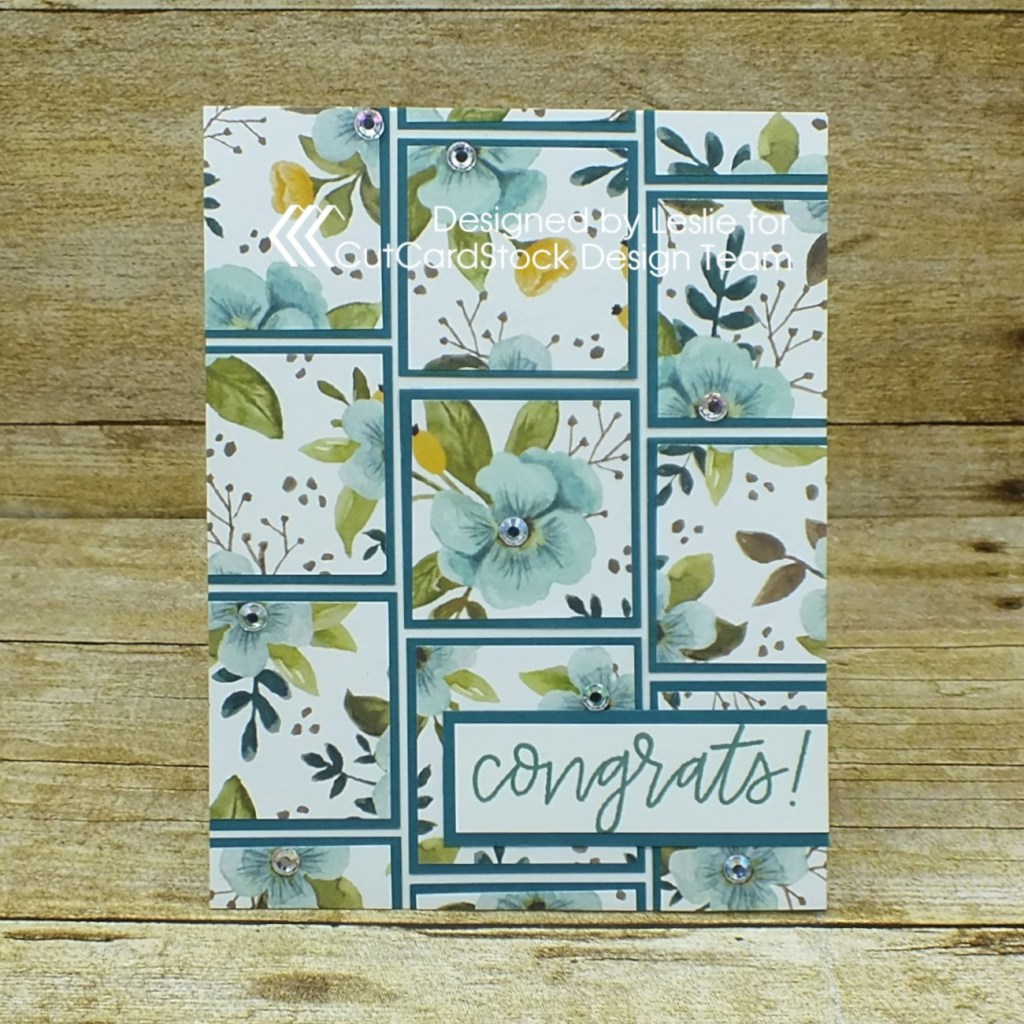
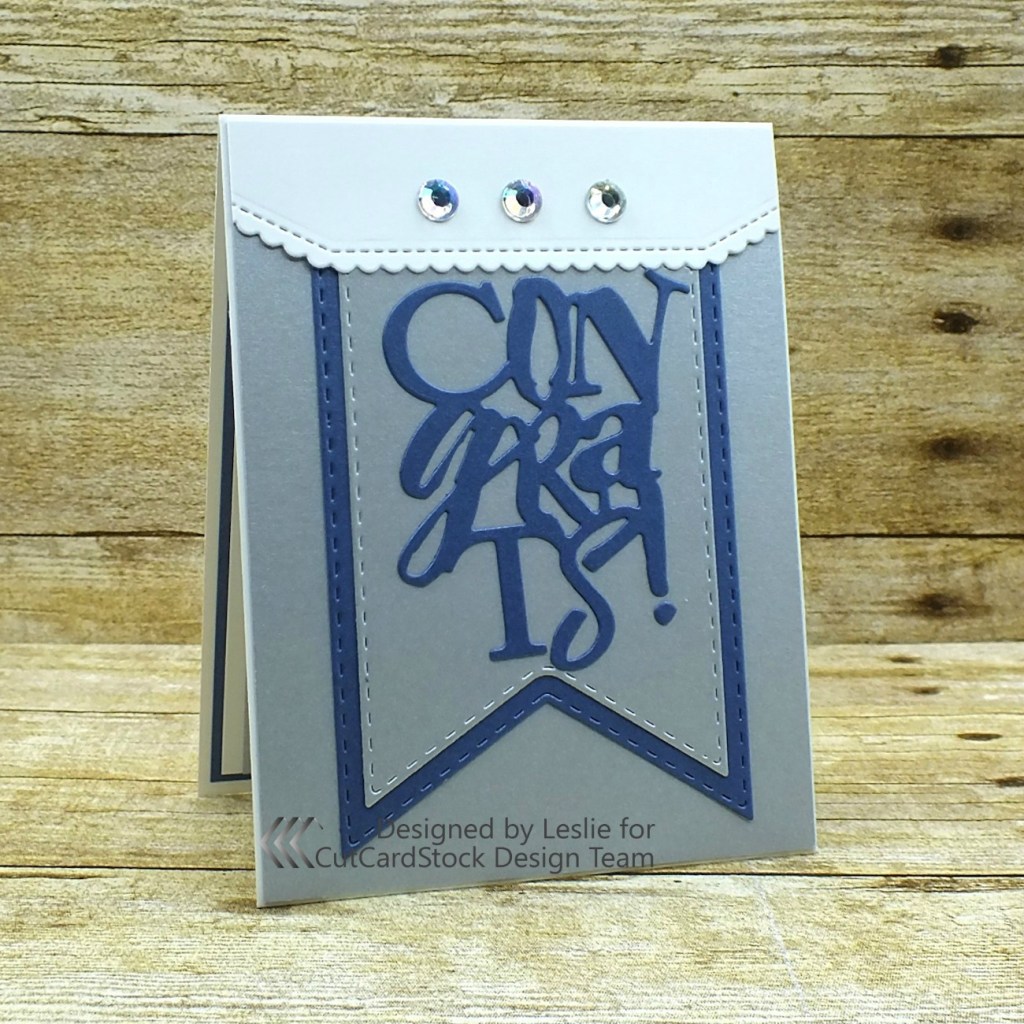
Hi everyone! Happy Friday! I’m stoked to be back on the CutCardStock blog today with an awesome DT inspiration project featuring Pop-Tone cardstock that was included in our Designer’s Pack! First order of business is to let you know that this post contains affiliate links. I created a pretty congrats card that initially made me think ‘wedding’ but really could be used for just about any occasion calling for congratulations – and this one is loaded with color!
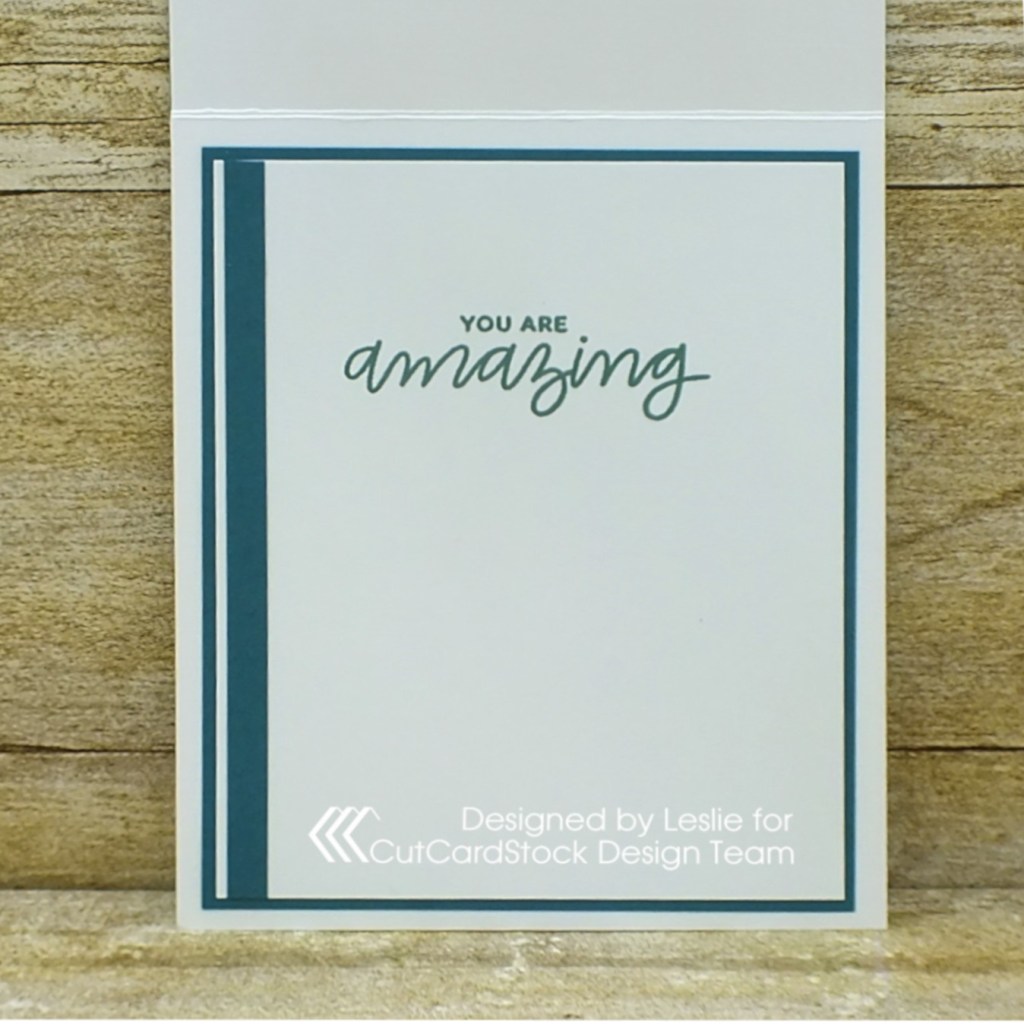
I embellished the inside panel with strips of the Pop-Tone cardstock used for the quilt blocks on the front, stamped the sentiment in black ink and layered the panel on the black Pop-Tone cardstock.
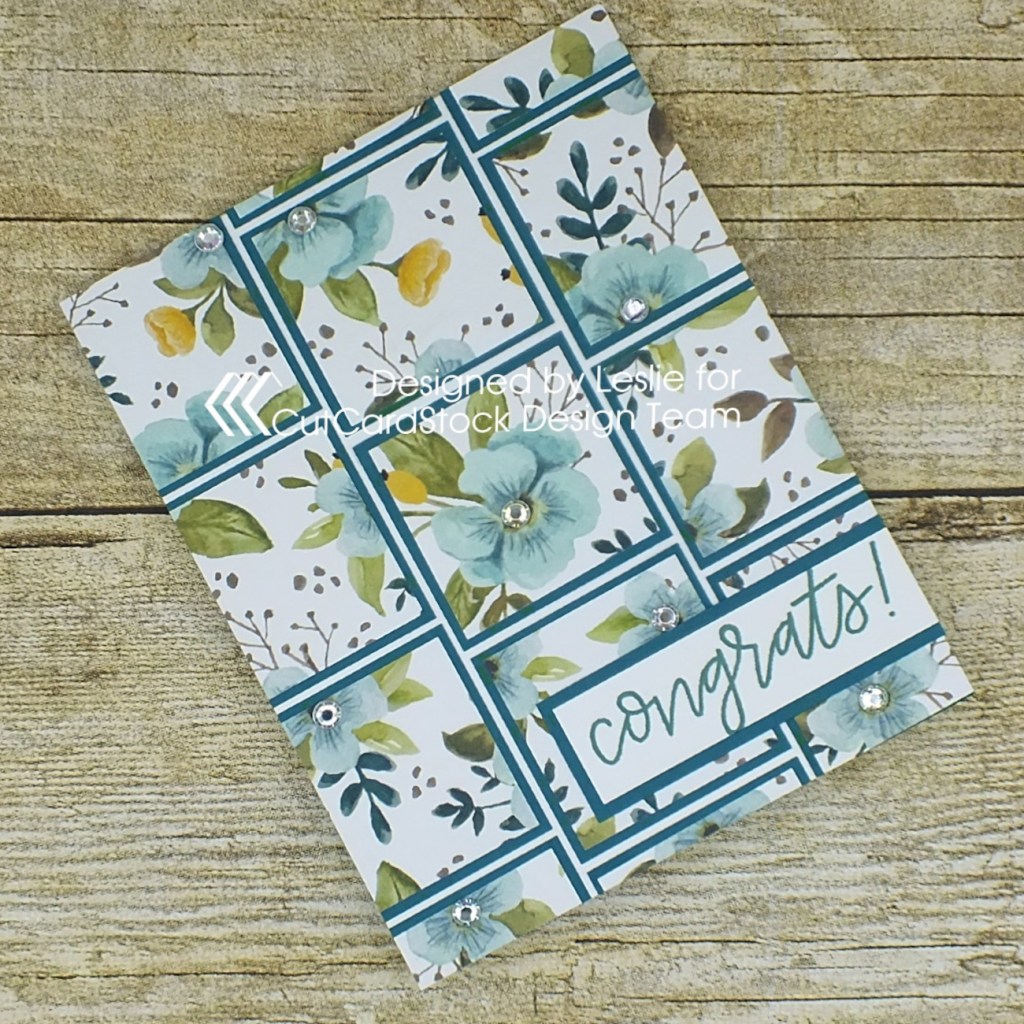
One more peek… I’m so smitten with these Pop-Tone cardstock colors! ;)
Other products used: Stamps: Stampin’ Up Touches of Texture and Simply Wonderful stamp sets Ink: Stampin’ Up Peekaboo Peach, Pumpkin Pie, Cajun Craze, Real Red, Cherry Cobbler, Wisteria Wonder, Perfect Plum, Elegant Eggplant, Strawberry Slush, Melon Mambo, Rose Red, Old Olive; Sakura Clear Star Gelly Roll pen Accessories: ScraPerfect Best Blue Ever, MISTI stamp tool, Darice iridescent gemstones, ScraPerfect Embellie Gellie
I hope you’ve enjoyed today’s project and you’re inspired to get crafty! Be sure to check out all the awesome cardstock and other goodies at CutCardStock (adhesives, labels, stickers, pens, watercolors and ribbon to name a few). And head on over to the CutCardStock Facebook Page for more inspiration! Thanks so much for stopping by today – we’ll see you next time!