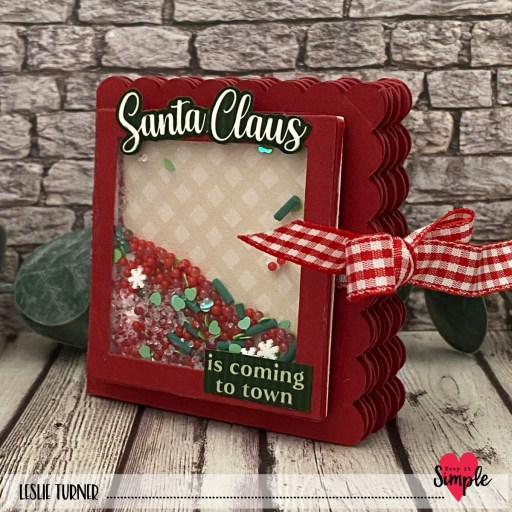
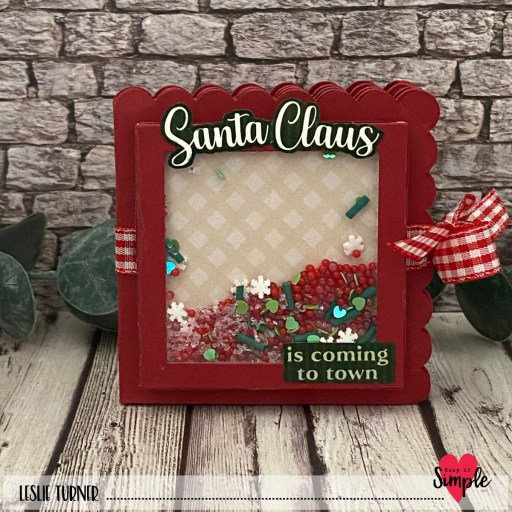
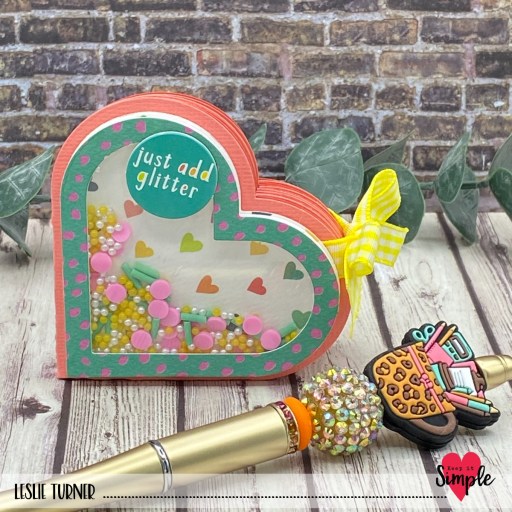
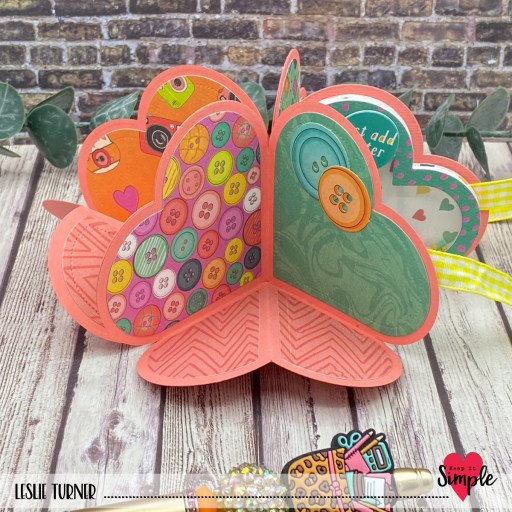
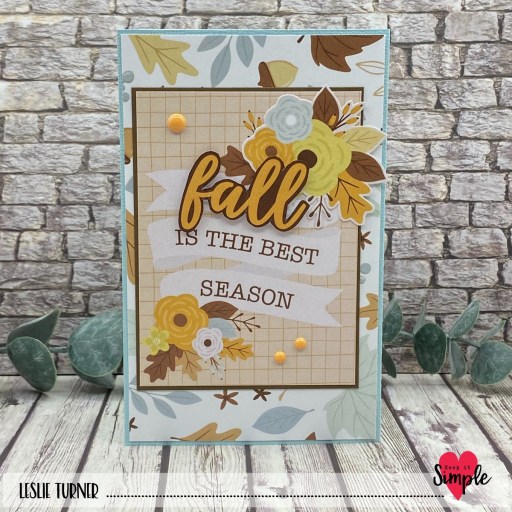
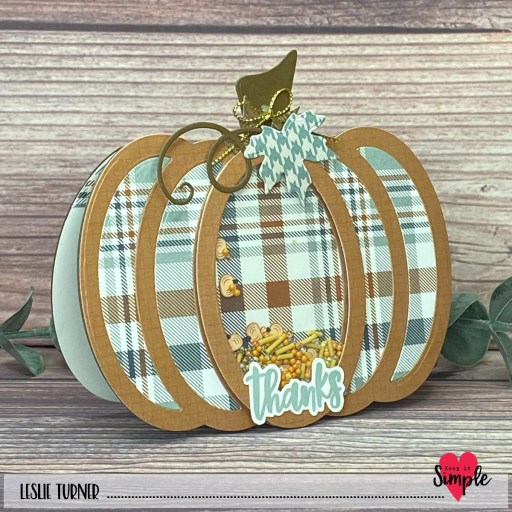
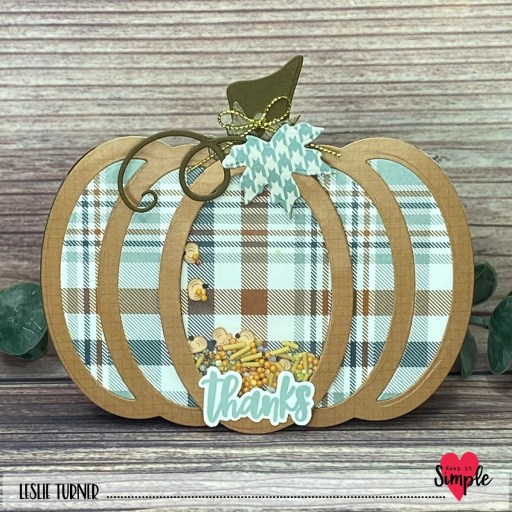
Hey everybody, happy Monday! I hope you had a great weekend! We had a nice relaxed weekend after taking our Loki to the vet Friday morning with a digestive issue. Knowing he’s on the mend and feeling so much better is a huge relief. We sure do love our feline (and canine) kids and hate seeing them sick. I’m delighted to share a Keep It Simple DT inspiration project with you today featuring one of our new Shaker Frames that were released in September. I used the A2 Shaker Frame #6 along with papers from the Autumn Charm collection and stamps from our Bizzy Hands Fall Gnome and Farmhouse Fall stamp sets. As much as I love me some gnomes, it’s hard to believe I used the Fall Gnome stamp set without the gnome, but yes I did. LOL! This card just needed the pumpkins!

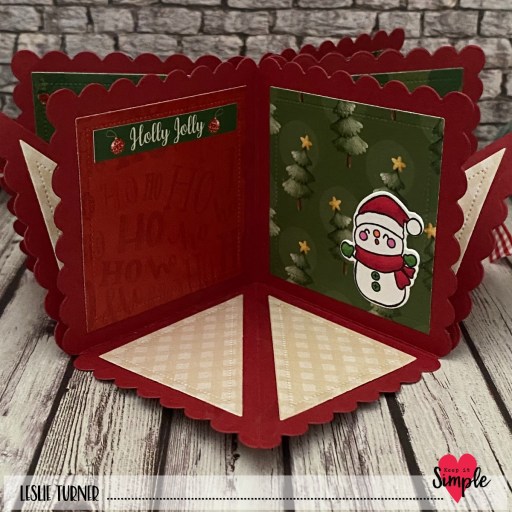
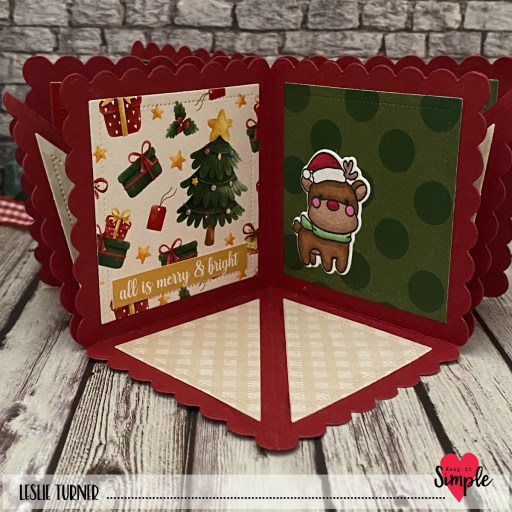
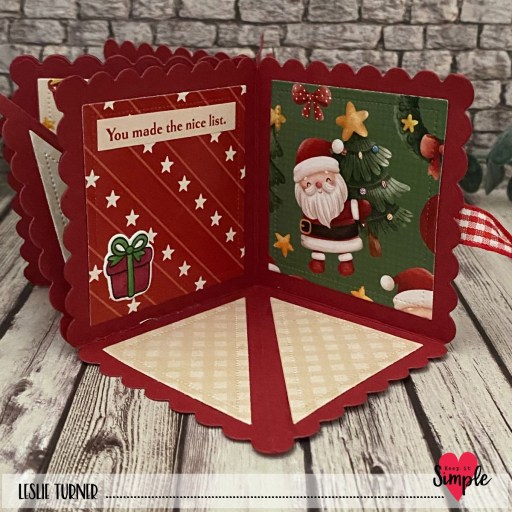
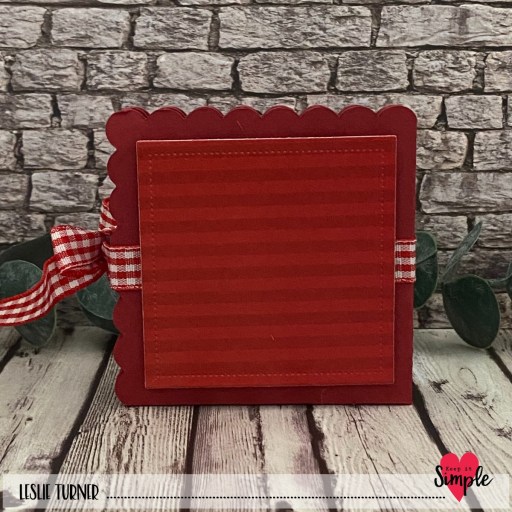
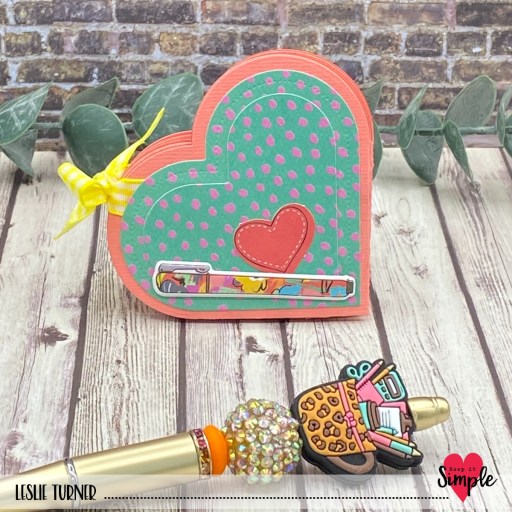
I cut a standard A2 size top-folding card base from CutCardStock Basis Natural cardstock and rounded the corners. I die cut the frame components from prints in the Autumn Charm 6×9 Collection Pack using the KIS Shaker Frames A2 Frames #6. I used acetate and 2mm foam from the Back To Basics Shaker Basics Foam & Acetate Pack with five varieties of Sprinkles to make up the shaker mix. I stamped a sentiment and several images from the Bizzy Hands Fall Gnome stamp set in Memento Rich Cocoa ink, colored the images with alcohol markers, and fussy cut them to embellish the front.

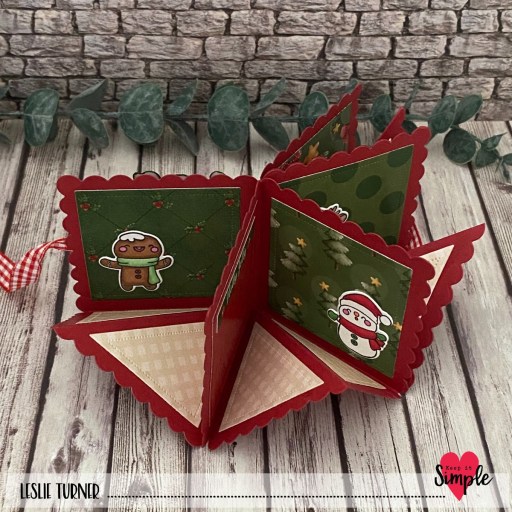
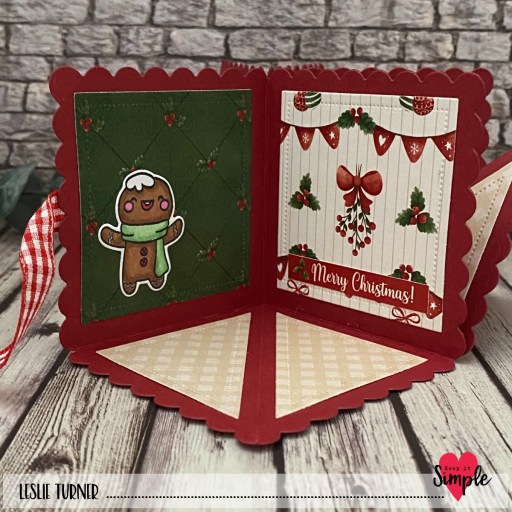
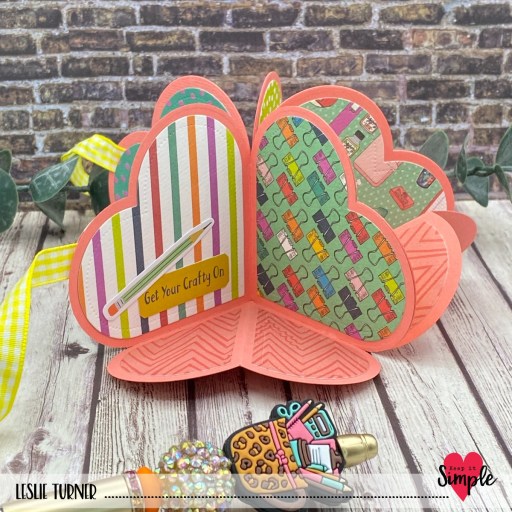
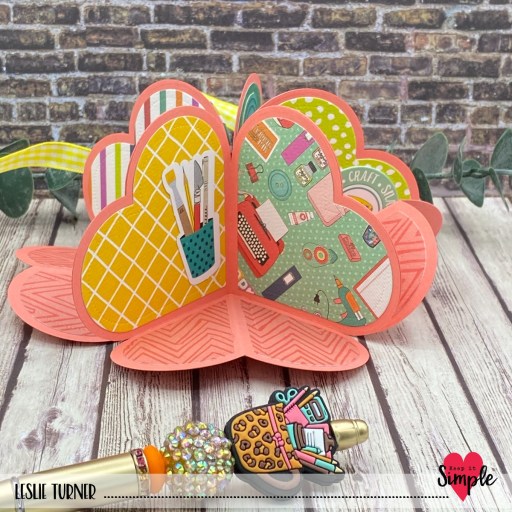
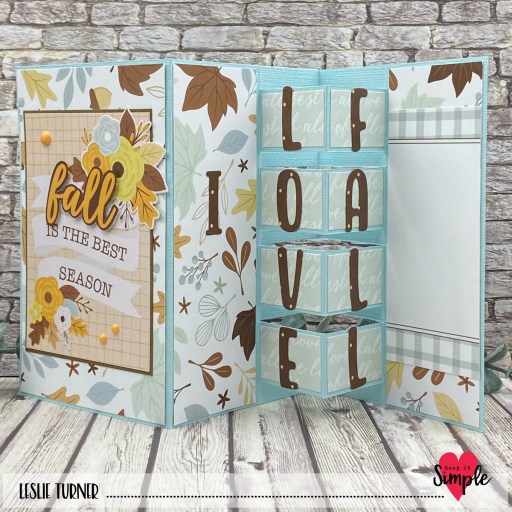
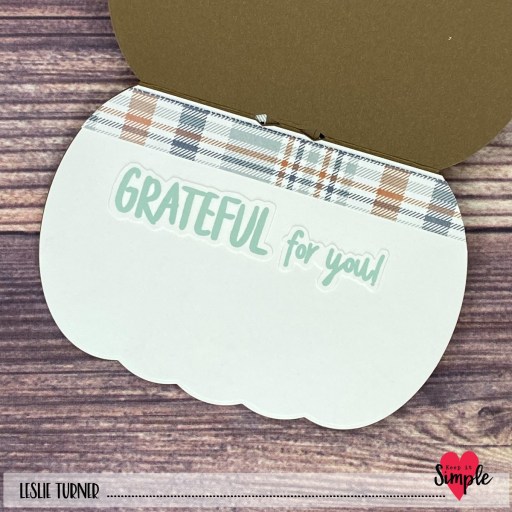
I cut the inside panel from Basis Natural as well and embellished it with a leftover strip of paper from the Farmhouse Fall Collection Pack. I stamped a sentiment from the Farmhouse Fall stamp set in Rich Cocoa ink and layered the panel on another print from the Collection Pack.

Keep It Simple products used:
KIS Shaker Frames A2 Frames #6
Autumn Charm 6×9 Collection Pack
Bizzy Hands Fall Gnome Stamp Set
Farmhouse Fall Collection Stamps
Back To Basics Shaker Basics Foam & Acetate Pack
Sprinkles- Beads-2mm Matte Sunshine Yellow
Sprinkles- Beads-2mm Matte Orange
Sprinkles- Beads-2mm Matte Dark Orange
Sprinkles- Polymer Clay-Light Brown Pumpkins
Sprinkles- Sequins-Dandelion Hearts
Affiliate links are used in this post at no cost to you – I really appreciate your support!
Other products used:
CARDSTOCK/PAPER: CutCardStock Basis 80# Natural cardstock
INK: Catherine Pooler Over Coffee ink; Spectrum Noir Tri-Blends- GY2/3/5, RB2/3, DG1/2/3
DIES/PUNCHES: Kadomaru Pro Corner Rounder
ACCESSORIES: Fiskars 12″ ProCision Rotary Bypass Paper Trimmer, Bearly Art precision craft glue, MISTI stamp tool, Big Shot, Scrapbook.com 1/4″ Double-Sided Adhesive Roll, Scrapbook.com Double-Sided Adhesive Foam Squares
I hope you’ve loved seeing this project as much as I loved creating it and you’re inspired to get crafty! Be sure to check out ALL the fun goodies in the Keep It Simple online store! Save 10% on your entire order when you shop online using code LoveToScrap2 at checkout! There is no minimum purchase requirement and no usage limits, AND it combines with product, order, and shipping discounts! Is that cool, or what?! Be sure to Follow us on Facebook, Instagram, and Pinterest for lots of crafty inspiration! Thanks so much for stopping by today – we’ll see you next time!
Scrappy hugs,