03/28/26 Weekly Favorite at Splitcoast Stampers!
03/28/26 Top Rocker at 613 Avenue Create!
04/03/26 Top Cut at Cut It Up Challenge!
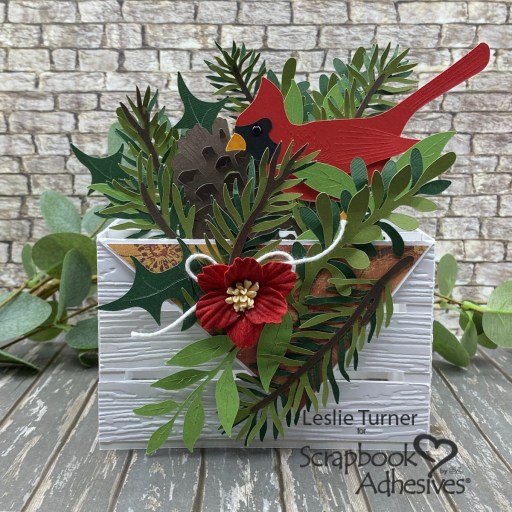
Hey everybody – I hope you’re having a beautiful week and your temps are increasing… just a little bit anyway! I’m up on the Scrapbook Adhesives By 3L blog today sharing a beautiful sympathy card. Let’s face it – the average crafter does not find this type of card easy to make. Many people believe that cardinals symbolize the presence of lost loved ones, especially when grieving. When I found this SVG cut file from SVG Cuts featuring a cardinal, I knew I had to make it into a sympathy card. And, of course, I used a few of the most awesome adhesives to put it together!

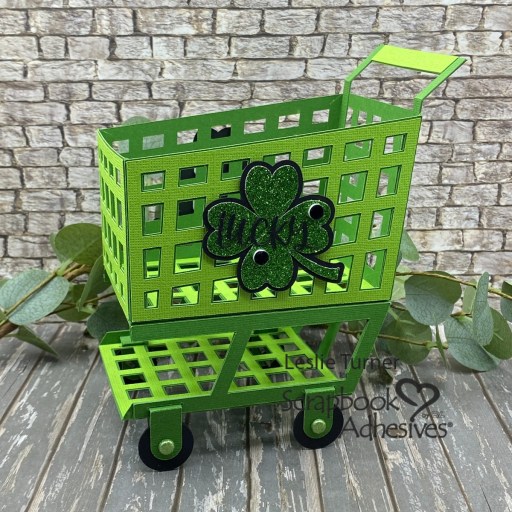
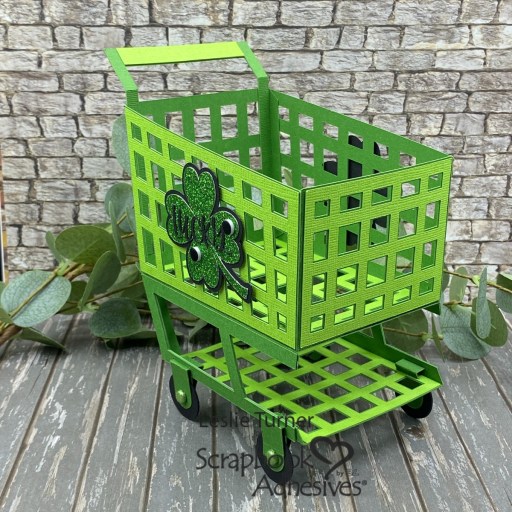
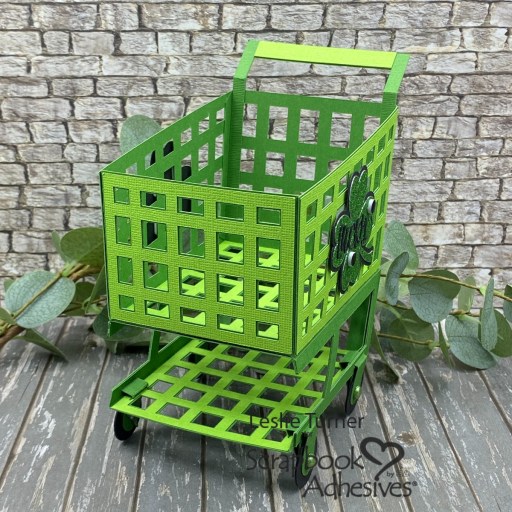
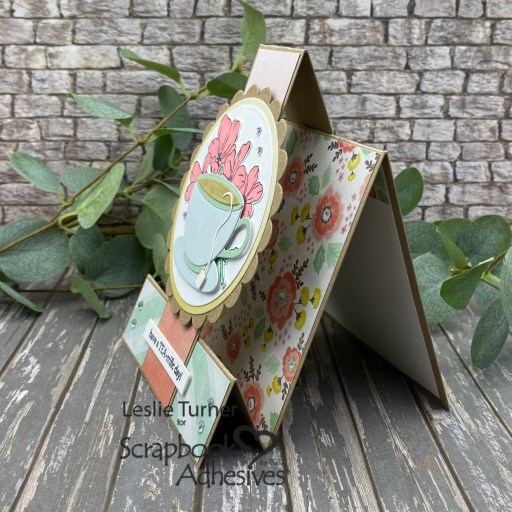
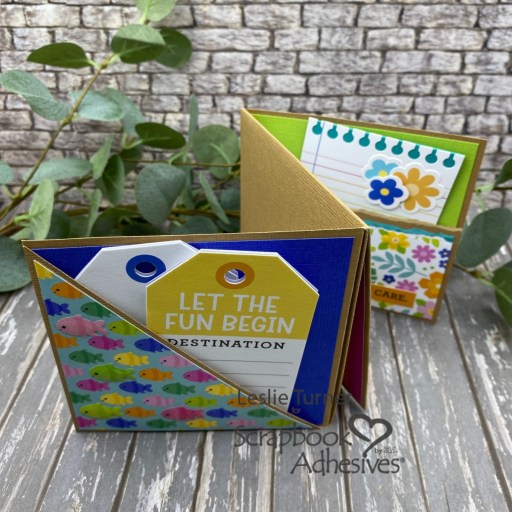
Using my Cricut Explore Air 2 and the SVG Cuts Cardinal Crate Box Card SVG cut file, I cut all the pieces from a large variety of cardstock from CutCardStock (along with prints from the The Paper Shelter Tattered and Worn 12×12 Paper Pad) which I’ve listed below. I made several changes to this file. I believe it was intended to be a Winter-themed card, and since I was making a sympathy card I omitted the greenery with the berries and cut extra pieces for the remaining greenery. I also made the second and third inserts flat instead of shaped so the white cardstock wouldn’t show through the greenery.
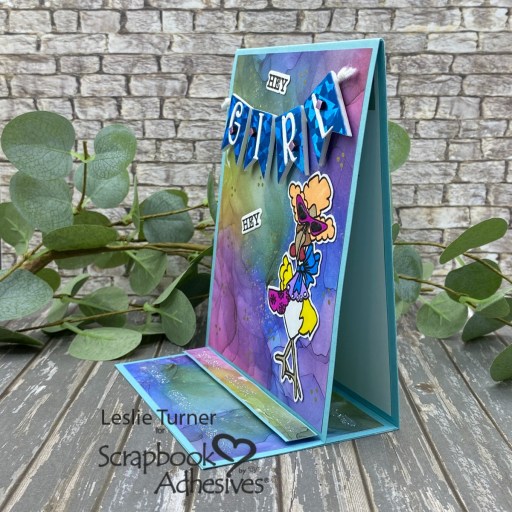
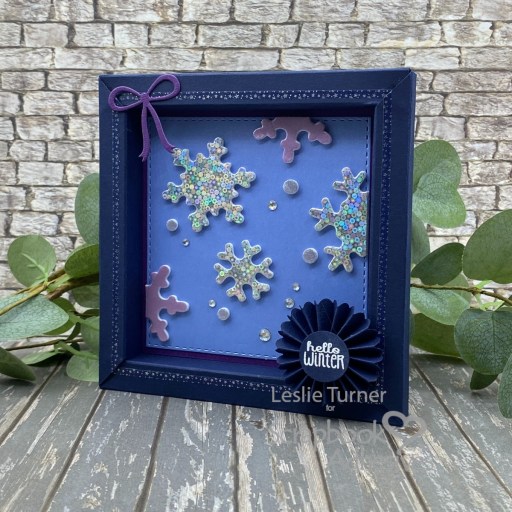
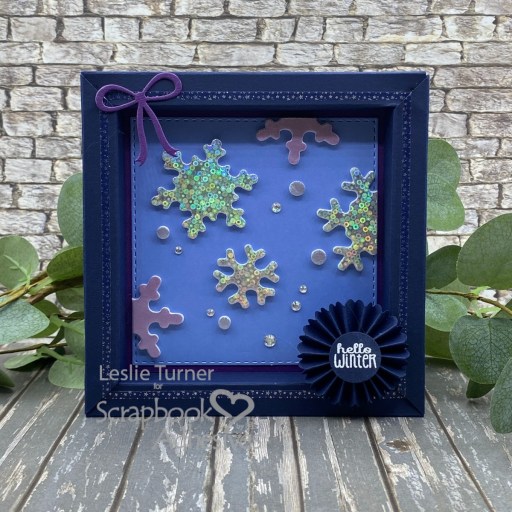
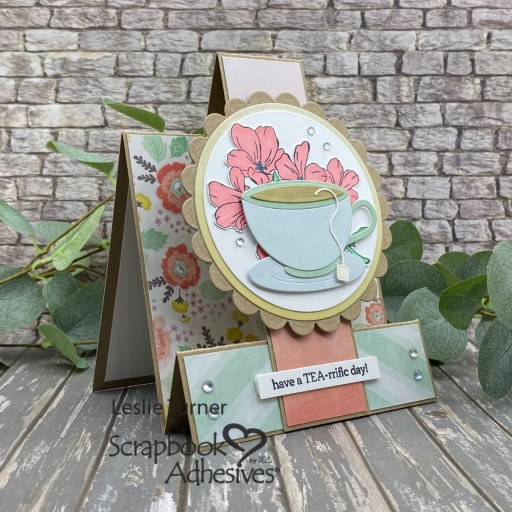
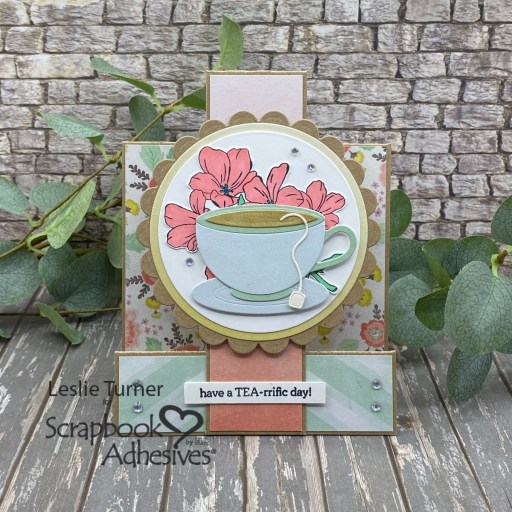
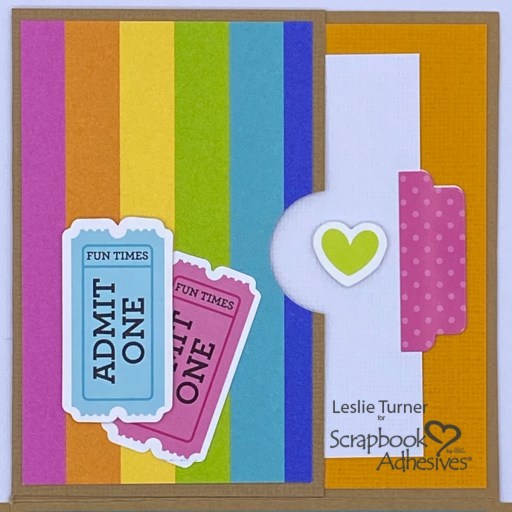
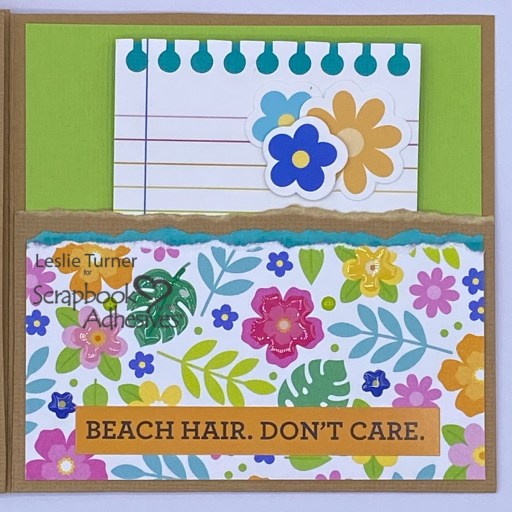
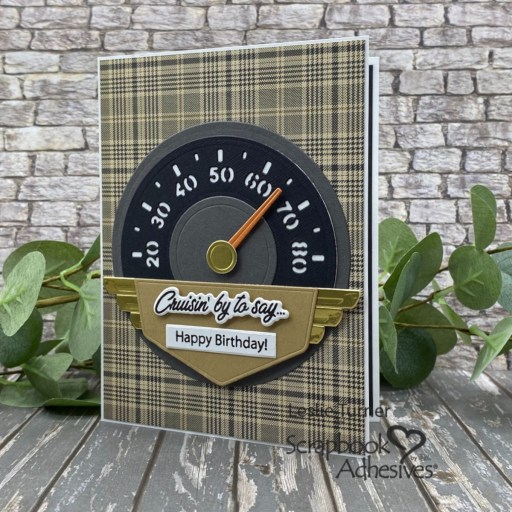
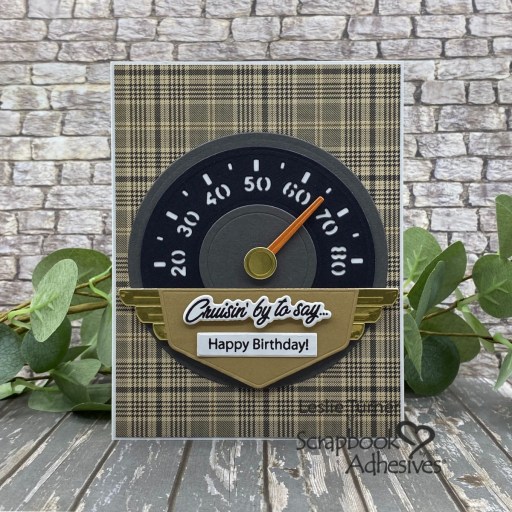
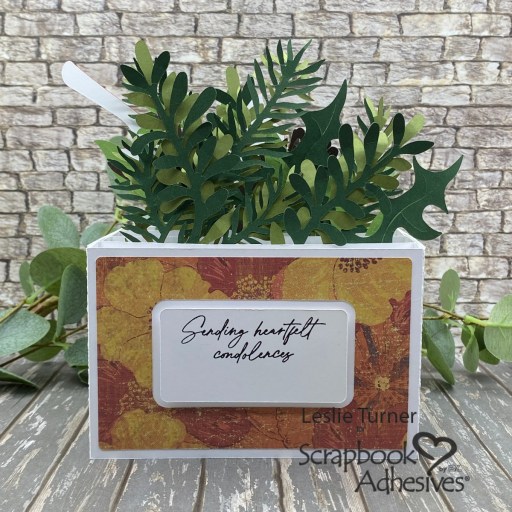
I used two coordinating floral papers from the The Paper Shelter Tattered and Worn 12×12 Paper Pad for the flap on the front and the envelope. I ran the crate panels through the Big Shot in the Crafter’s Companion Wood Grain embossing folder. I used the Dual Tip Glue Pen and E-Z Dots Permanent Refillable Dispenser for the assembly of the card base and inserts. I added a white twine bow and flower embellishment to the front flap, and affixed the flap with 3D Foam Squares White Mix.
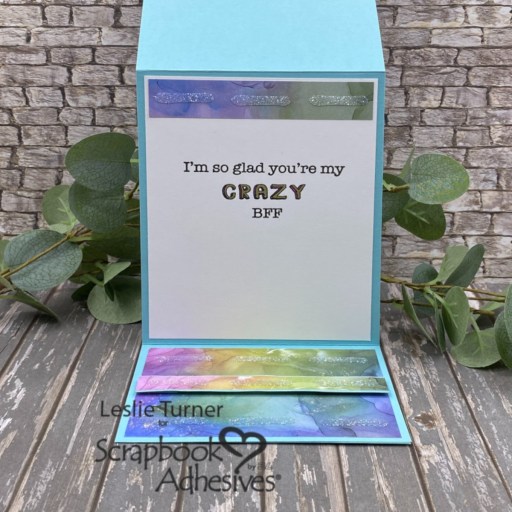
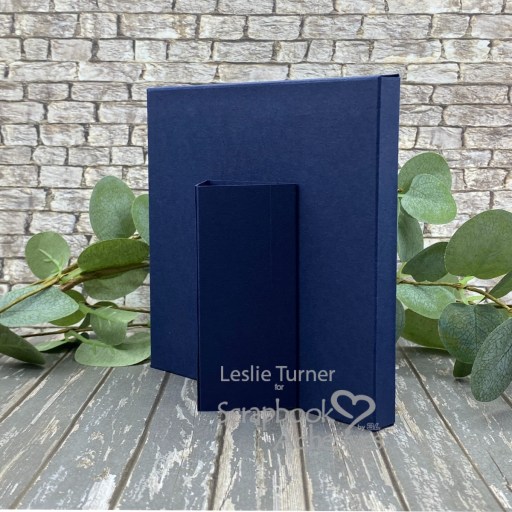
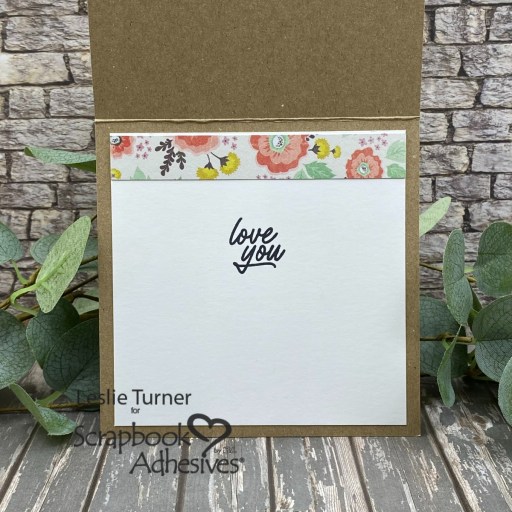
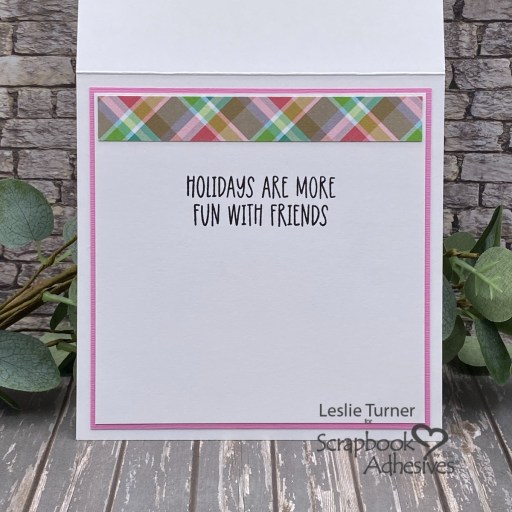
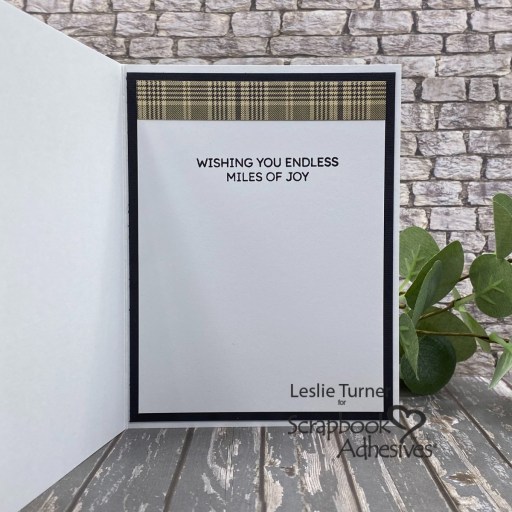
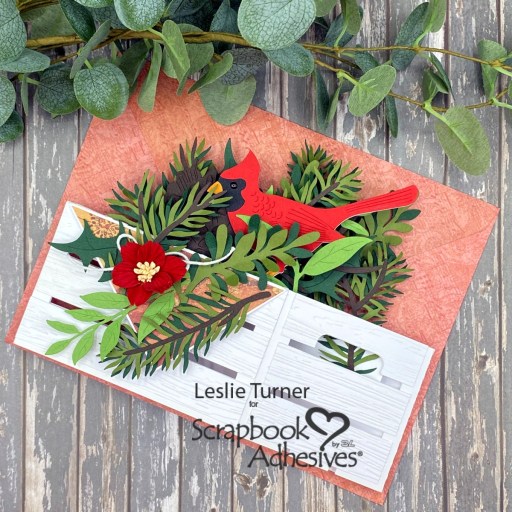
I stamped a sentiment from the Honey Bee Stamps Heartfelt Condolences stamp set in Versafine Onyx Black ink on the sentiment panel and popped it up on 3D Foam Squares White Mix. I’ve included a shot of the flattened card on the envelope; it’s a big one! This would definitely need to be mailed in a padded envelope for protection if it was not going to be hand-delivered. I really love how this turned out and would hope the recipient finds it comforting!
Sharing in the following challenges:
1. https://avenue613.blogspot.com/2026/03/march-2026-anything-goes-w-optional.html
2. https://cardz4galz.blogspot.com/2026/03/272-splash-of-green.html
3. https://cutitupchallenges.blogspot.com/2026/03/cut-it-up-challenge-352-forever-green.html
4. https://lovetocraftchallengeblog.blogspot.com/2026/03/ltccb-91-and-ltccb-90-winner-and-top.html
5. https://lovetoscrapchallengeblog.blogspot.com/2026/03/ltscb-178-anything-goes-ltscb-177.html
6. https://mixitupchallenge.blogspot.com/2026/03/miucb-82-anything-goes-optional-die.html
7. https://www.simonsaysstampblog.com/wednesdaychallenge/simon-says-anything-goes-featuring-altenew/
Products used:
Scrapbook Adhesives by 3L®
E-Z Dots® Permanent Refillable Dispenser
3D Foam Squares White Mix
HomeHobby™ by 3L
Dual Tip Glue Pen
Affiliate links are used in this post at no cost to you – I really appreciate your support!
Other products used:
CARDSTOCK/PAPER: CutCardStock Cougar Smooth 100# White, Pop Tone Black Licorice, Pop Tone Red Hot, Pop Tone Hot Fudge, Pop Tone Orange Fizz, Pop Tone Gumdrop Green, Pop Tone Jellybean Green, and Kale Green cardstock; The Paper Shelter Tattered and Worn 12×12 Paper Pad
STAMPS: Honey Bee Stamps Heartfelt Condolences Stamp Set
INK: Versafine Onyx Black Ink
DIES/PUNCHES: SVG Cuts Cardinal Crate Box Card SVG Cut File
ACCESSORIES: Cricut Explore Air 2, MISTI, Big Shot, Crafter’s Companion Wood Grain Embossing Folder, Keep It Simple Back To Basics Black Enamel Dots, Doodlebug Design Lily White Doodle Twine, Pink Paisley 5th & Monaco Flower Embellishment
I hope you’ve enjoyed this project and you’re inspired to get your crafty supplies out and play! Be sure to check out the awesome array of adhesives and other craft supplies Scrapbook Adhesives By 3L has to offer! And be sure to follow us on Facebook, Pinterest, Instagram and Twitter for lots of crafty inspiration! And if you haven’t yet subscribed to our YouTube Channel, be sure to do that, too, for even more inspiration! Thanks so much for stopping by today – we’ll see you next time!
Scrappy hugs,