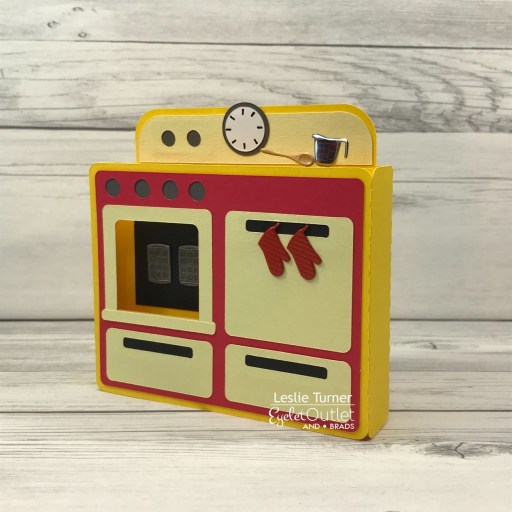
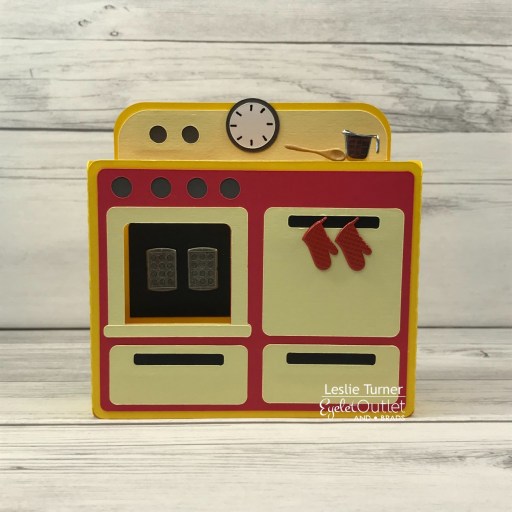
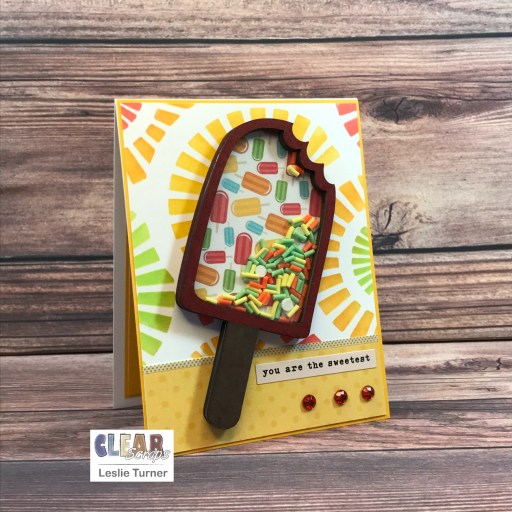
Hey, everybody! I hope you had a great week and you’re having fun this weekend and staying healthy! I’m thrilled to be back on the Clear Scraps blog today with another awesome DT inspiration project! I created another 3-D Frameables project – these are so versatile and so much fun! I used the Base with Square Frame and Word n Shape Summer-Flip Flops this time to document a memory from May 1978 that is still just as fresh in my mind as it was that day! My BFF got a brand new 1978 Chevy Camaro which we drove up and down the strip on Daytona Beach – back in the day when people were actually allowed to drive on the beach. We had such a great time… hard to believe that was 44 years ago, lol!

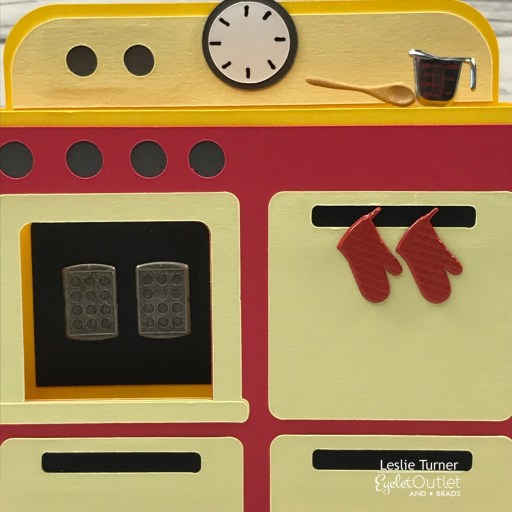
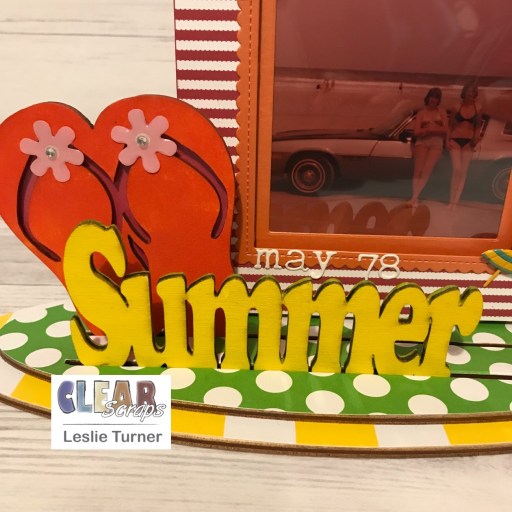
I painted the word Summer with yellow acrylic paint and the flip flops with orange acrylic paint and let them dry. I adhered a piece of pink cardstock to the back of the flip flops and embellished them with enamel flowers.

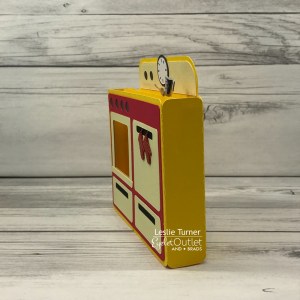
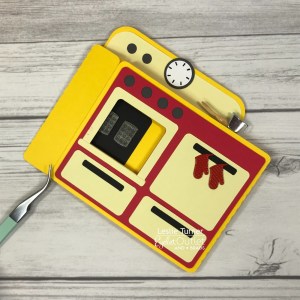
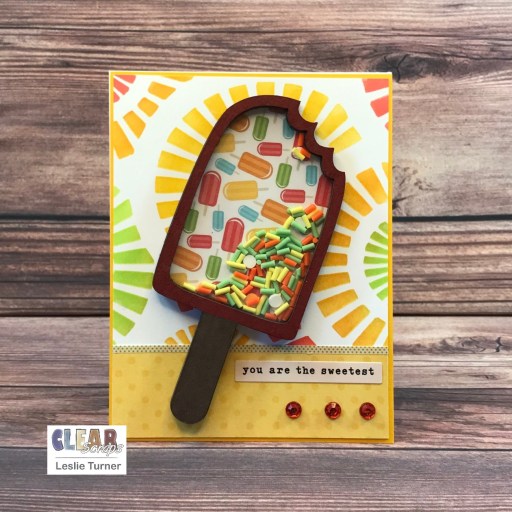
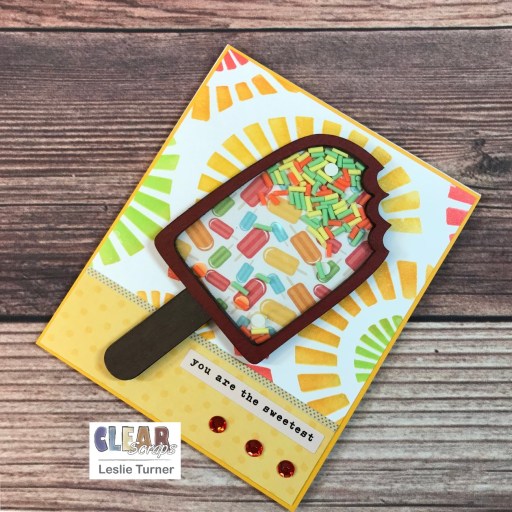
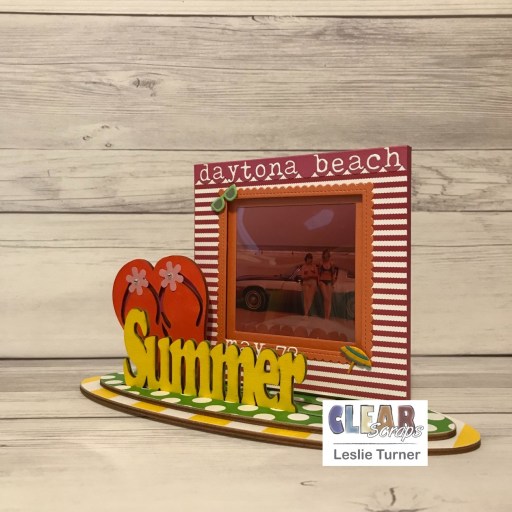
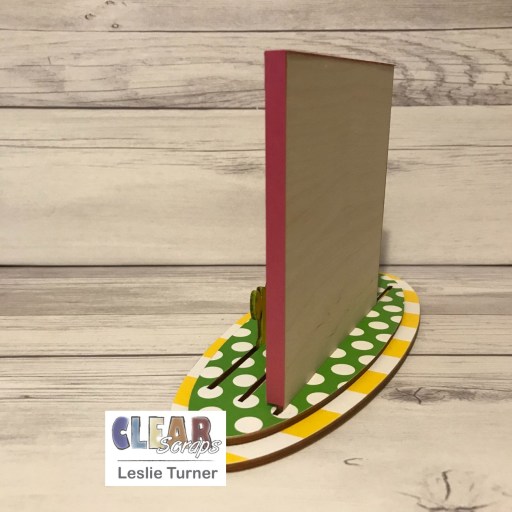
I covered the smaller oval base with green dotted paper, the larger oval base with yellow striped paper, and the frame with red and white striped paper. I adhered an orange cardstock mini scallop frame around the opening of the frame. I added acetate to the back of the frame to keep the photo clean and free of dust (which unfortunately casts weird shadows on the photo, lol). I adhered the frame to the wood backing and let it dry overnight with clips. That’s me on the right, by the way. ;)
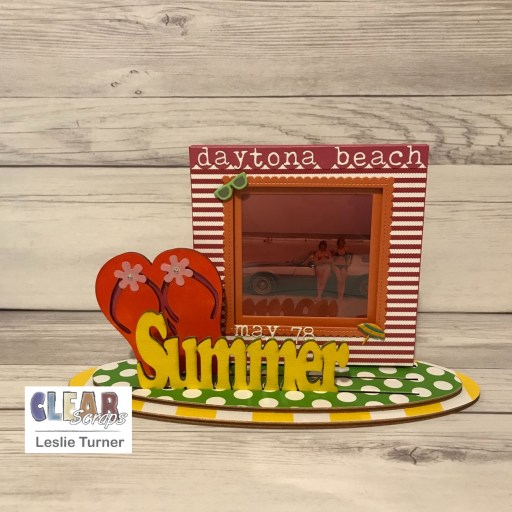
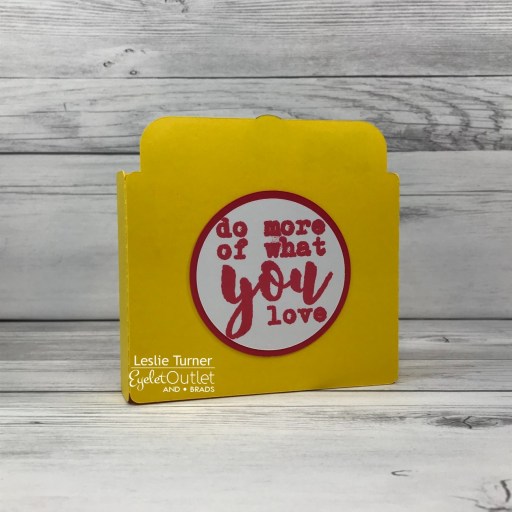
I added a pink scallop strip to the top edge of the frame and added white die cut letters spelling ‘daytona beach’ and then adhered pink strips to the left and right edges for a finished look. I added the date using white die cuts along with sunglasses and beach umbrealla brads.
Sharing in the following challenges:
1. A Perfect Time To Craft Open Challenge: #05-2022 – Anything Goes
2. Classic Design Challenge: #5 May Anything Goes
3. Crafting Happiness Challenges: #123 – Anything Goes Always
4. Crafty Catz: #596 – Anything Goes w/ optional Add Some Pink
5. Cupcake Inspirations: #544 – Stripes
6. Little Red Wagon: #654 – With a Little Help From My Friends
Clear Scraps products used:
Base with Square Frame
Word n Shape Summer-Flip Flops
Other products used:
Cardstock/Paper: Canvas Corp Lots of Color Paper Collection, CutCardStock Stardream Metallic Flame cardstock, CutCardStock Stardream Metallic Azalea cardstock, Neenah Classic Crest Solar White cardstock
Dies/Punches: My Favorite Things Stitched Square STAX and Stitched Mini Scallop Square STAX Die-namics, Sizzix Alphanumeric Tiny Type Lower Thinlits, Stampin’ Up Scallop Edge Punch
Accessories: Tonic Studios 12″ Guillotine Paper Trimmer, Bearly Art precision craft glue, Liquitex Cadmium Light Hue and Primary Yellow acrylic paints, Eyelet Outlet Pastel Sunglasses and Beach Umbrella Brads, Eyelet Outlet Enamel Flowers and Clear Jewel Bling Strip
I hope you’ve enjoyed today’s project and you’re inspired to get those craft supplies out to play! Be sure to check out all the amazing acrylic, wood and chipboard goodies at Clear Scraps… OMGoodness, you won’t be disappointed! And head on over to the Clear Scraps Facebook Page for lots of inspiration! And while you’re at it, join the Clear Scraps Facebook Creative Group to connect with other Clear Scraps fans! Thanks so much for stopping by today – we’ll see you next time!
Scrappy hugs,