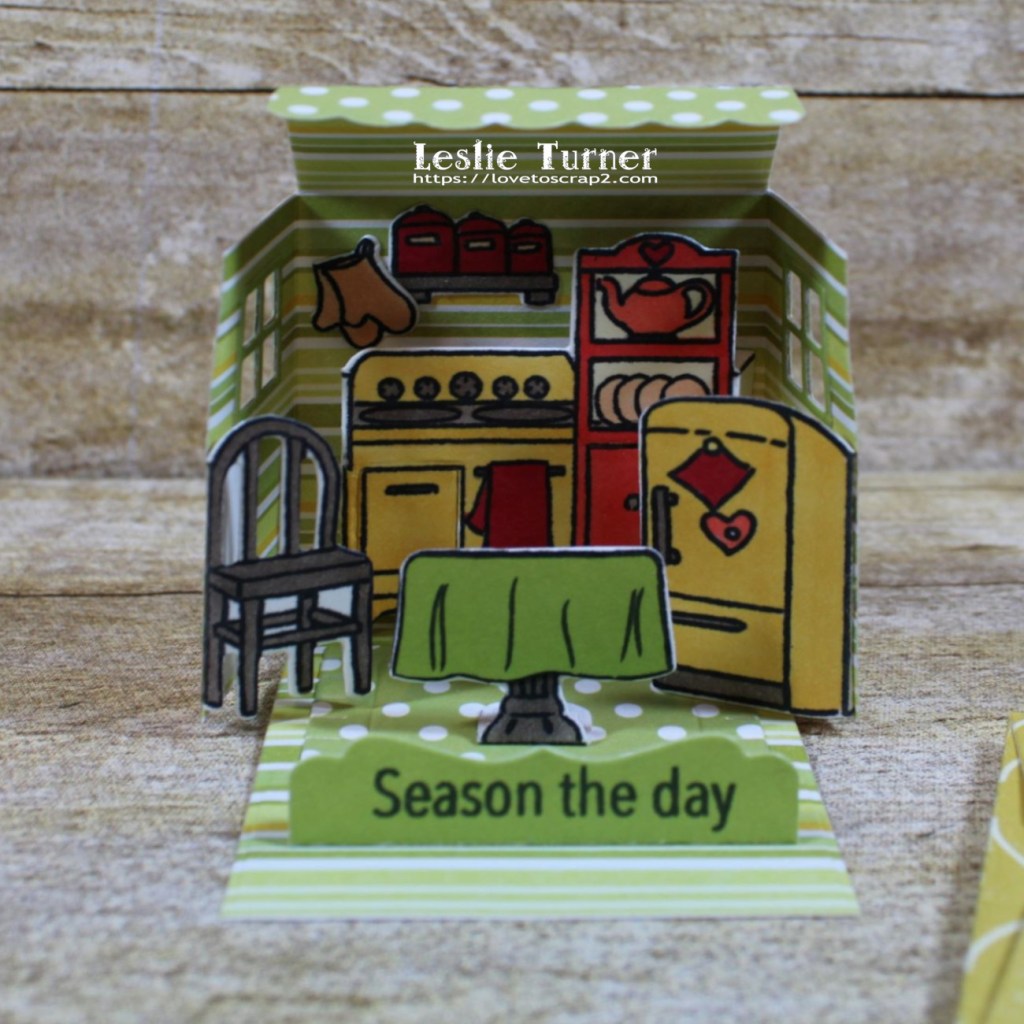
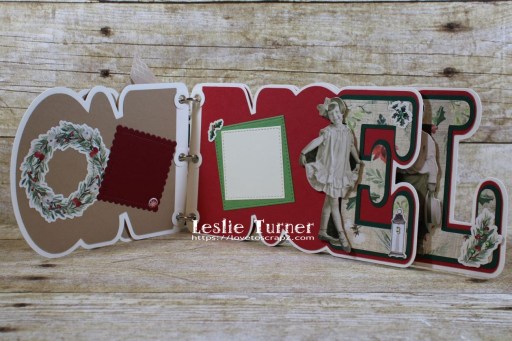
Hey everybody! I’m back with another project for The Outlawz Challenges, and this was truly a fun one to create! My Scan N Cut doesn’t get used nearly enough since I stepped down from the Simply Crafty SVGs DT last year, and I sure enjoy myself every single time I crank her up! Affiliate links are used in this post at no cost to you. I really appreciate your support! This adorable Noel word book is for The Outlawz Twisted Thursday Challenge where the challenges are always Anything Goes with a twist (as the name suggests), and the twist this time is Christmas in July! I used Carta Bella Christmas papers and elements, Tim’s Paper Dolls, and an assortment of die cuts for photos and journaling.
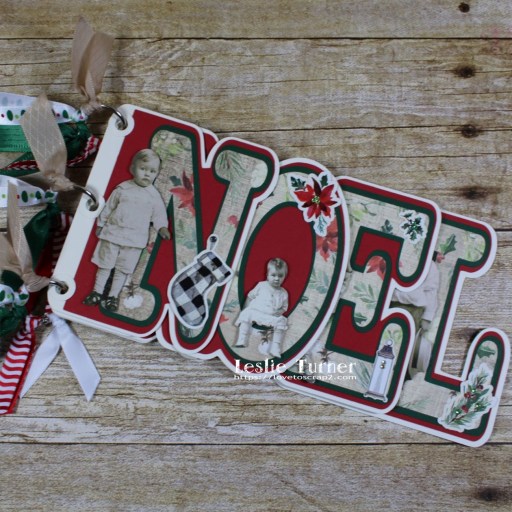
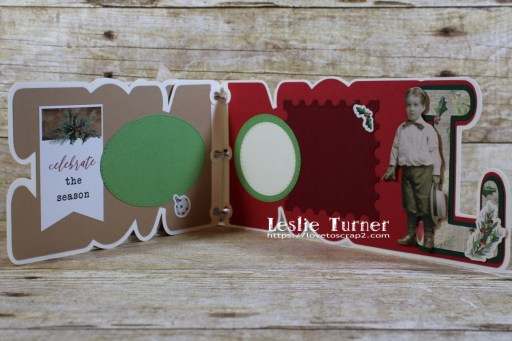
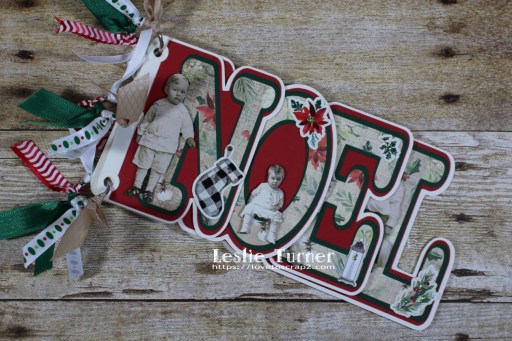
I cut the main book pages from CutCardStock Basis 110# Natural cardstock. Next I cut the page layers from CutCardStock Basis Green cardstock, CutCardStock Basis Red cardstock, CutCardStock Basis Light Brown cardstock, and Carta Bella Christmas Collection papers, and assembled the book. I created hole reinforcements using 1/2″ and 1/4″ circle punches and adhered them to each page, and then added the rings. I decorated each page with Tim Holtz Paper Dolls and Carta Bella Christmas Collection elements, adding tiny iridescent gemstones for a little bling (some colored with alcohol markers). I cut an assortment of die cut shapes for photos and journaling from Neenah Classic Crest Baronial Ivory cardstock, CutCardStock Pop-Tone Gumdrop Green, and CutCardStock Basis Dark Red cardstock. The final step was adding ribbon strips to the rings.
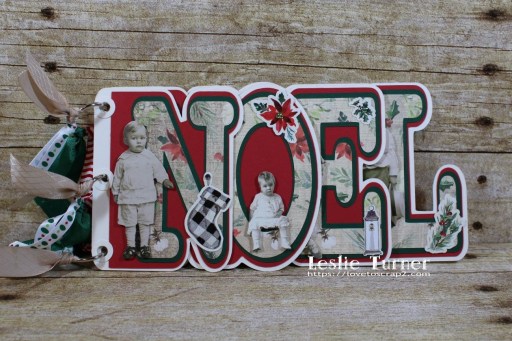


And one more peek… love how this turned out! Without being ‘over-done’ there’s lots of room to document the Christmas holiday!
Products used:
Cardstock/Paper: CutCardStock Basis 110# Natural cardstock, CutCardStock Basis Green cardstock, CutCardStock Basis Red cardstock, CutCardStock Basis Light Brown cardstock, Neenah Classic Crest Baronial Ivory cardstock, CutCardStock Pop-Tone Gumdrop Green, CutCardStock Basis Dark Red cardstock, Carta Bella Christmas Collection Kit
Ink: Nuvo alcohol marker collections- Sunshine Yellow, Woodland Greens, Fair Skin Tones
Dies/Punches: My Scrap Chick Noel Word Book cut file, Stampin’ Up 1/2″ and 1/4″ Circle Punches, Memory Box Stitched Oval Layers, Memory Box Stitched Circle Layers, Memory Box Stitched Rectangle Layers, My Favorite Things Stitched Square STAX Die-namics, My Favorite Things Stitched Rectangle STAX Die-namics, My Favorite Things Stitched Mini Scallop Square STAX Die-namics, My Favorite Things Stitched Mini Scallop Oval STAX Die-namics, My Favorite Things Stitched Mini Scallop Circle STAX Die-namics, Spellbinders Postage Stamps dies
Accessories: Brother Scan N Cut, Bearly Art precision craft glue, Tim Holtz Paper Dolls, Darice tiny iridescent gemstones, Really Reasonable Ribbon Christmas Celebrations and Diamond Satin Vintage Ribbon Assortments
I hope you’ve enjoyed this project and will come over and join in all the fun at The Outlawz Challenges! Lots of fun going on! Thanks so much for stopping by today – we’ll see you next time! ;)
Scrappy hugs,