Shine On!

Happy Saturday, y’all! I’m delighted to be back on the Eyelet Outlet blog today with another awesome DT inspiration project! I created a fun card featuring a bold digital sentiment from my stash that works perfectly with these brads and washi tape! And this card could be used for a variety of occasions… love it when that happens!
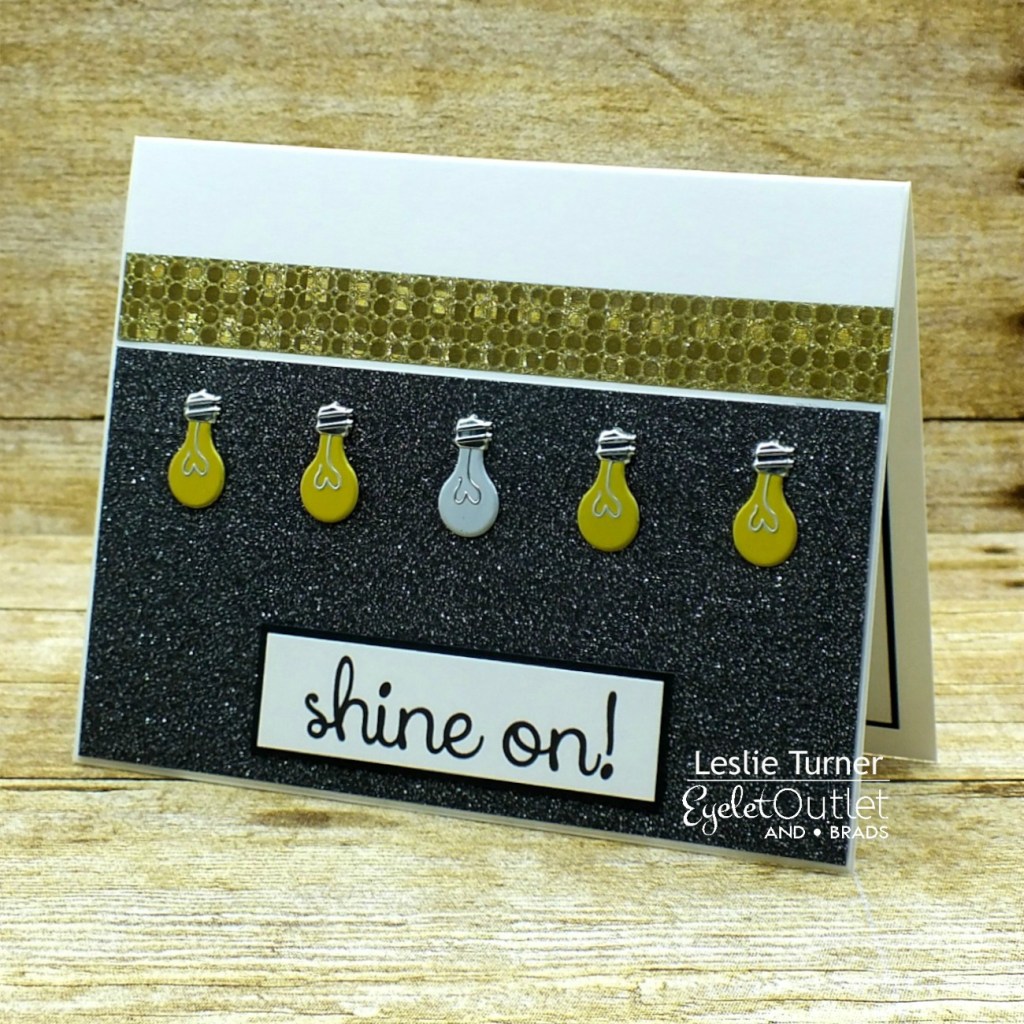
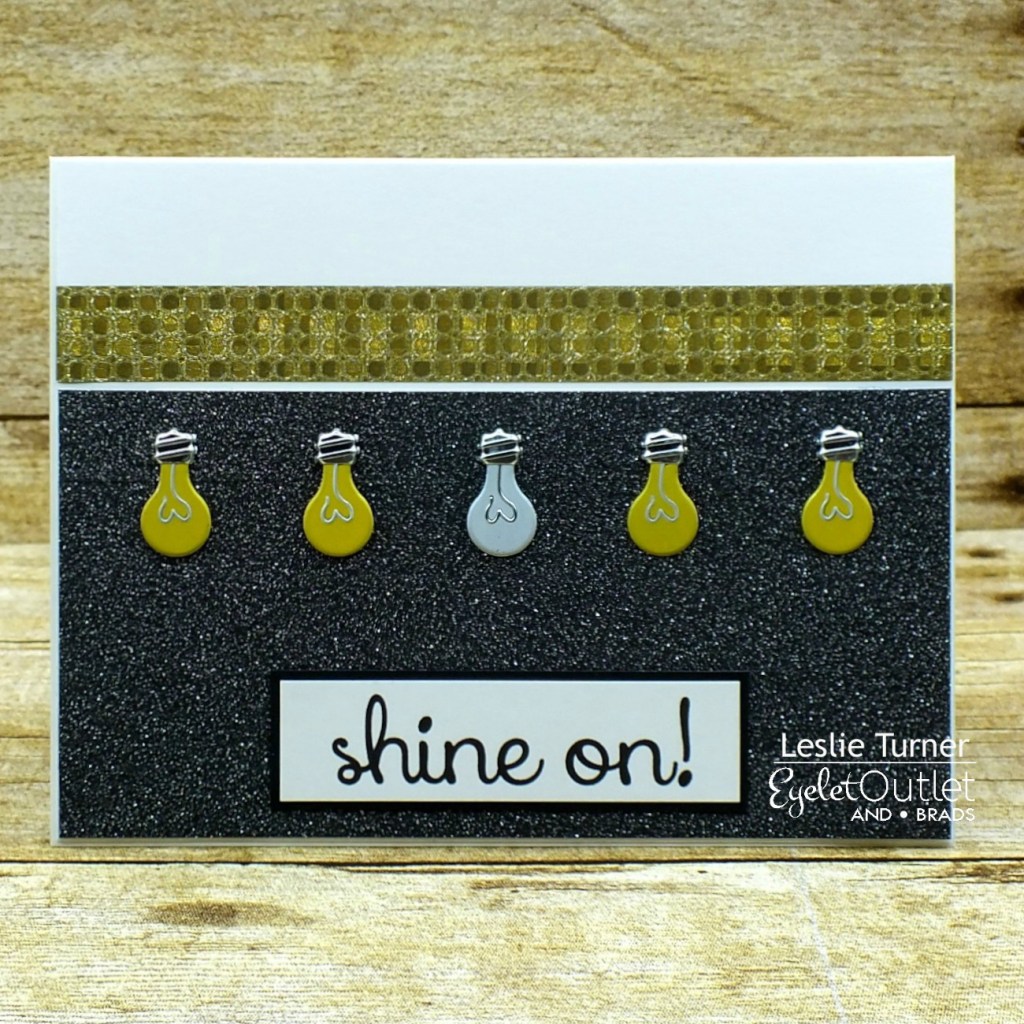
I created a top fold landscape card base and then cut a panel that was just a tad smaller than the card base. I applied Glitter Black Washi Tape on two-thirds of the panel (from the bottom up) and then added one strip of Glitter Gold Dots Washi Tape slightly above it. I added five Light Bulb Brads in a row and evenly spaced across the top of the black glittered portion, then attached the panel to the card base. I printed the digital sentiment, trimmed it and layered it on black cardstock, then adhered it to the bottom center of the panel.
I embellished the inside panel with strips of Glitter Black Washi Tape and Glitter Gold Dots Washi Tape used on the front. I printed the inside sentiment (from the same digi set), cut it with a stitched rectangle die and layered it on black cardstock. I trimmed off the left side and adhered it up against the gold washi tape strip, then layered the entire panel on black cardstock.
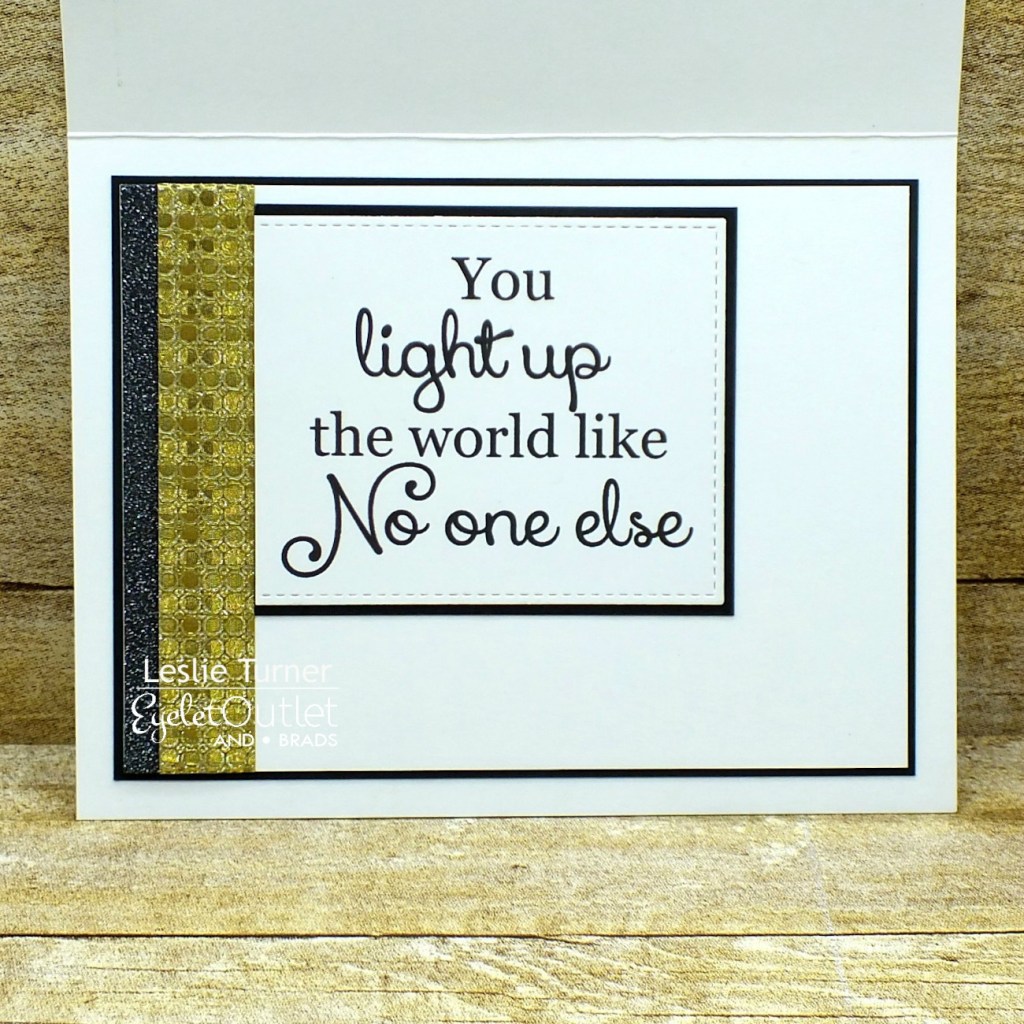
And one more peek… what an awesome card! The glitter washi tape and the light bulb brads, along with the digital sentiments, sure make a statement!
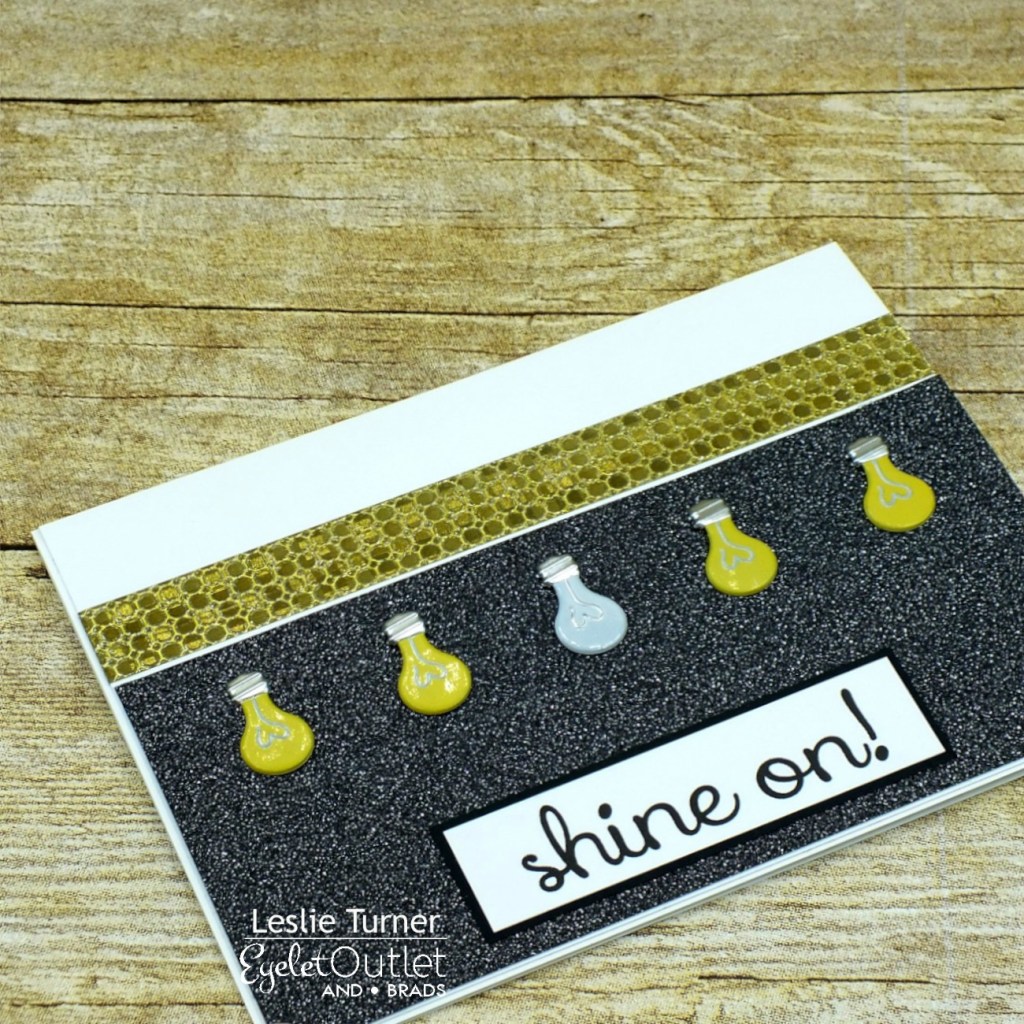
Sharing in the following challenges:
1. Creative Inspirations: October Anything Goes
2. Let’s Craft and Create: #164 – Anything Goes w/ optional Paper Strips Instead of Ribbon (no twist)

Eyelet Outlet products used:
Glitter Black Washi Tape
Glitter Gold Dots Washi Tape
Light Bulb Brads

Other products used:
Cardstock/Paper: Neenah Classic Crest Solar White cardstock, American Crafts Black cardstock
Stamps: Bugaboo You Light Up My Life digital set
Dies/Punches: Memory Box Stitched Rectangle Layer STAX die
Accessories:  Tombow Mono permanent adhesive, Bearly Art precision craft glue,

I hope you’ve enjoyed today’s project! Be sure to check out all the fun goodies at Eyelet Outlet! I can already see you drooling, lol! Be sure to ‘like’ and ‘follow’ Eyelet Outlet Facebook Page to keep up with news and sales, and while you’re at it, join the Eyelet Outlet Fans Facebook group for lots of creative inspiration! Thanks so much for stopping by today – we’ll see you next time! ;)

Scrappy hugs,
lesliesig

hb2u

Hello again, my friends! How’s the weather where you are? It has turned out to be a little chilly here today but I LOVE it – I’m so ready for cooler weather! I’ve popped back on this afternoon to share another website sample I created for Prickley Pear Stamps using the super cute Emma Numbers and Emma Lowercase Alphabet Letters clear stamp sets. OMGoodness, the possibilities with these stamps are endless!

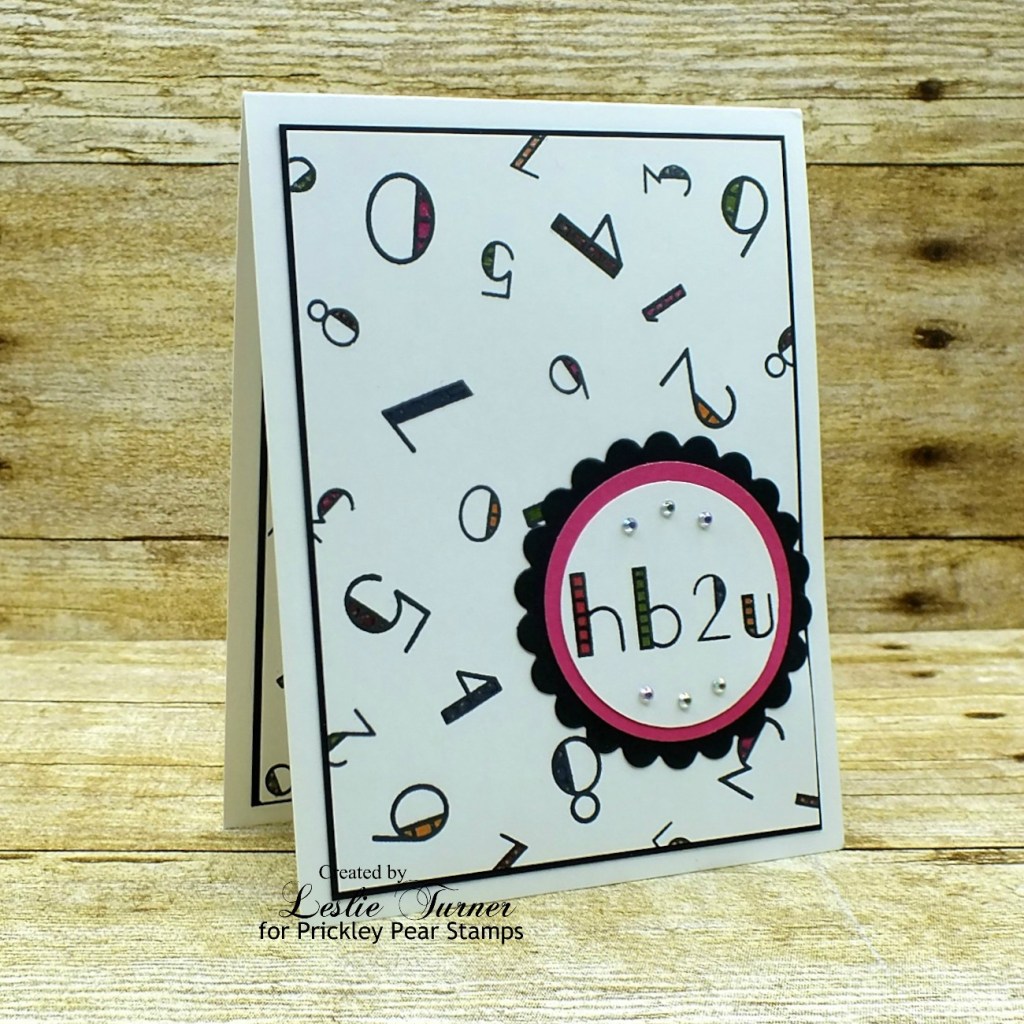
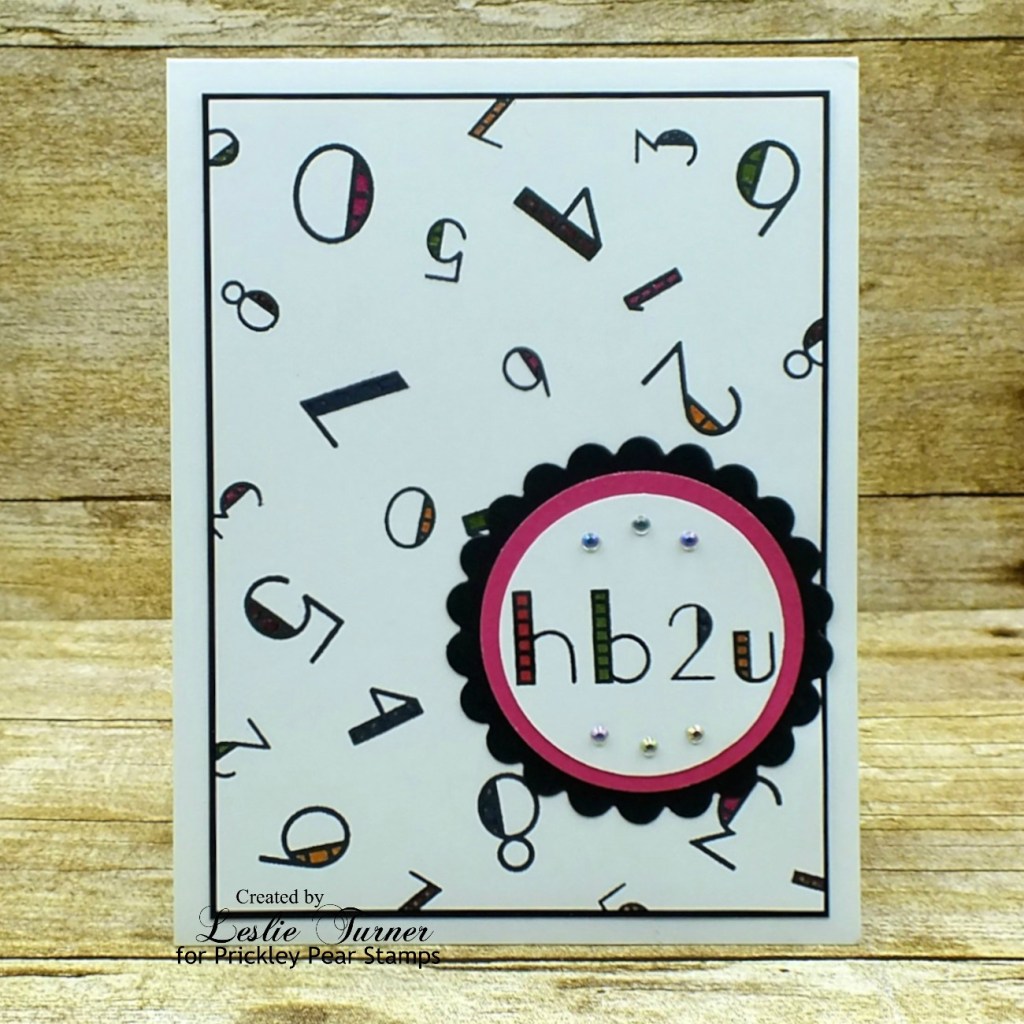
I created this card in a timeless classic color combo of black and white with just a pop of color here and there. There are three sizes of numbers in the Emma Numbers stamp set, and I used all three sizes to create the background. I colored the open areas with my drying-up fine point Faber-Castell Pitt Artist Pens and added a touch of Clear Star shimmer. Using the Emma Lowercase Alphabet Letters stamp set, I created the sentiment element using a couple circle punches and a scalloped circle die. The finishing touch was the addition of a few small iridescent gemstones.

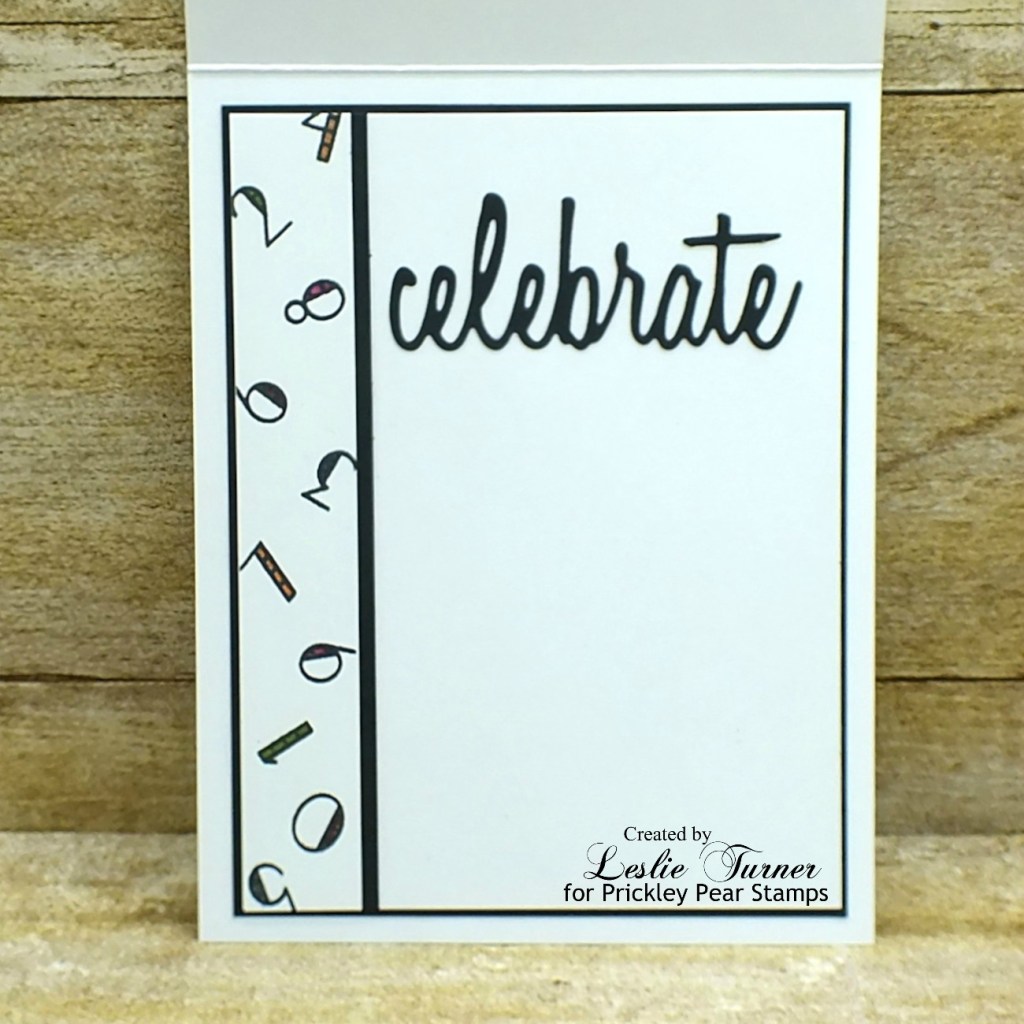
I embellished the inside panel with a narrow panel of stamped and colored numbers, a thin strip of black cardstock and a die cut sentiment, and layered the panel on black cardstock.

And another look… totally loving how this turned out! I did re-do the sentiment element because the original rectangular one I made just didn’t look right. The circular one made all the difference in the world! ;)

Sharing in the following challenges:
1. Creative Inspirations: October Anything Goes
2. Let’s Craft and Create: #164 – Anything Goes w/ optional Paper Strips Instead of Ribbon (no twist)
3. Paperbabe Stamps: #130 – Anything Goes

Products used:
Cardstock/Paper: Neenah Classic Crest Solar White cardstock, American Crafts Black cardstock
Stamps: Prickley Pear Stamps Emma Numbers and Emma Lowercase Alphabet Letters clear stamp sets
Ink: Memento Tuxedo Black ink; Faber-Castell Pitt Artist Pens- Middle Purple Pink, Magenta, Orange Glaze, May Green and Indianthrene Blue; Sakura Clear Star Gelly Roll pen
Dies/Punches: Stampin’ Up 2″ and 1-3/4″ circle punches, Spellbinders Classic Scalloped Circles Small die, Tim Holtz Celebration Words: Script die
Accessories:  Tombow Mono permanent adhesive, Bearly Art precision craft glue, MISTI stamp tool, Gemini Junior, Darice iridescent gemstones

I hope you’ve enjoyed this project! Be sure to check out all the awesome stamps and dies at Prickley Pear Stamps! If you’d like to save 10% on anything on the site when you shop at Prickley Pear Stamps, use the coupon code LESLIE10 at checkout! And be sure to ‘like’ and ‘follow’ the Prickley Pear Stamps Facebook page to keep up with news and sales, and join Prickley Pear Pals (the fan group) for lots of fun crafty ideas and to share your creativity! And finally, we’d love to see you visit the Prickley Pear Stamps blog that’s in the process of being revived and become a Follower! Hope to see you there! Thanks so much for stopping by today – we’ll see you next time! ;)

Scrappy hugs,
lesliesig

The Promise

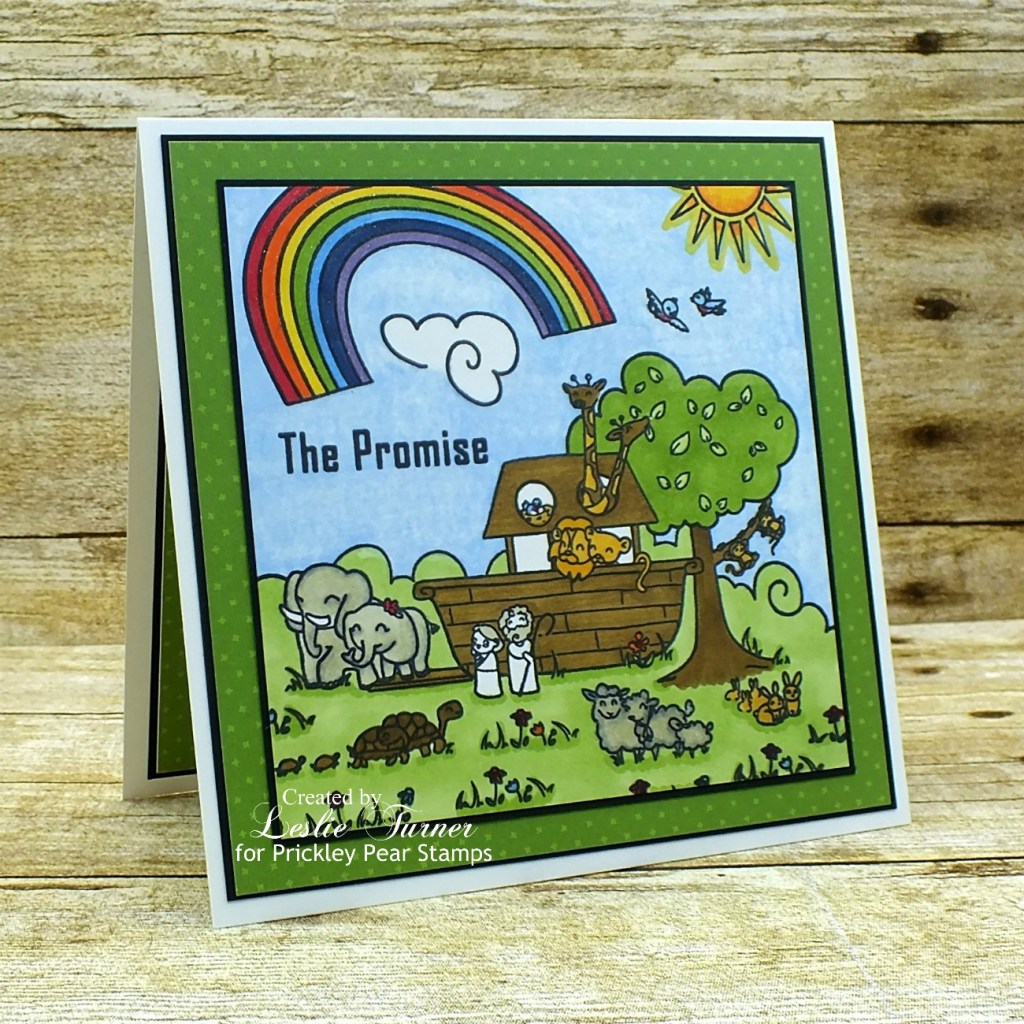
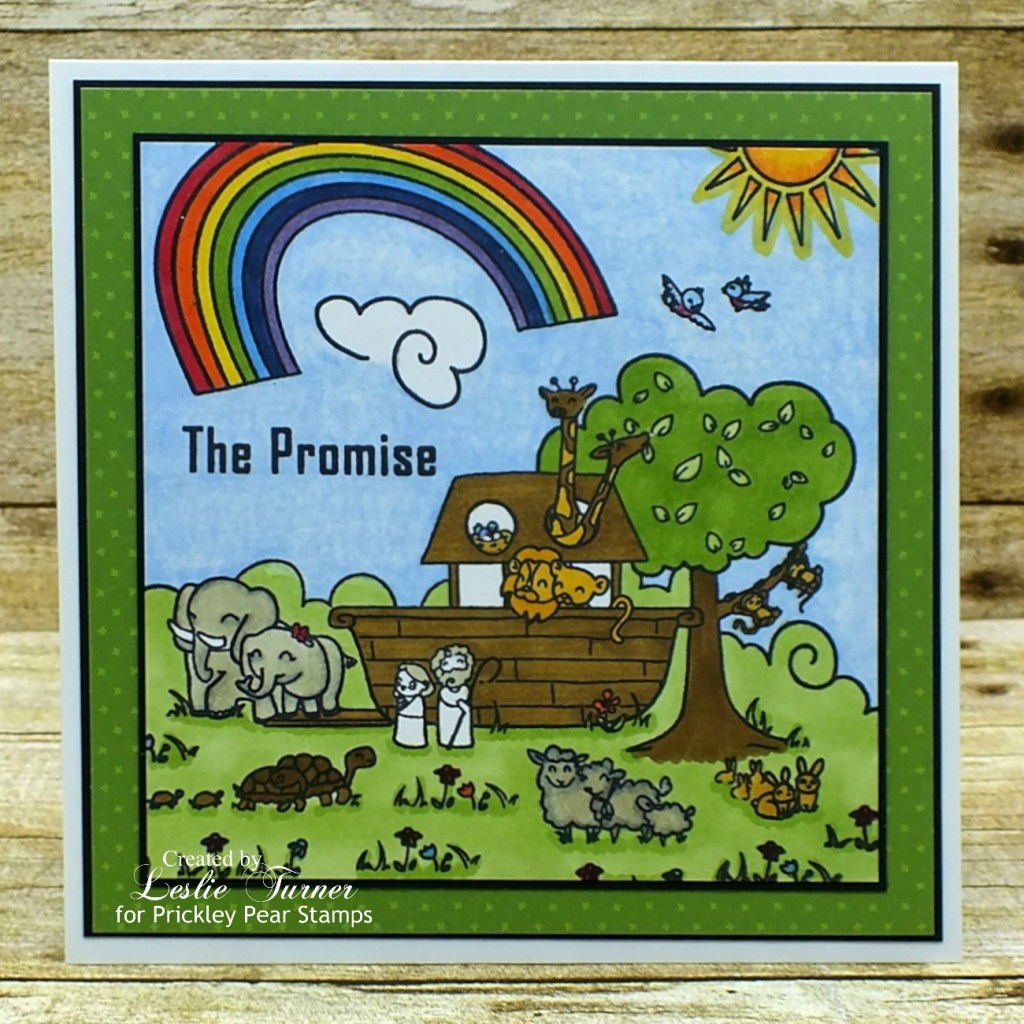
Howdy, everyone! Hope you’ve had a great week and you have some fun planned for this weekend! The weeks sure do seem to be flying by! I have another Prickley Pear Stamps website sample to share this morning. This sweet card was created with the super adorable Noah’s Ark clear stamp set. The main stamp is large and there are several smaller stamps to add details, and what a fun scene to color!

I stamped the large image in dark brown ink and trimmed the panel, then stamped the remaining images. I colored the scene with alcohol markers and layered the panel on dark brown cardstock. I cut a slightly larger panel from green dotted patterned paper and layered it on dark brown cardstock. I layered the panels together and adhered them to the card base.

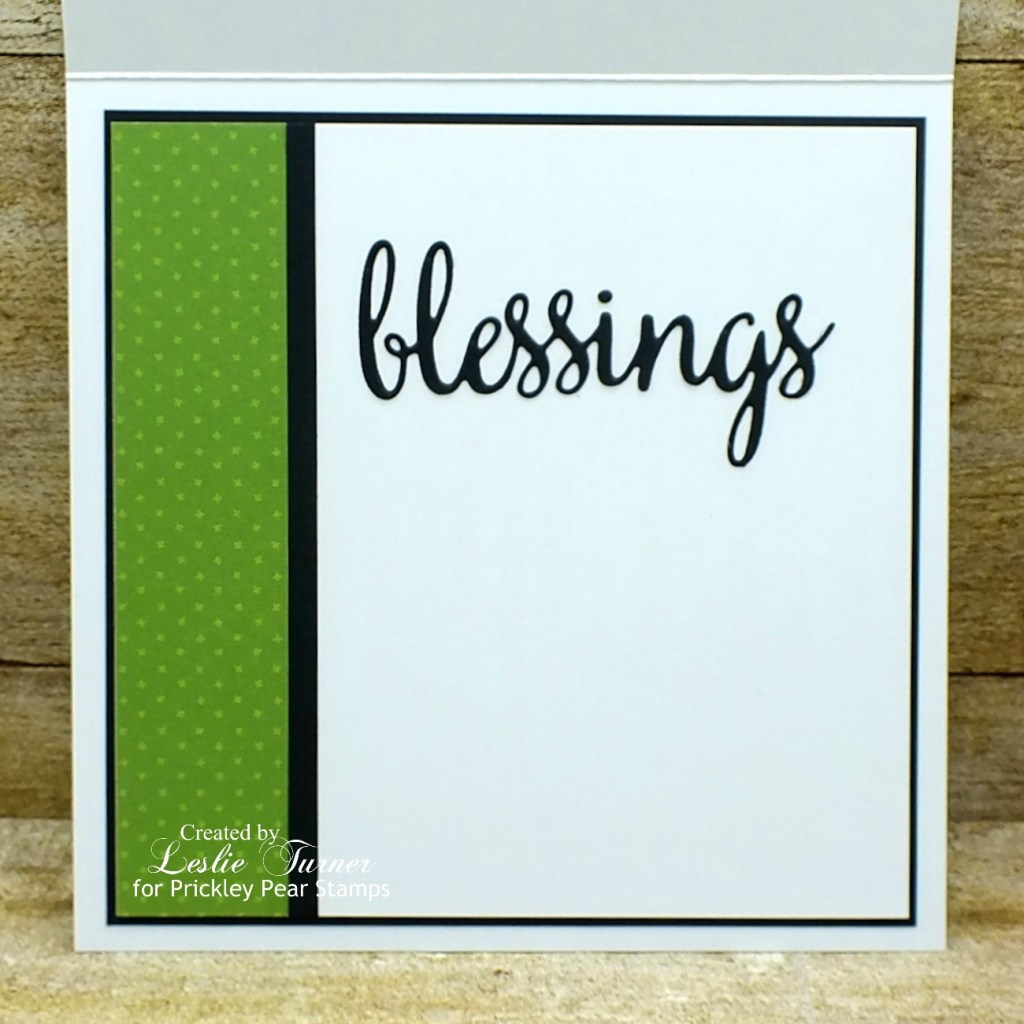
I embellished the inside panel with a leftover strip of the green dotted patterned paper and dark brown cardstock used on the front, added a die cut sentiment, and layered the panel on dark brown cardstock.

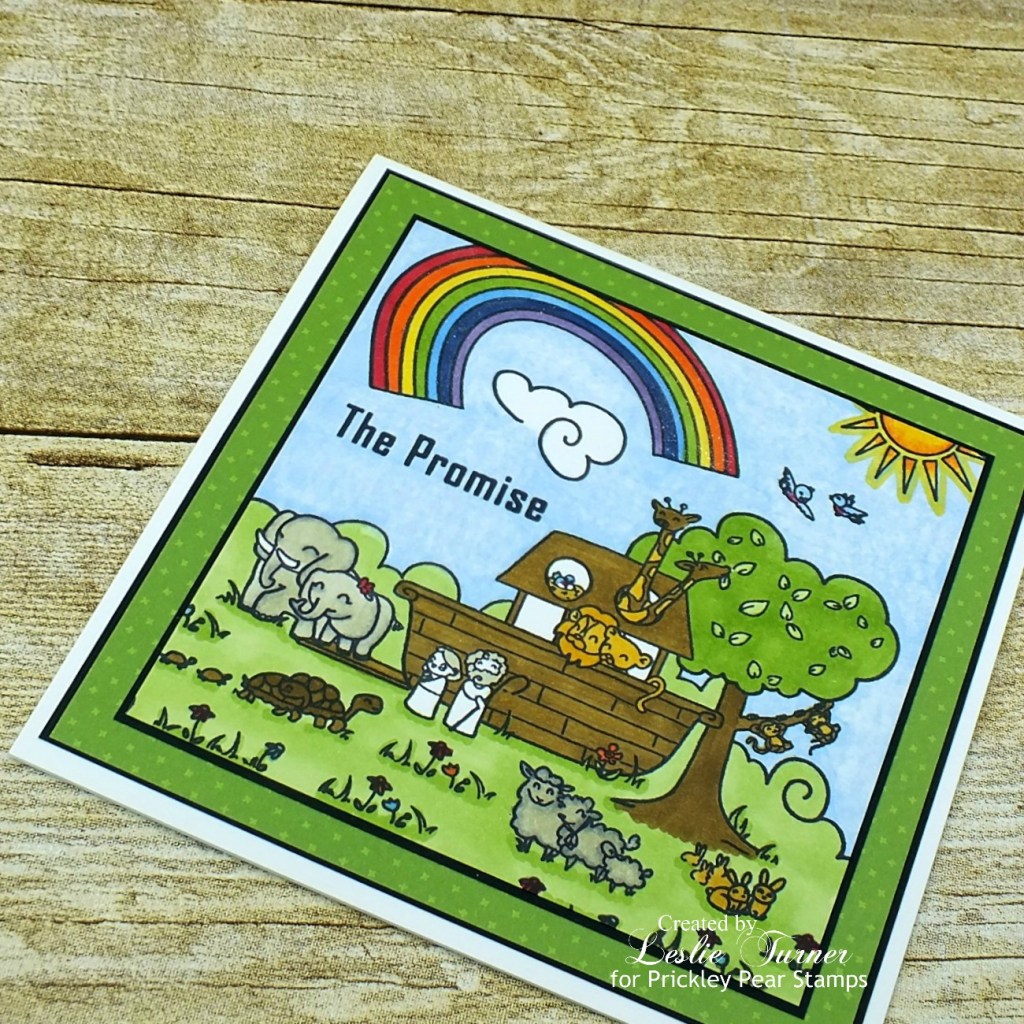
And one more peek… I really love this stamp set and the message!

Sharing in the following challenges:
1. 2 Crafty Critter Crazies: #43 – Anything Goes
2. 613 Avenue Create: October Anything Goes w/ optional Winged Things (no twist)
3. Jan’s Digi Stamps Challenge: October Anything Goes
4. Moving Along With The Times: #123 – Animal(s) and/or Bird(s)

Products used:
Cardstock/Paper: Neenah Classic Crest Solar White cardstock, Papertrey Ink Dark Chocolate cardstock, Lawn Fawn Spring Fling 6×6 paper pad
Stamps: Prickley Pear Stamps Noah’s Ark clear stamp set
Ink: Memento Espresso Truffle ink; Nuvo alcohol markers- 389, 403, 404, 479, 466, 393, 379, 439, 427, 431, 412, 487, 489; Spectrum Noir alcohol markers- TB1, LG3
Dies/Punches: Hero Arts Blessings Stamp & Cut (die only)
Accessories:  Tombow Mono permanent adhesive, MISTI stamp tool, Gemini Junior

I hope you’ve enjoyed this project! Be sure to check out all the awesome stamps and dies at Prickley Pear Stamps! If you’d like to save 10% on anything on the site when you shop at Prickley Pear Stamps, use the coupon code LESLIE10 at checkout! And be sure to ‘like’ and ‘follow’ the Prickley Pear Stamps Facebook page to keep up with news and sales, and join Prickley Pear Pals (the fan group) for lots of fun crafty ideas and to share your creativity! And finally, we’d love to see you visit the Prickley Pear Stamps blog that’s in the process of being revived and become a Follower! Hope to see you there! Thanks so much for stopping by today – we’ll see you next time! ;)

Scrappy hugs,
lesliesig

Time to Relax in the Sun

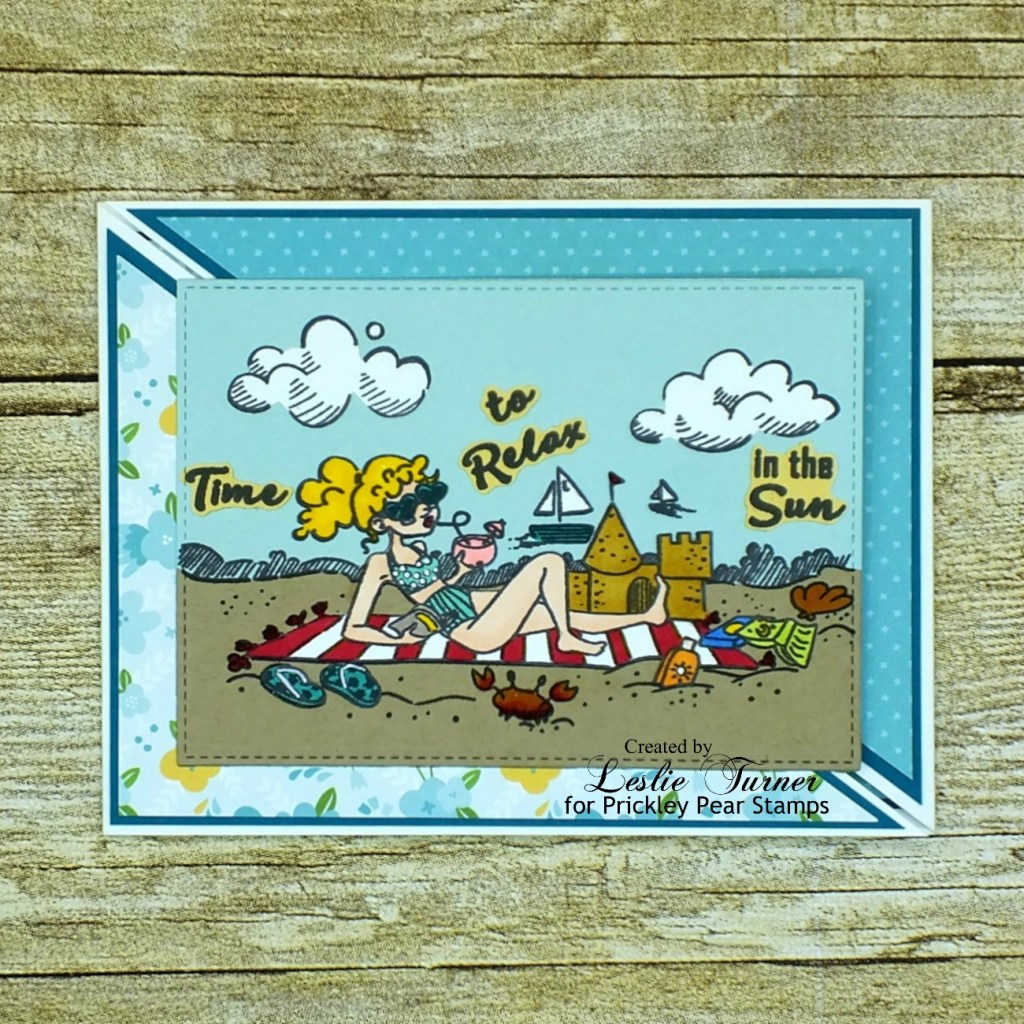
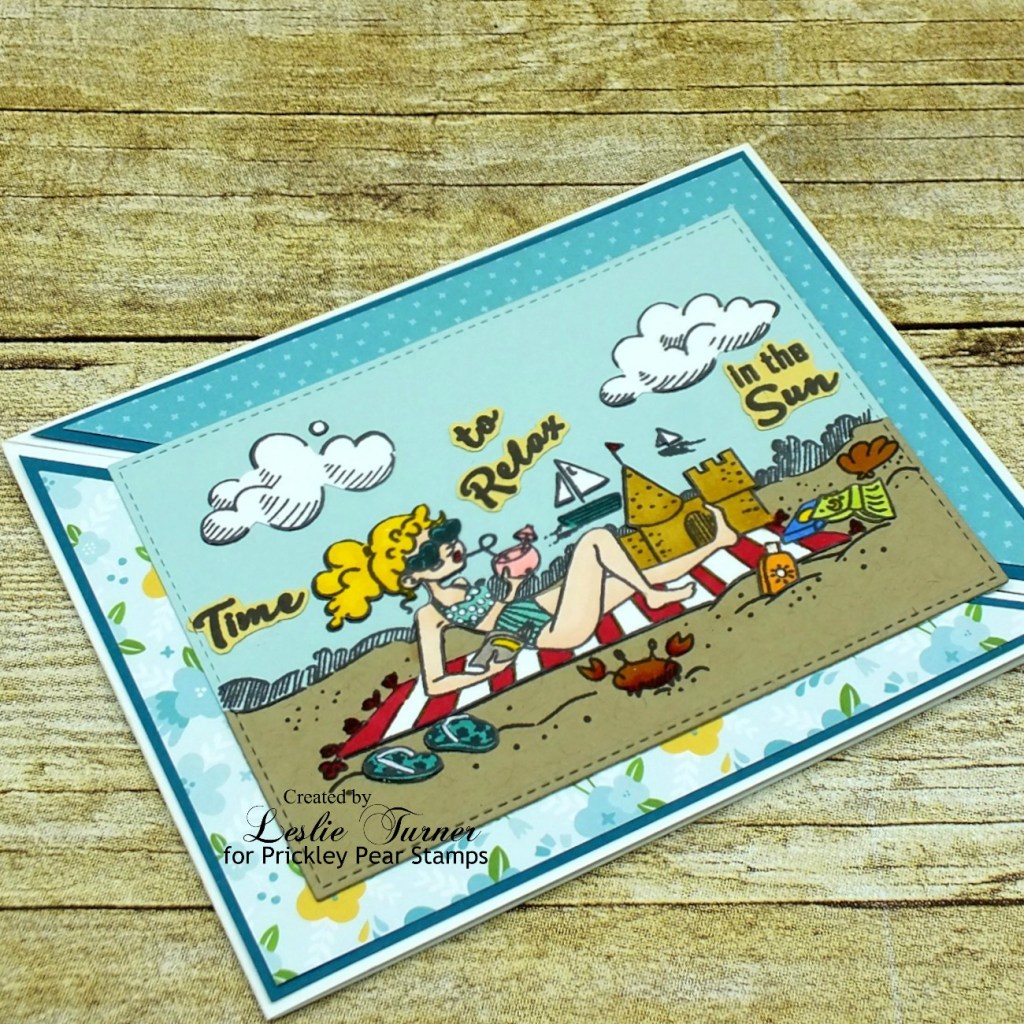
Howdy, everyone! I hope you’re having a great day! I’m back again to share another fun fold sample I created for Prickley Pear Stamps. This one is a diagonal fold and I’ve used the super cute Play Date on the Beach clear stamp set. It’s been a long while since I created a diagonal fold and I had forgotten how fun they are!

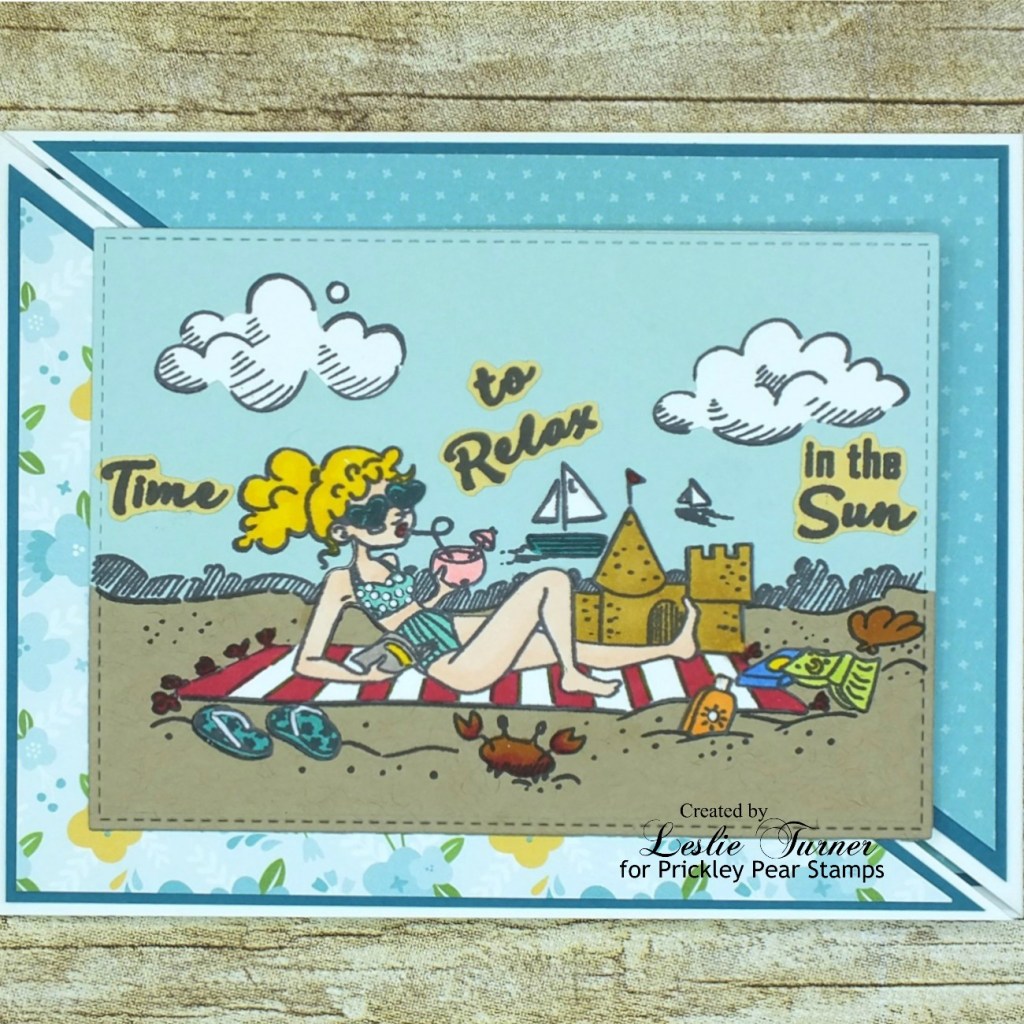
And besides being a fun fold, this card is paper pieced which is an extra added fun touch! I layered a couple coordinating papers on darker cardstock to embellish the diagonal panels. I stamped the image on lighter cardstock, paper pieced the elements, then cut it with a stitched rectangle die.

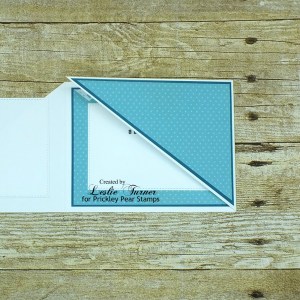
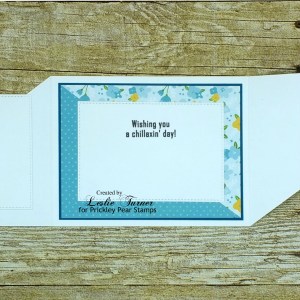
Here are shots of the card opening up. I embellished the inside panel with the same coordinating papers used on the front, cut diagonally, with the prints reversed. I stamped the inside sentiment in black ink and layered the panel on the darker cardstock.

And one more peek… this is such a fun stamp! Who wouldn’t love to be invited to spend a day on the beach?!

Sharing in the following challenges:
1. 613 Avenue Create: October Anything Goes w/ optional Winged Things (no twist)
2. Creative Inspirations: October Anything Goes
3. Jan’s Digi Stamps Challenge: October Anything Goes
4. The Creative Crafters: #33 – Anything Goes
5. World Wide Open Design Team Challenge Blog: #10 – Anything Goes

Products used:
Cardstock/Paper: Neenah Classic Crest Solar White cardstock; Stampin’ Up So Saffron, Pool Party and Island Indigo cardstock; Lawn Fawn Spring Fling 6×6 paper pad
Stamps: Prickley Pear Stamps Play Day on the Beach clear stamp set
Ink: Memento Rich Cocoa ink, Spectrum Noir FS7; Nuvo alcohol markers- 363, 369, 410, 428, 497, 451, 479, 405, 379, 391, 389; Sakura White Gelly Roll pen
Dies/Punches: My Favorite Things Stitched Rectangles STAX dies
Accessories: Tombow Mono permanent adhesive, MISTI stamp tool, Gemini Junior

I hope you’ve enjoyed this project! Be sure to check out all the awesome stamps and dies at Prickley Pear Stamps! If you’d like to save 10% on anything on the site when you shop at Prickley Pear Stamps, use the coupon code LESLIE10 at checkout! And be sure to ‘like’ and ‘follow’ the Prickley Pear Stamps Facebook page to keep up with news and sales, and join Prickley Pear Pals (the fan group) for lots of fun crafty ideas and to share your creativity! And finally, we’d love to see you visit the Prickley Pear Stamps blog that’s in the process of being revived and become a Follower! Hope to see you there! Thanks so much for stopping by today – we’ll see you next time! ;)

Scrappy hugs,
lesliesig

Ho Ho Ho

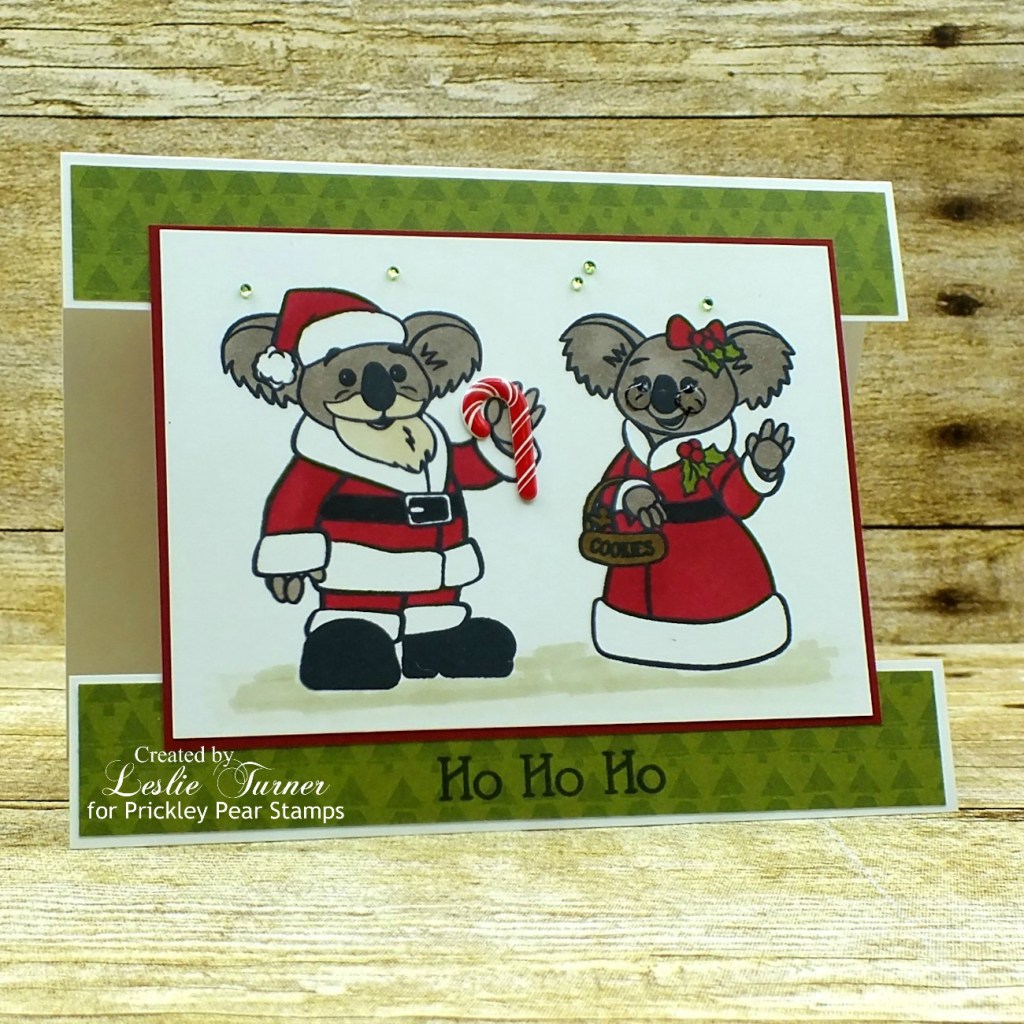
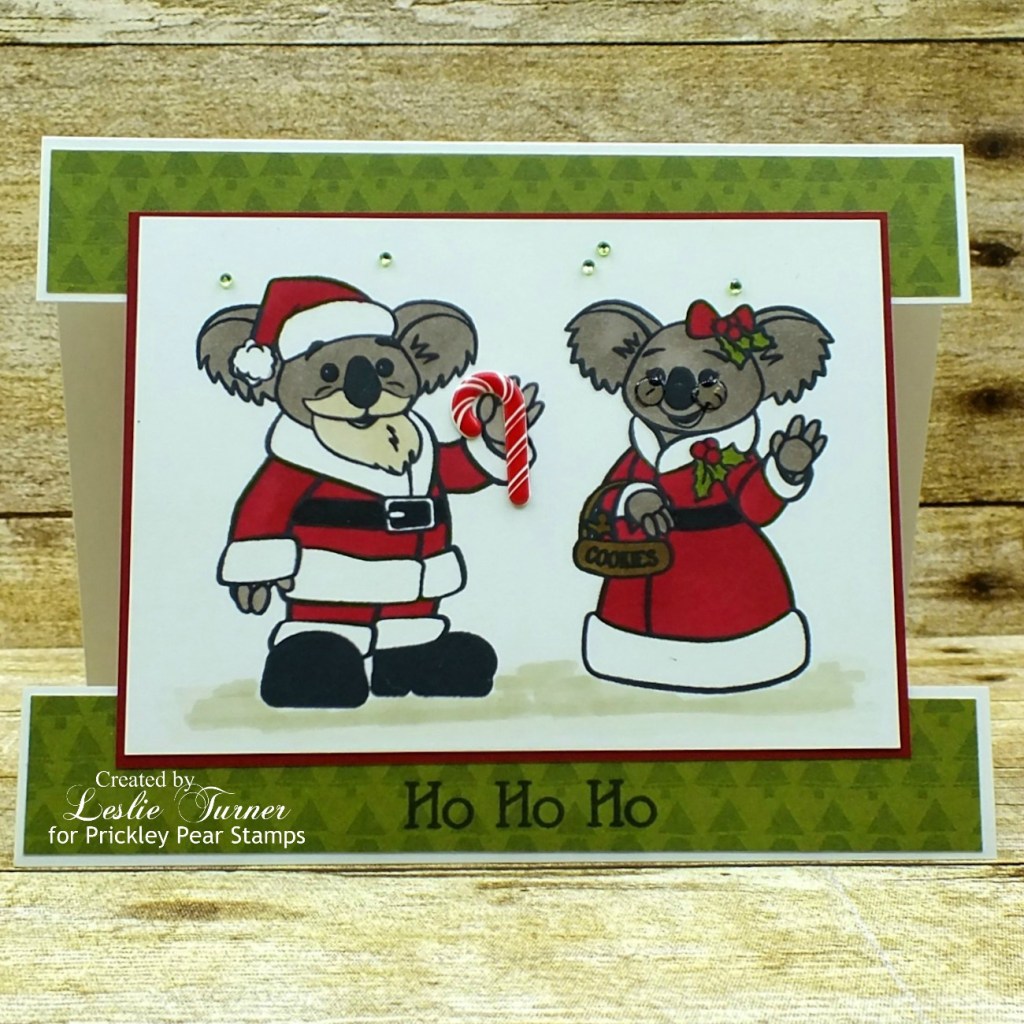
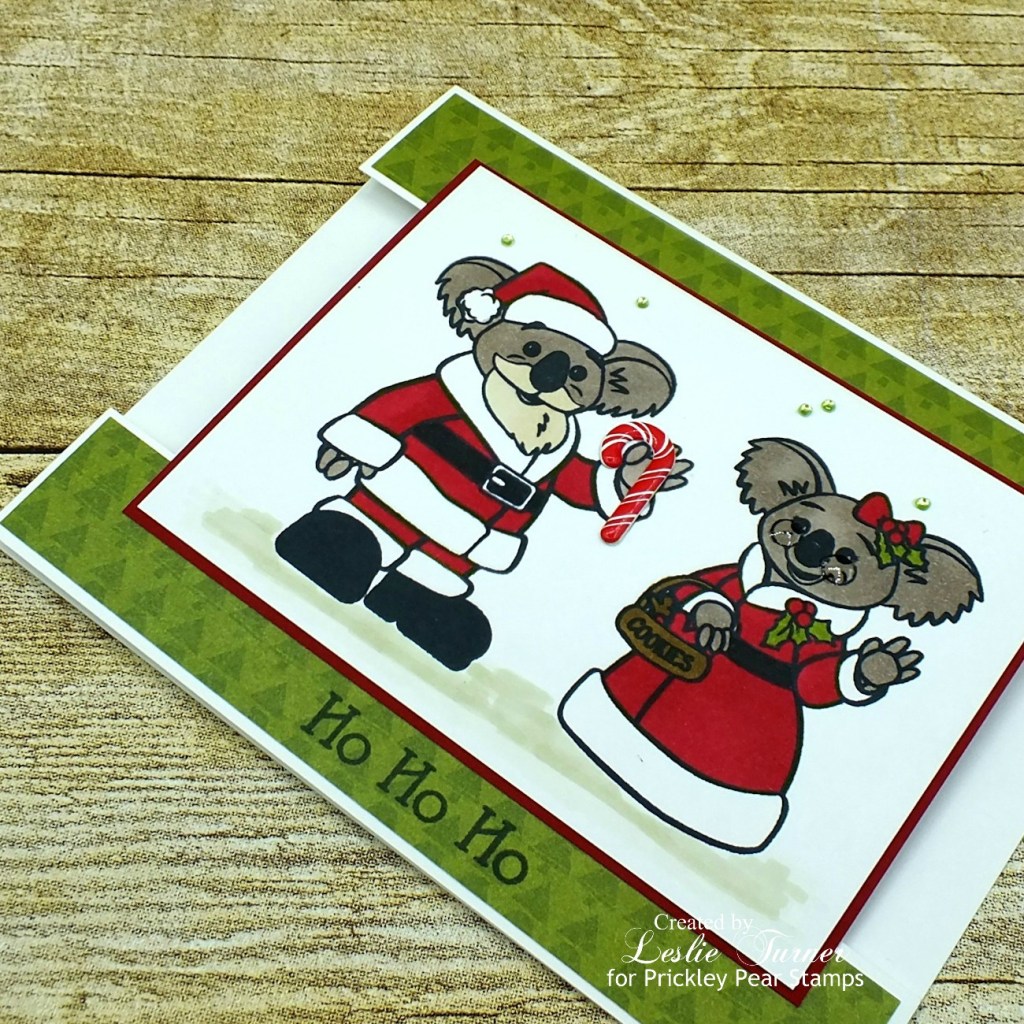
Hi friends, and Happy Thursday to you! Today is our oldest granddaughter’s 17th birthday and I’m sitting here shaking my head at how fast these years have flown by! Every year I feel a little bit older, lol! This morning I’m sharing another website sample for Prickley Pear Stamps. You know how I love fun folds and I’ve created another split panel fold using the most adorable Santa Koala and Mrs Claus clear stamp set for the focal image which I absolutely love! I shared one of these folds for another design team a couple weeks ago that I created in portrait orientation, so I thought this one in landscape mode would be a fun alternative!

I used a fun tree print from one of my favorite 6×6 Christmas paper pads for the narrow panels. I stamped the images on white cardstock in black ink and colored them with Nuvo alcohol markers. I trimmed the panel, layered it on red cardstock, and added a candy cane brad along with several small light green gemstones. I stamped the sentiment on the bottom narrow panel, and the final touch was Glossy Accents on Mrs Claus’s glasses!

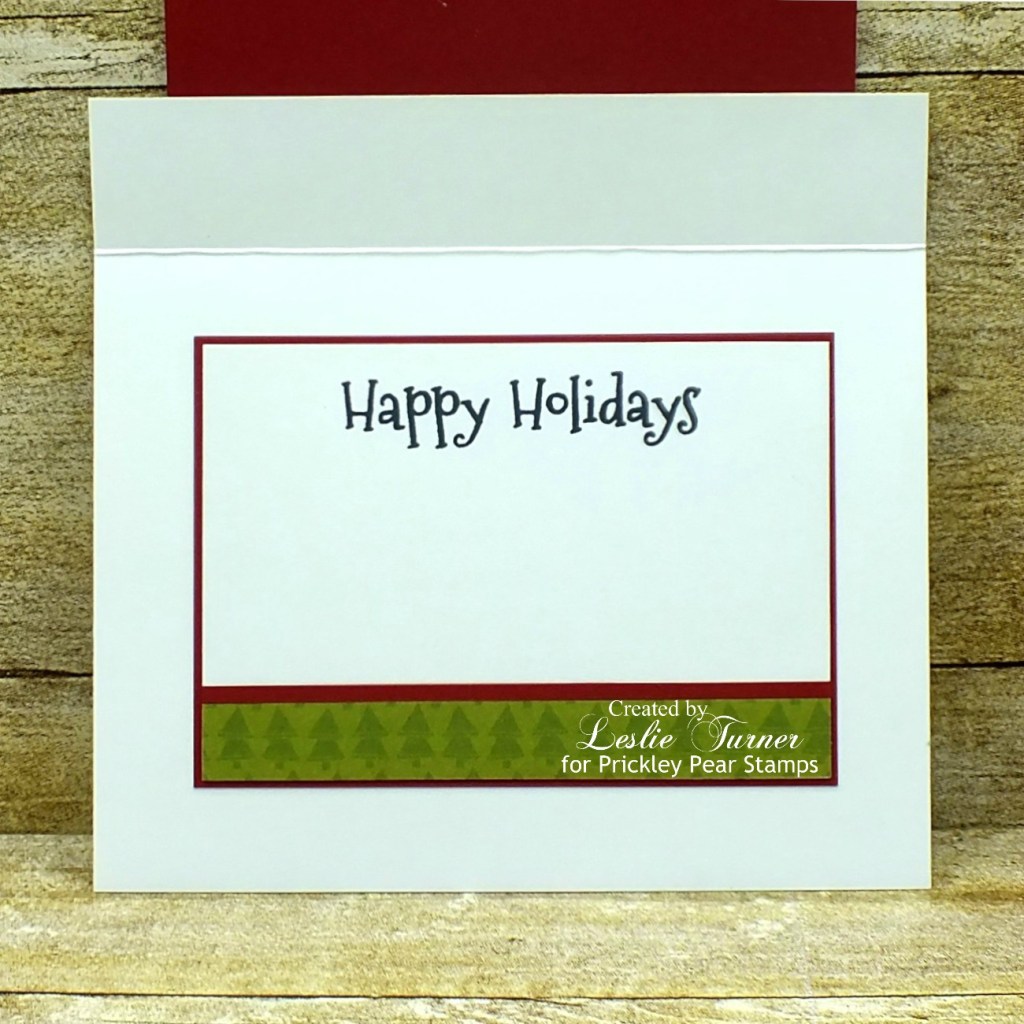
I embellished the inside panel with strips of tree print and red cardstock used on the front, stamped the sentiment in black ink, and layered the panel on red cardstock.

And one more peek… so loving how this turned out! I think this fold is one of my new favorites!

https://worldwideopendesignteamchallenge.blogspot.com/2020/10/world-wide-open-design-team-challenge.htmlSharing in the following challenges:
1. 613 Avenue Create: October Anything Goes w/ optional Winged Things (no twist)
2. Creative Inspirations: October Anything Goes
3. Jan’s Digi Stamps Challenge: October Anything Goes
4. The Creative Crafters: #33 – Anything Goes
5. The Sisterhood of Crafters: Lots of Layers
6. World Wide Open Design Team Challenge Blog: #10 – Anything Goes

Products used:
Cardstock/Paper: Neenah Classic Crest Solar White cardstock, American Crafts Rouge cardstock, Bella Blvd Christmas Wishes 6×6 paper pack
Stamps: Prickley Pear Stamps Santa Koala and Mrs Claus stamp set
Ink: Memento Tuxedo Black ink; Nuvo alcohol markers- 379, 466, 416, 487, 495, 497, black
Accessories: Tombow Mono permanent adhesive, Bearly Art precision craft glue, MISTI stamp tool, Eyelet Outlet Candy Cane brad, Darice light green gemstones, Glossy Accents

I hope you’ve enjoyed this project! Be sure to check out all the awesome stamps and dies at Prickley Pear Stamps! If you’d like to save 10% on anything on the site when you shop at Prickley Pear Stamps, use the coupon code LESLIE10 at checkout! And be sure to ‘like’ and ‘follow’ the Prickley Pear Stamps Facebook page to keep up with news and sales, and join Prickley Pear Pals (the fan group) for lots of fun crafty ideas and to share your creativity! And finally, we’d love to see you visit the Prickley Pear Stamps blog that’s in the process of being revived and become a Follower! Hope to see you there! Thanks so much for stopping by today – we’ll see you next time! ;)

Scrappy hugs,
lesliesig

You’re great to have around in a pinch!

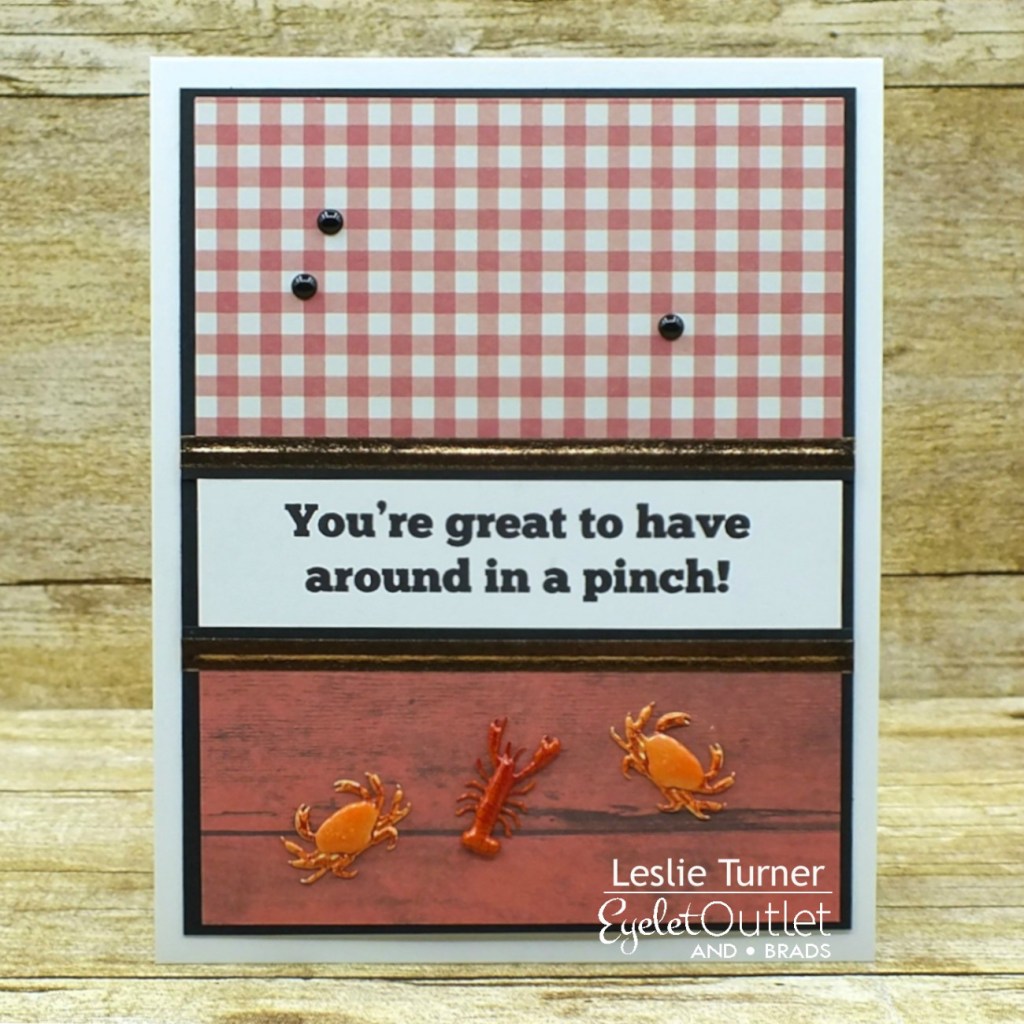
Hi everyone! Happy Saturday – can’t believe we’re a little more than a week into October! I’m thrilled to be back on the Eyelet Outlet blog today with another awesome DT inspiration project! I created a fun thank you card featuring some of our new brads in the store paired with skinny ‘metal’ Washi Tape and enamel dots! Another super simple design… I’m really ‘getting into’ these, lol!

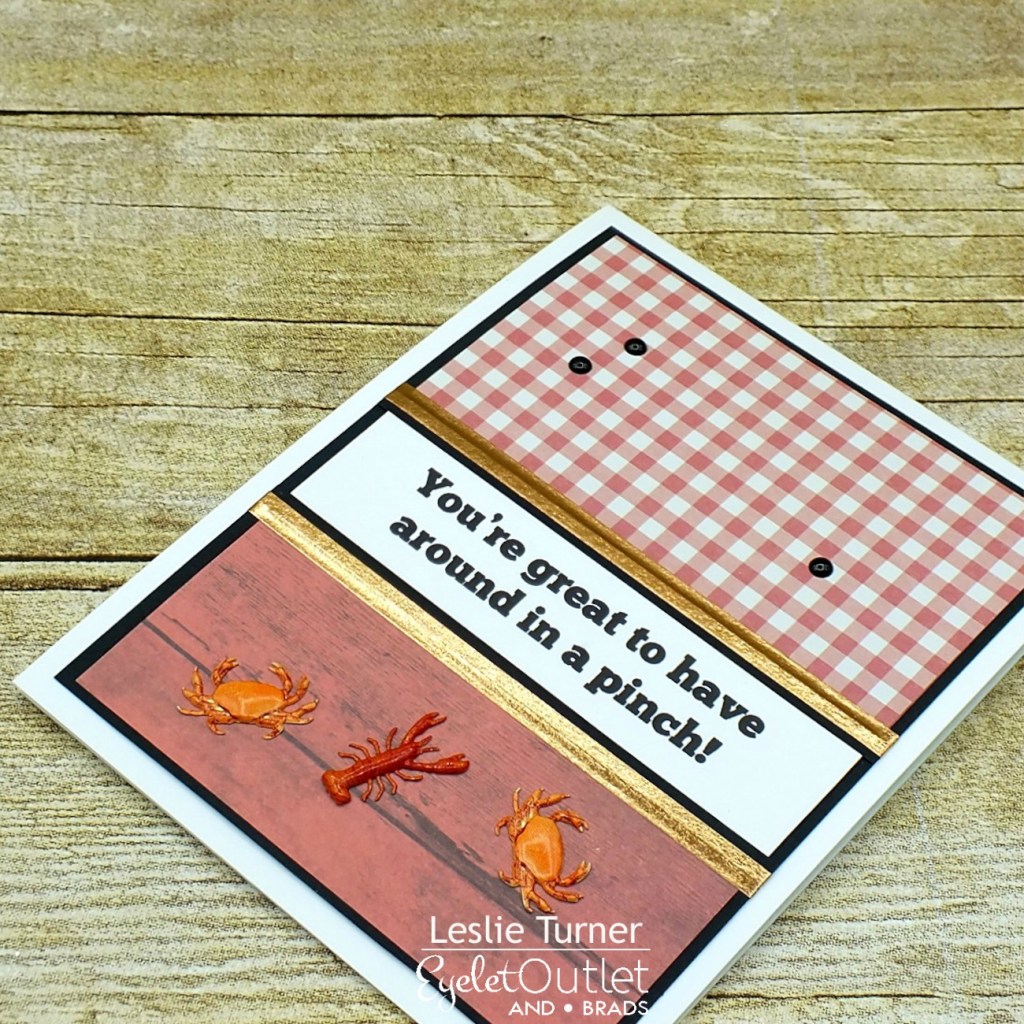
I cut a standard A2 sized top-fold white card base and a slightly smaller black cardstock layer. I created a background panel using two coordinating patterns from one of my favorite paper pads which complimented the colors of the brads nicely. I created the sentiment on the computer, printed and trimmed it, and adhered it in the center of the background panel. I added a strip of Skinny Washi Tape Copper at the top and bottom of the sentiment strip, added some Crab & Lobster Brads and adhered the panel on the black cardstock layer. I adhered the panel to the card base, and the final touch was adding a few Black Enamel Dots. 

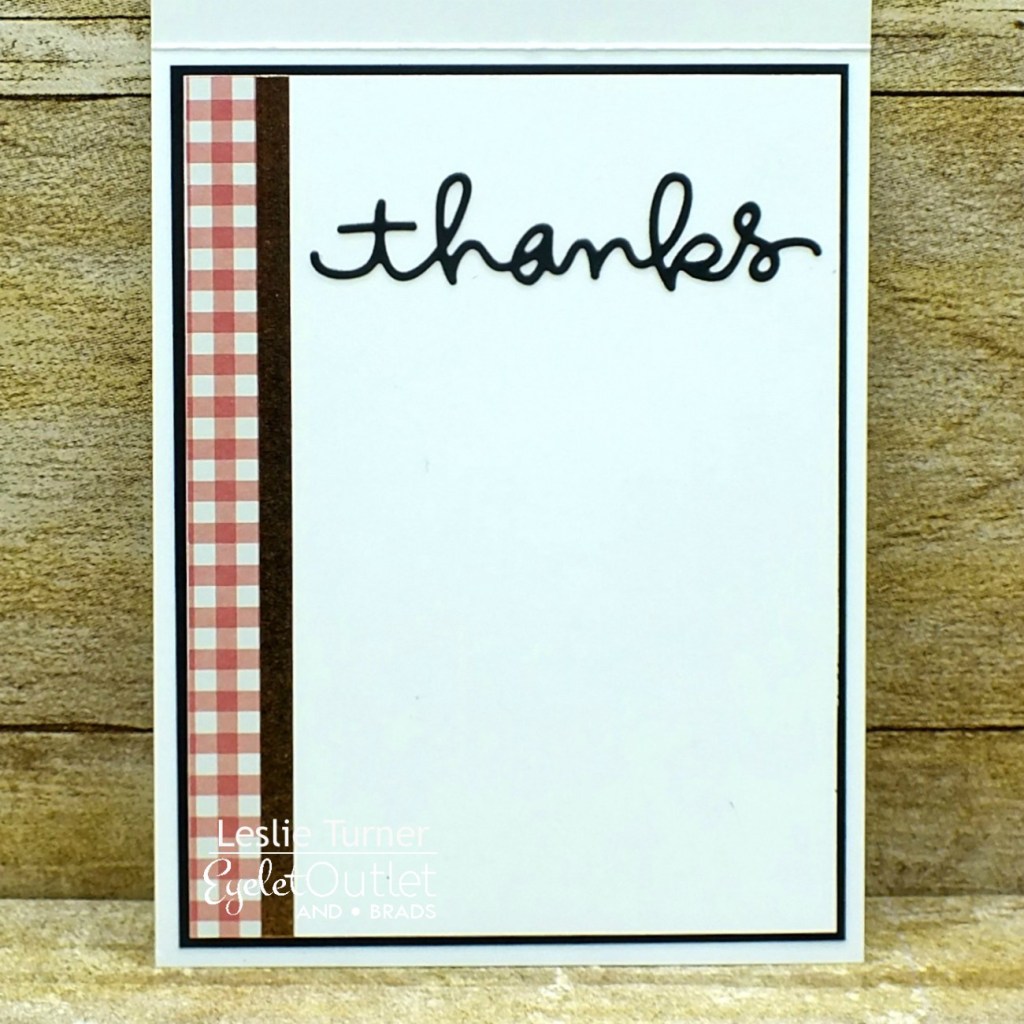
I embellished the inside panel with a strip of the gingham paper used on the front and a narrow strip of black cardstock, added a die cut sentiment, and layered the panel on black cardstock.

One more peek… loving how this turned out! Those brads are so awesome!

Sharing in the following challenges:
1. 2 Crafty Critter Crazies: #43 – Anything Goes
2. A Perfect Time To Craft: #10-2020 – Anything Goes
3. Creative Inspirations: October Anything Goes
4. Creative Moments: #200 – Anything Goes
5. Lemon Shortbread Challenge Blog: #130 – Anything Goes
6. Lil Patch of Crafty Friends: #143 – Anything Goes

Eyelet Outlet products used:
Crab & Lobster Brads
Skinny Washi Tape Copper
Black Enamel Dots

Other products used:
Cardstock/Paper: Neenah Classic Crest Solar White cardstock, American Crafts Black cardstock, simple Stories Wood & Gingham Basics 12×12 paper pad
Dies/Punches: Simon Says Stamp thanks die
Accessories: Tombow Mono permanent adhesive, Gemini Junior

I hope you’ve enjoyed today’s project! Be sure to check out all the fun goodies at Eyelet Outlet! I can already see you drooling, lol! Be sure to ‘like’ and ‘follow’ Eyelet Outlet Facebook Page to keep up with news and sales, and while you’re at it, join the Eyelet Outlet Fans Facebook group for lots of creative inspiration! Thanks so much for stopping by today – we’ll see you next time! ;)

Scrappy hugs,
lesliesig

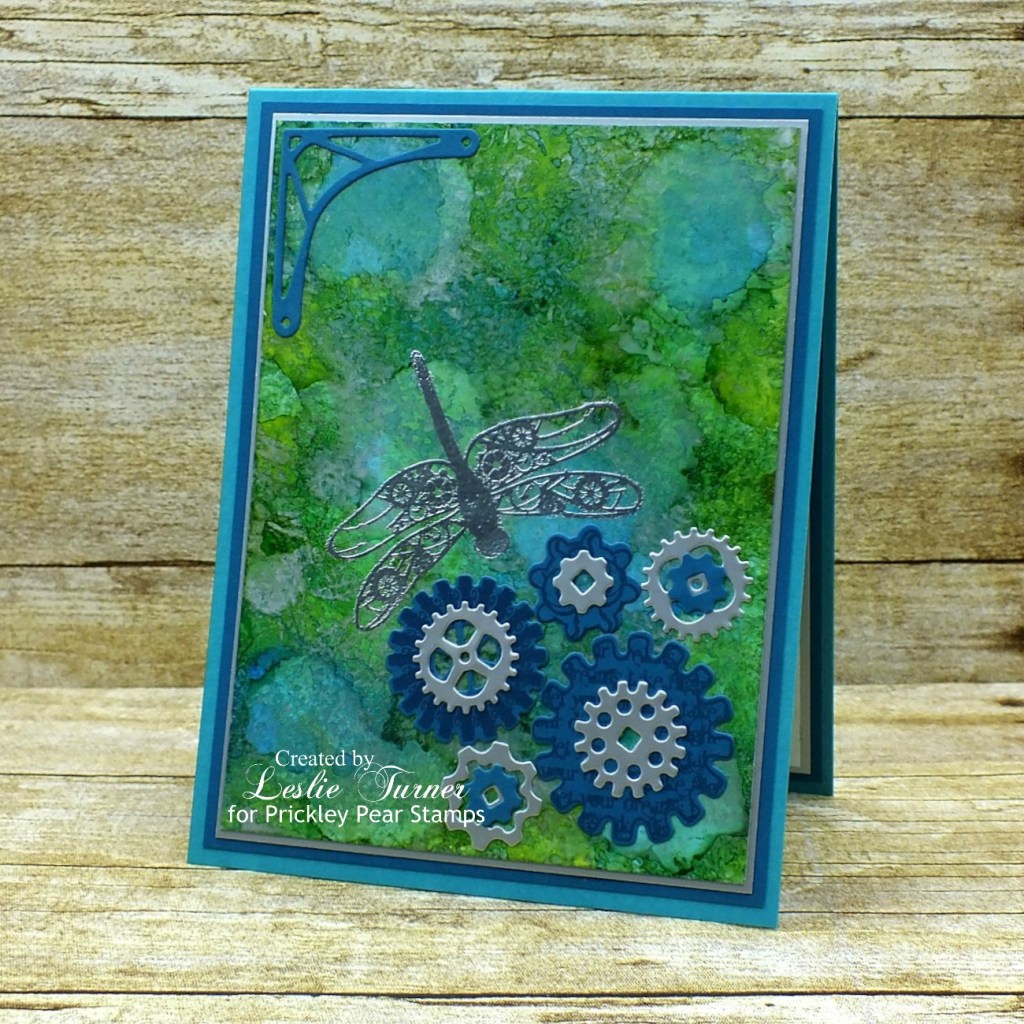
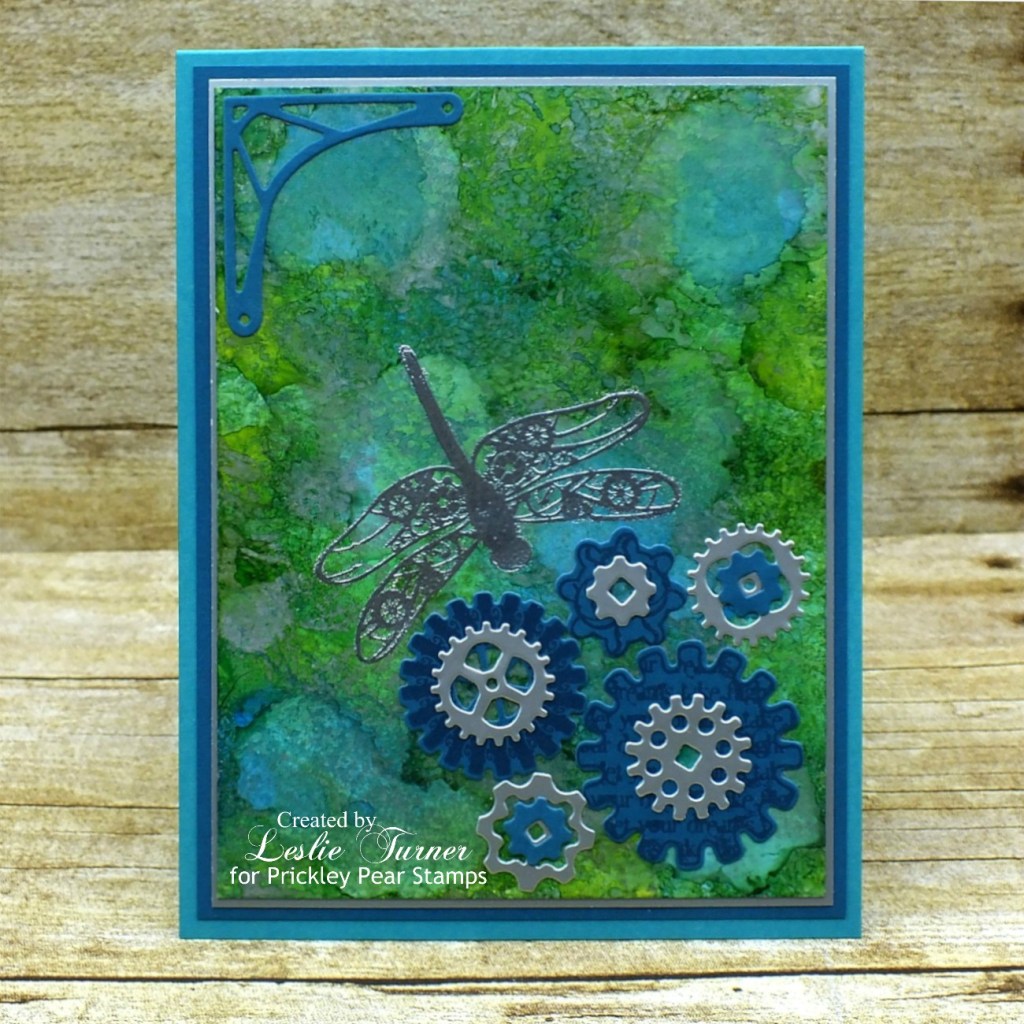
Steampunk dragonfly

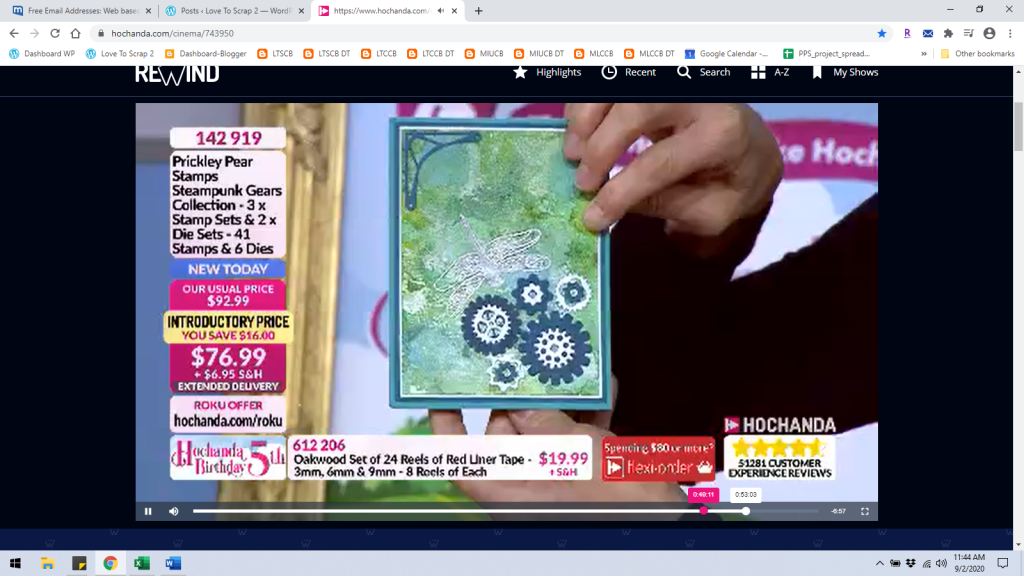
Hi again, friends! I’m back again today to share my final Hochanda showcase sample created for Prickley Pear Stamps! I have a few more website samples to share so I’ll be sharing those soon now that we’ve gotten moved and I have a little more time on my hands. It has been forever since I played with alcohol inks on Yupo paper, and what I love the most is that no two backgrounds ever turn out the same. This card features a pretty blue and green alcohol ink background with a silver embossed dragonfly and several gears using the Gears 2 and Steampunk Gears 3 stamp sets along with the Steampunk Gears and Mini Gears die sets.

I had a fun time creating this mixed media steampunk card. It’s rare that I make a card without a sentiment on the front, but here we are, lol! I created the background first and then silver embossed the dragonfly. I layered the panel on silver metallic cardstock and then on blue cardstock. I stamped and die cut several gears and arranged them in the lower right corner.

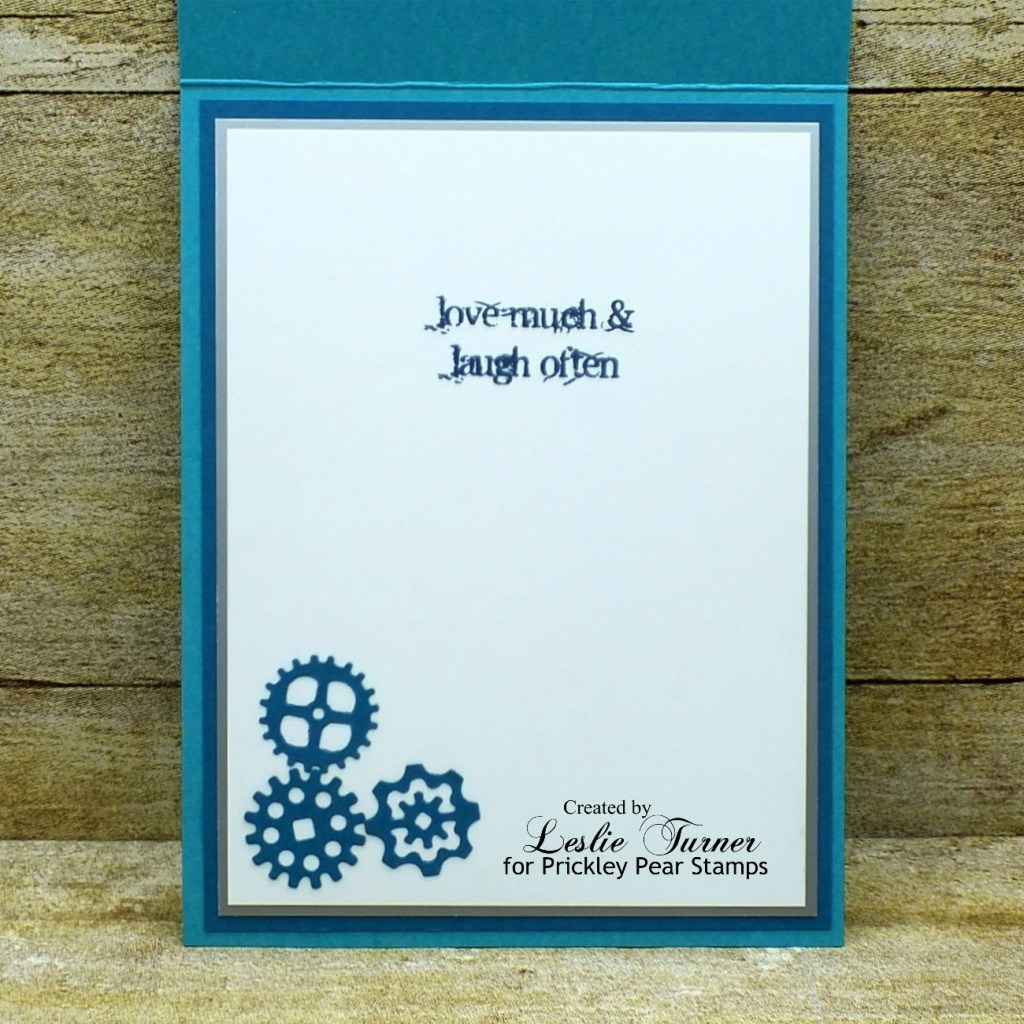
For the inside, I stamped the sentiment in blue archival ink and layered the panel on the silver metallic cardstock and blue cardstock used on the front. I had a few die cut gears leftover so I placed them in the lower left corner.

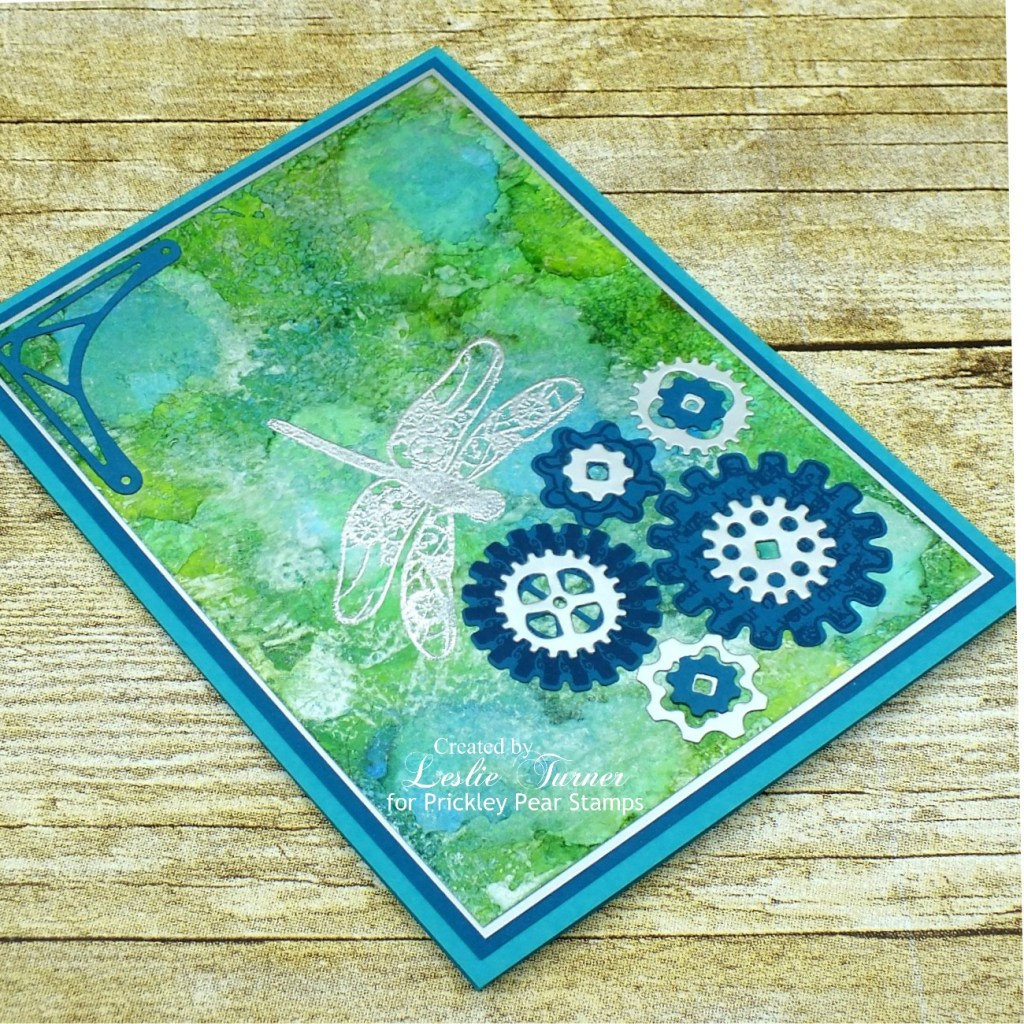
And one more look… such a cool background! I really need to play with the alcohol inks on Yupo paper more often! ;)

And here’s a screenshot of Alex holding this card up on air! This has been such fun seeing my cards on TV! Woo-hoo!

Sharing in the following challenges:
1. 2 Crafty Critter Crazies: #43 – Anything Goes
2. 613 Avenue Create: October Anything Goes w/ optional Winged Things (playing twist)
3. Classic Design Challenge: #10 – Anything Goes
4. Creative Inspirations: October Anything Goes
5. Creative Moments: #200 – Anything Goes
6. Jan’s Digi Stamps Challenge: October Anything Goes
7. Lemon Shortbread Challenge Blog: #130 – Anything Goes
8. Lil Patch of Crafty Friends: #143 – Anything Goes

Products used:
Cardstock/Paper: Ranger Yupo paper, American Crafts Cascade and Peacock cardstock, Marco’s Venicelux Silver Metallic cardstock
Stamps: Prickley Pear Stamps Gears 2 and Steampunk Gears 3 clear stamp sets
Ink: Ranger alcohol ink- Sailboat Blue, Aqua, Citrus, Lettuce, Botanical, and Silver Mixative; Ranger faded jeans archival ink
Dies/Punches: Prickley Pear Stamps Steampunk Gears and Mini Gears die sets
Accessories:  Tombow Mono permanent adhesive, Bearly Art precision craft glue, MISTI stamp tool, Gemini Junior, Sweet Stamps fine detail embossing powder

I hope you’ve enjoyed this project! Be sure to check out all the awesome stamps and dies at Prickley Pear Stamps! If you’d like to save 10% on anything on the site when you shop at Prickley Pear Stamps, use the coupon code LESLIE10 at checkout! And be sure to ‘like’ and ‘follow’ the Prickley Pear Stamps Facebook page to keep up with news and sales, and join Prickley Pear Pals (the fan group) for lots of fun crafty ideas and to share your creativity! And finally, we’d love to see you visit the Prickley Pear Stamps blog that’s in the process of being revived and become a Follower! Hope to see you there! Thanks so much for stopping by today – we’ll see you next time! ;)

Scrappy hugs,
lesliesig

for the happy couple

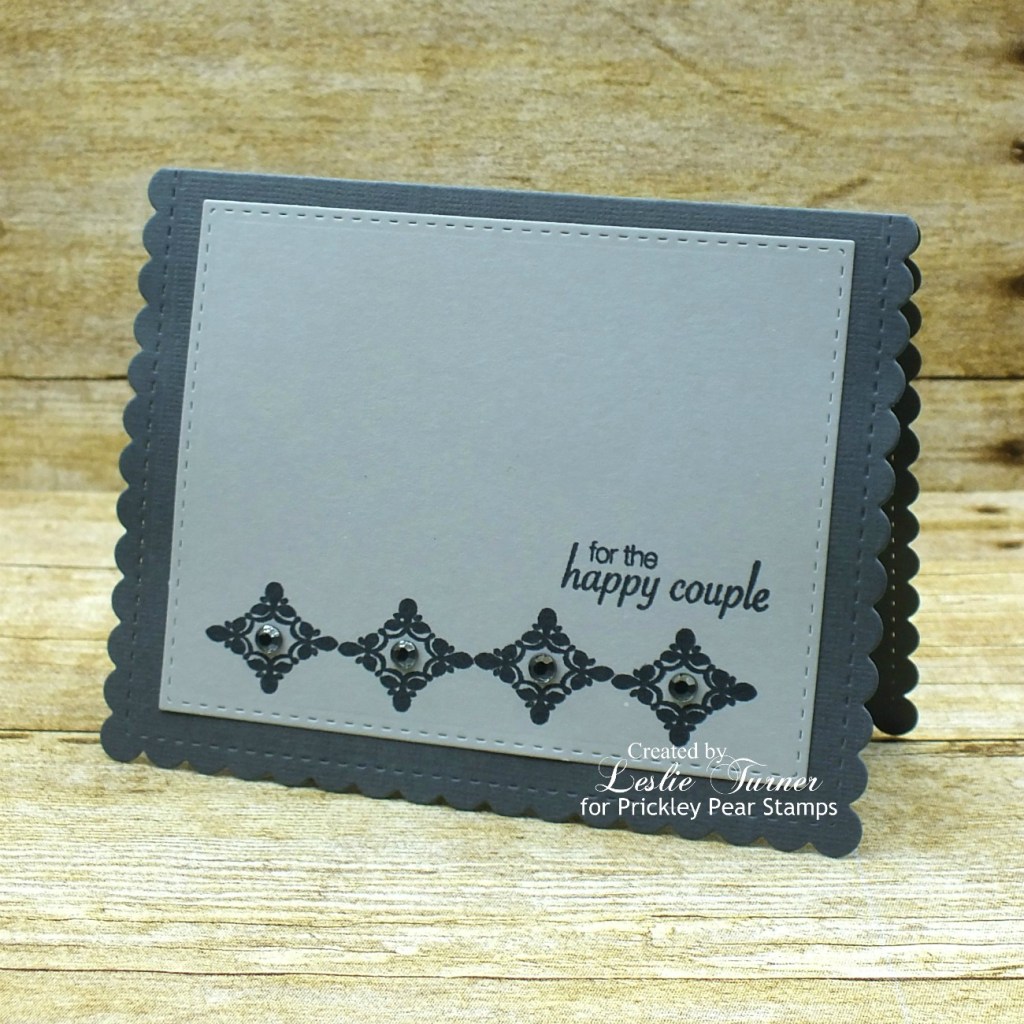
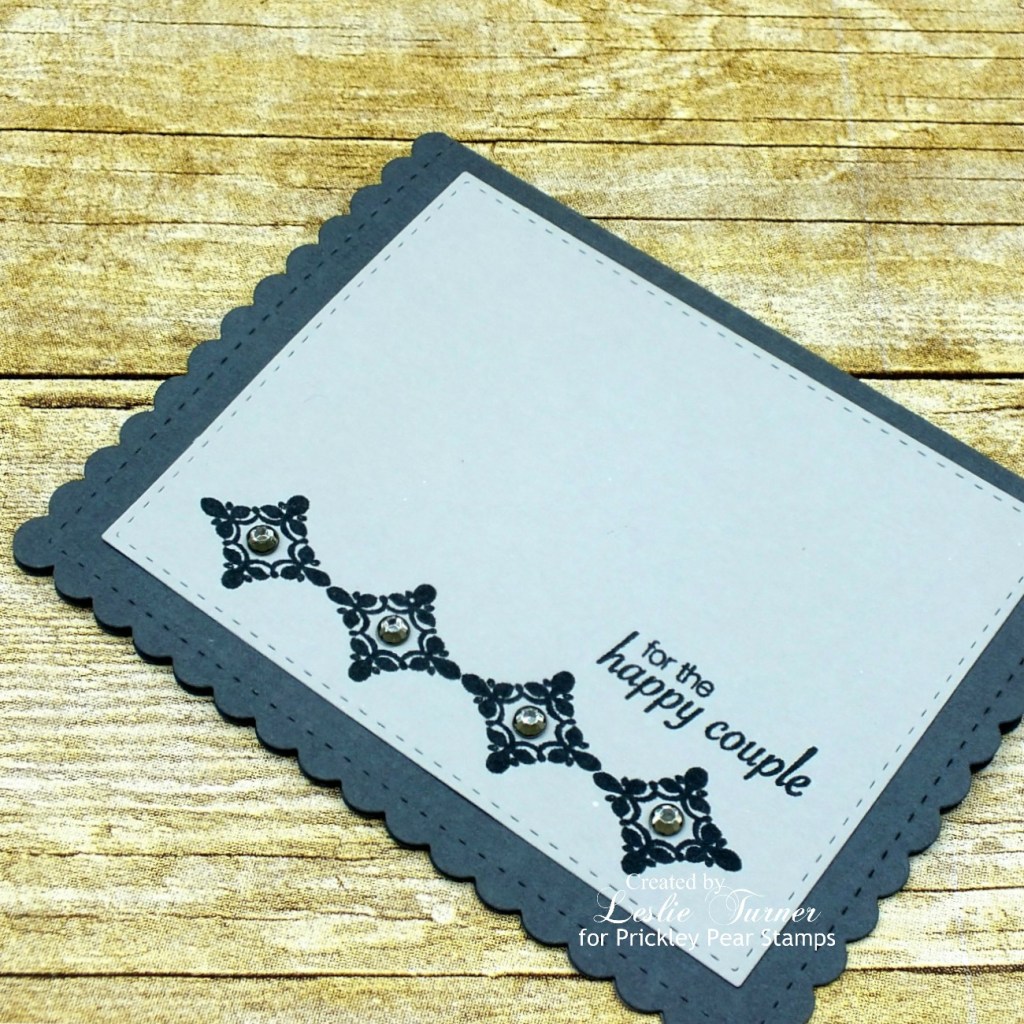
Mornin’ peeps! It’s Fri-YAY and I’ve popped in this morning to share another sample I created for the Prickley Pear Stamps Hochanda show early last month. I’m finally winding down with the Hochanda samples… I have one more to share later today and I’ll be done for this go-round. This was quite an undertaking and I’m so proud to have been asked to do it! I created this pretty CAS wedding card in shades of gray using the Scalloped Oval and Scalloped Oval 4-Floral stamp sets.

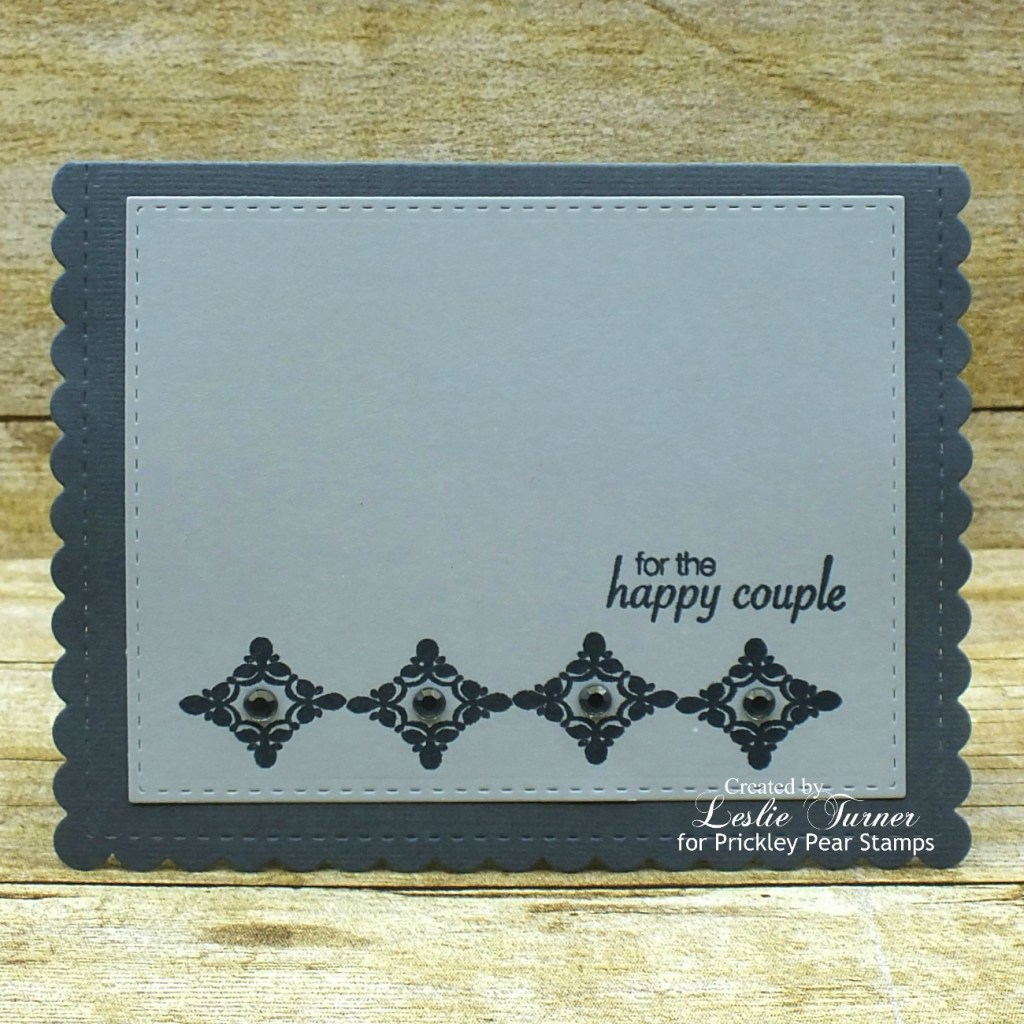
I used an A2 card die set to create the card base and layers, and created the card base in dark gray and the layers in light gray. I stamped the sentiment and image strip in black ink, and added a smoke-colored gemstone to the center of each of the diamonds in the image strip.

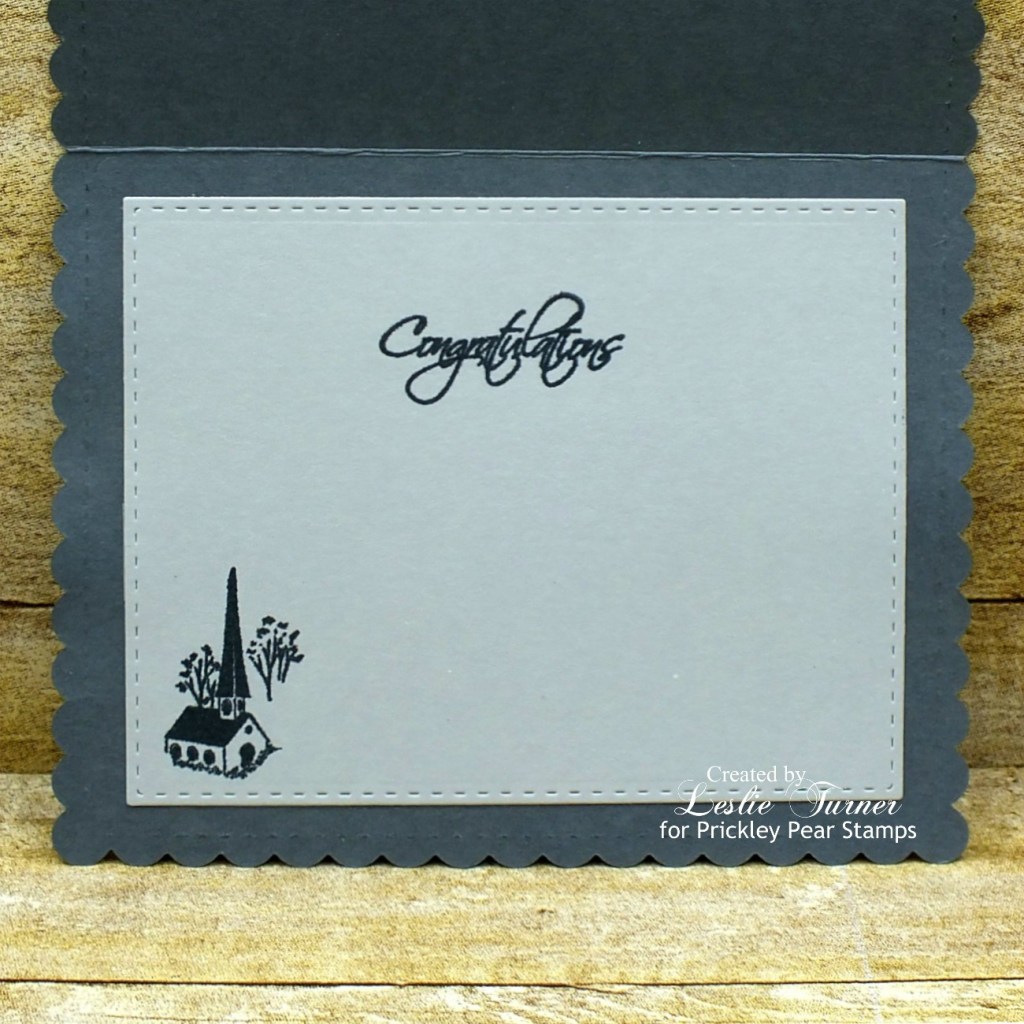
For the inside, I once again stamped the sentiment and image in black ink.

One more peek… loving how this turned out! Such a pretty and simple design in timeless gray!

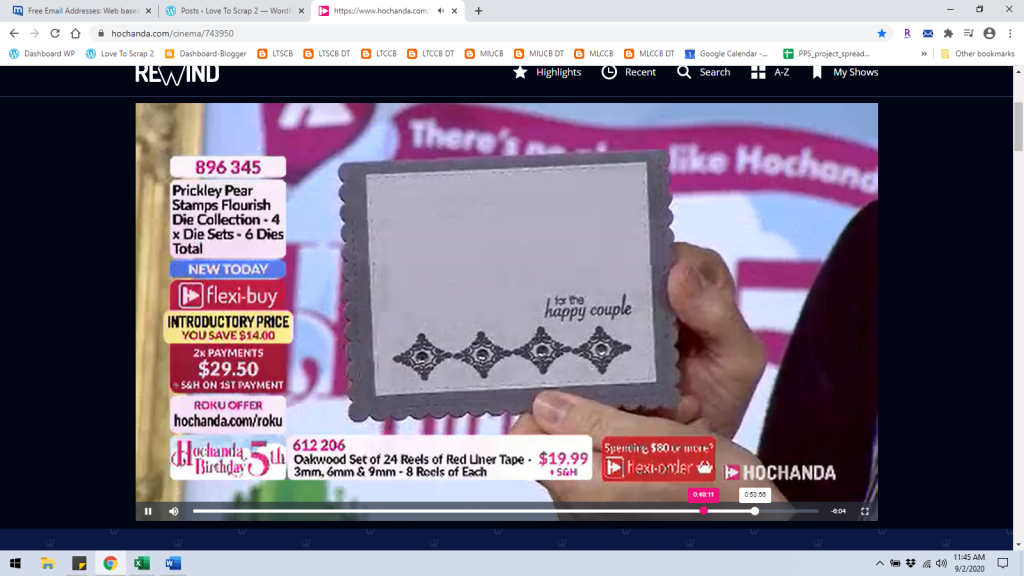
Finishing this post with a screenshot of Alex holding this card up on air! Fun, fun, fun!

Sharing in the following challenges:
1. 613 Avenue Create: October Anything Goes w/ optional Winged Things (no twist)
2. Classic Design Challenge: #10 – Anything Goes
3. Creative Inspirations: October Anything Goes
4. Creative Moments: #200 – Anything Goes
5. Lemon Shortbread Challenge Blog: #130 – Anything Goes
6. The Paper Girls Challenge: #209 – Wedding/Anniversary

Products used:
Cardstock/Paper: CutCardStock Dolphin and Shadow Gray textured cardstock
Stamps: Prickley Pear Stamps Scalloped Oval clear stamp set and Scalloped Oval 4-Floral clear stamp set
Ink: Memento Tuxedo Black ink
Dies/Punches: Papertrey Ink Noted: Scalloped A2 Die Collection
Accessories:  Tombow Mono permanent adhesive, MISTI stamp tool, Gemini Junior, Darice smoke gemstones

I hope you’ve enjoyed this project! Be sure to check out all the awesome stamps and dies at Prickley Pear Stamps! If you’d like to save 10% on anything on the site when you shop at Prickley Pear Stamps, use the coupon code LESLIE10 at checkout! And be sure to ‘like’ and ‘follow’ the Prickley Pear Stamps Facebook page to keep up with news and sales, and join Prickley Pear Pals (the fan group) for lots of fun crafty ideas and to share your creativity! And finally, we’d love to see you visit the Prickley Pear Stamps blog that’s in the process of being revived and become a Follower! Hope to see you there! Thanks so much for stopping by today – we’ll see you next time! ;)

Scrappy hugs,
lesliesig

Vintage Looks, Classic Style.

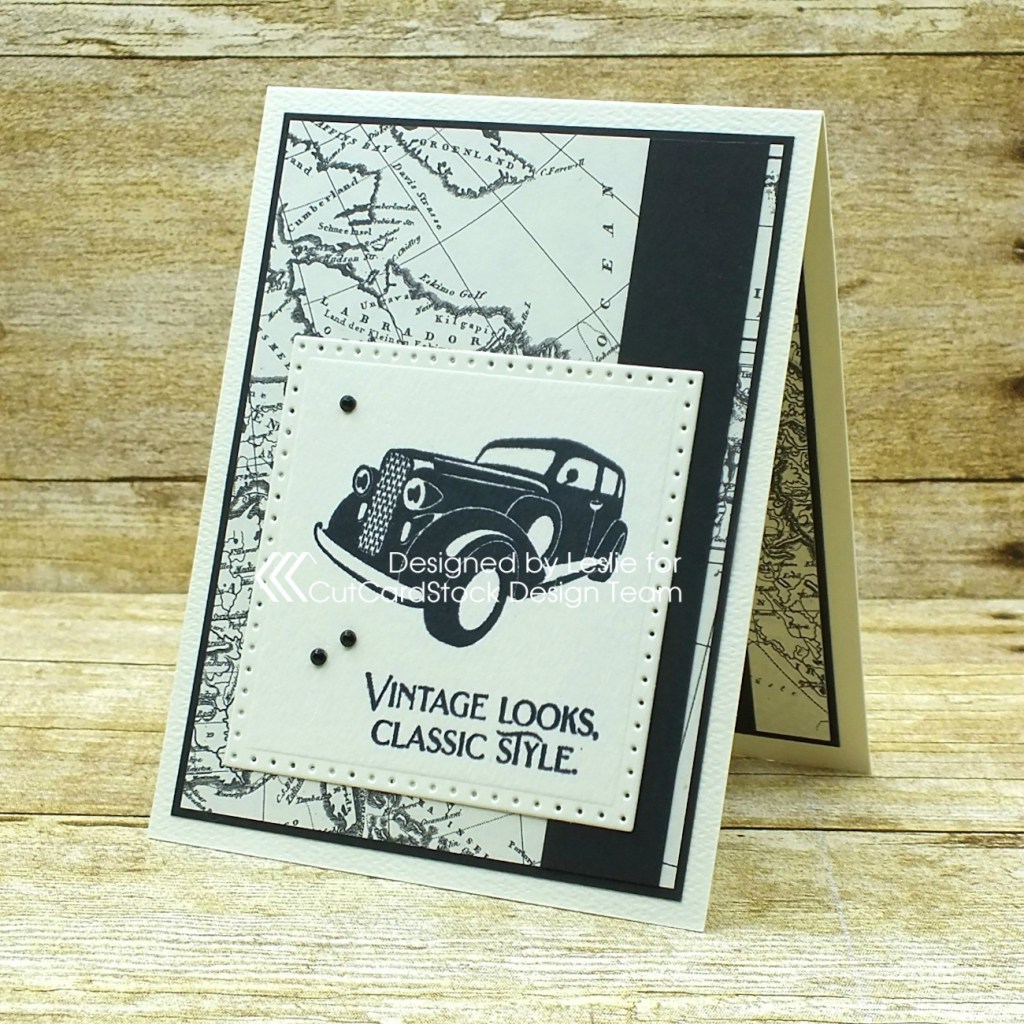
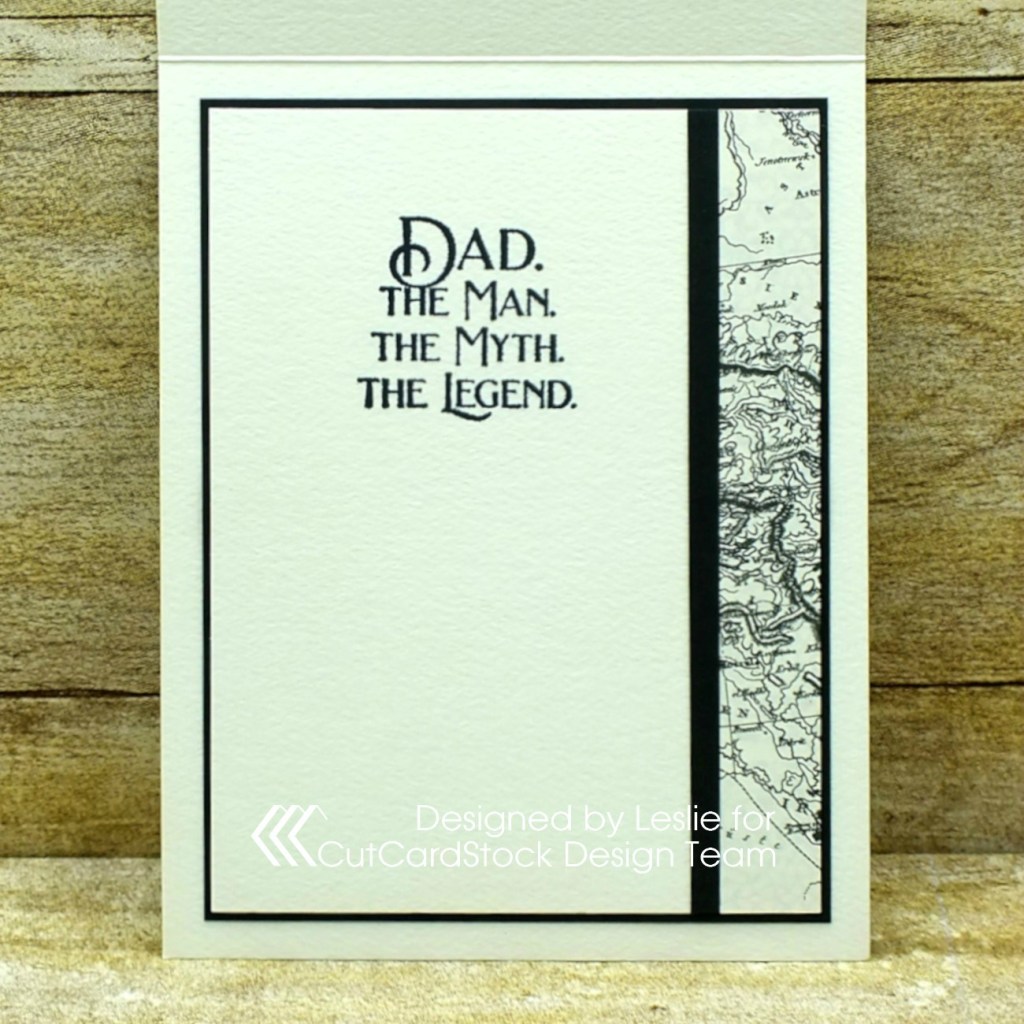
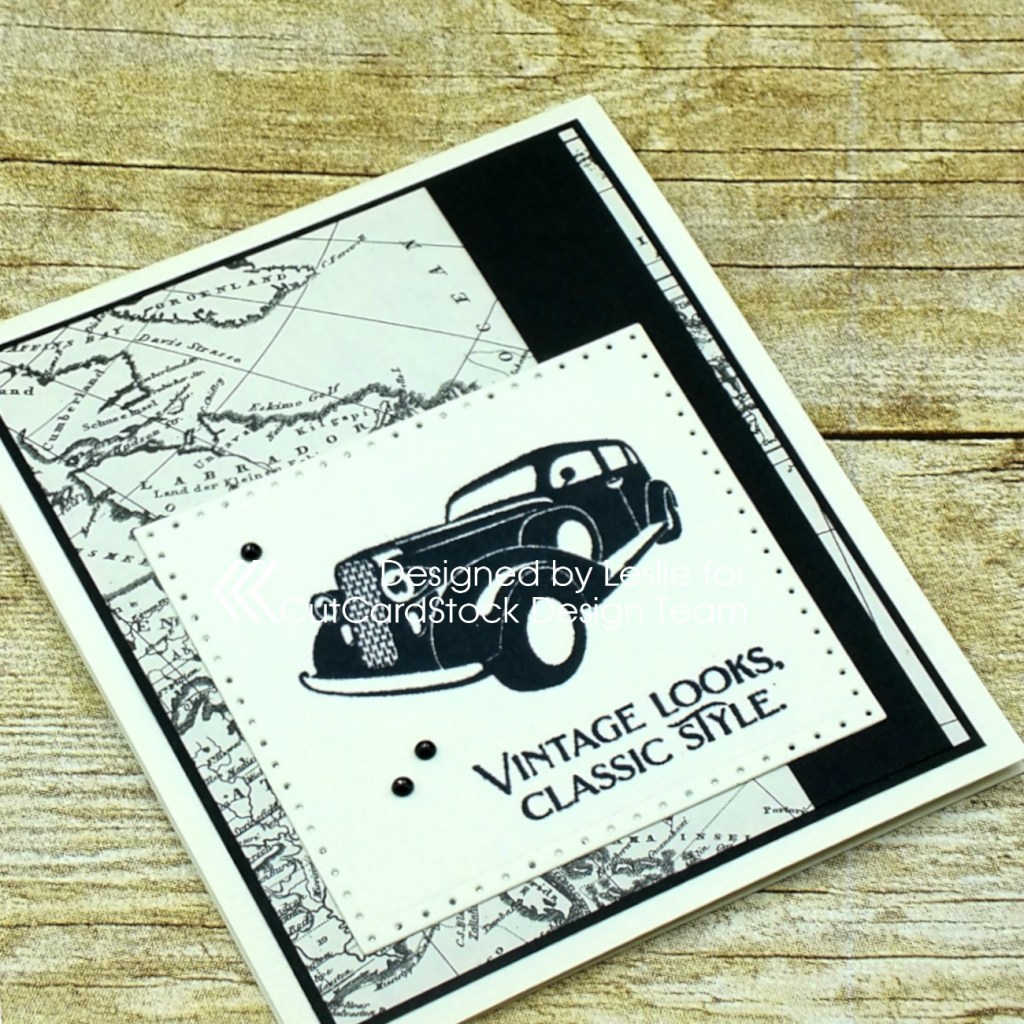
Happy Monday, friends! I’m stoked to be back on the CutCardStock blog today with an awesome DT inspiration project featuring Royal Sundance cardstock that was included in our Designer’s Pack! Affiliate links are used in this post at no cost to you. I really appreciate your support! I created a cool masculine card that would be great for Father’s Day or a male birthday!

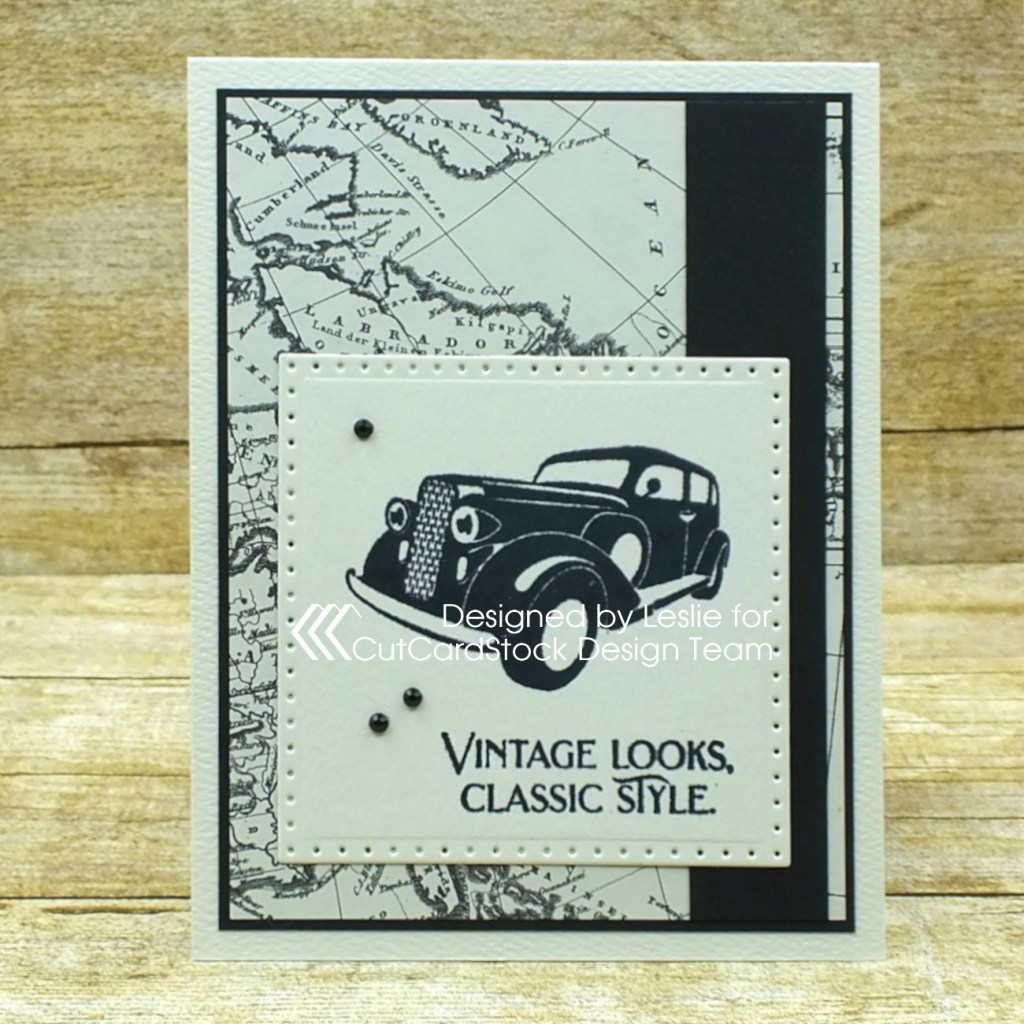
I created a standard A2 top folding card base from Royal Sundance Felt Natural cardstock with the textured side up. This cardstock is amazing – it’s sturdy and has a really nice texture on one side with a smoother texture on the other side. I cut a background panel from map paper along with a black layering panel and a wide strip from Pop-Tone Black Licorice cardstock. I created a dotted squares die cut with the smoother side up, stamped the classic car and sentiment in black ink, and adhered it to the background panel. The final touch was the addition of several small black gemstones.

I cut the inside panel from Royal Sundance Felt Natural cardstock with the smoother side up, and embellished it with a strip of the map paper and thin strip of Pop-Tone Black Licorice cardstock. I stamped the sentiment in black ink and layered the panel on the Pop-Tone Black Licorice cardstock.

And one more peek… so loving how this turned out!

Sharing in the following challenges:
1. 613 Avenue Create: October Anything Goes w/ optional Winged Things (no twist)
2. A Perfect Time To Craft: #10-2020 – Anything Goes
3. Classic Design Challenge: #10 – Anything Goes
4. Cut It Up: #210 – World Cardmaking Day – Create A Card – Include A Die Cut
5. Jan’s Digi Stamps Challenge: October Anything Goes
6. Let’s Craft and Create: #164 – Anything Goes w/ optional Paper Strips Instead of Ribbon (playing twist)
7. Lil Patch of Crafty Friends: #143 – Anything Goes

CutCardStock products used:
Royal Sundance Felt Natural 110# cardstock
Pop-Tone Black Licorice 65# cardstock

Other products used:
Paper: Stampin’ Up Typeset Specialty DSP
Stamps: The Project Bin Classic Man stamp set
Ink: Memento Tuxedo Black ink
Dies/Punches: Sizzix Dotted Squares die
Accessories:  MISTI stamp tool, Big Shot, Tombow Mono permanent adhesive, Darice black gemstones

I hope you’ve enjoyed today’s project and you’re inspired to get crafty! Be sure to check out all the awesome cardstock and other goodies at CutCardStock (adhesives, labels, stickers, pens, watercolors and ribbon to name a few). And head on over to the CutCardStock Facebook Page for more inspiration! Thanks so much for stopping by today – we’ll see you next time!

Scrappy hugs,
lesliesig

Home for the Holidays

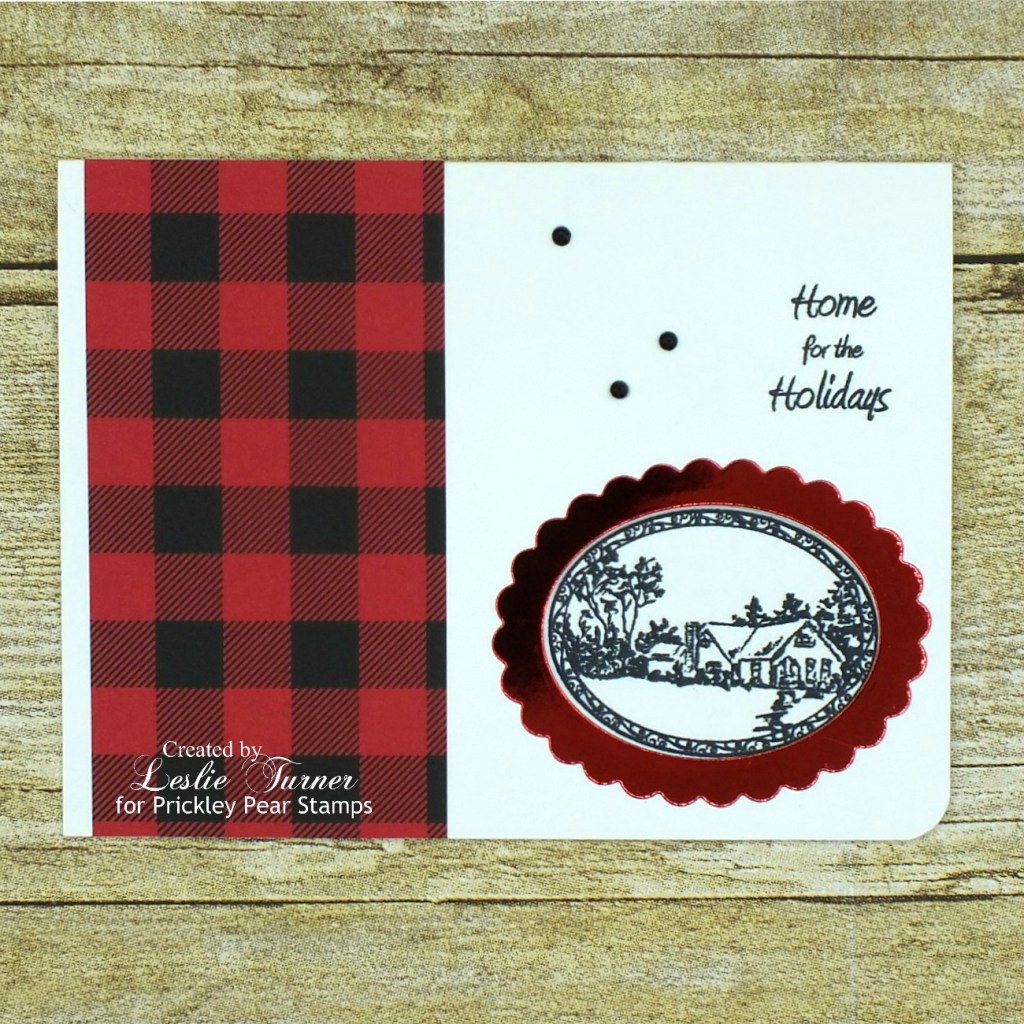
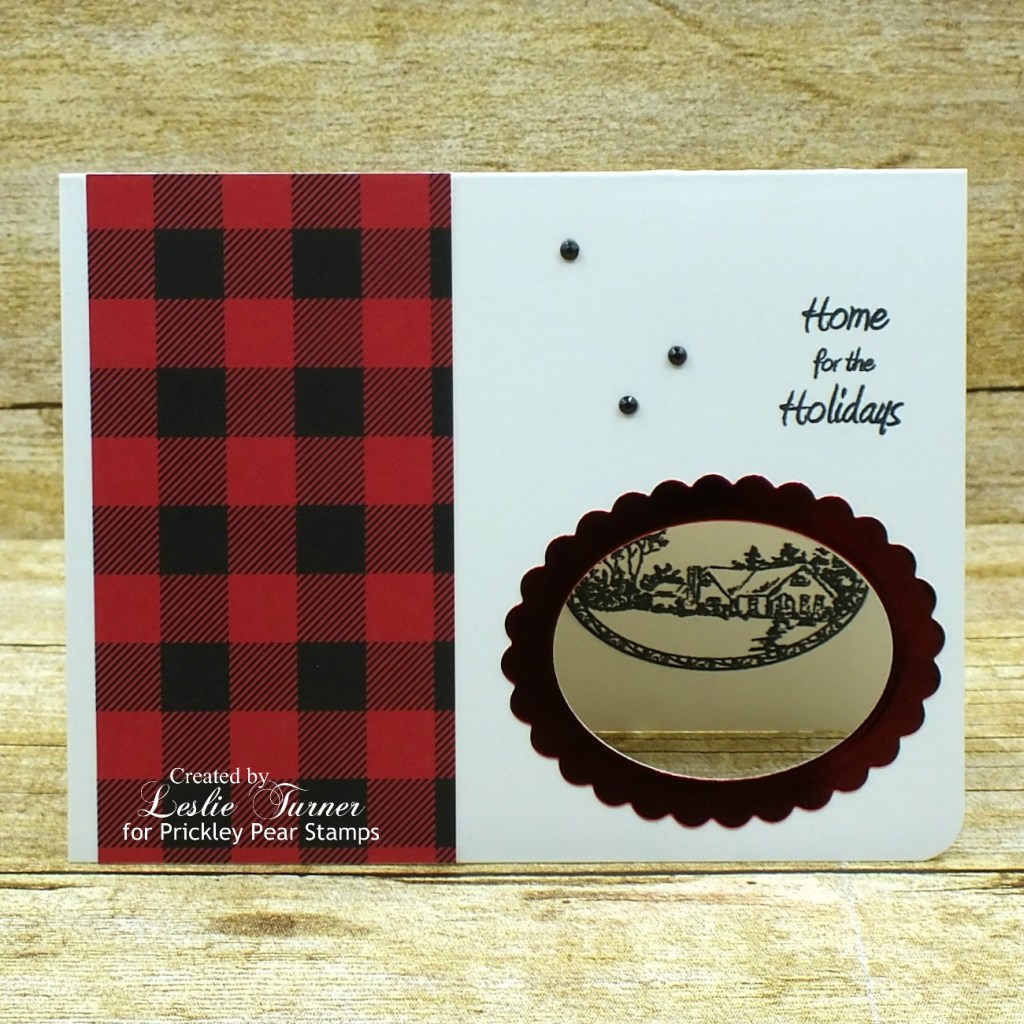
Happy Sunday, peeps! I’m back again today with another Prickley Pear Stamps card sample I created for the Hochanda show last month. As mentioned in my last post, I’ve fallen a little behind in sharing my samples so I’m going to earnestly try to catch up over the next week! This pretty Christmas card was created with the Scalloped Oval 3-Winter stamp set and Scallop Oval Nesting Dies, and features an oval aperture framed with shiny red foil.

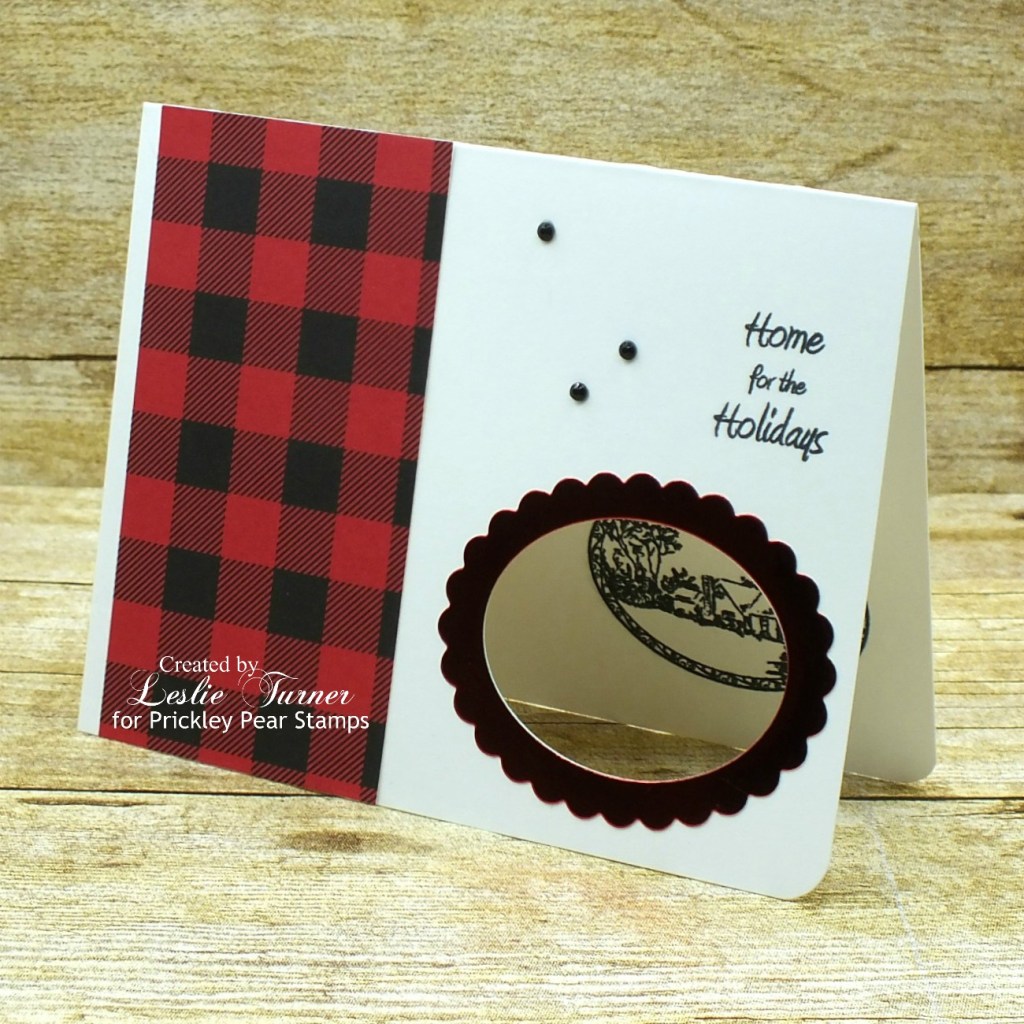
I dug into one of my favorite Christmas 6×6 paper pads and landed on some red and black checked paper that screamed ‘warm and cozy flannel’ to me and thought it would be perfect for the front of this card. I cut the oval aperture and lightly traced around the perimeter with a pencil so I would know where to stamp the inside image.

Using the solid oval and the next larger scalloped oval, I cut a frame from red foil in the same Christmas paper pad. I stamped the sentiment and added several tiny black gemstones.

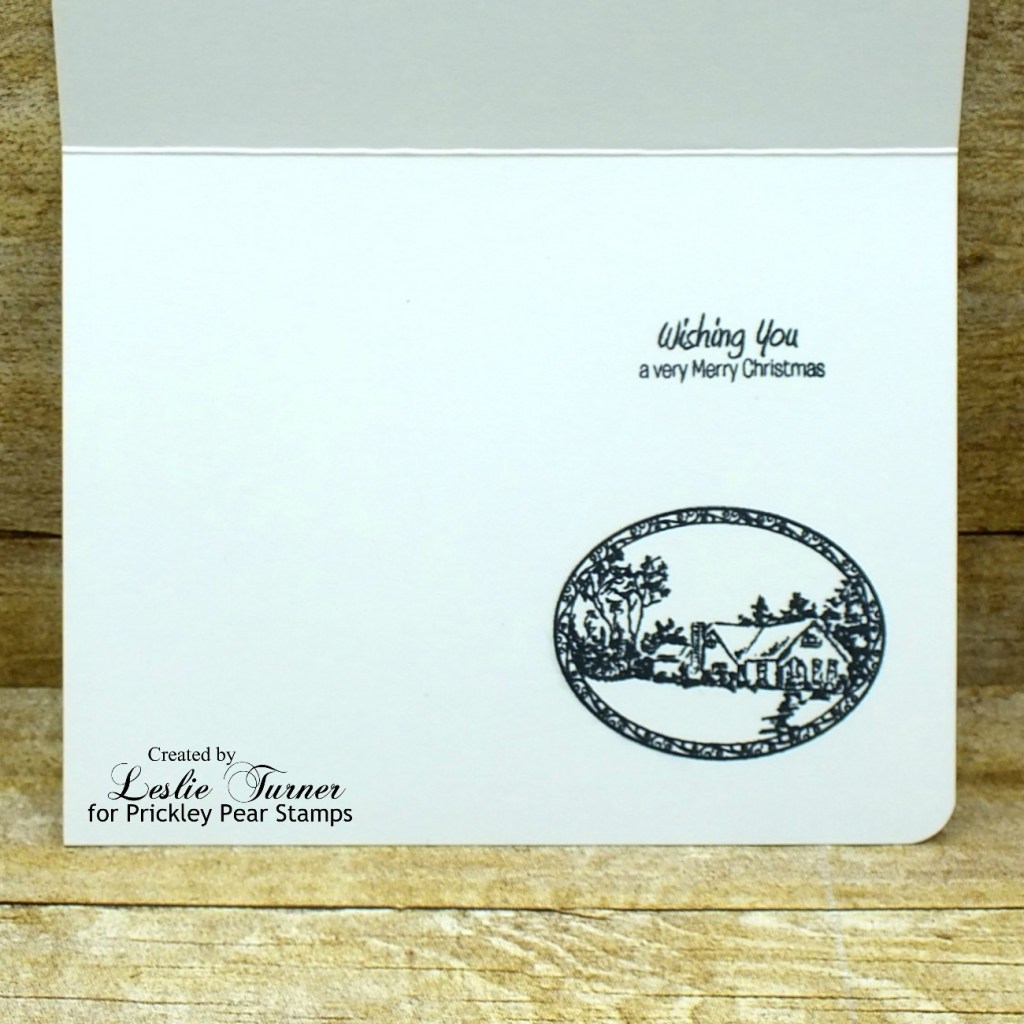
Using my light pencil marking, I stamped the oval image inside and a sentiment just above it. When I was sure the ink was dry, I erased the pencil mark. I’ve made that mistake before… not waiting quite long enough and smearing the ink while erasing. Ughhhh! But not this time, lol! ;)

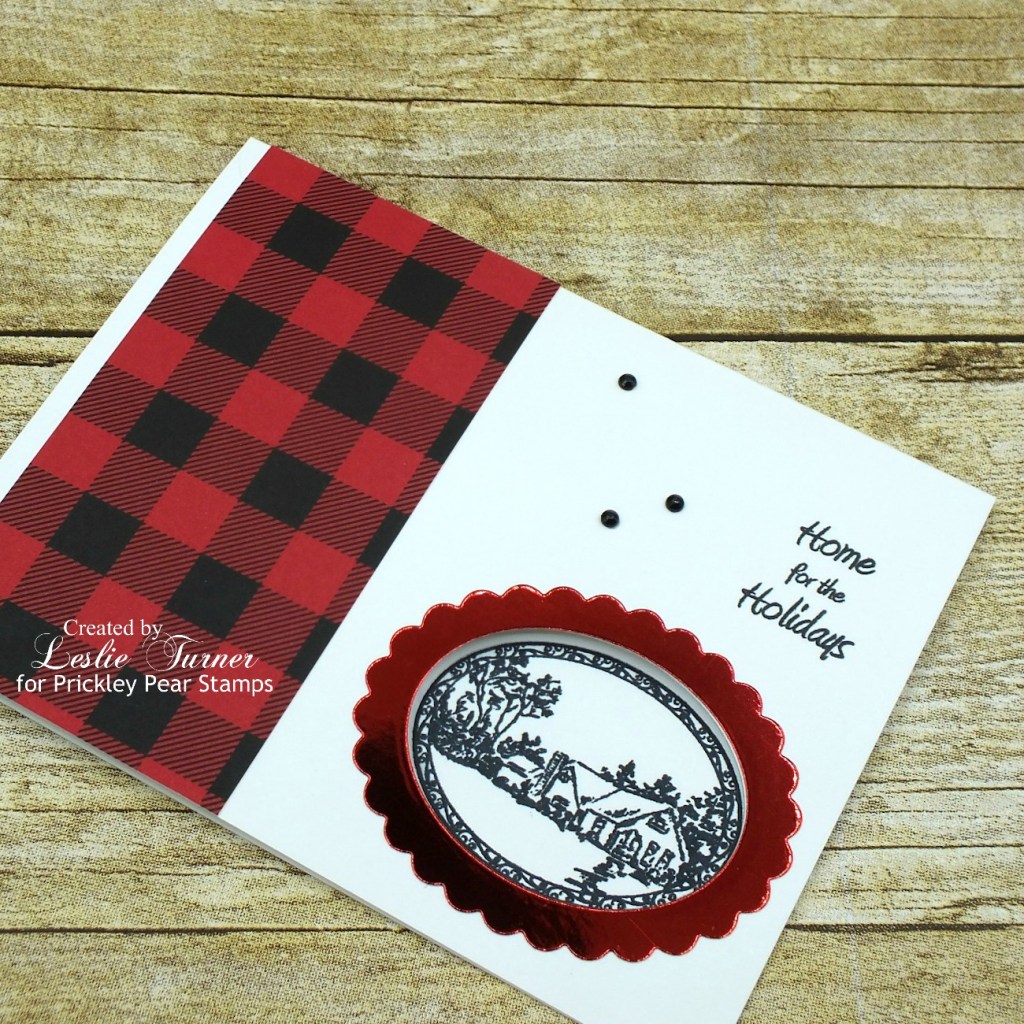
And one more peek… absolutely loving how this one turned out! Gorgeous stamp set!

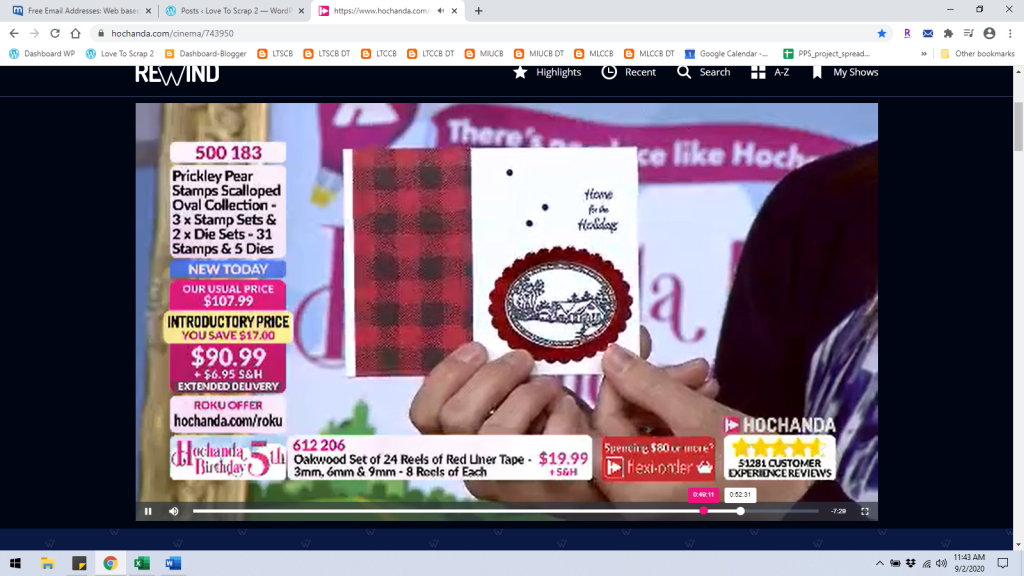
Finishing this post off with a screenshot of Alex holding up this card on the Hochanda show! What a thrill, lol! ;)

Sharing in the following challenges:
1. Crafts Galore Encore Challenges: #80 – Anything Goes
2. Just Us Girls Challenge: #556 Word Week “Plaid”

3. QKR Stampede: #405 – Anything Goes
4. Simon Says Stamp: Wednesday Challenge – Anything Goes

Products used:
Cardstock/Paper: Neenah Classic Crest Solar White cardstock, American Crafts Christmas 6×6 paper pad
Stamps: Prickley Pear Stamps Scalloped Oval 3-Winter clear stamp set
Ink: Memento Tuxedo Black ink
Dies/Punches: Prickley Pear Stamps Scallop Oval Nesting Dies, Kadomaru Pro corner rounder
Accessories:  Tombow Mono permanent adhesive, Bearly Art precision craft glue, MISTI stamp tool, Gemini Junior

I hope you’ve enjoyed this project! Be sure to check out all the awesome stamps and dies at Prickley Pear Stamps! If you’d like to save 10% on anything on the site when you shop at Prickley Pear Stamps, use the coupon code LESLIE10 at checkout! And be sure to ‘like’ and ‘follow’ the Prickley Pear Stamps Facebook page to keep up with news and sales, and join Prickley Pear Pals (the fan group) for lots of fun crafty ideas and to share your creativity! And finally, we’d love to see you visit the Prickley Pear Stamps blog that’s in the process of being revived and become a Follower! Hope to see you there! Thanks so much for stopping by today – we’ll see you next time! ;)

Scrappy hugs,
lesliesig