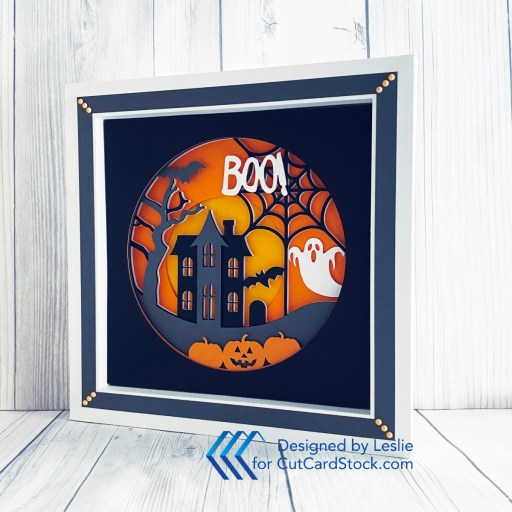
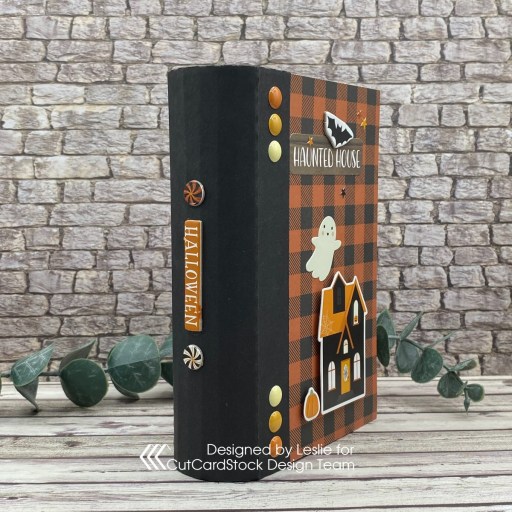
Hey everybody! It’s Thursday already and I hope you’re having a great week! I’m up on the CutCardStock blog today with a tutorial for making a fun Halloween-themed hidden compartment book. I used the Lori Whitlock Hidden Compartment Book Box SVG cut file with my Cricut, and cut the pieces from our Twine, Pop Tone Black Licorice, Stardream Metallic Antique Gold and Basis Dark Orange. I love a good 3D project and this was a fun one! There are all kinds of fun goodies that can be hidden inside. ;)
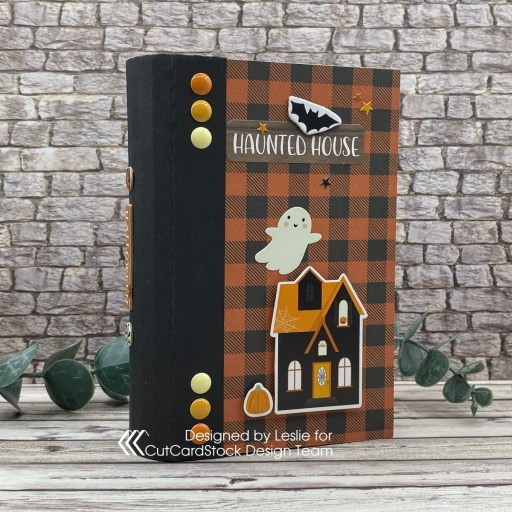
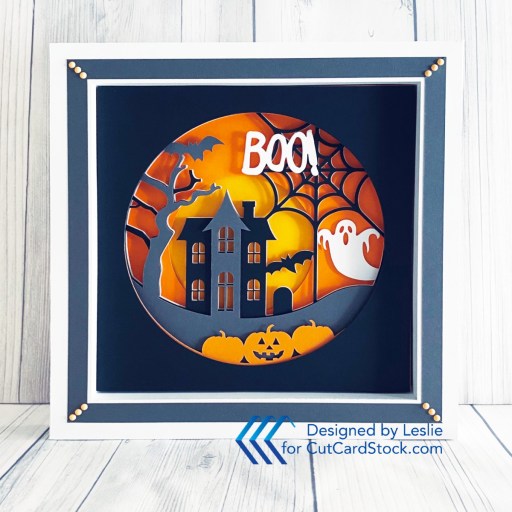
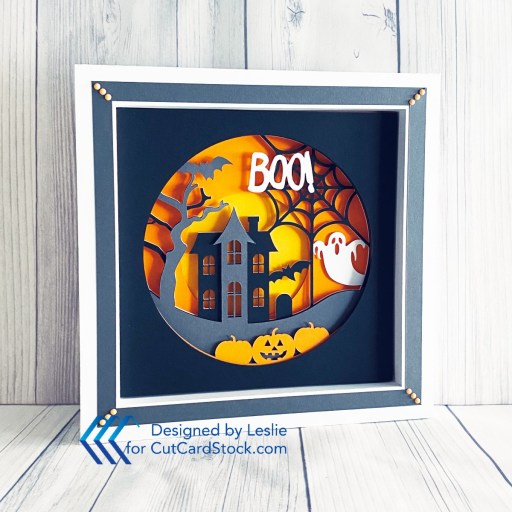
Using my Cricut Explore Air 2 and Lori Whitlock’s Hidden Compartment Book Box SVG cut file, I cut the box from Twine, the spine from Pop Tone Black Licorice, the front and back cover from a buffalo check print in the Echo Park Spooky Collection Kit, the frame for the inside hidden compartment from Basis Dark Orange, and the ‘pages’ from Stardream Metallic Antique Gold cardstock. I decorated the front and spine with stickers, chipboard and enamel dots from Echo Park and Carta Bella.
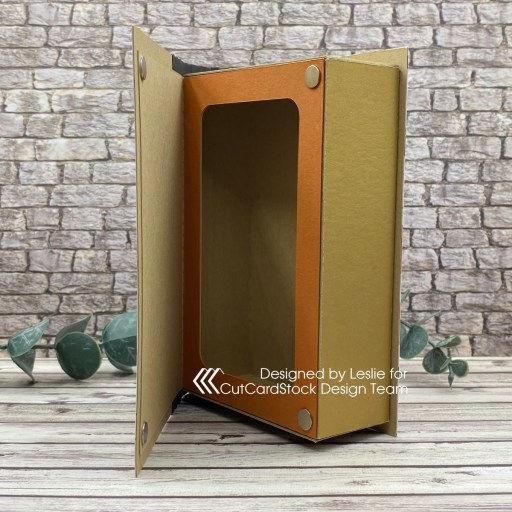
Here’s one additional shot of the hidden compartment inside. I added two small disc magnets to keep the book closed. The Basis Dark Orange cardstock I used for the frame is no longer in stock but there are other orange cardstock colors that could be used instead.
Affiliate links are used in this post at no cost to you – I really appreciate your support!
CutCardStock products used:
Twine cardstock
Pop Tone Black Licorice cardstock
Stardream Metallic Antique Gold cardstock
Basis Dark Orange cardstock (no longer in stock)
Other products used:
PAPER: Echo Park Spooky Collection Kit (papers and stickers)
DIES/PUNCHES: Lori Whitlock Hidden Compartment Book Box SVG Cut File
ACCESSORIES: Cricut Explore Air 2, My Sweet Petunia Precision Glue Press, Nuvo Deluxe Adhesive, Scrapbook Adhesives 3D Foam Squares (large black), Echo Park Spooky Frames & Tags Ephemera, Carta Bella Halloween Chipboard Accents and Enamel Dots, Ranger Distress Collage Medium, small disc magnets
I hope you’ve enjoyed today’s project and you’re inspired to get crafty! Be sure to check out all the awesome cardstock and other goodies at CutCardStock (adhesives, labels, stickers, pens, watercolors and ribbon to name a few). And head on over to the CutCardStock Facebook Page and for more inspiration! Also, be sure to join our Creating with CutCardStock Facebook Group for even more crafty inspiration! Thanks so much for stopping by today – we’ll see you next time!
Scrappy hugs,