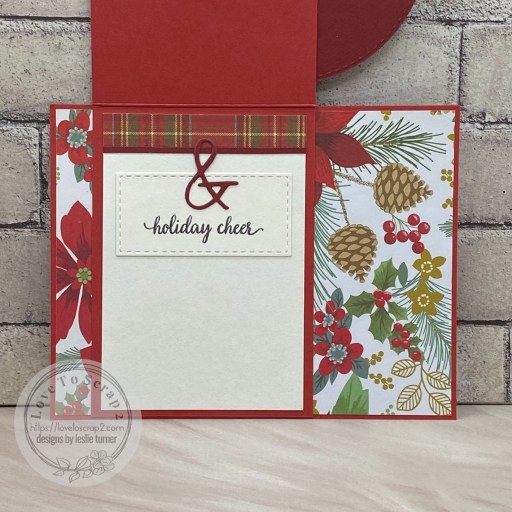
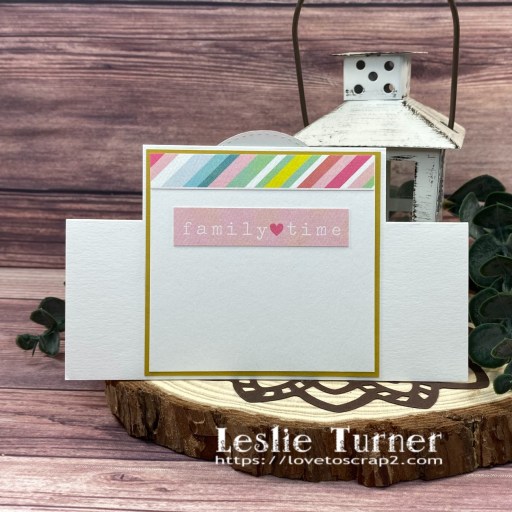
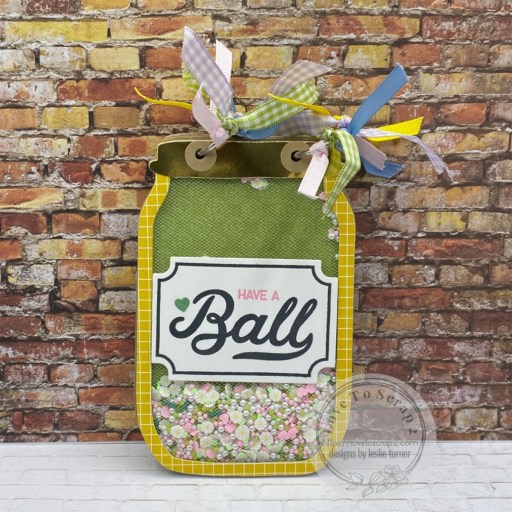
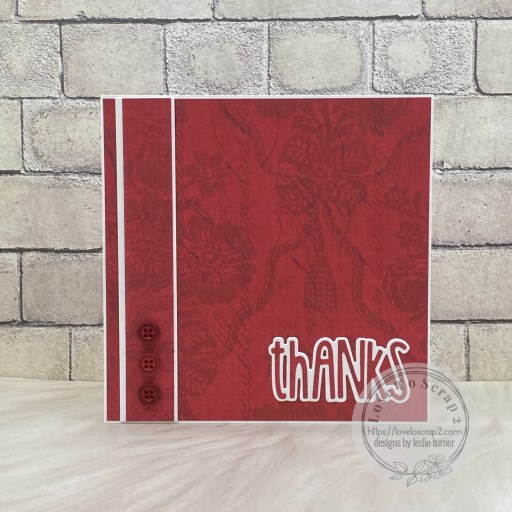
Hey everybody! I hope you had a great weekend and you’re looking forward to a short week with the July 4th holiday! Our new challenge is live this morning over at Birthstone Challenges and I’m thrilled to share my DT inspiration project for BSC #10 – Ruby & Peridot + optional Thank You! This 5″ square note card features some pretty Spellbinders paper and some of my favorite sentiment dies from STAMPlorations. Such an easy design that really packs a punch when you need to say thank you – and it would be an easy one to mass produce!

This 5″ square side-folding card base and embellishing strip were cut from Neenah Classic Crest 110# Solar White cardstock along with layering panels from a bold red print in the Spellbinders Flea Market Finds Floral 2 Palette paper pad. Using the Skinny Sentiments die set from STAMPlorations, I cut the sentiment letters from the red paper and the shadow from a Solar White scrap. The finishing touch was adding three buttons from the Buttons Galore & More Retro Christmas Buttons.
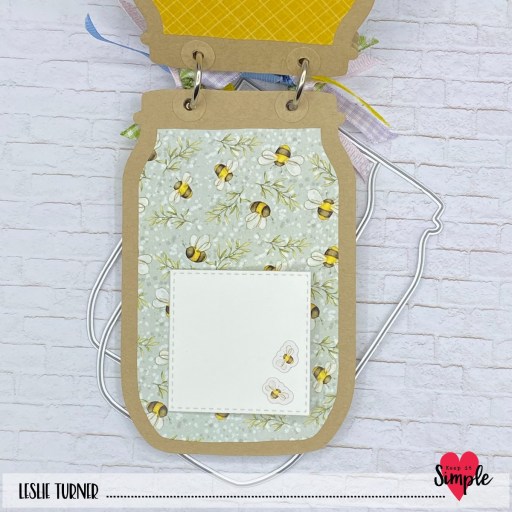
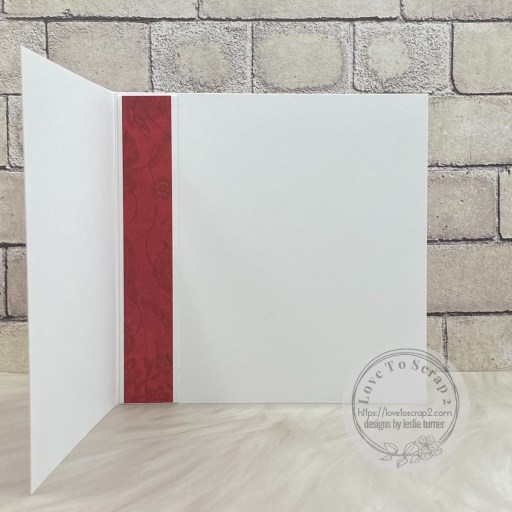
I added a vertical layered embellishing strip to the inside of the card, leaving the rest of flap blank for plenty of room to write a custom message.
Affiliate links are used in this post at no cost to you – I really appreciate your support!
Products used:
CARDSTOCK/PAPER: Neenah Classic Crest 110# Solar White cardstock, Spellbinders Flea Market Finds Florals 2 Palette
DIES/PUNCHES: STAMPlorations Skinny Sentiments
ACCESSORIES: Tonic Studios 12″ Guillotine Paper Trimmer, Tombow Mono Dots Adhesive, Bearly Art precision craft glue, Big Shot, Buttons Galore & More Retro Christmas Buttons
I hope you’ve enjoyed seeing this project and will link up with us this time! Thanks so much for stopping by today – we’ll see you next time! ;)
Scrappy hugs,