5/31/22 Top Pick at Crafting Happiness Challenges!
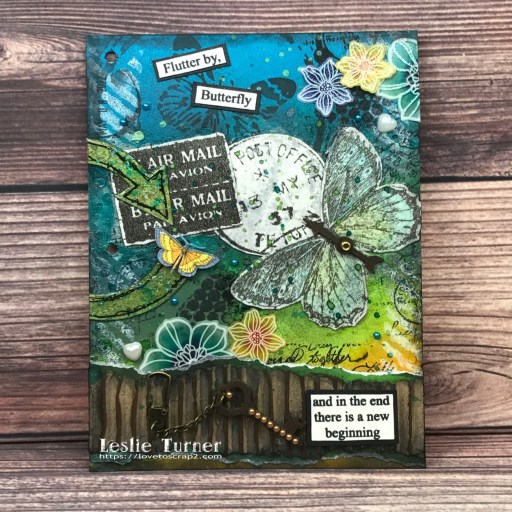
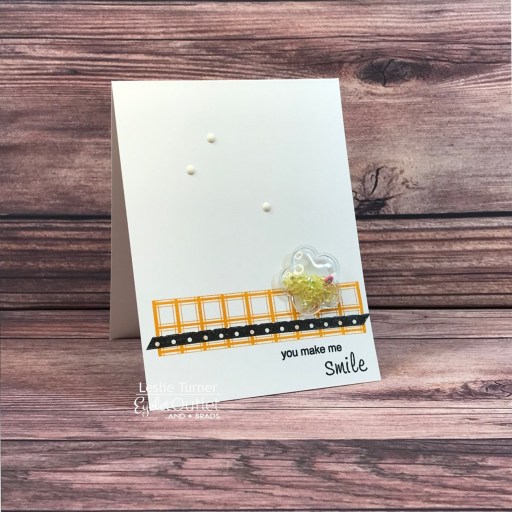
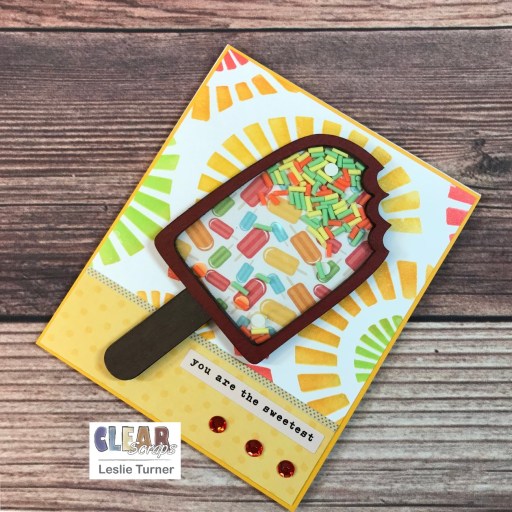
Hey, everybody! Another weekend has bit the dust and I hope it was a good one! Every day is good with us regardless of what day of the week it is! I’m thrilled to be back on the Clear Scraps blog today with another awesome DT inspiration project! I have an adorably ‘sweet’ Summer card featuring our Mini Shaker Popsicle filled with Sprinkles Lime Confetti on a Geo Burst Stencil background to share with you today. This couldn’t have been any more fun to create!
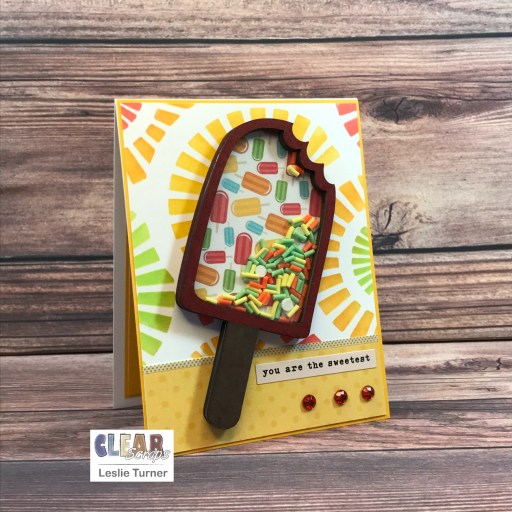
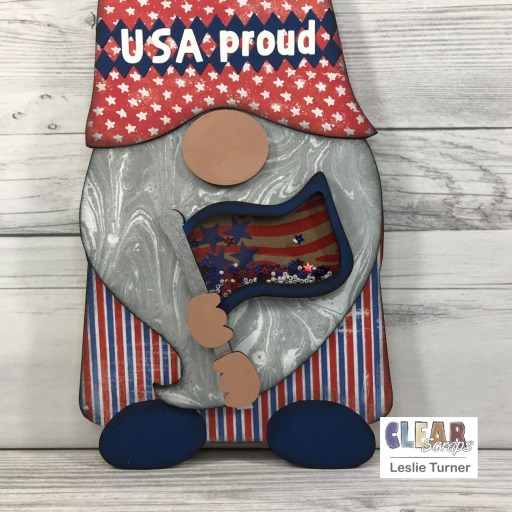
I started by coloring the top chipboard form of the Mini Shaker Popsicle along with the edges of the remaining forms and back with alcohol markers. I adhered a piece of Stamp Anniething popsicle patterned paper to the chipboard back so it’s visible through the aperture. Working up from the bottom, I adhered the next two chipboard forms and added Sprinkles Lime Confetti. I removed the protective film from the bottom side of the acrylic divider and adhered it, then removed the protective film from the top side of the acrylic divider and adhered the top chipboard form.
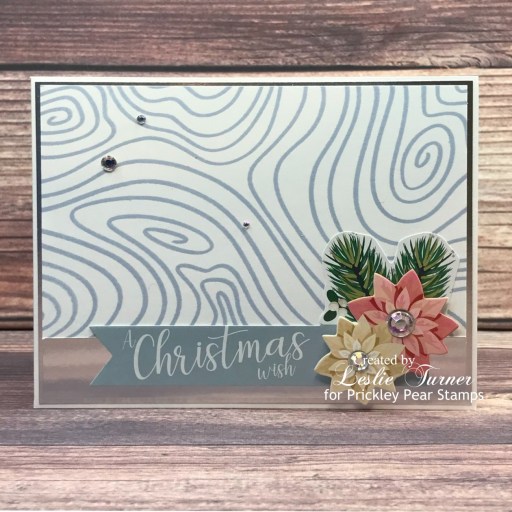
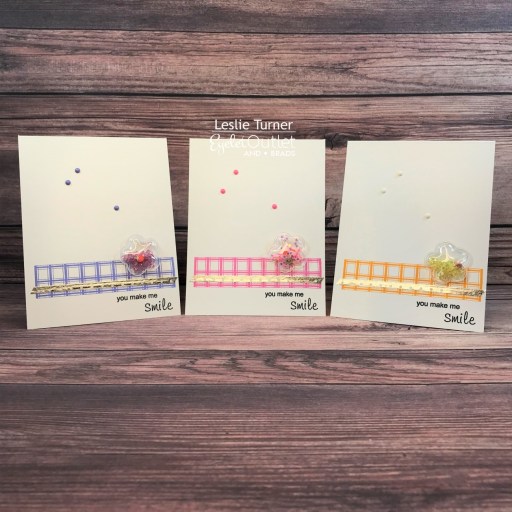
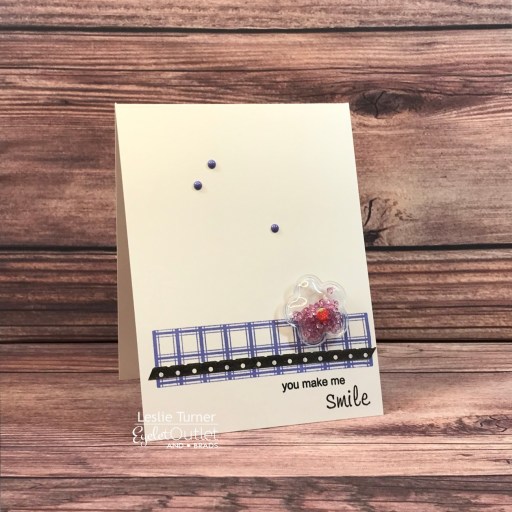
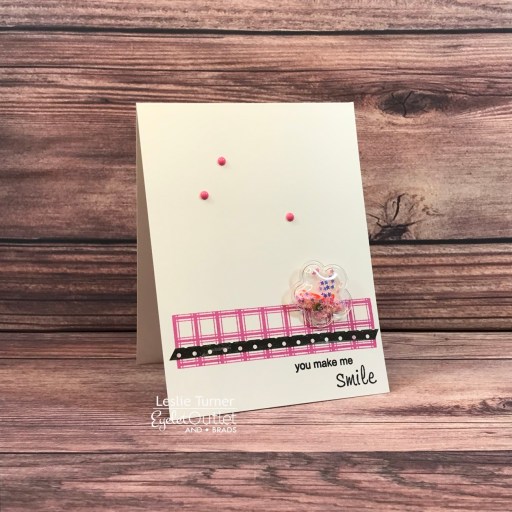
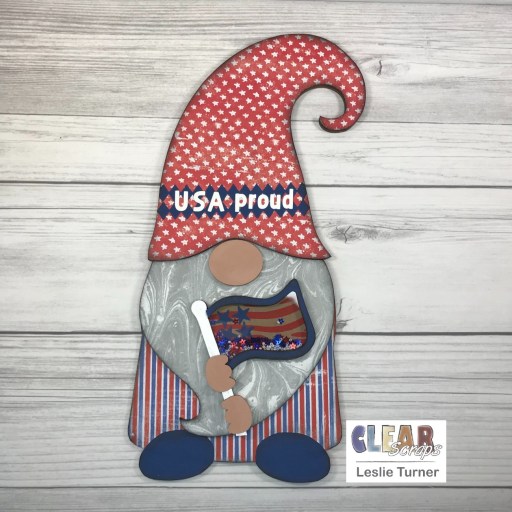
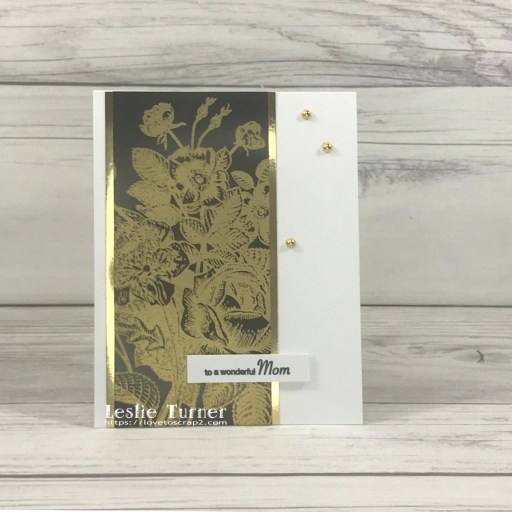
I cut a standard A2 size top-folding card base from Neenah Classic Crest 110# Solar White cardstock along with layering panels from 80# Solar White cardstock and Basis Gold cardstock. I applied Ranger twisted citron, fossilized amber, wild honey and abandoned coral distress inks to the white cardstock panel through the Geo Burst Stencil with blending brushes. I spritzed Tattered Angels Iridescent Silver Glimmer Mist over the panel, trimmed it, and adhered a piece of Stamp Anniething dotted patterned paper and a strip of MAMBI washi tape across the bottom. I added the Carta Bella sticker sentiment and then adhered the panel to the card base. I adhered the shaker and several Eyelet Outlet red gemstones to complete the card front.
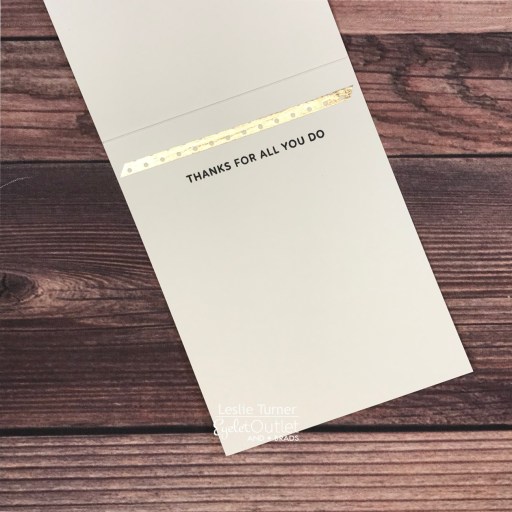
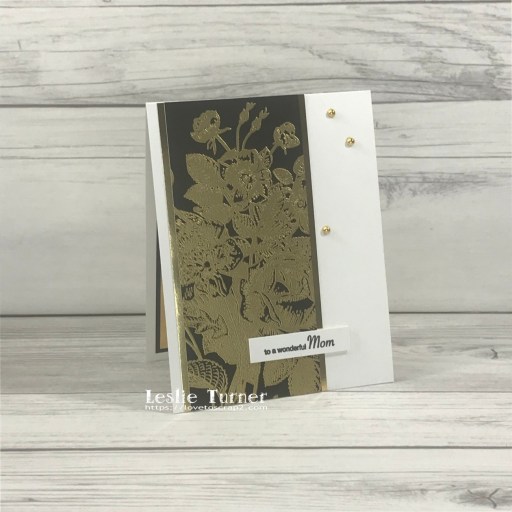
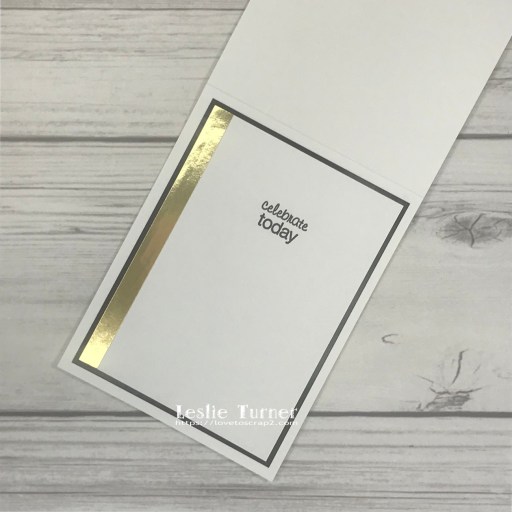
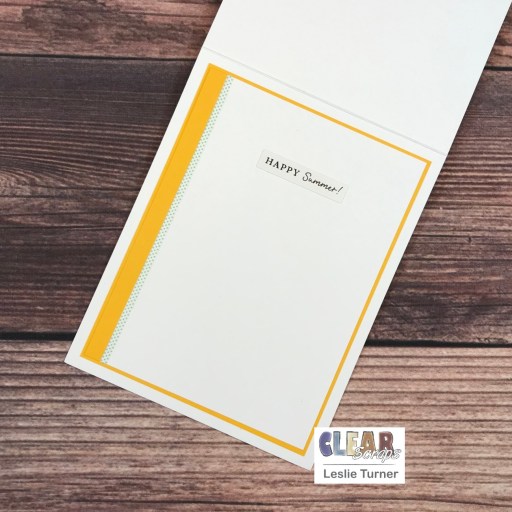
I cut the inside panel from Neenah Classic 80# Solar White cardstock and embellished it with a strip of CutCardStock Basis Gold cardstock and MAMBI skinny washi tape. I adhered another Carta Bella sentiment sticker and layered the panel on the yellow cardstock.
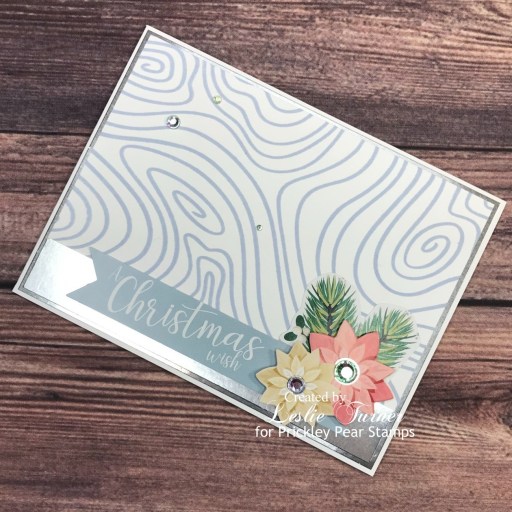
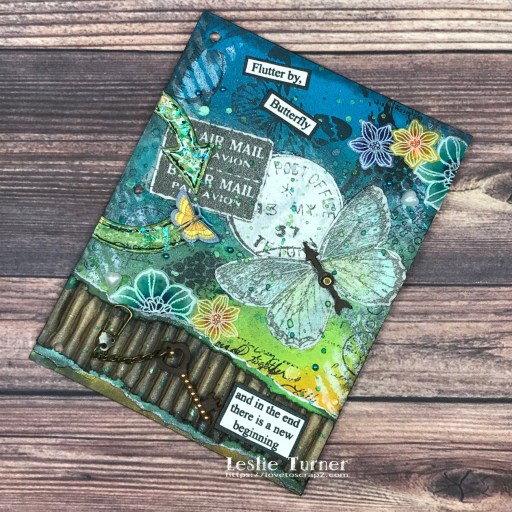
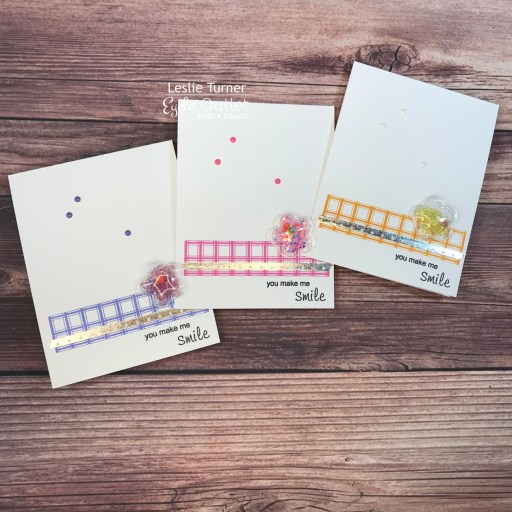
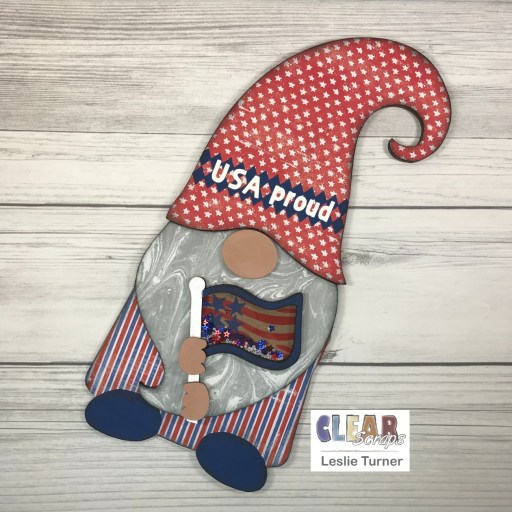
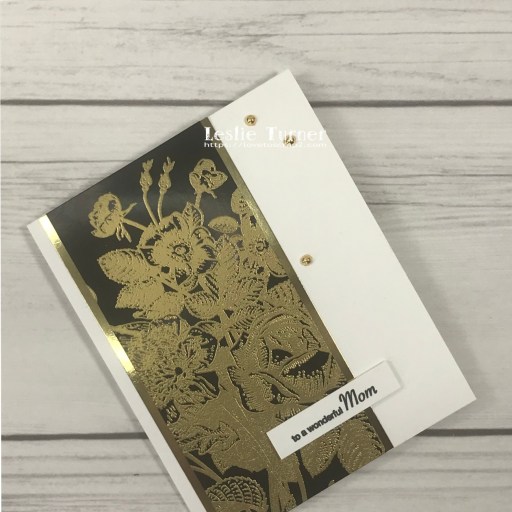
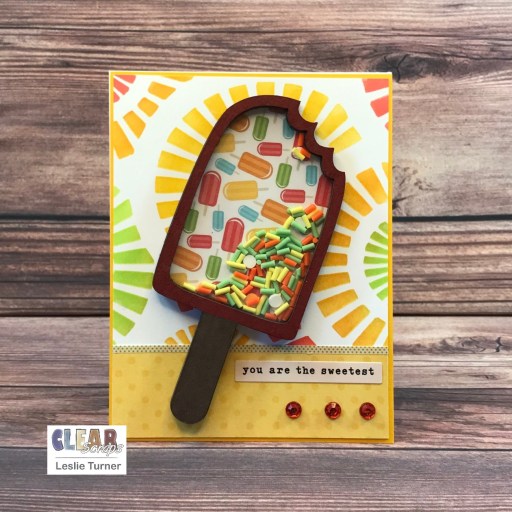
And one more look… such an awesome Summer card! The background stencil and shaker are so fun!
Sharing in the following challenges:
1. A Perfect Time To Craft Open Challenge: #05-2022 – Anything Goes
2. Addicted To Stamps and More: #429 – Any Occasion
3. Classic Design Challenge: #5 May Anything Goes
4. Crafting Happiness Challenges: #123 – Anything Goes Always
5. Crafty Catz: #595 – Anything Goes w/ optional Masculine (no twist)
6. Creative Moments: #234 – Summer’s Here
7. Inkspirational: Designers Choice – Free (Use Something Free or Gifted) — gifted for design team use
8. Paperbabe Stamps: #167 – Anything Goes
9. Penny’s Paper-Crafty Challenge Blog: #521 – Anything Goes with Paper
10. Try It On Tuesday: Use A Stencil
11. World Wide Open Design Team Challenge: #05 – Anything Goes
Clear Scraps products used:
Mini Shaker Popsicle
Geo Burst Stencil
Sprinkles Lime Confetti
Other products used:
Cardstock/Paper: Neenah Classic Crest 110# and 80# Solar White cardstock, CutCardStock Basis Gold cardstock, Stamp Anniething Summer Tropics 6×6 paper pack
Ink: Ranger twisted citron, fossilized amber, wild honey and abandoned coral distress inks; Arteza R21 and BR92 alcohol markers
Accessories: We R Memory Keepers Mini Guillotine Paper Trimmer, Bearly Art precision craft glue, brayer, Tombow Mono permanent adhesive, blending brushes, Tattered Angels Iridescent Silver Glimmer Mist, Me & My Big Ideas Skinny Washi Tape, Eyelet Outlet Red Jewel Bling, Carta Bella Summer Sticker Sheet
I hope you’ve enjoyed today’s project and you’re inspired to get those craft supplies out to play! Be sure to check out all the amazing acrylic, wood and chipboard goodies at Clear Scraps… OMGoodness, you won’t be disappointed! And head on over to the Clear Scraps Facebook Page for lots of inspiration! And while you’re at it, join the Clear Scraps Facebook Creative Group to connect with other Clear Scraps fans! Thanks so much for stopping by today – we’ll see you next time!
Scrappy hugs,