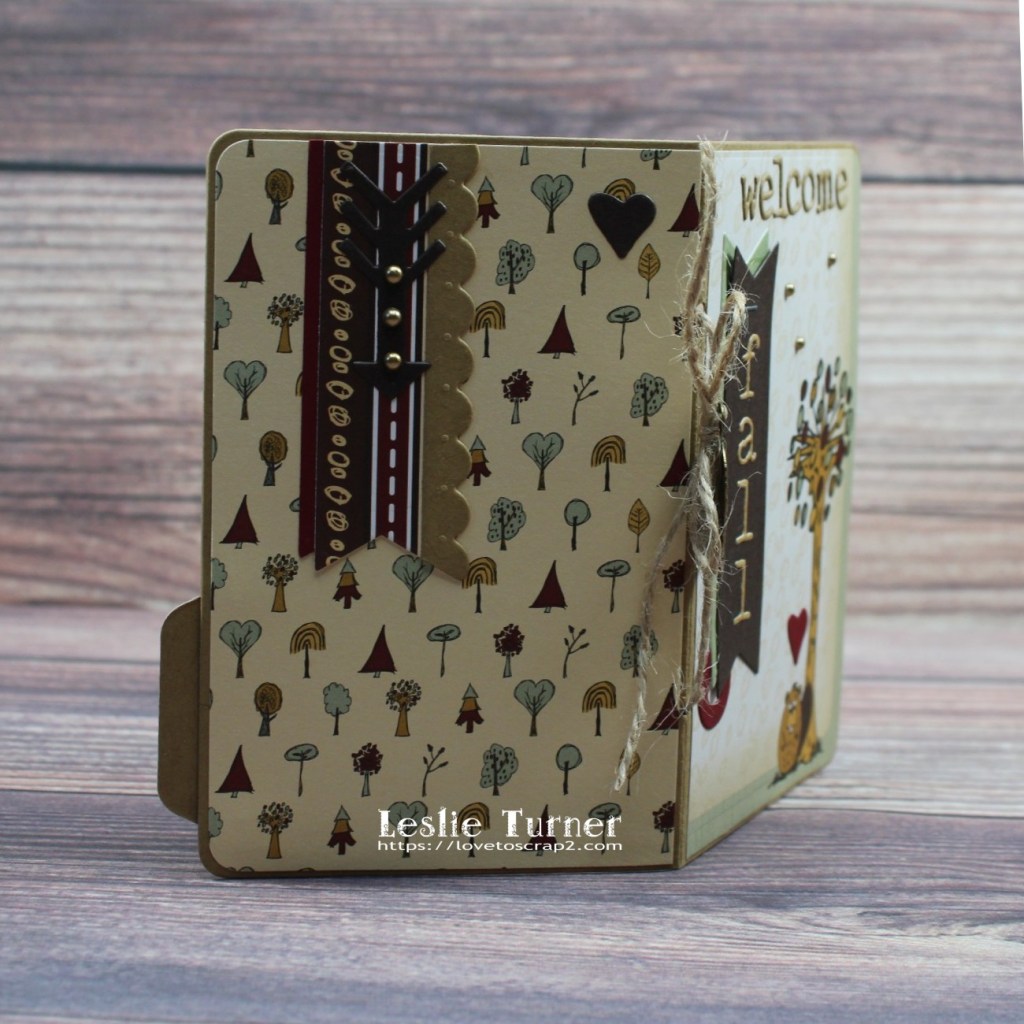
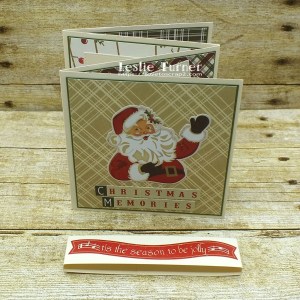
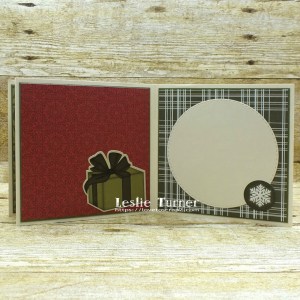
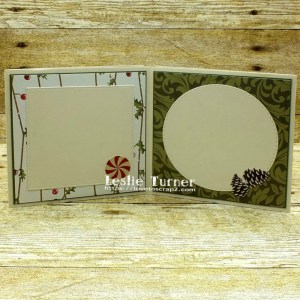
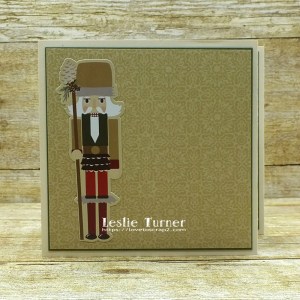
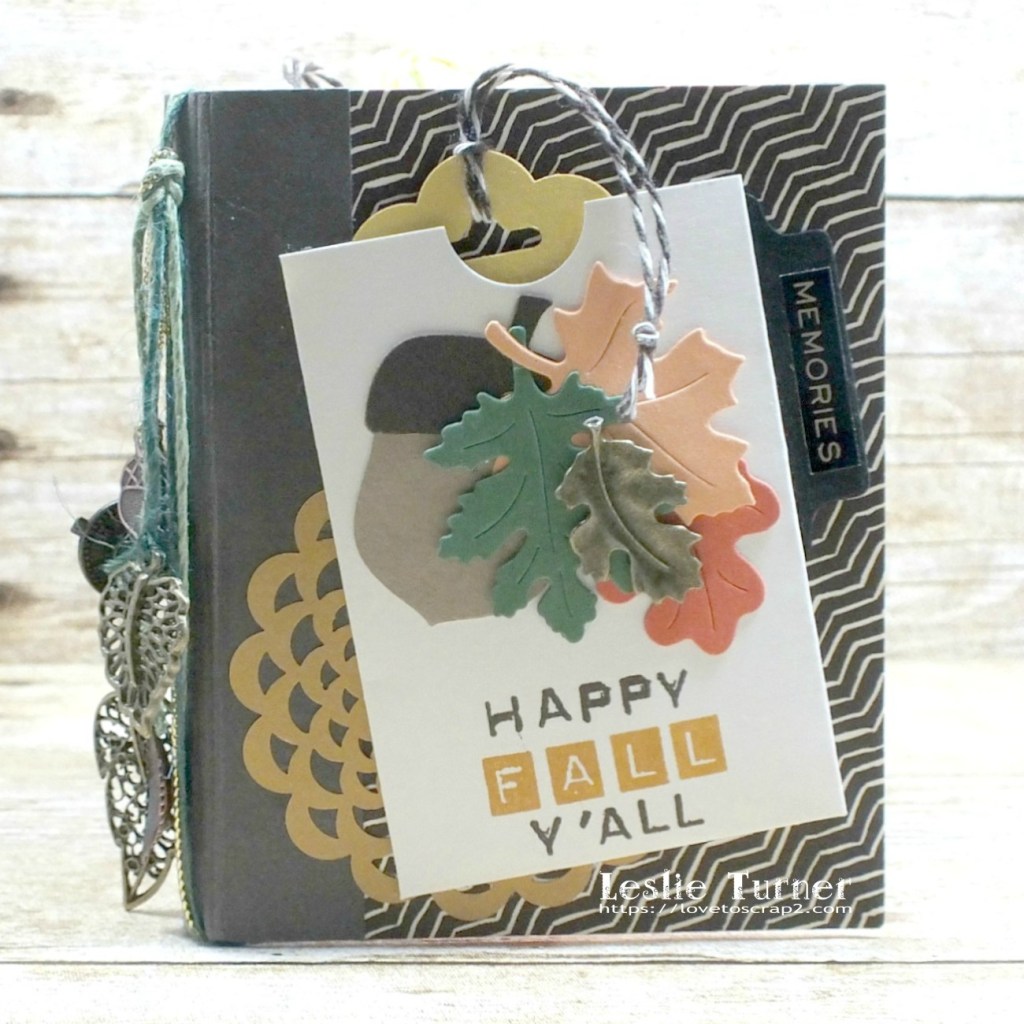
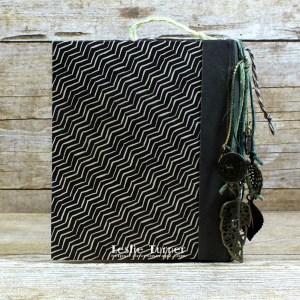
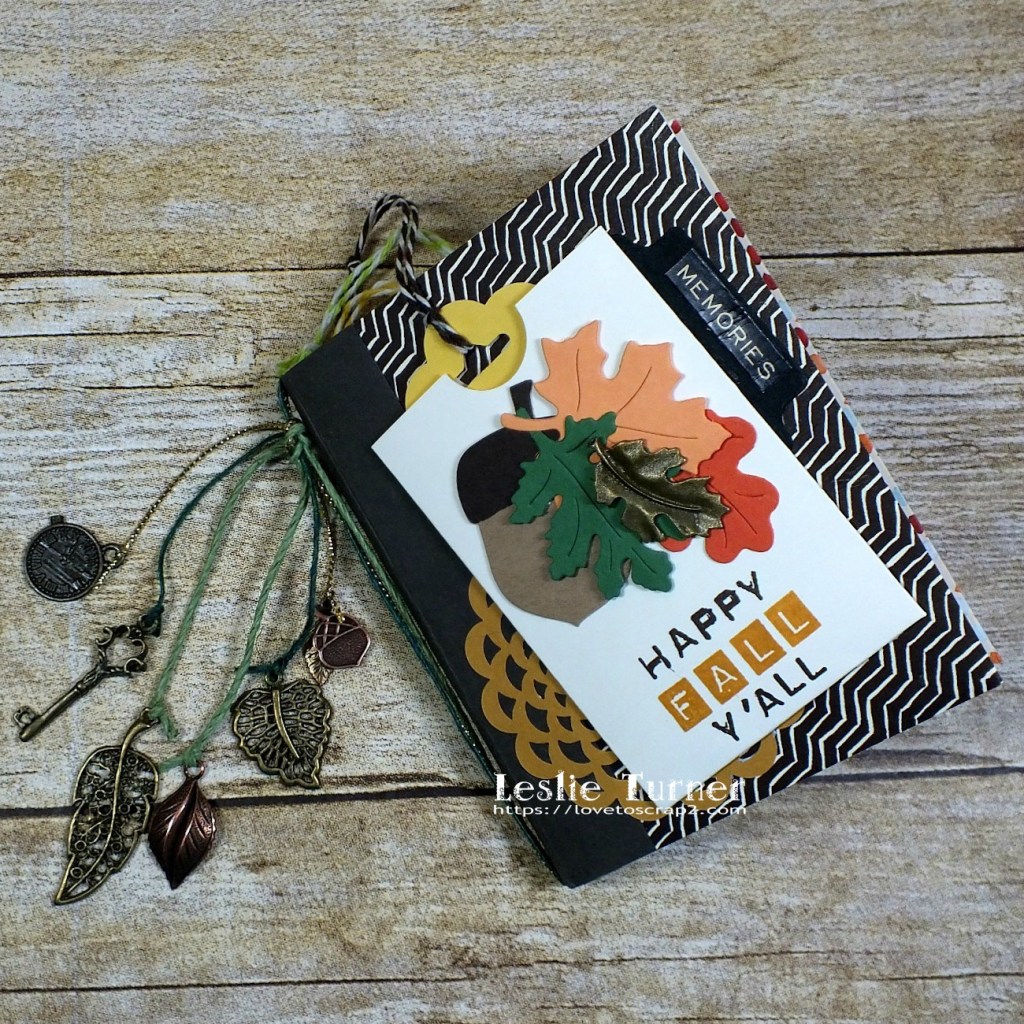
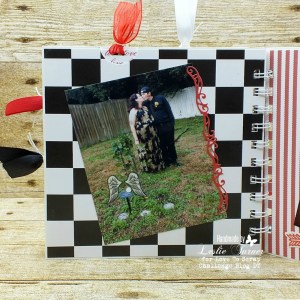
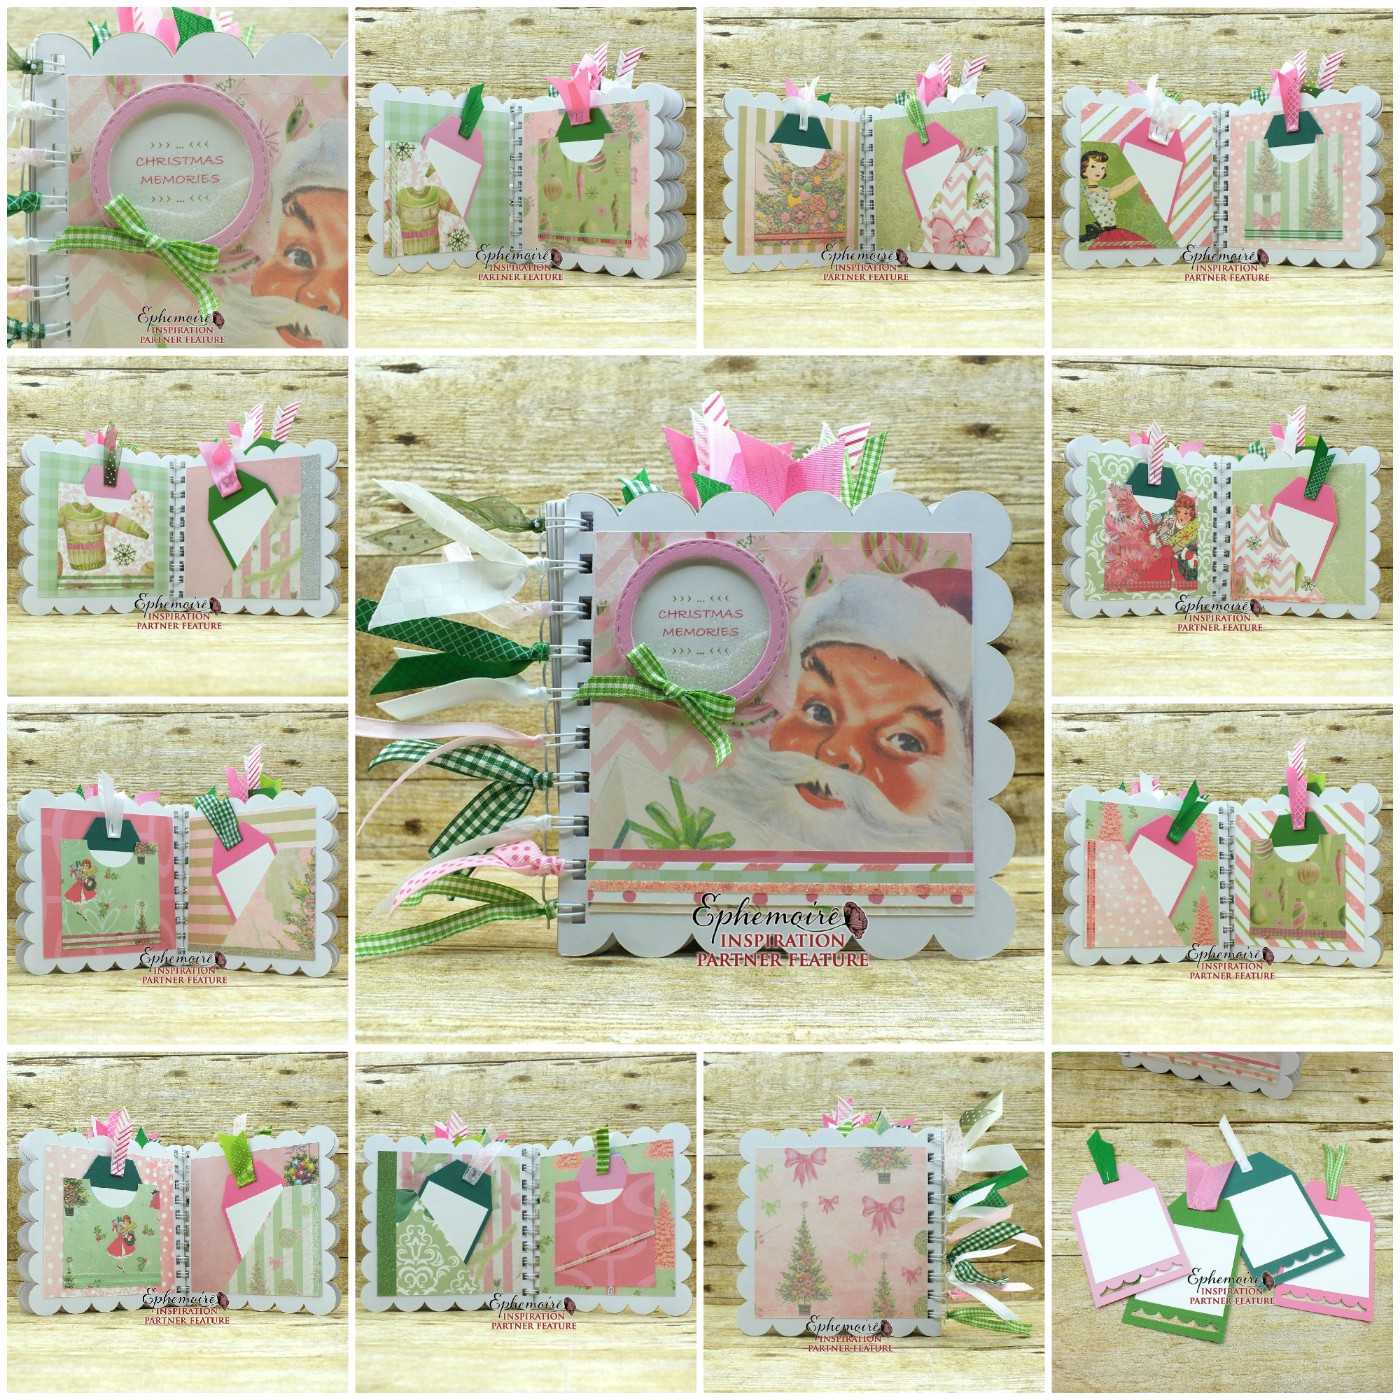
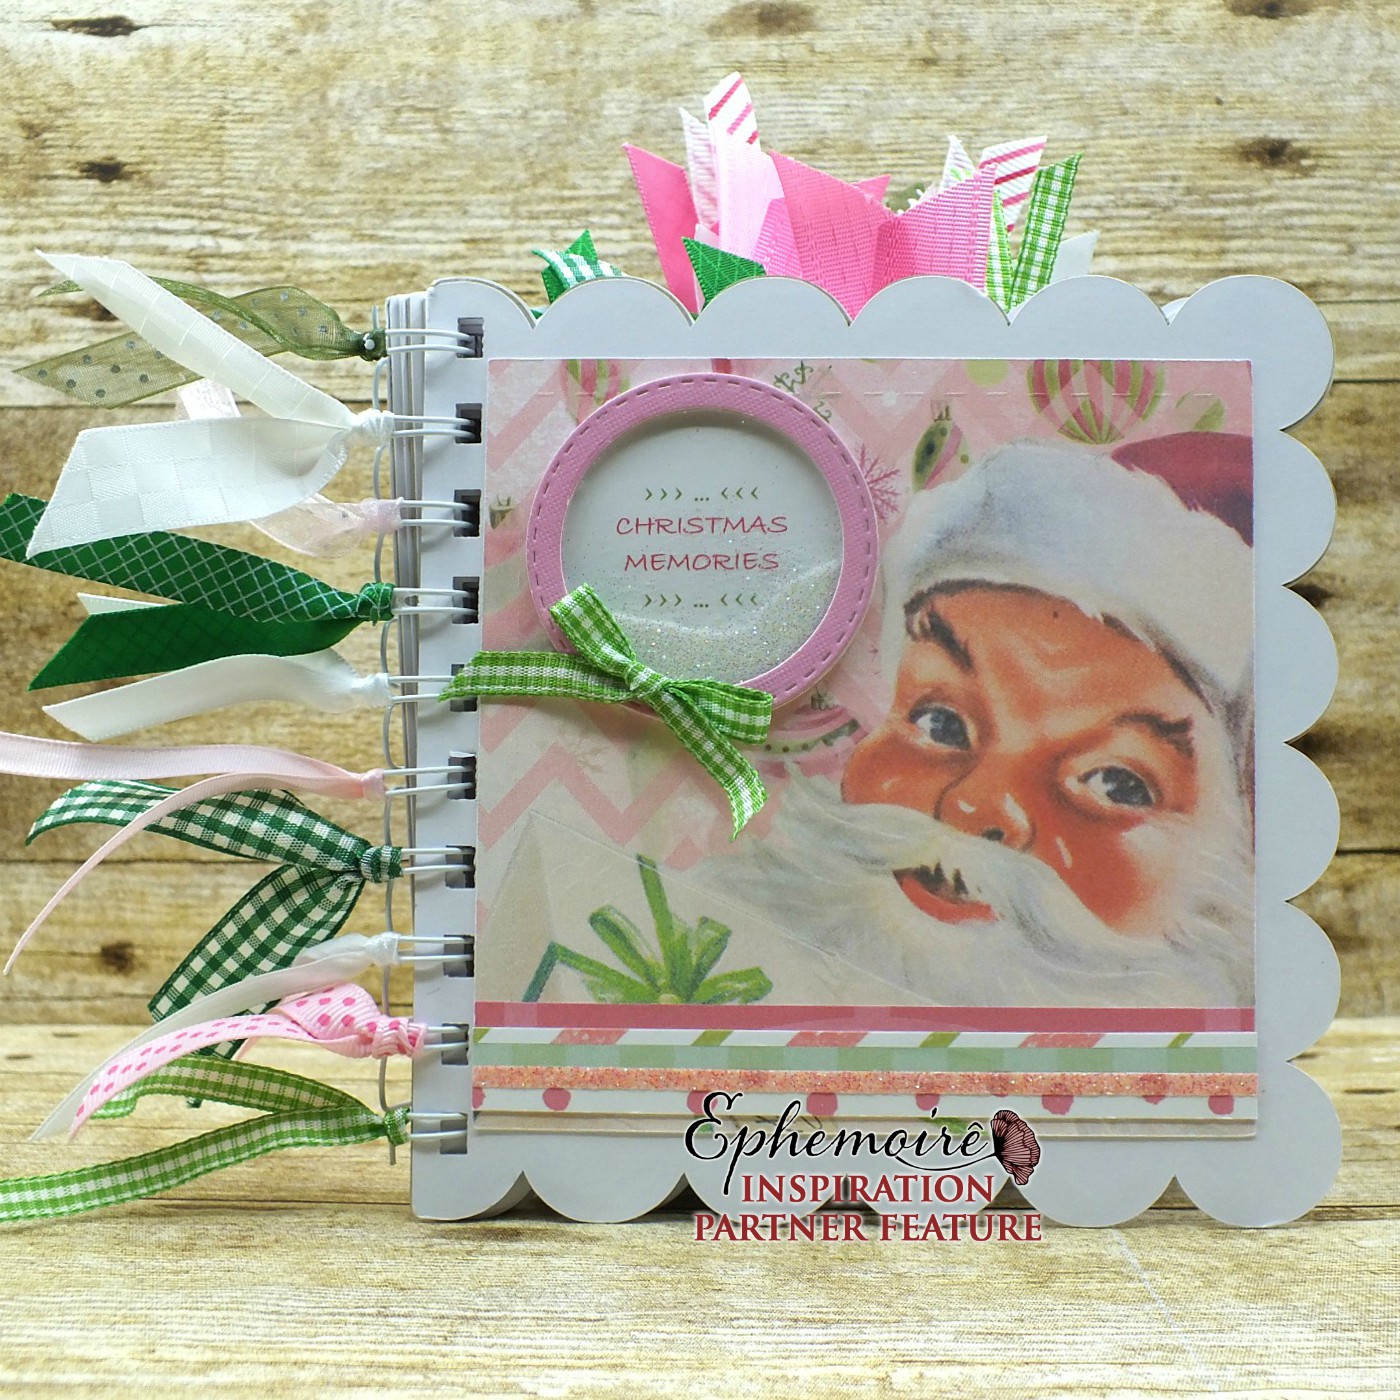
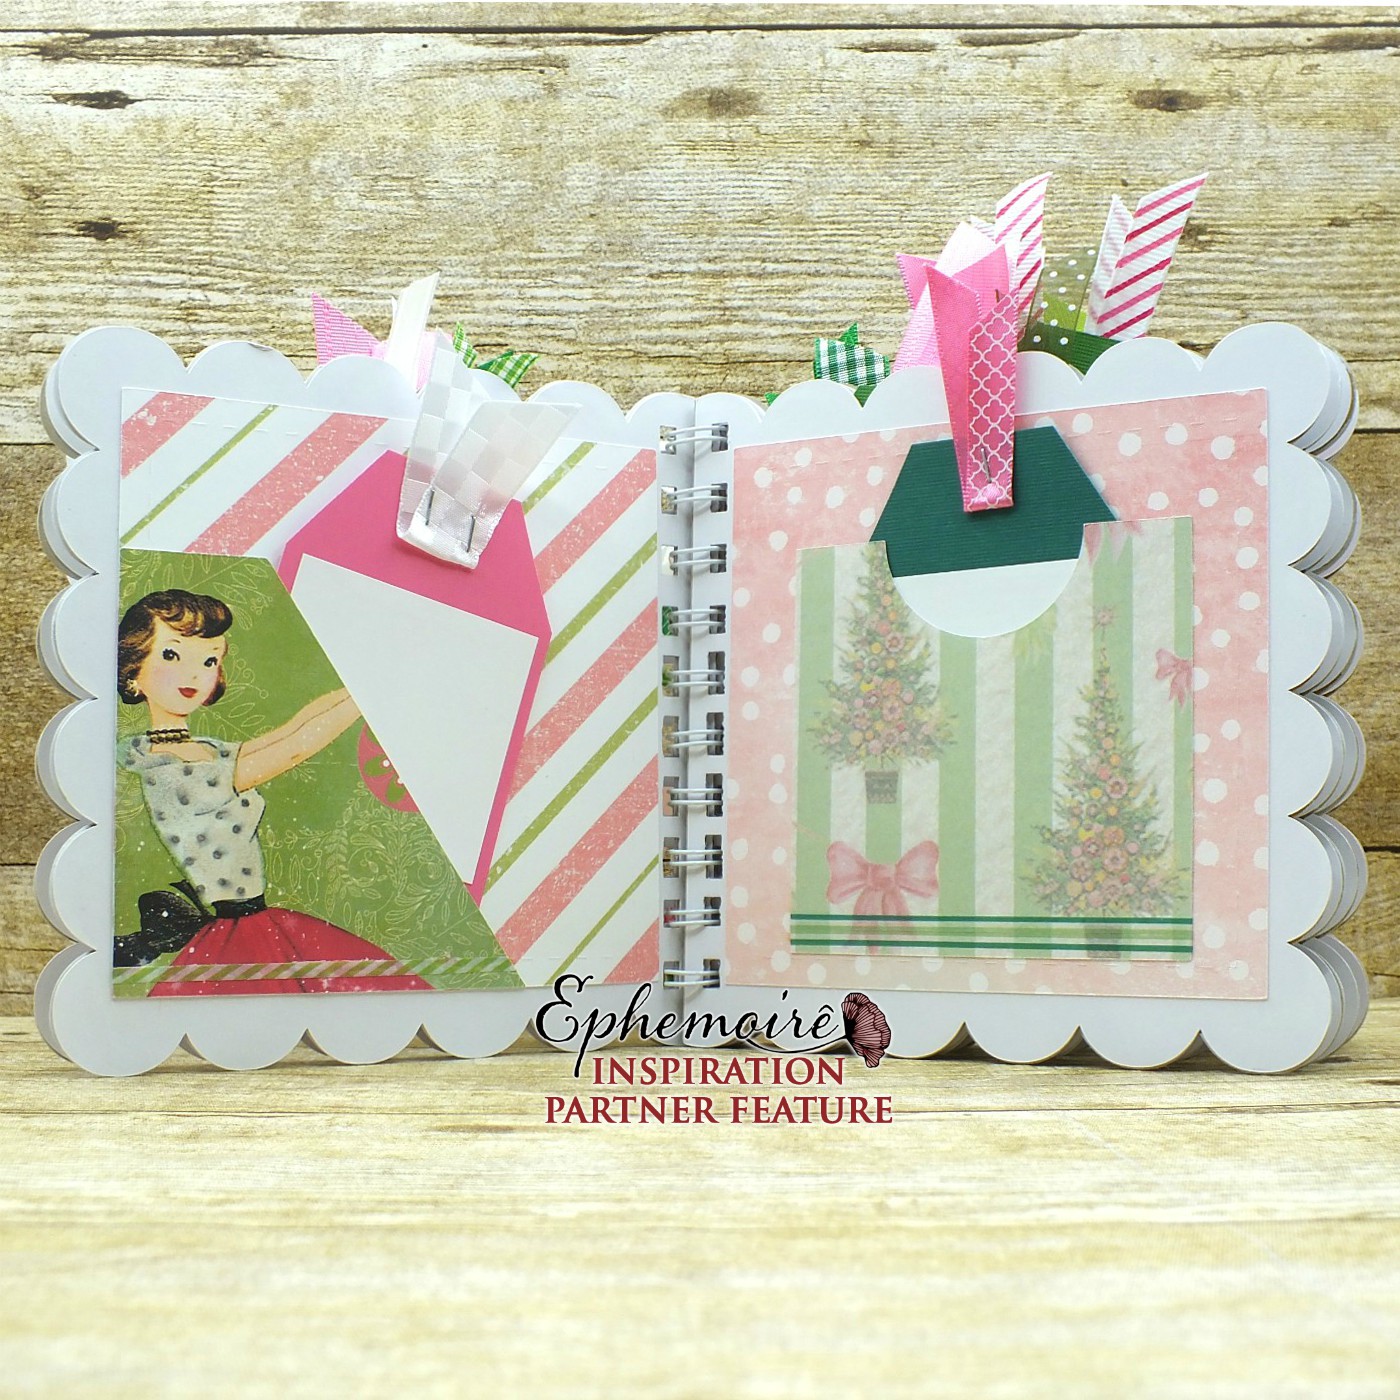
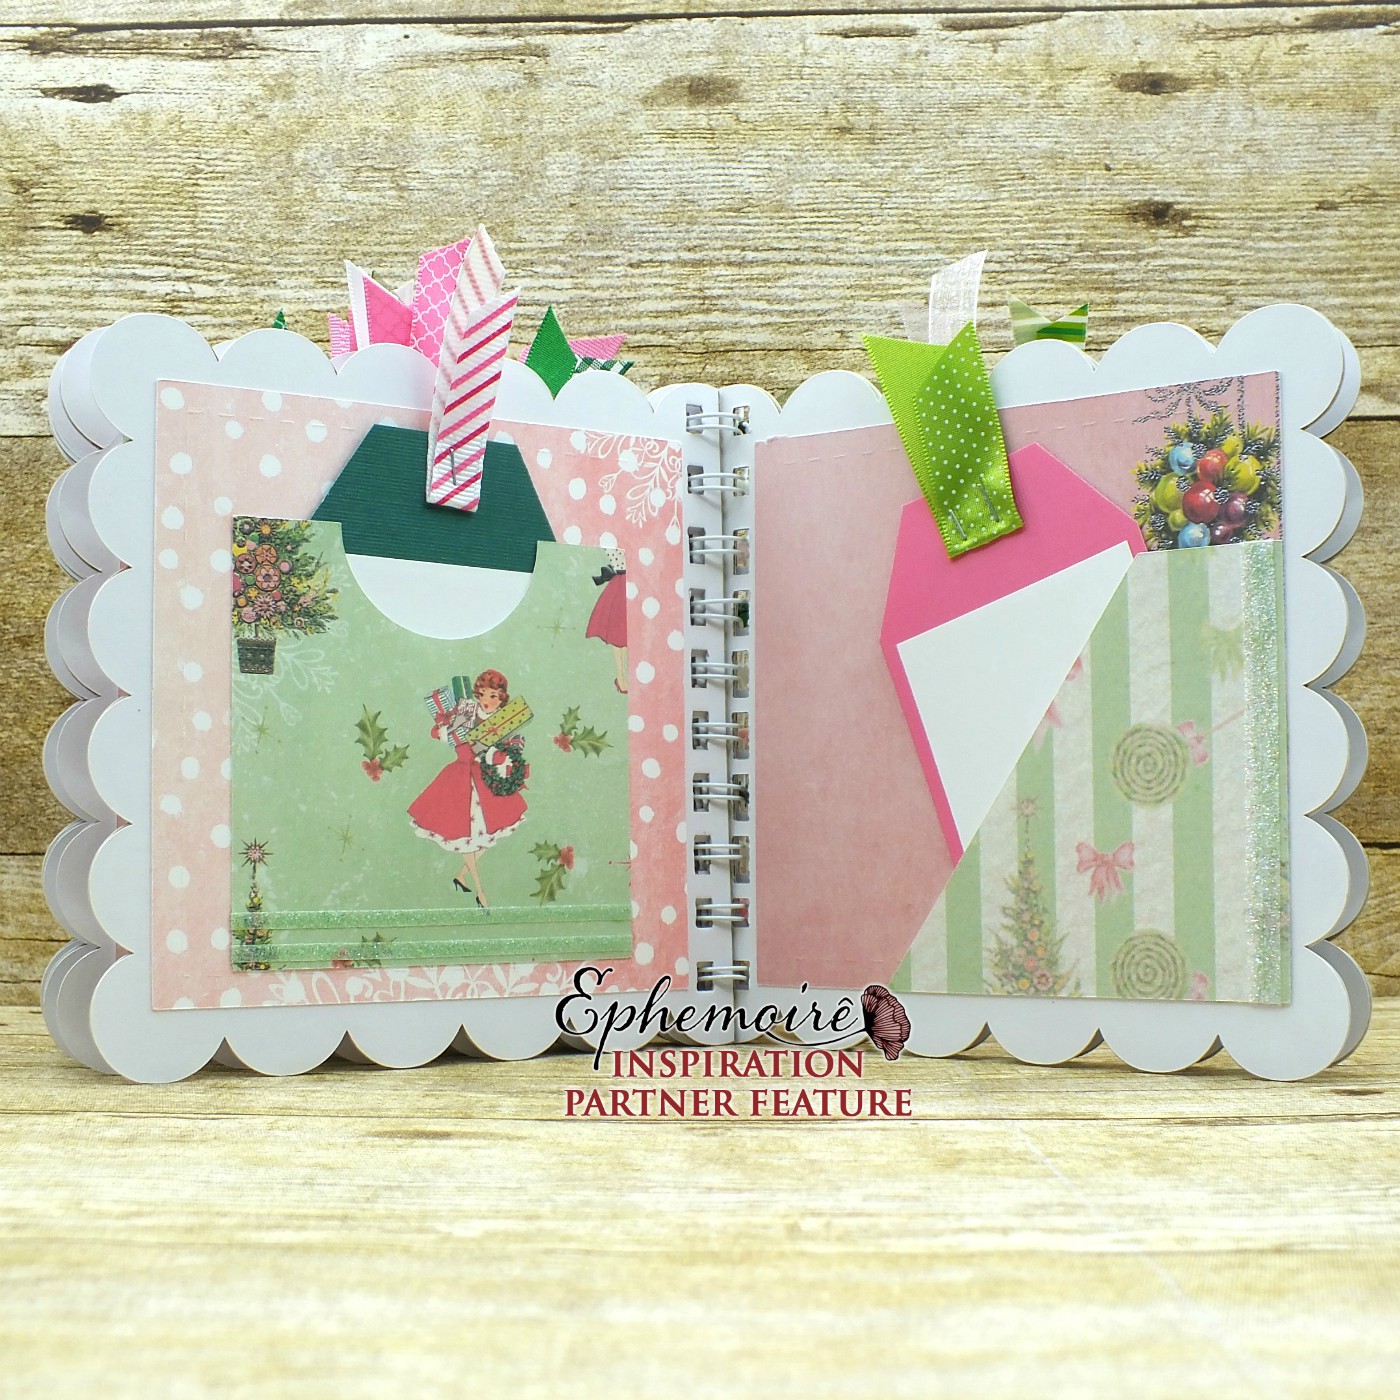
Hey, everybody! Well, another weekend has come and gone, and here we are facing Monday again! But that’s okay as far as I’m concerned… a crafty day is a good day, and it doesn’t matter what day of the week it is! I’m thrilled to be back on the Clear Scraps blog today with another awesome DT inspiration project! Those who know me know that I am passionate about two things: (1) fun folds and (2) shoes! ;) Well, actually three things: (1) cats – we rescue, (2) fun folds and (3) shoes! When I married my kids’ dad many moons ago, I had nearly 60 pairs and he just couldn’t understand it, lol! I don’t have nearly that many now but I still reminisce about the good ol’ days when I had a pair in every color imaginable to coordinate with every outfit. So out came the Acrylic Tag Album to document those memories! This was a fun project!
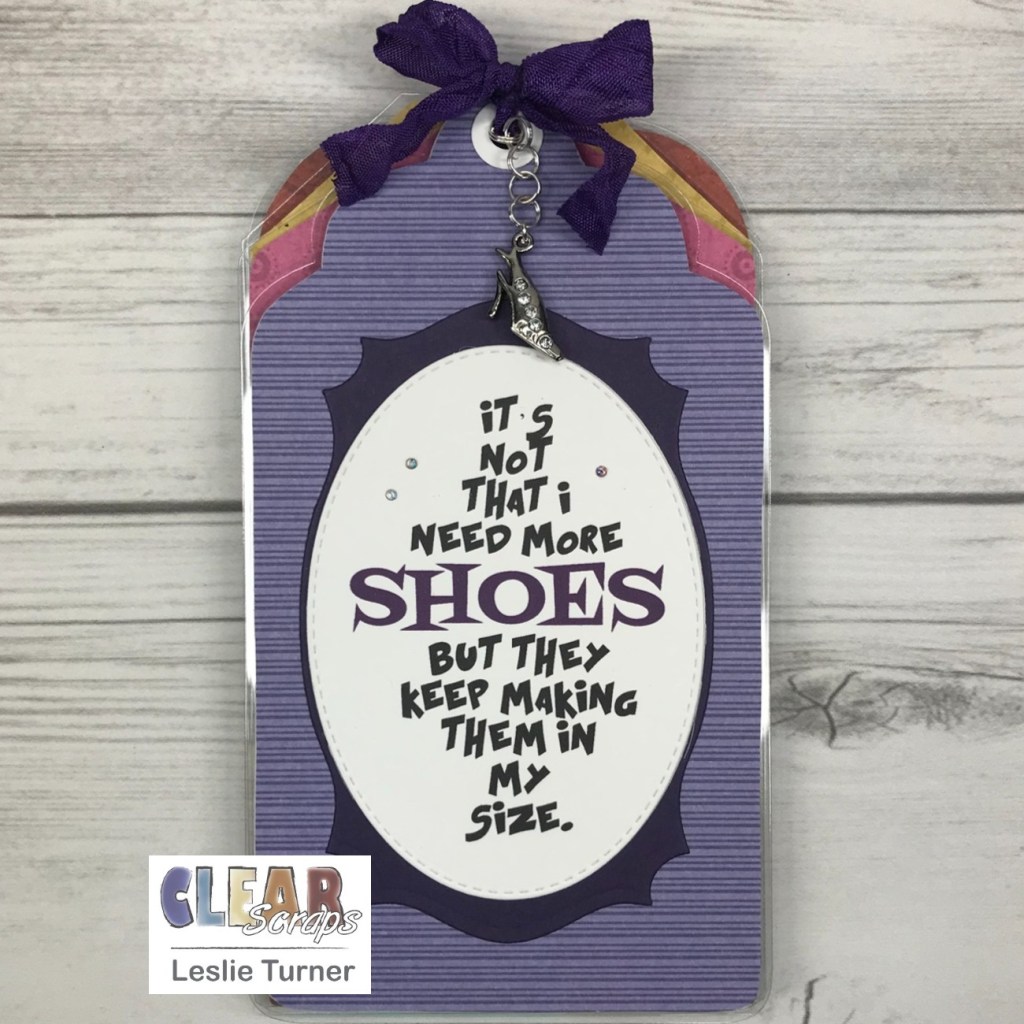
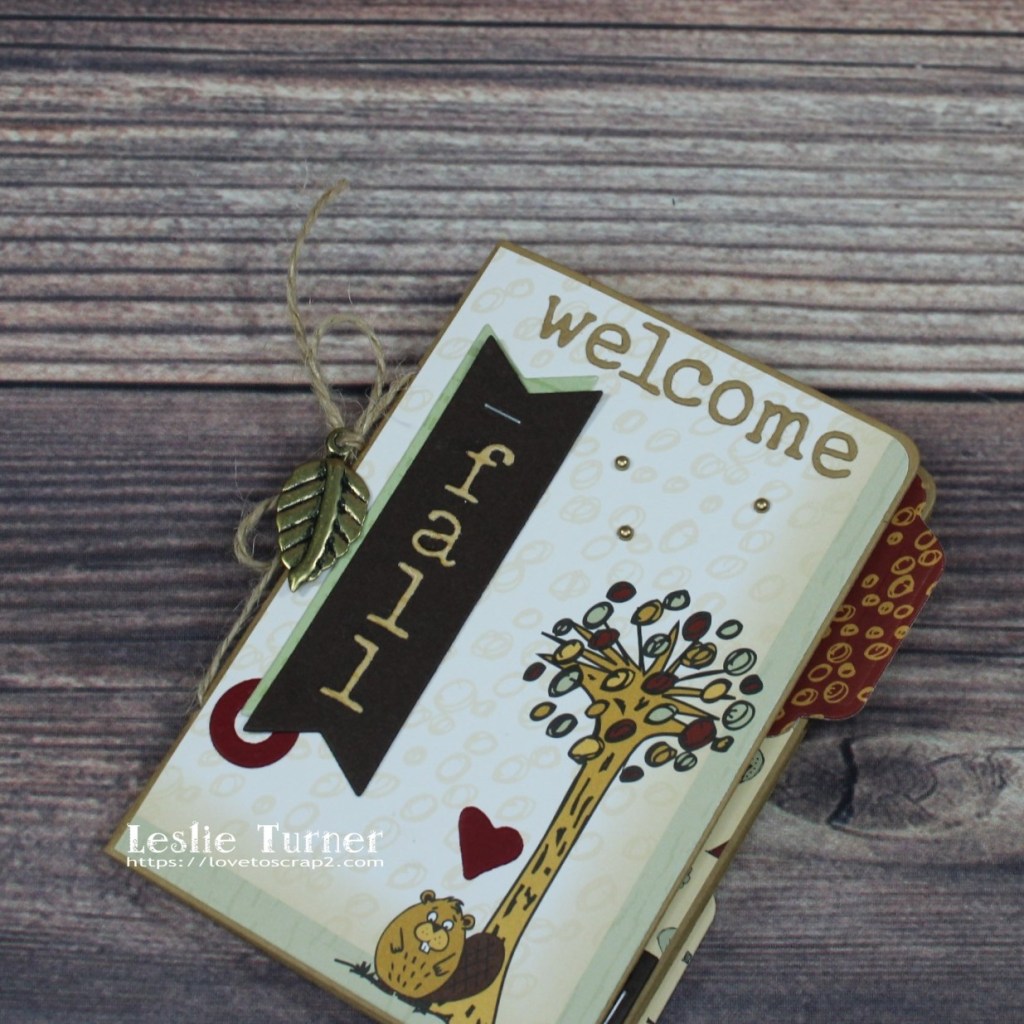
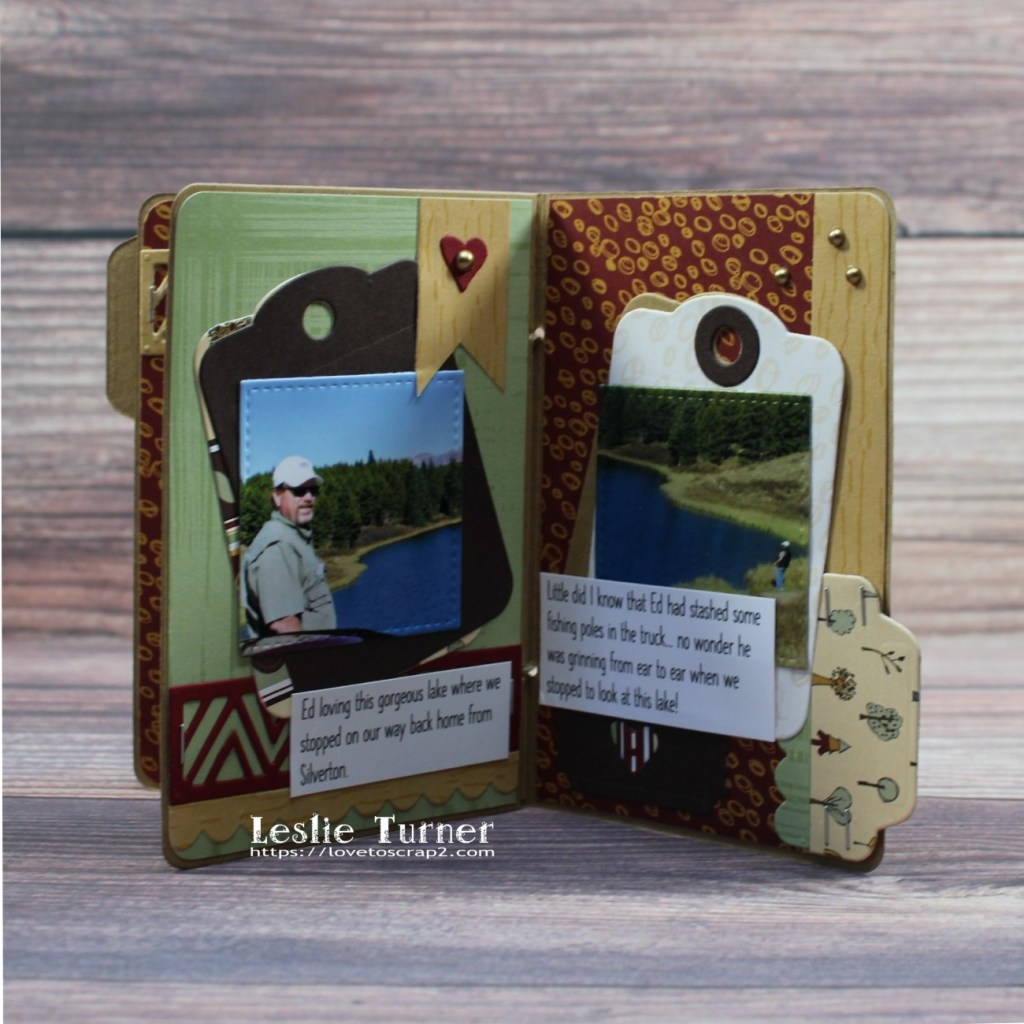
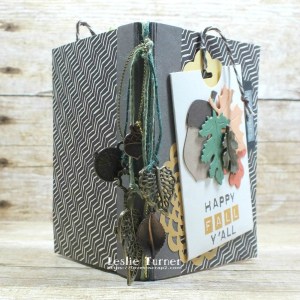
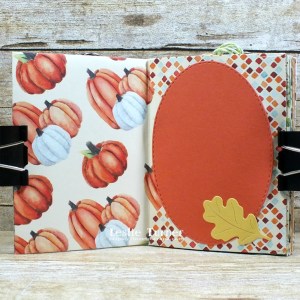
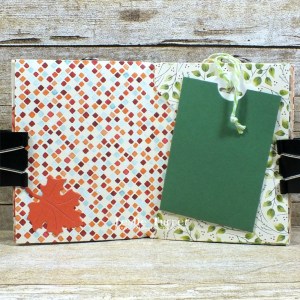
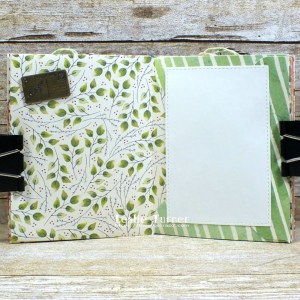
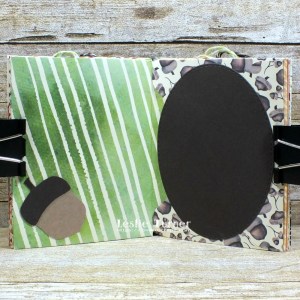
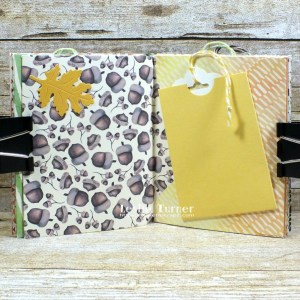
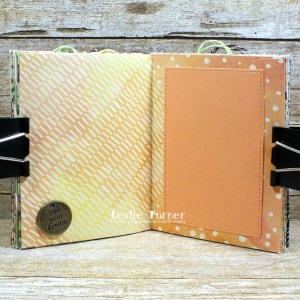
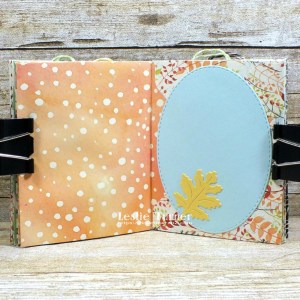
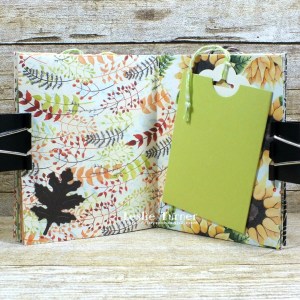
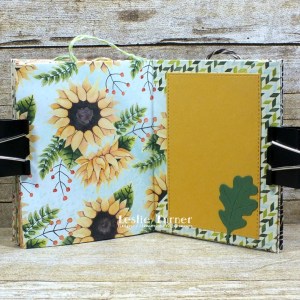
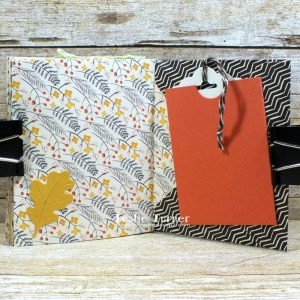
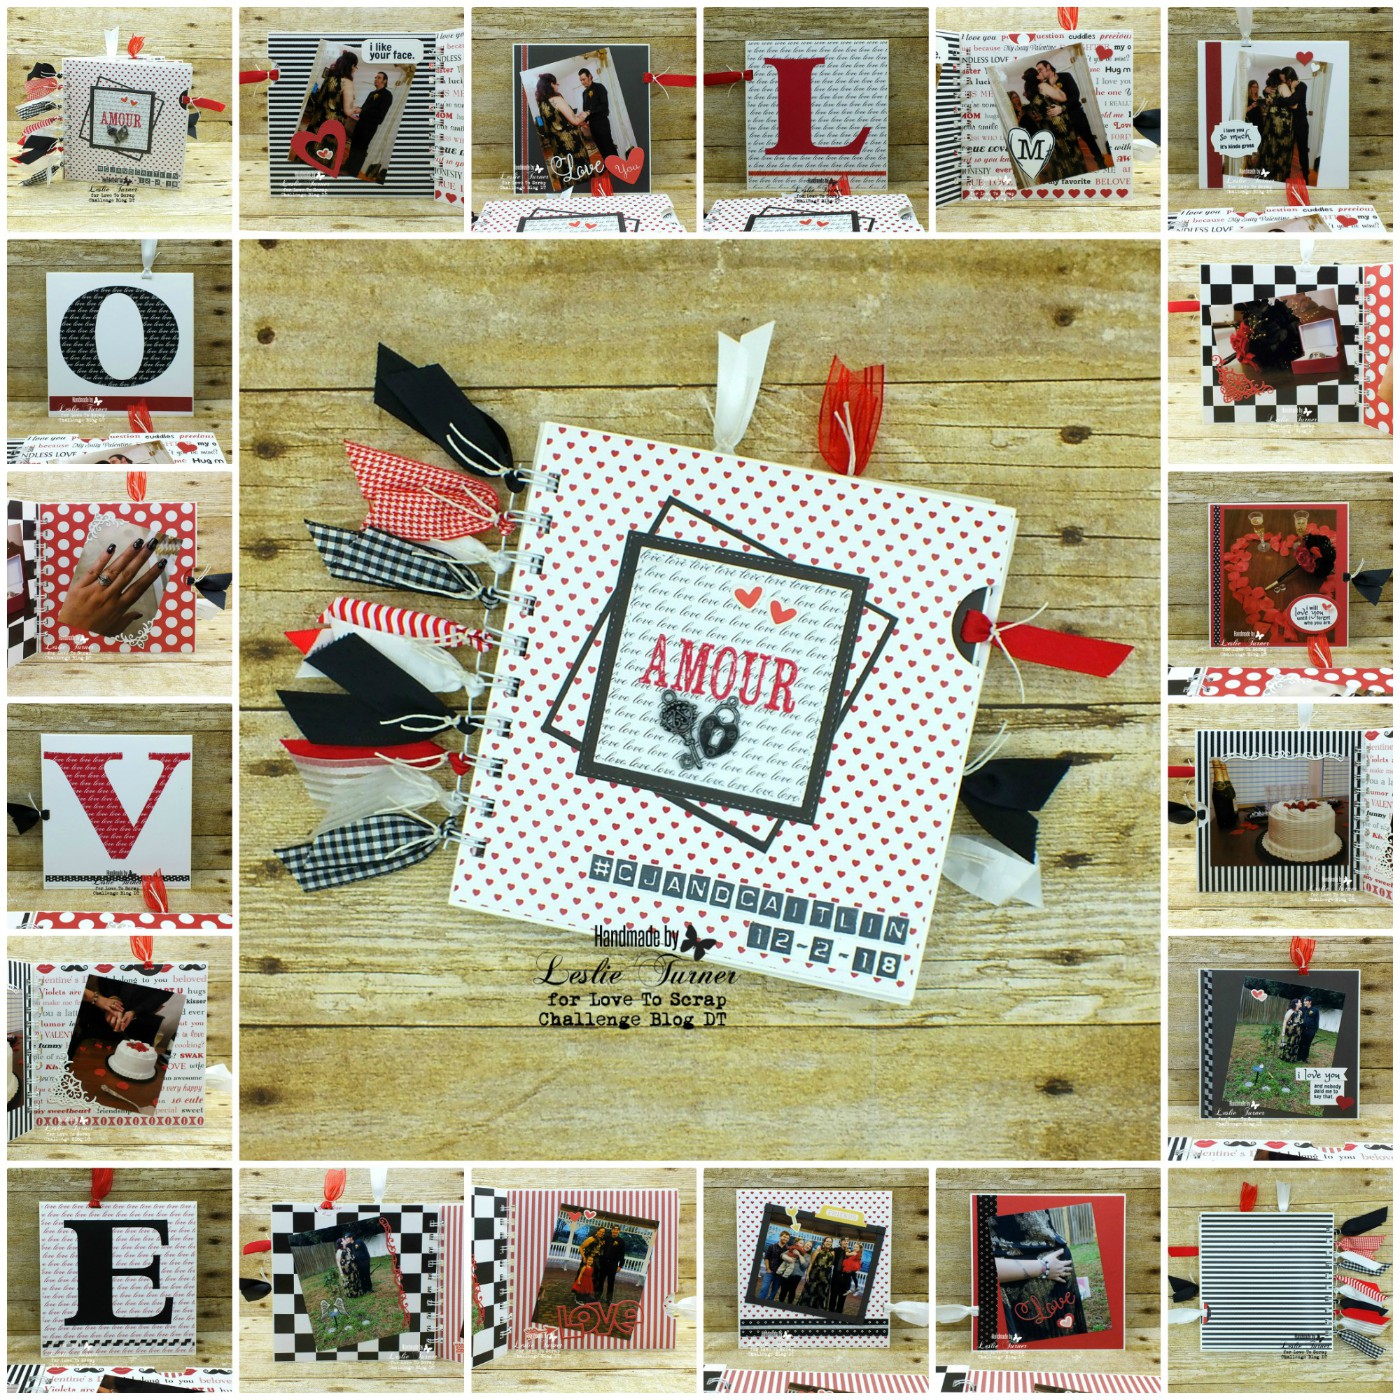
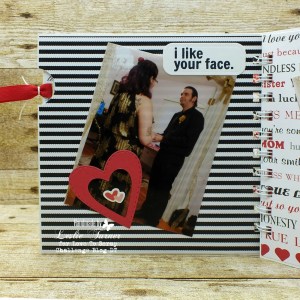
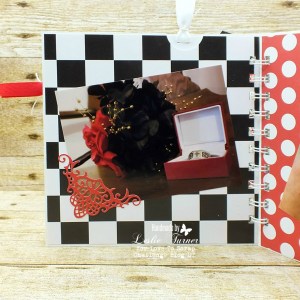
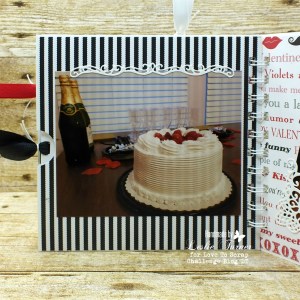
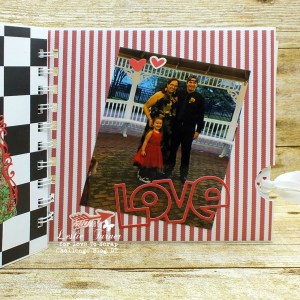
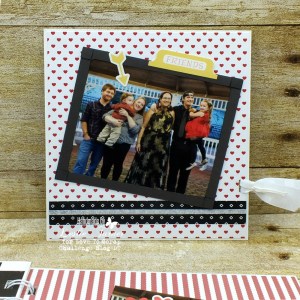
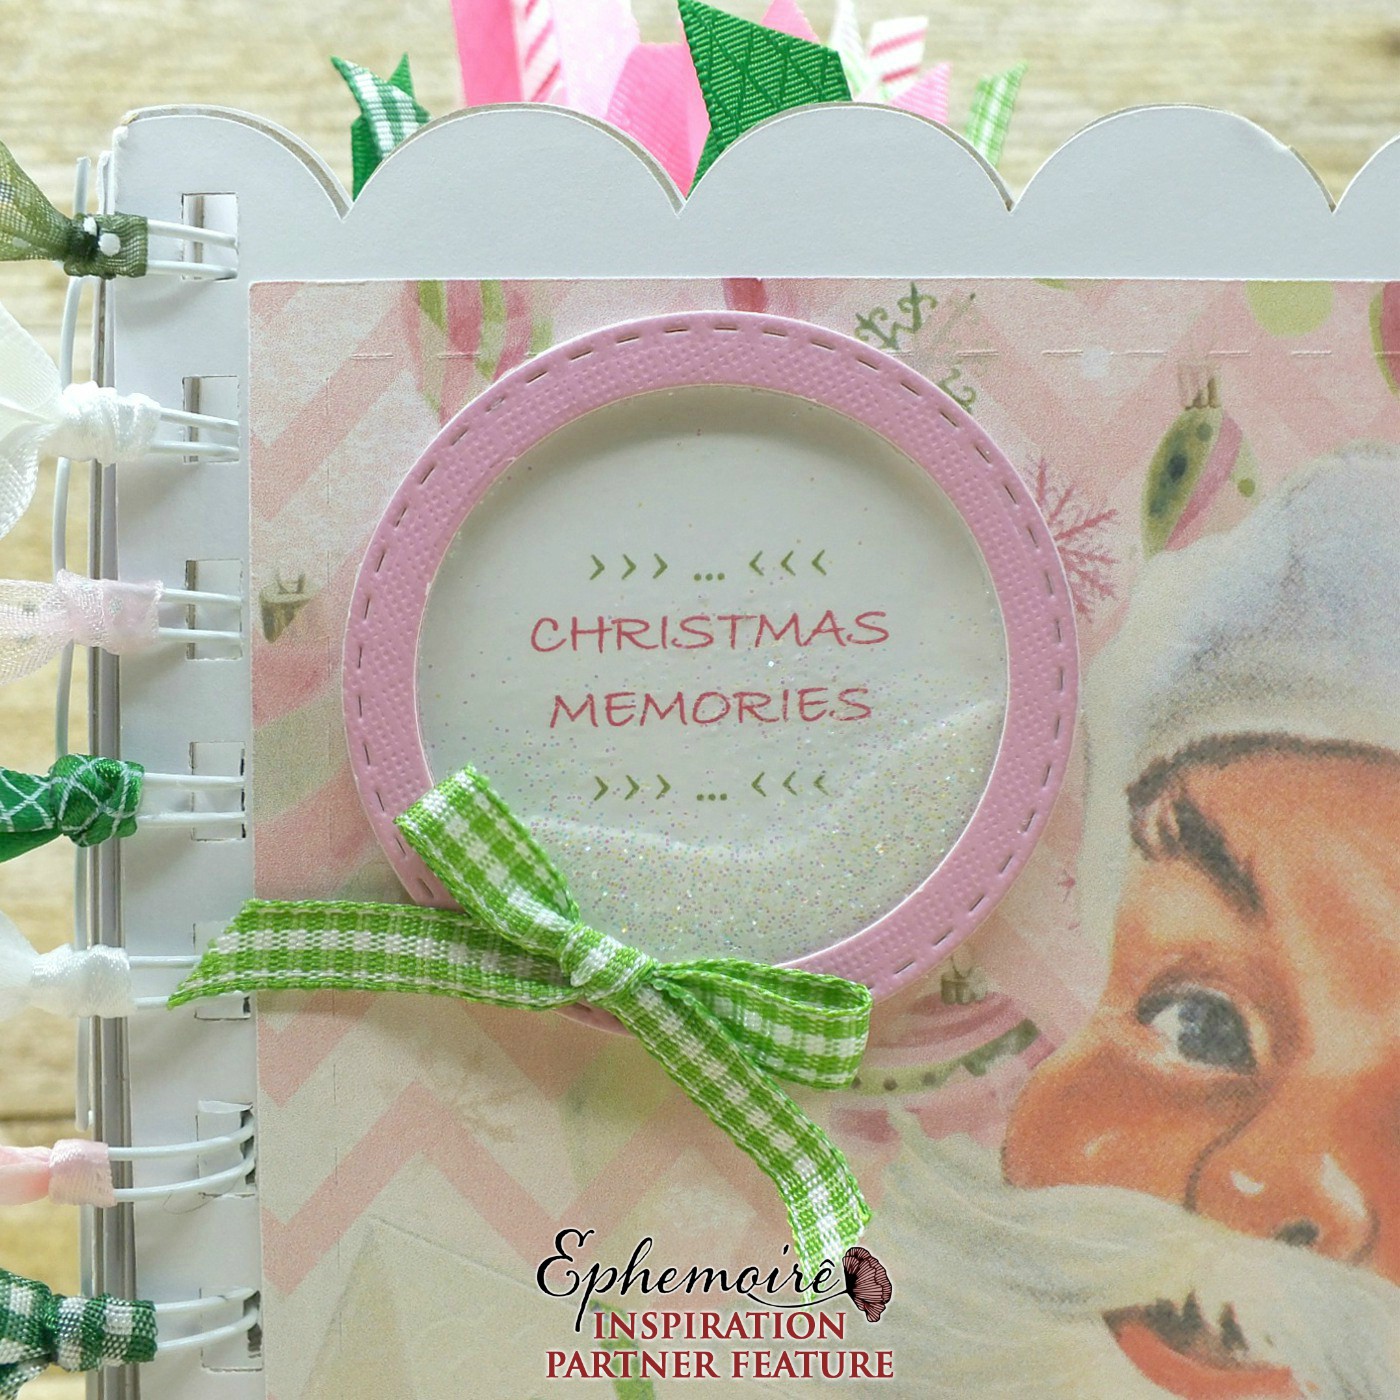
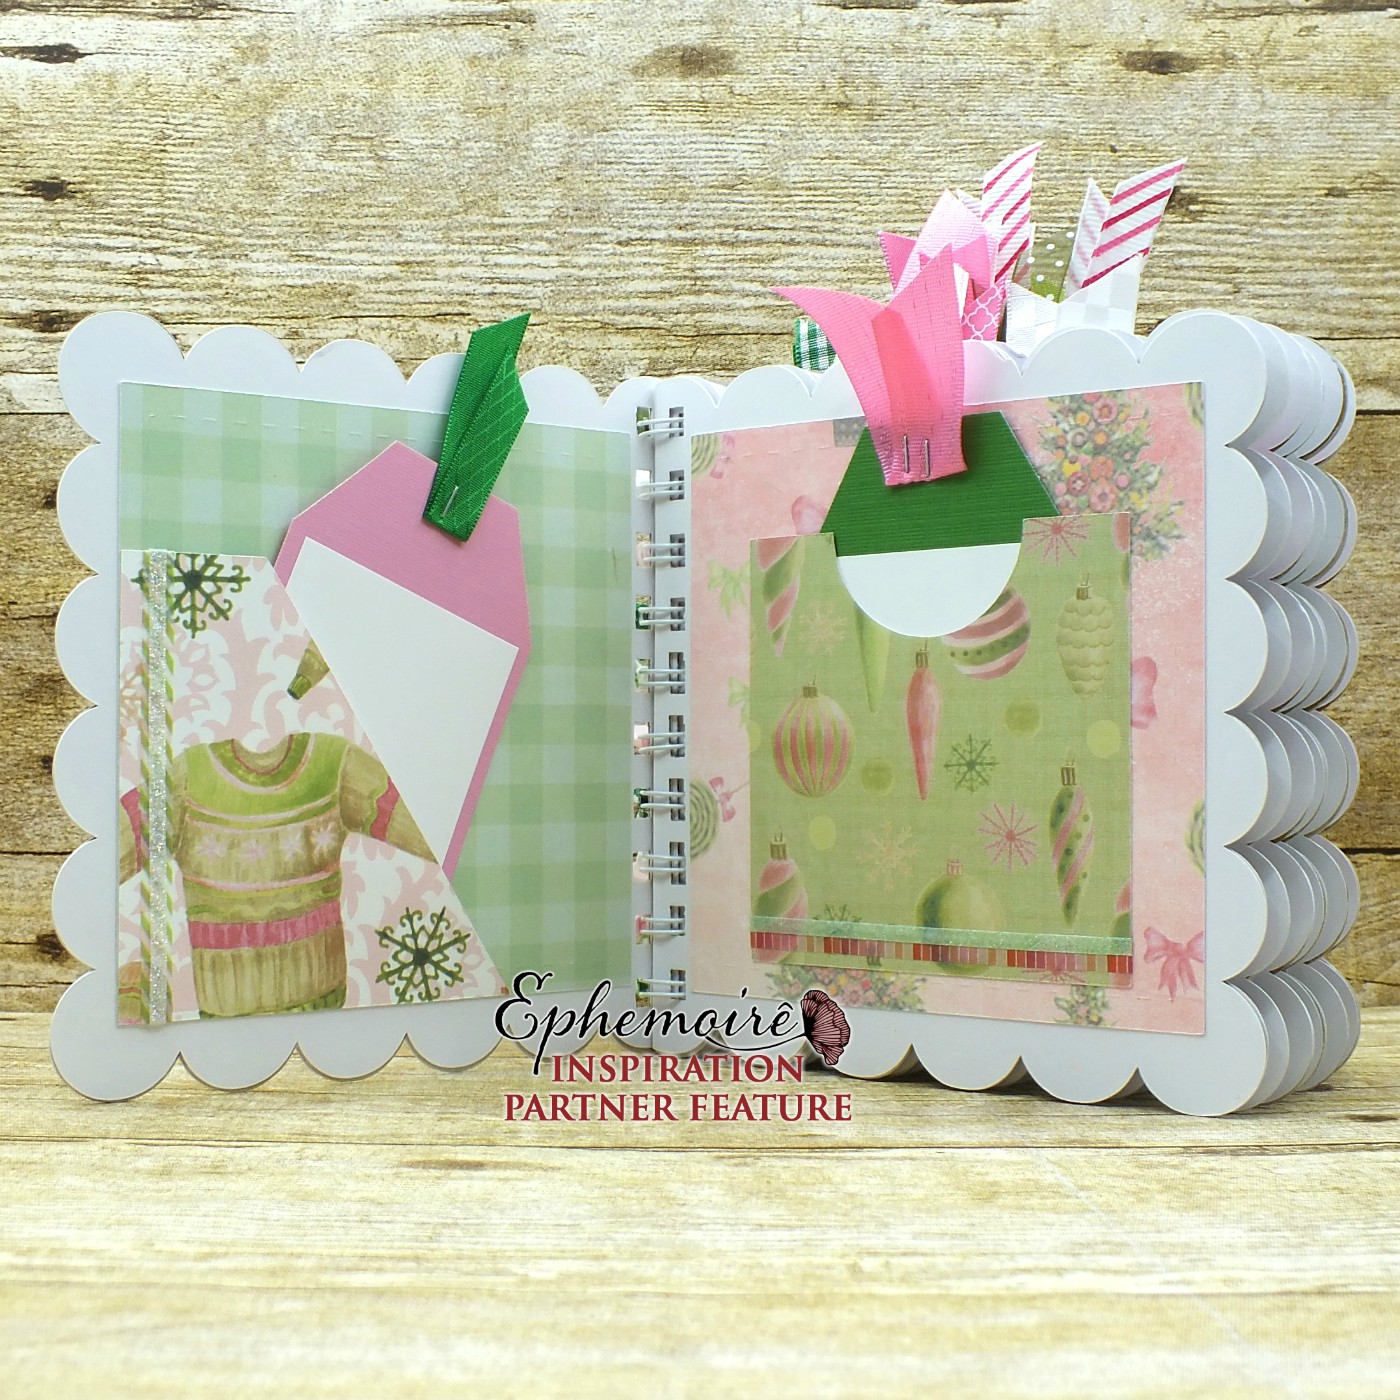
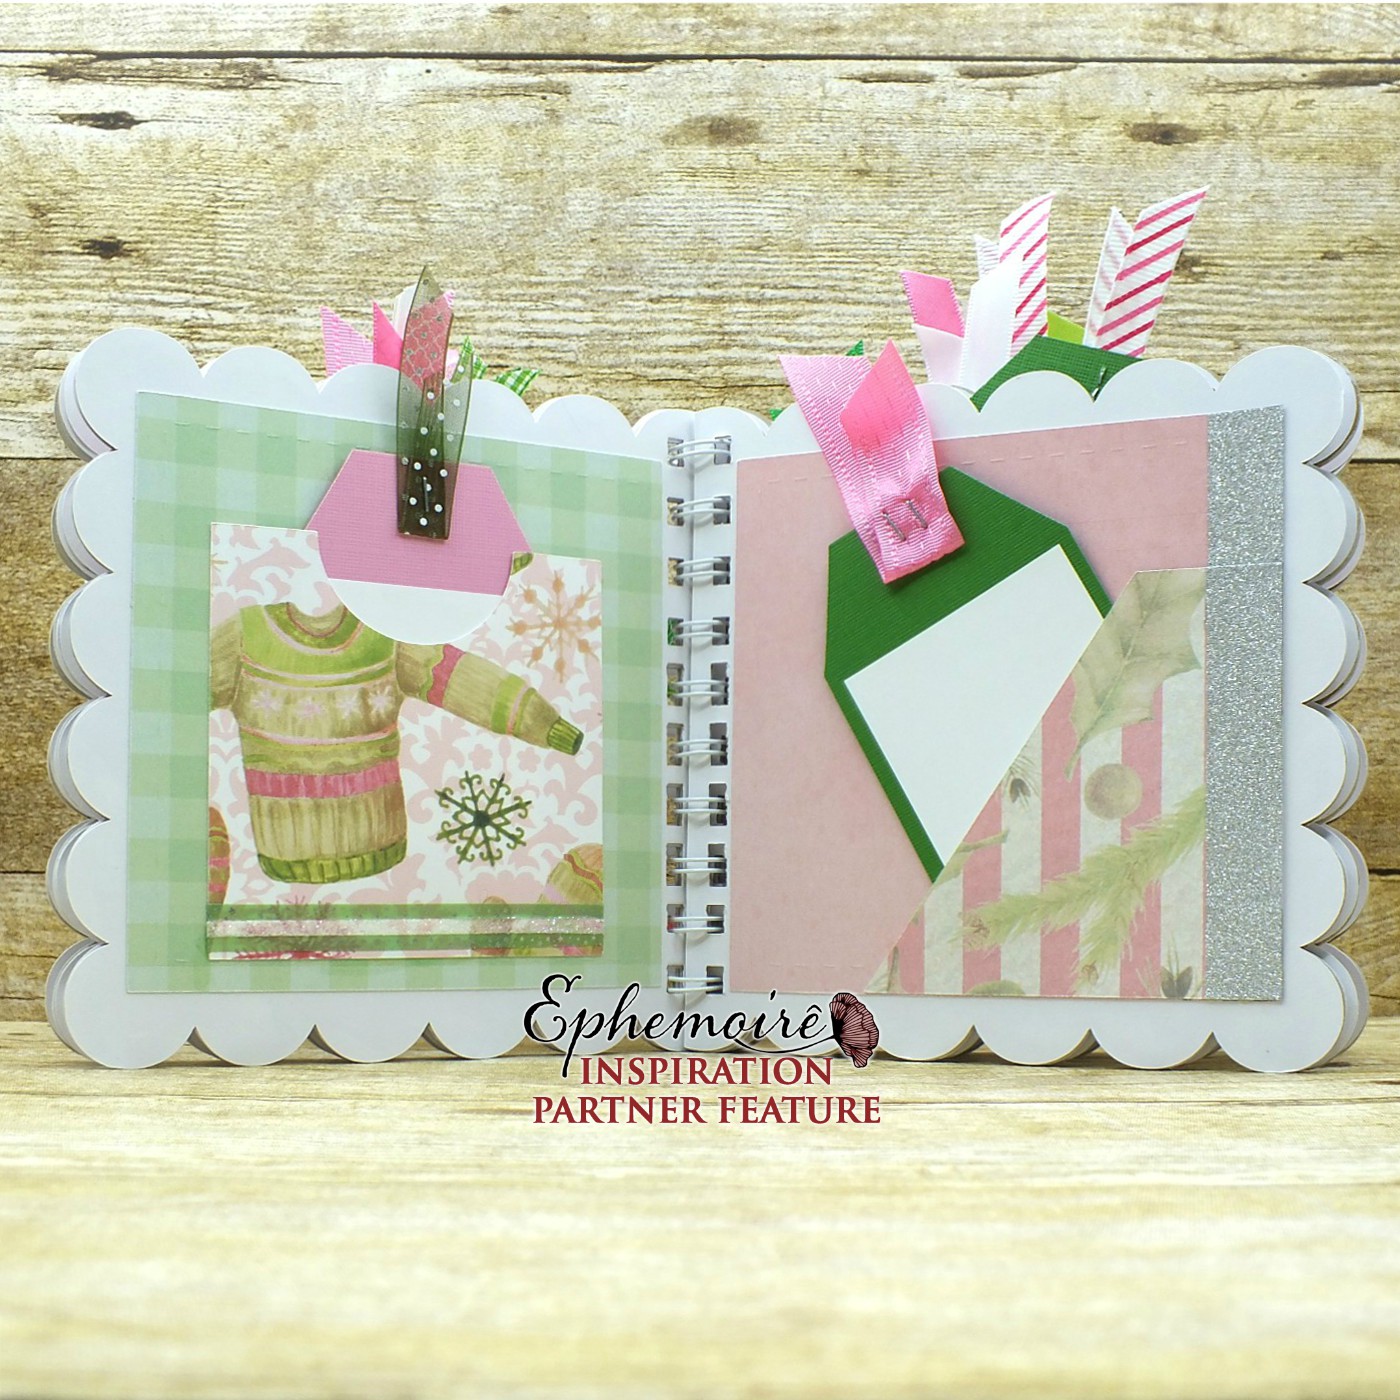
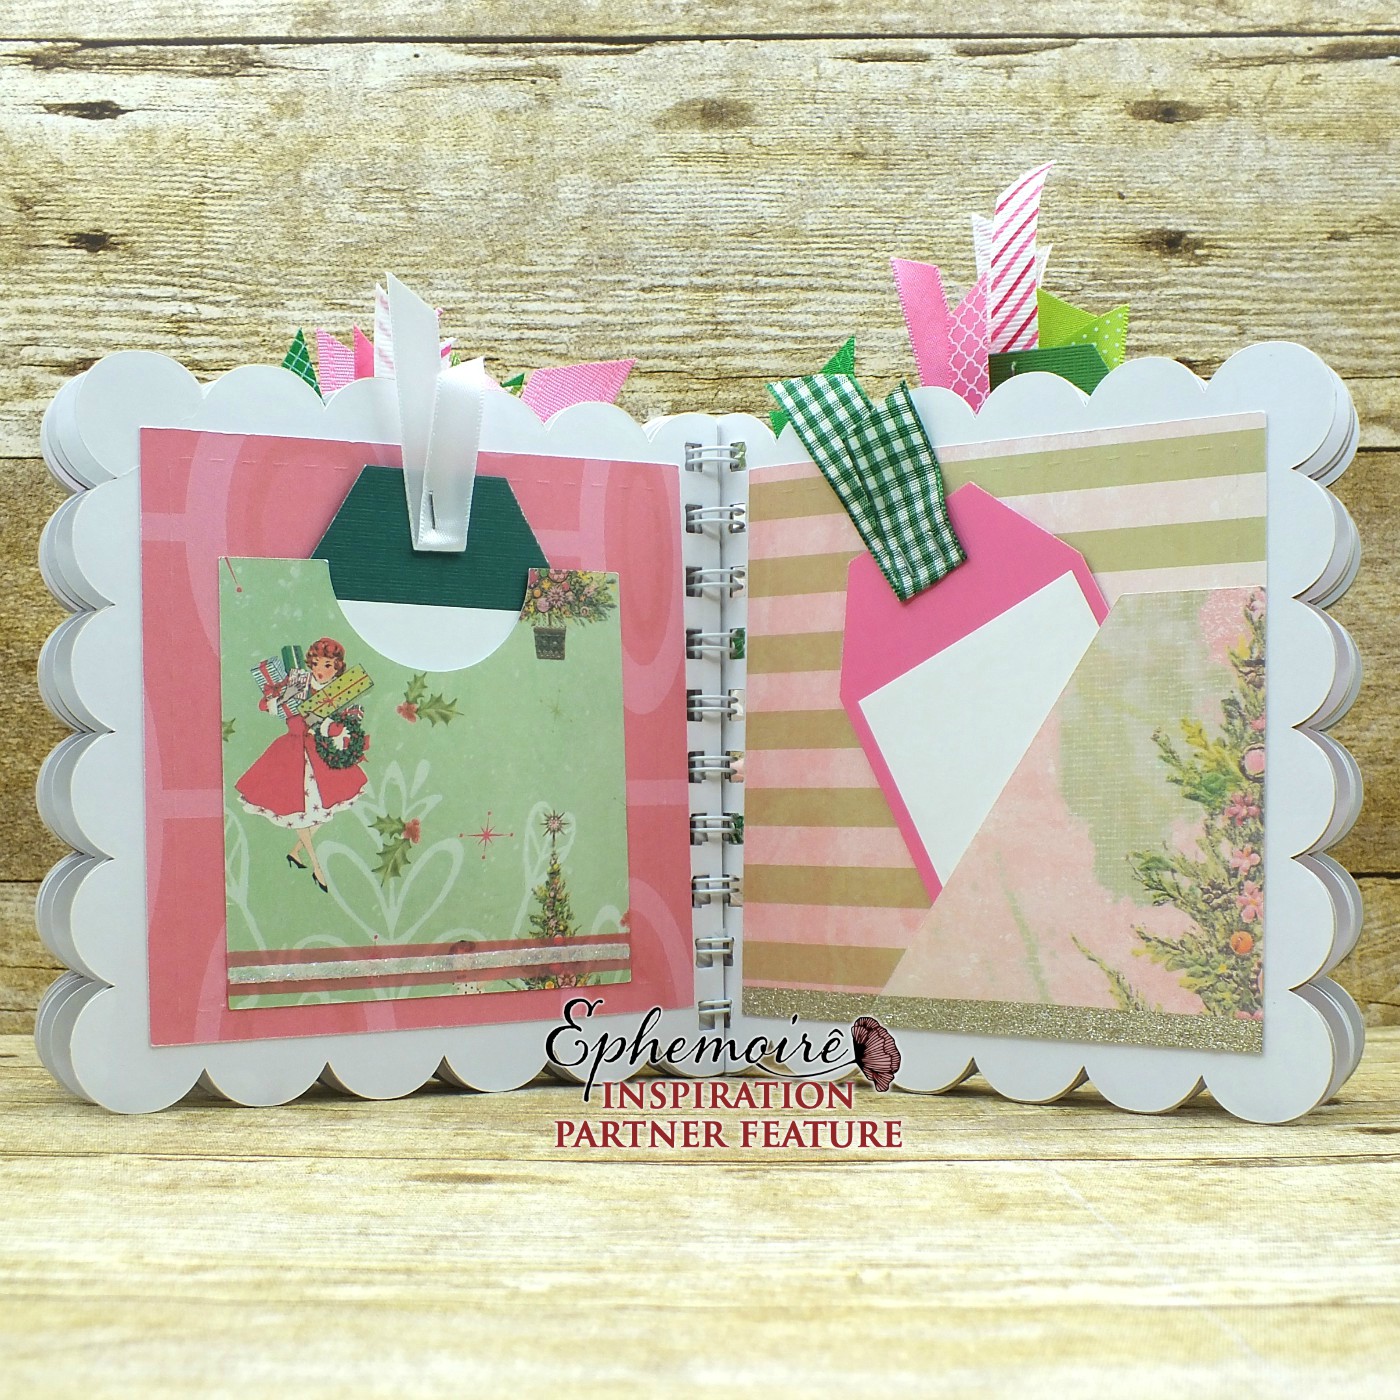
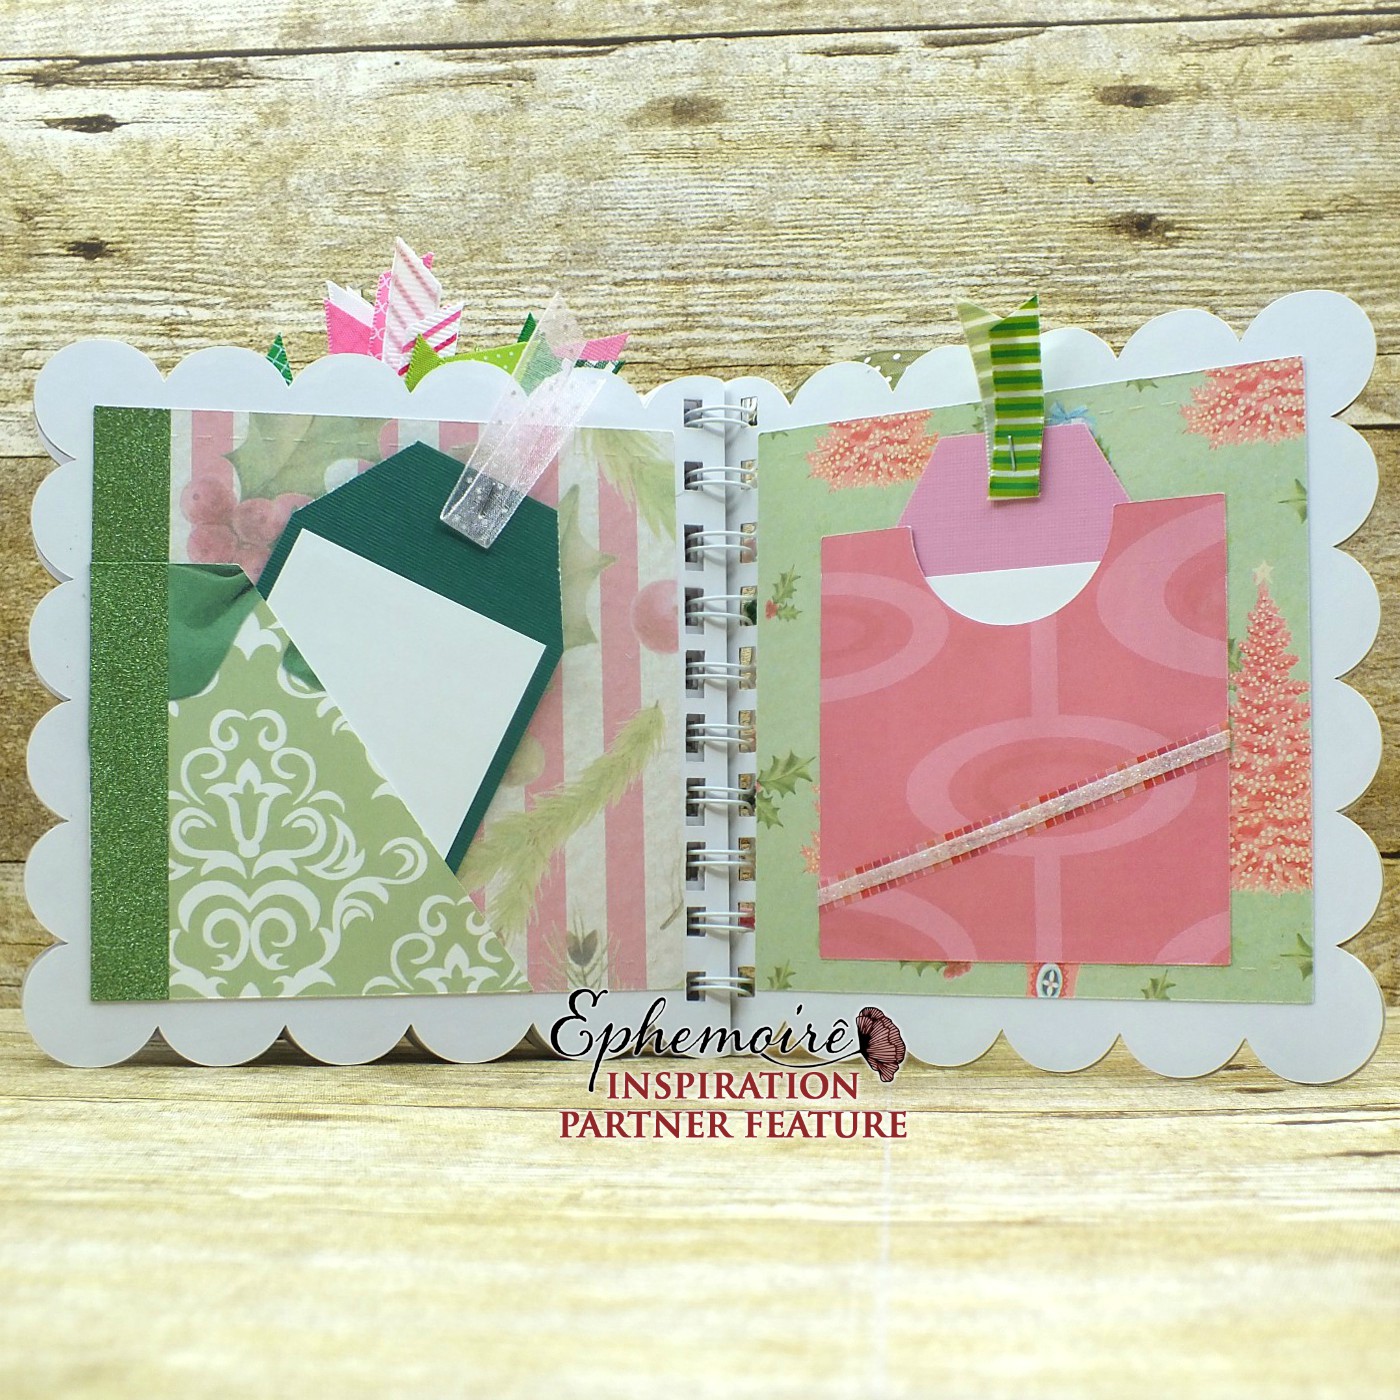
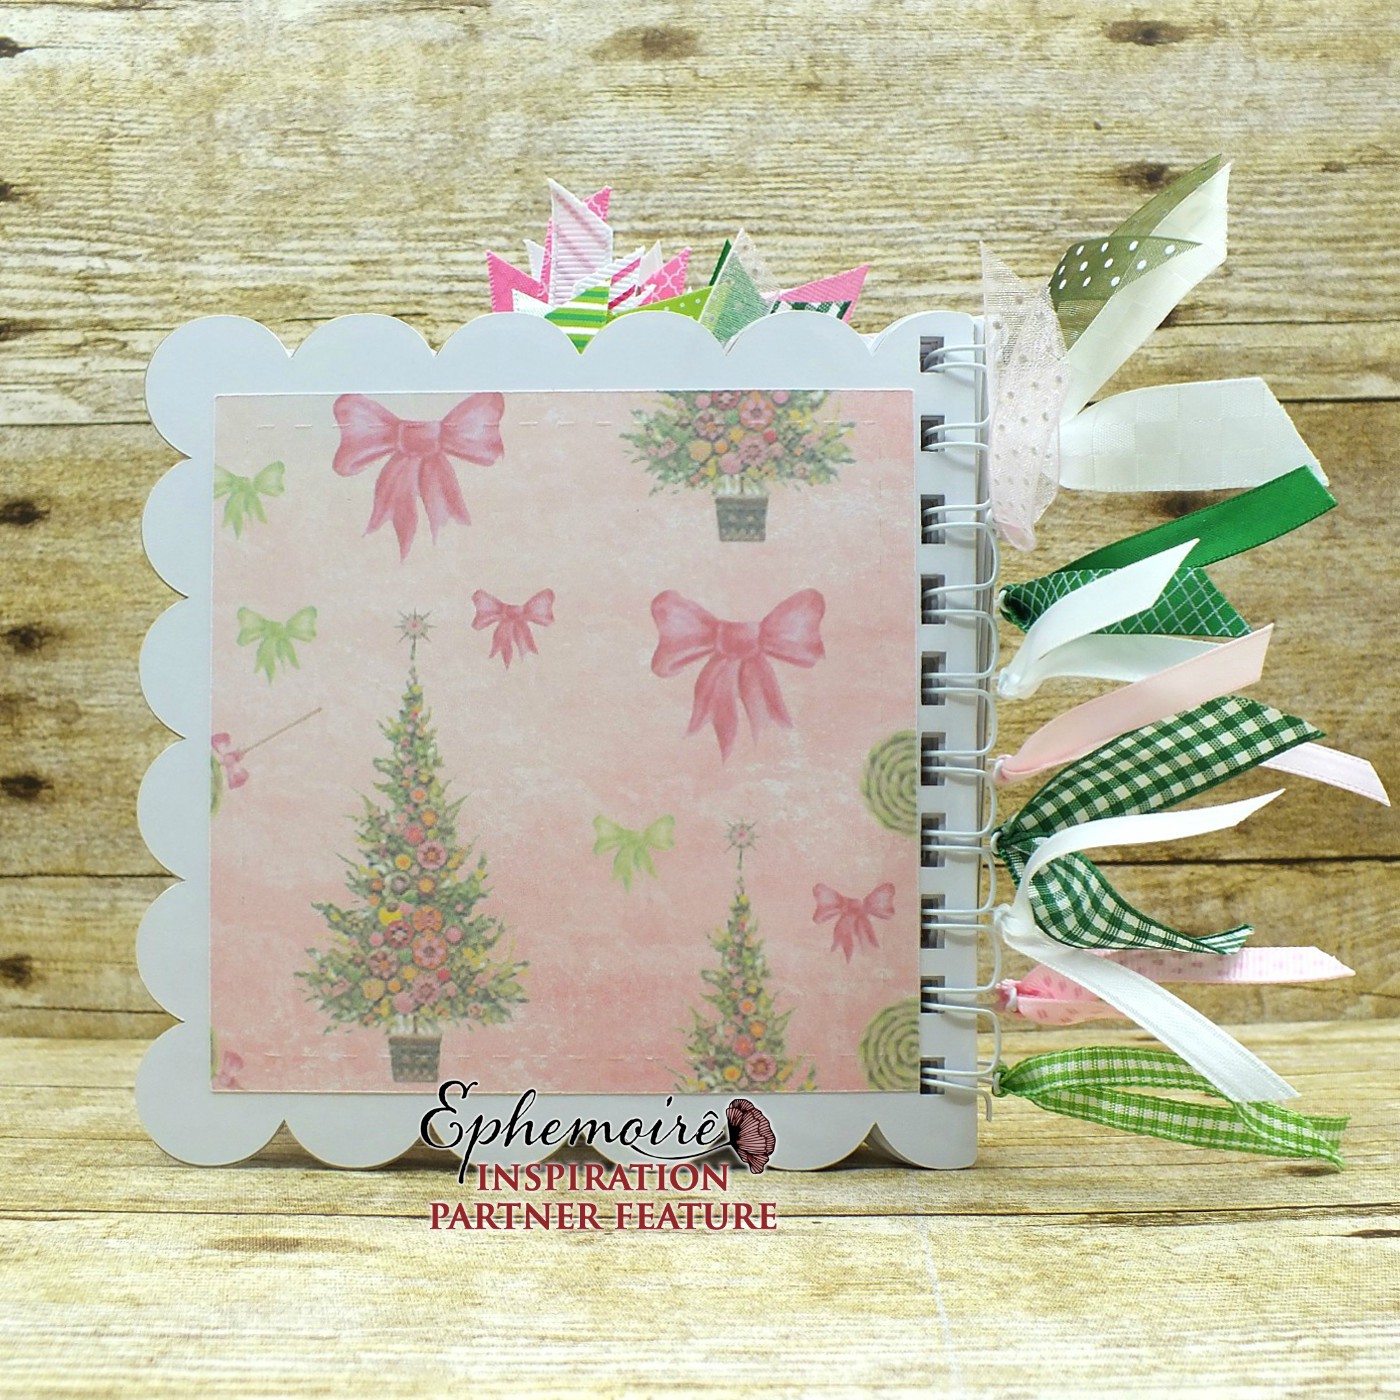
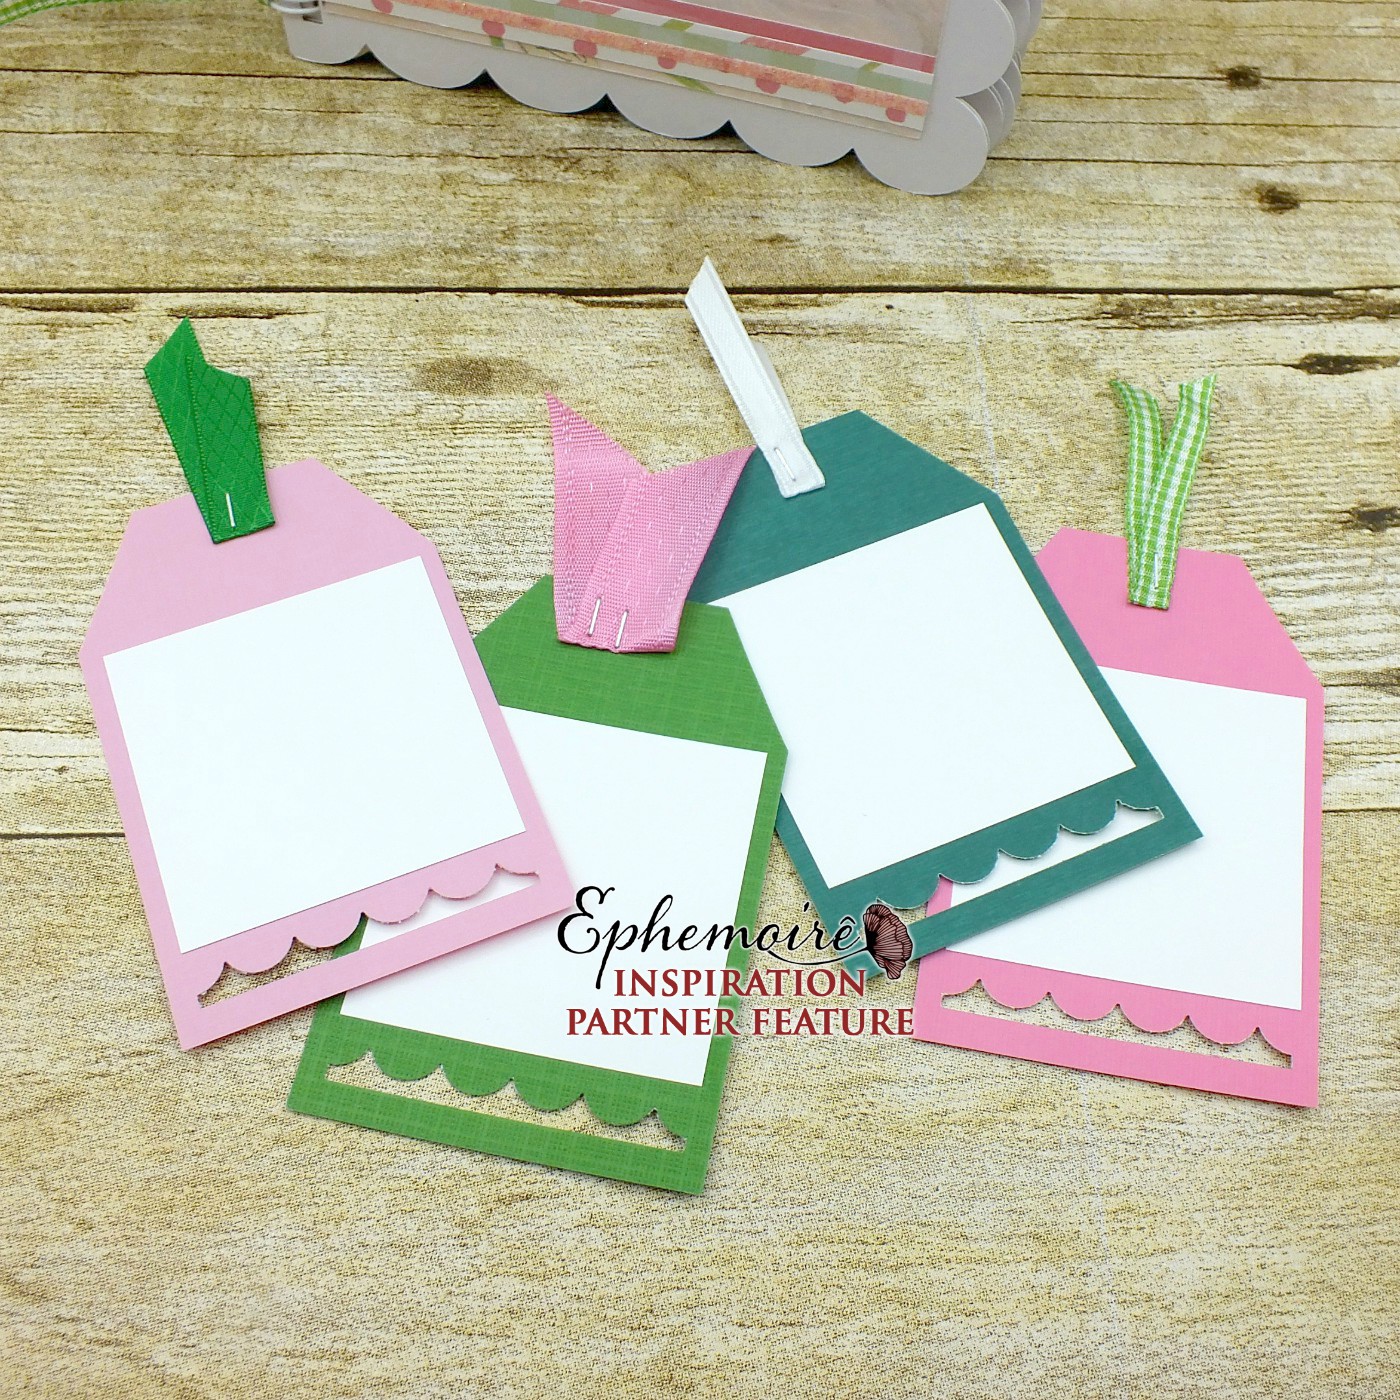
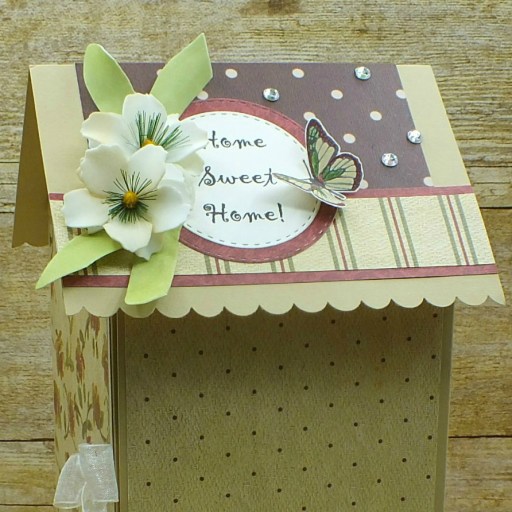
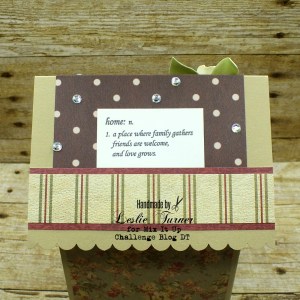
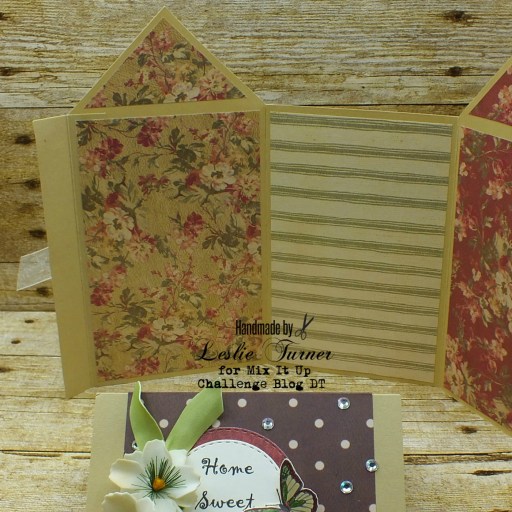
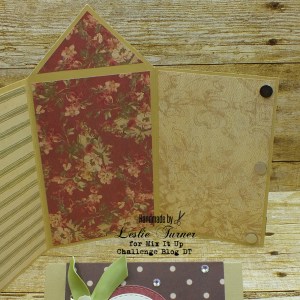
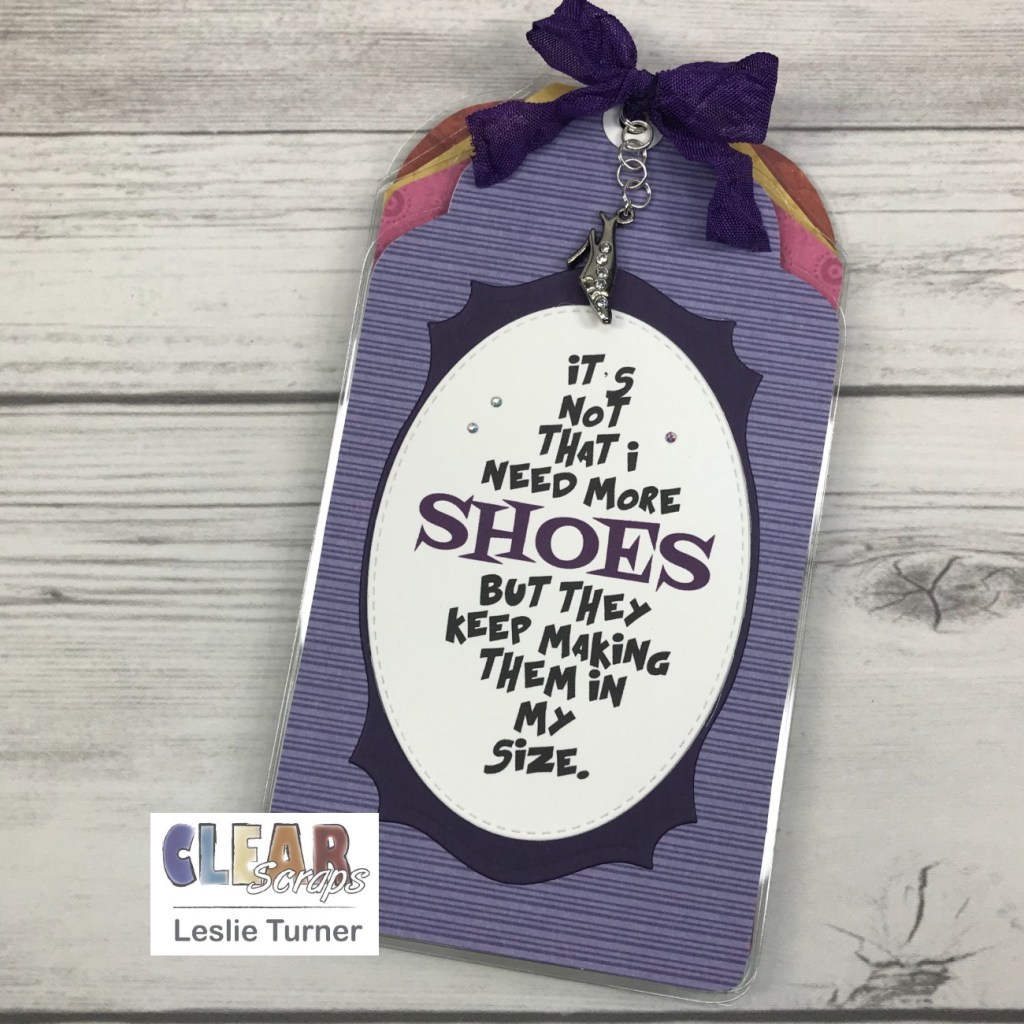
I cut different colors and patterns of paper for every page, hand-cut in a whimsical fashion, leaving just a tad bit of the clear acrylic showing on all edges. I die cut labels and stitched ovals for each page and layered the white stitched ovals on the label die cuts. I stamped different shoes (including boots and flip flops) with sentiments on the ovals and colored them with alcohol markers to coordinate with the patterned paper on that page. I created hole reinforcements with two circle punches and tied the pages together with purple wrinkled ribbon embellished with a shoe charm from my stash. I added tiny iridescent gemstones to each page to finish the album.
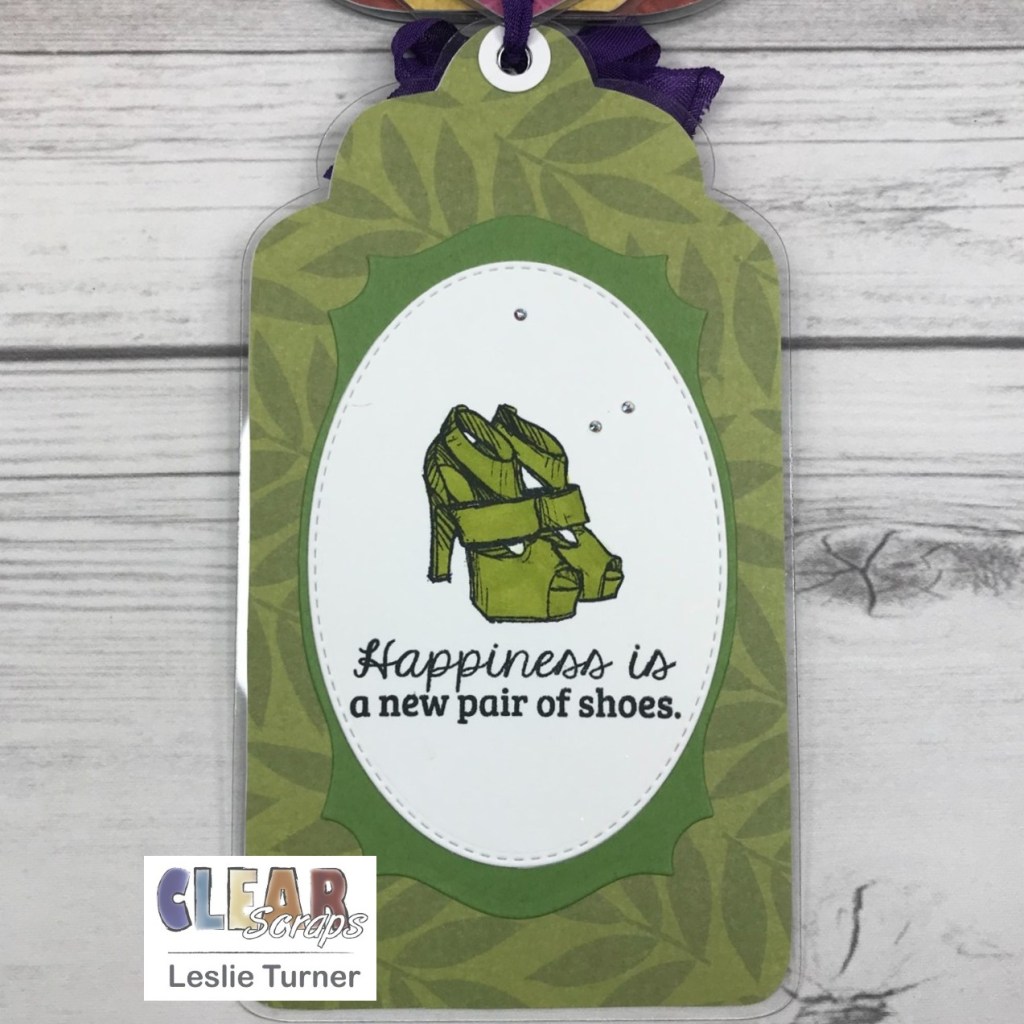

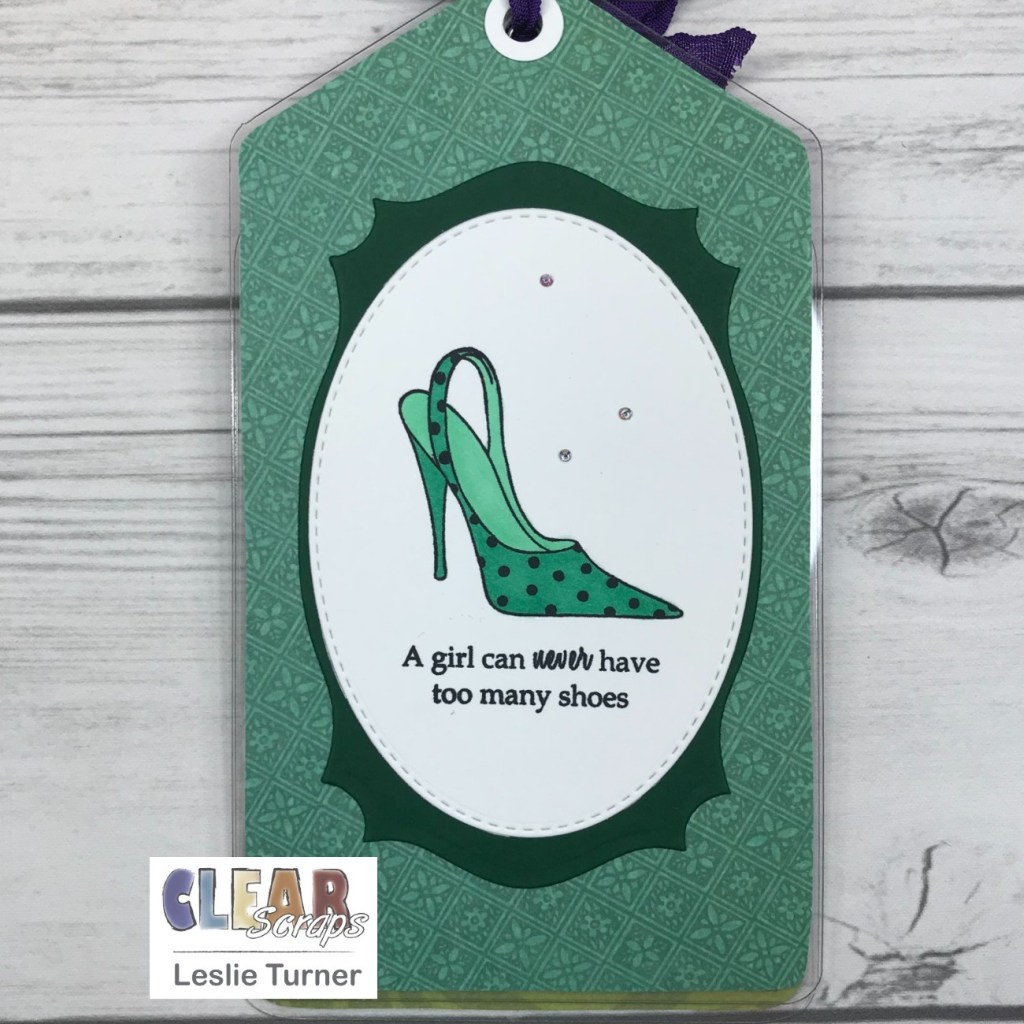
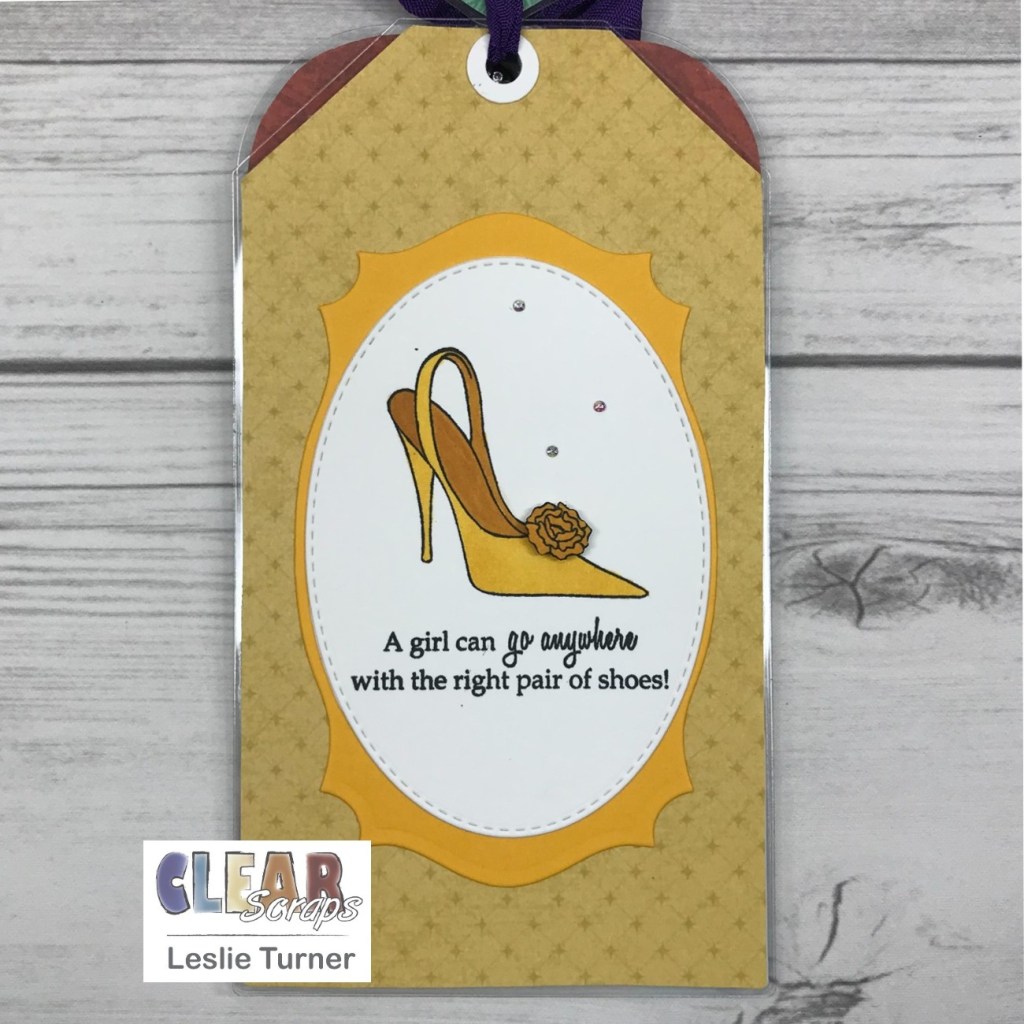
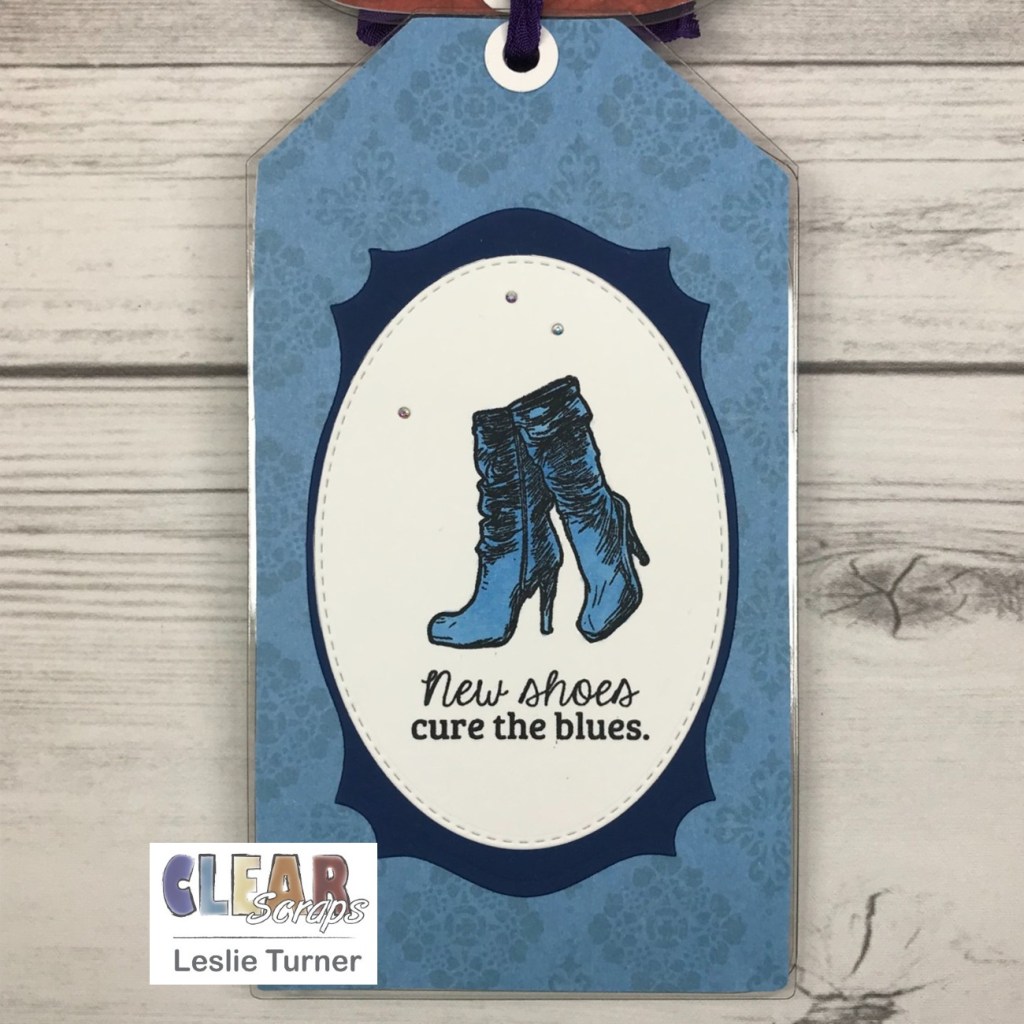
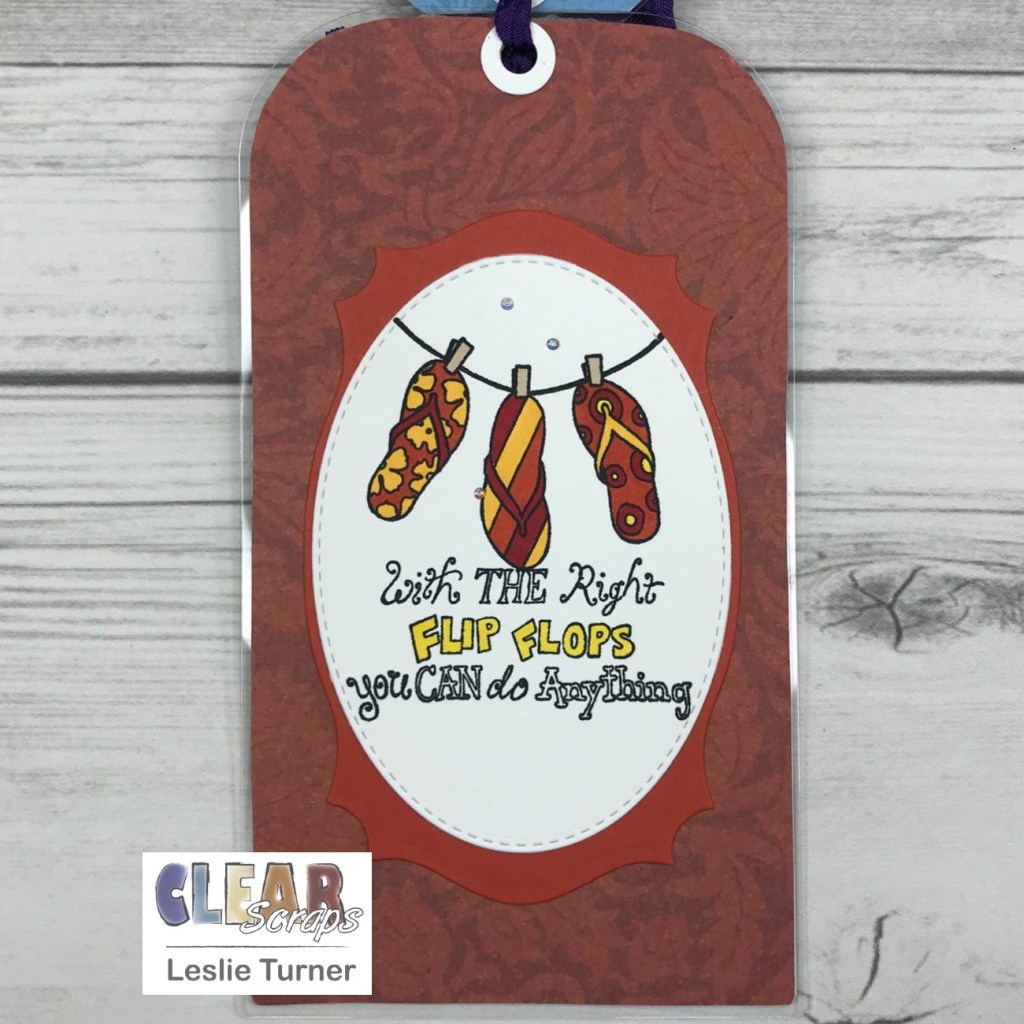
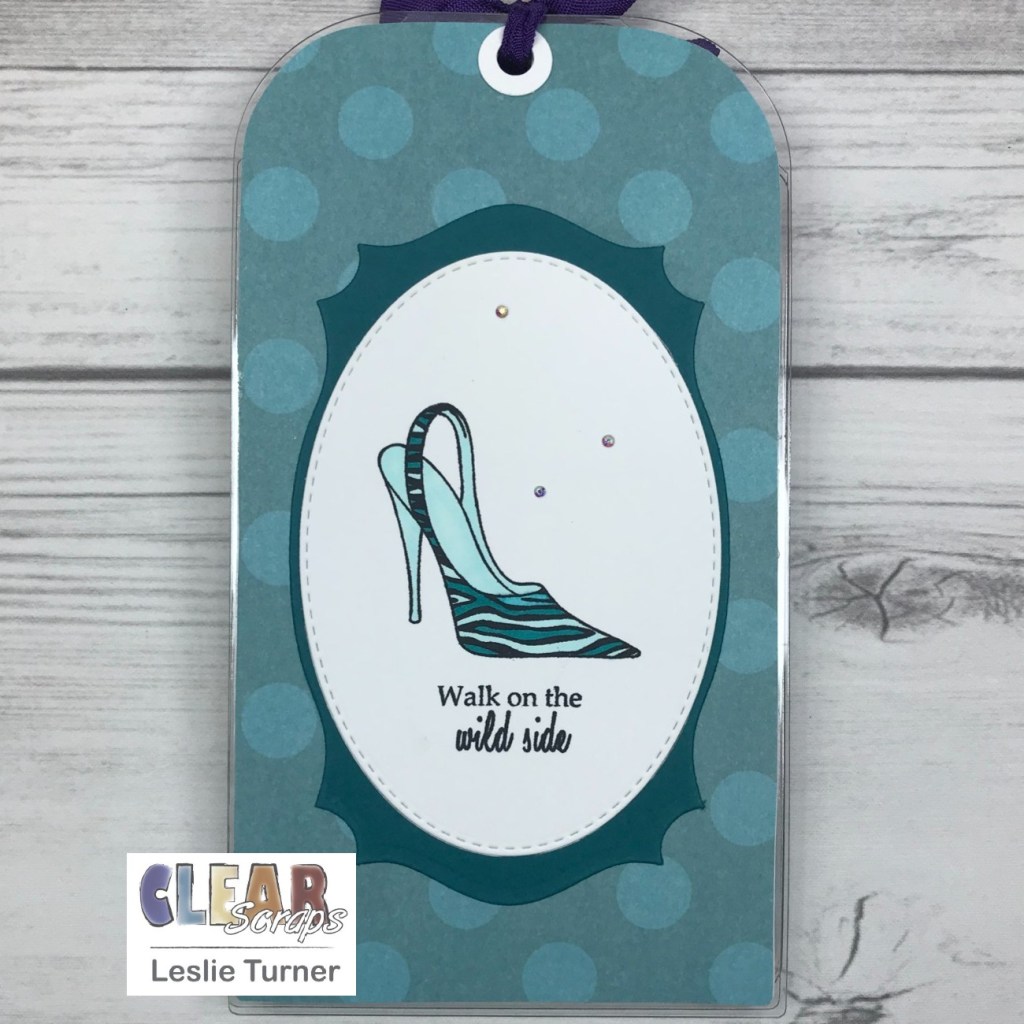
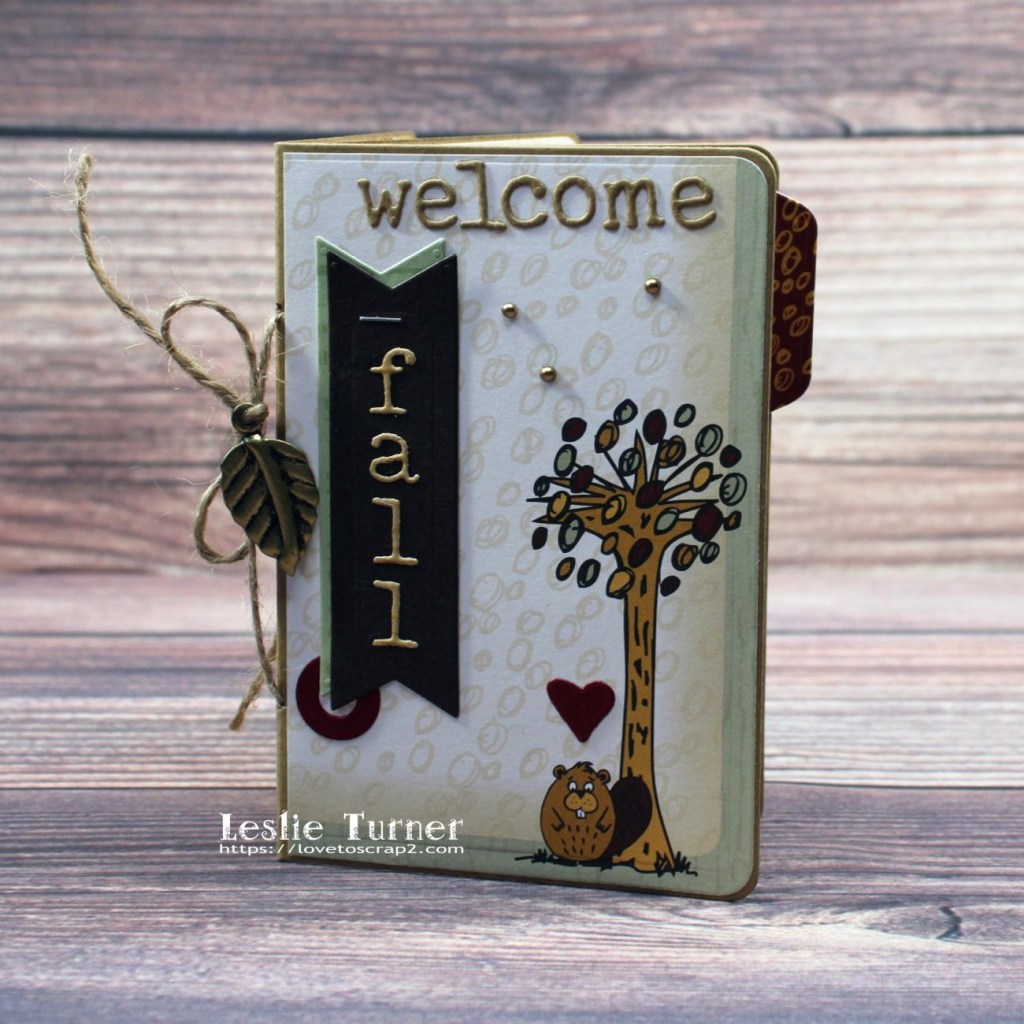
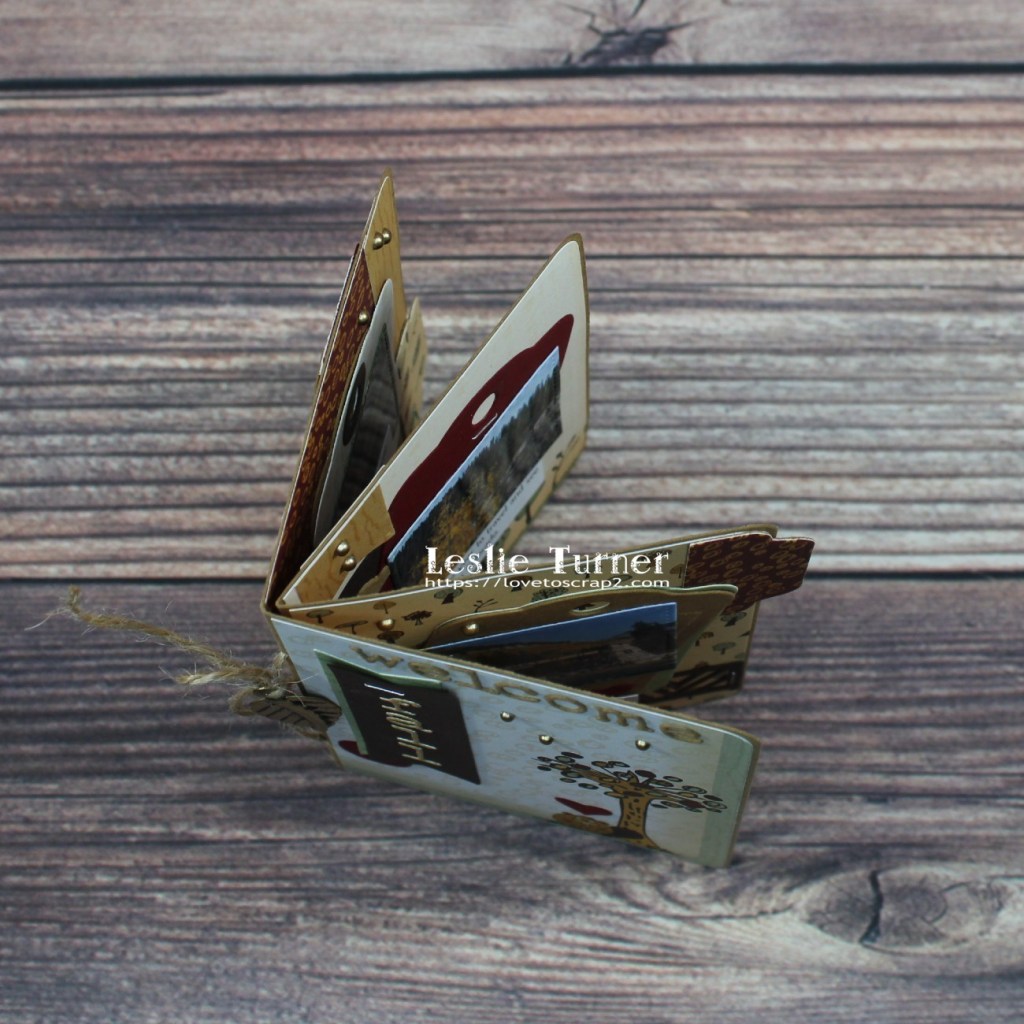
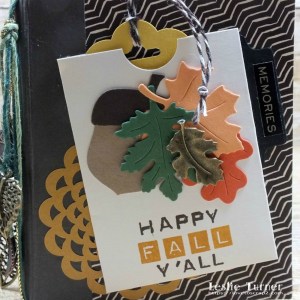
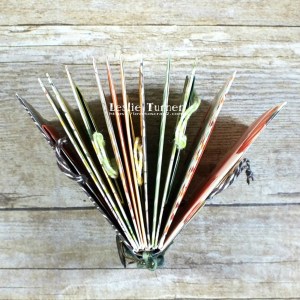
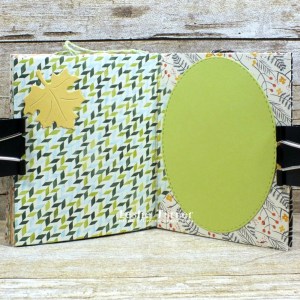
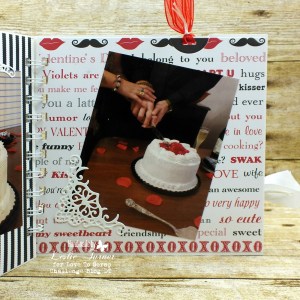
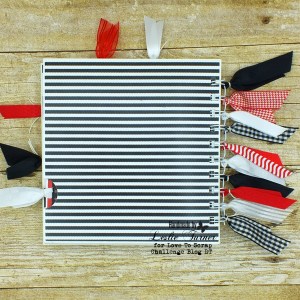
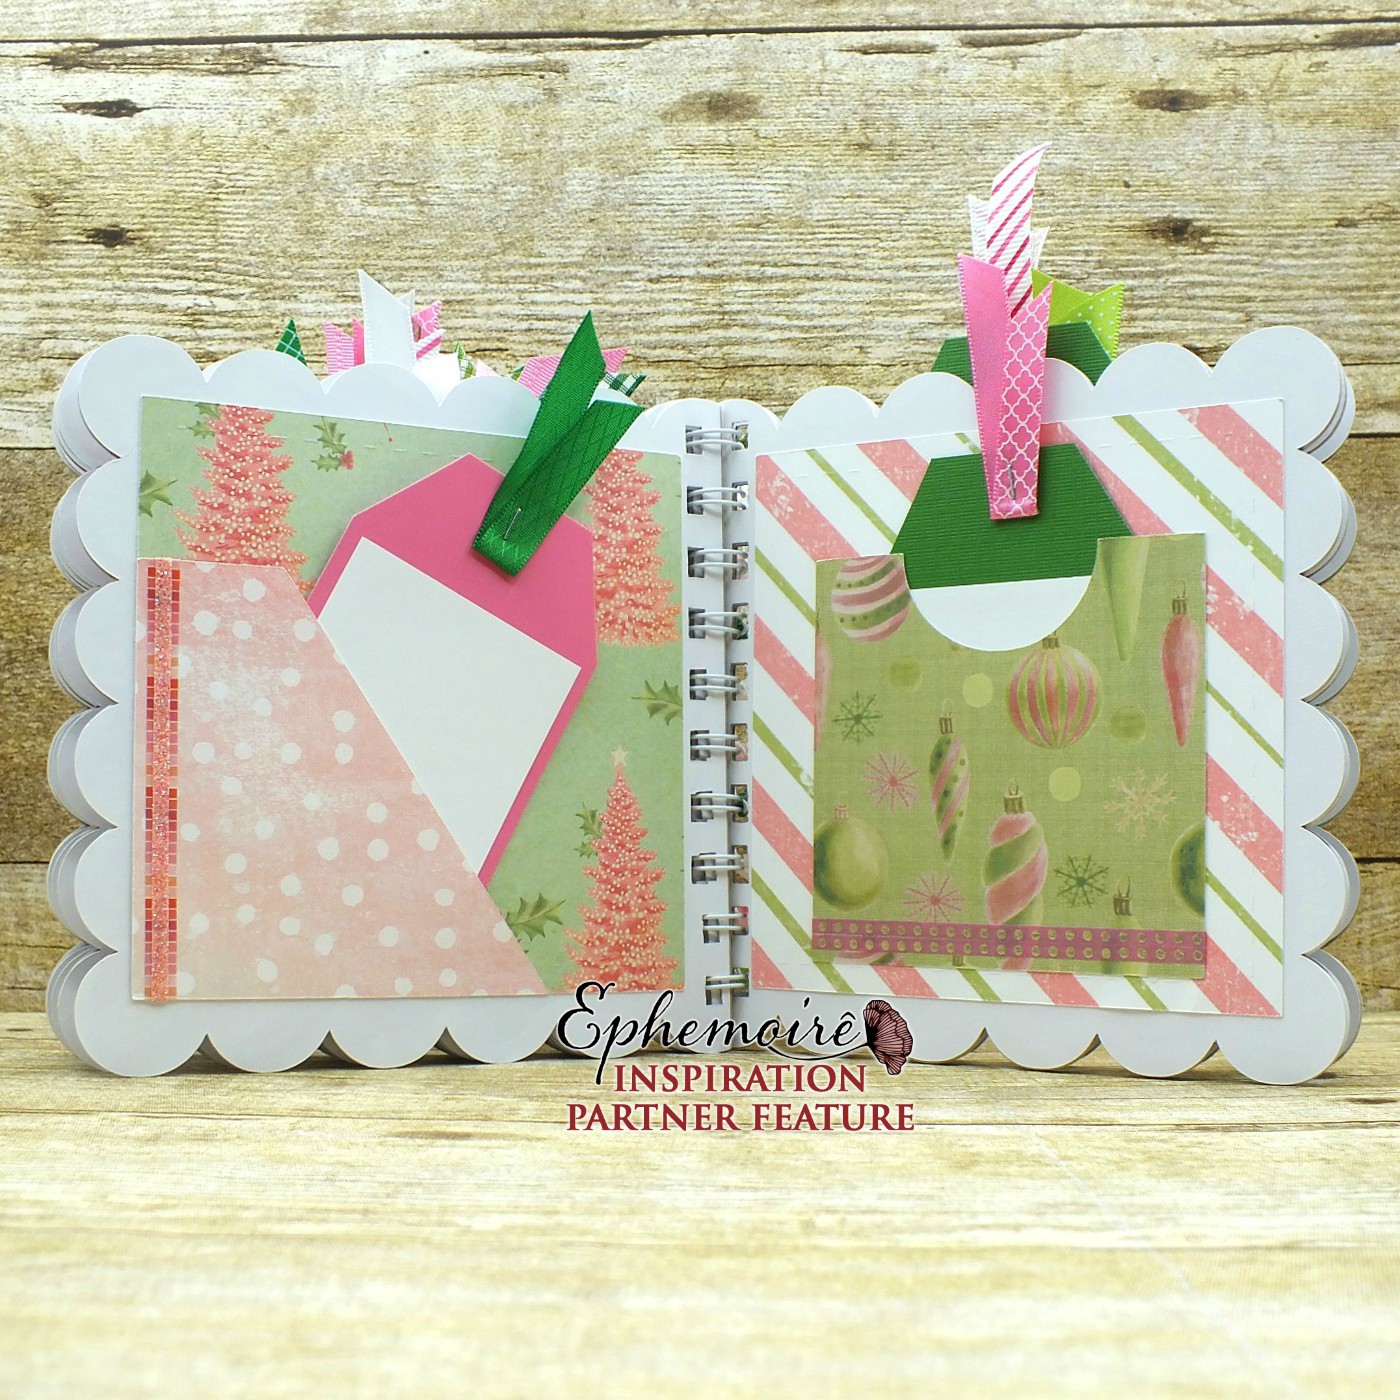
One more look… so loving how this turned out! Great selection of shoes, boots and flip flops – had to cover all bases, lol!
Sharing in the following challenges:
1. 613 Avenue Create: #11 – Anything Goes with optional twist of Thanks/Thankfulness
2. A Bit More Time To Craft Challenge: November/December – Anything Goes
3. A Place To Start: #11 – Craft A Favorite Memory (having lots of shoes back in the day!)
4. Classic Design Challenge Blog: #11 November – Anything Goes
5. Jan’s Digi Stamps Challenges: November – Anything Goes
6. Lemon Shortbread Challenge Blog: #158 – Anything Goes
7. Pammie’s Inky Pinkies Challenges: #2146 – Anything Goes
8. QKR Stampede: #432 – Anything Goes
9. The Creative Crafters: #46 – Anything Goes
10. World Wide Open Design Team Monthly Challenge: #11 – Anything Goes
Clear Scraps products used:
Acrylic Tag Album
Other products used:
Cardstock/Paper: CutCardStock Basis Dark Purple, Basis Magenta, Basis Gold, Basis Teal, Basis Blue, Basis Green, Pop-Tone Tangy Orange, Pop-Tone Gumdrop Green cardstock, Neenah Classic Crest Solar White cardstock, K & Co. Essentials Dark Designer Paper Pad
Stamps: STAMPlorations A Girl and Her Shoes stamp set, Paper Pretties Sassy Shoes stamp set, Great Impressions Hanging Flip Flops and Right Flip Flop rubber stamps
Ink: Memento Tuxedo Black ink (pad and marker), Versamark Dazzle; Arteza alcohol markers- YG25, G36/38, B17, BR68, Y03/22/25/33, YR00, R21, BG23/29
Dies/Punches: Spellbinders Labels Twenty-Five, Memory Box Stitched Oval Layers, Stampin’ Up 1/4″ and 1/2″ Circle Punches
Accessories: MISTI stamp tool, Big Shot, Bearly Art precision craft glue, Ranger Sticky Embossing Powder, Stampin’ Up Dazzling Diamonds Glitter, Prairie Bird Boutique wrinkled purple ribbon, shoe charm and rings from stash, Stampin’ Up Mini Dimensionals, ScraPerfect iridescent gemstones, Trinity Pick-Up Stick
I hope you’ve enjoyed today’s project and you’re inspired to get those craft supplies out to play! Be sure to check out all the amazing acrylic, wood and chipboard goodies at Clear Scraps… OMGoodness, you won’t be disappointed! And head on over to the Clear Scraps Facebook Page for lots of inspiration! And while you’re at it, join the Clear Scraps Facebook Creative Group to connect with other Clear Scraps fans! Thanks so much for stopping by today – we’ll see you next time!
Scrappy hugs,