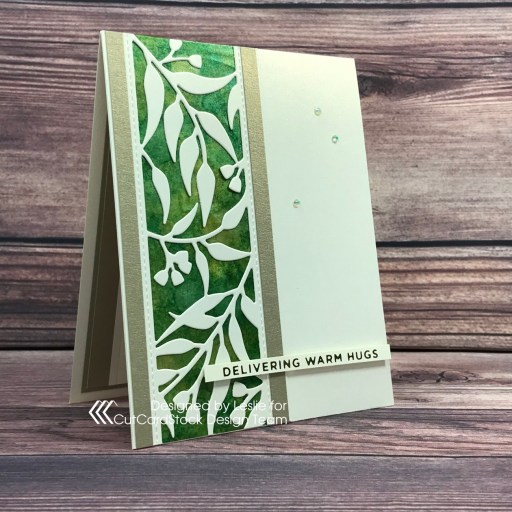
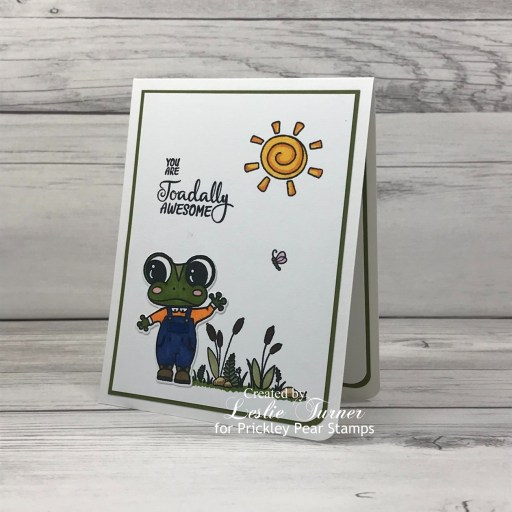
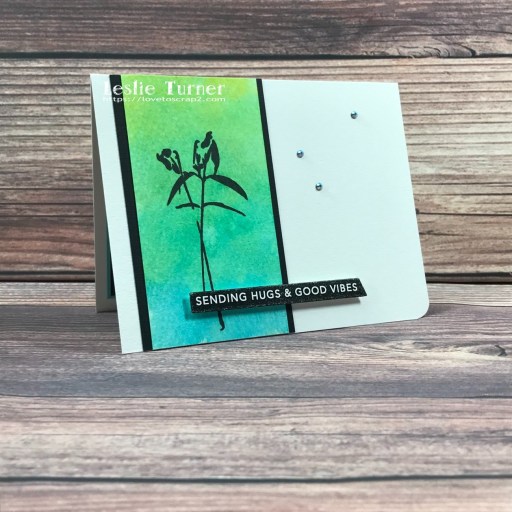
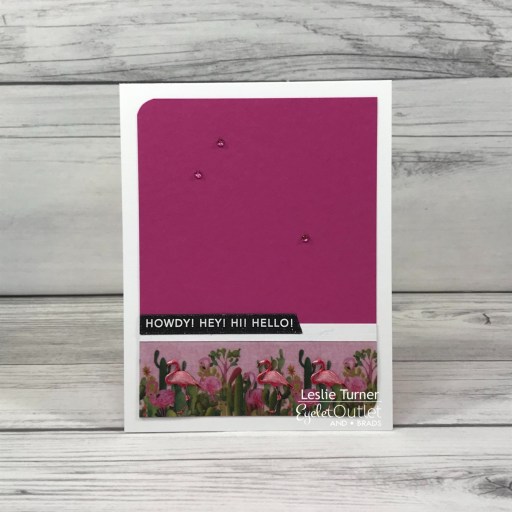
Hey everybody! A very Happy Saturday to you – I hope you’ve had a great week! Affiliate links are used in this post at no cost to you – I really appreciate your support! I’m stoked to be back on the Eyelet Outlet blog today with another awesome DT inspiration project! I created a cool friendship card featuring our Cactus & Flamingo Wide Washi Tape, Flamingo Brads and Pink Jewel Bling! This was such an easy and fun design that could easily be mass-produced to create several to give as a boxed gift!
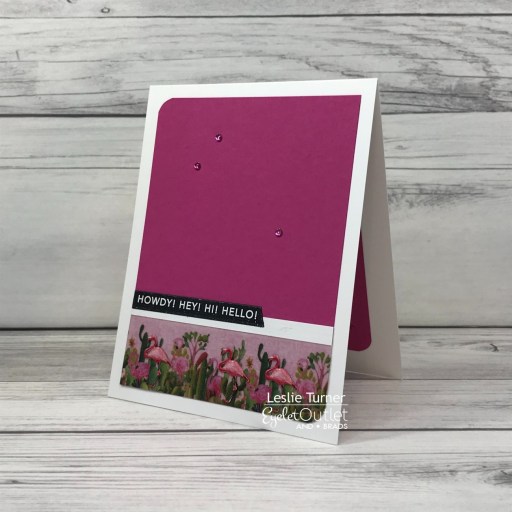
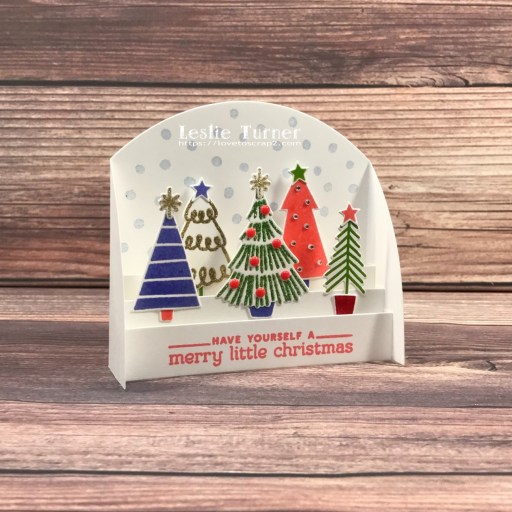
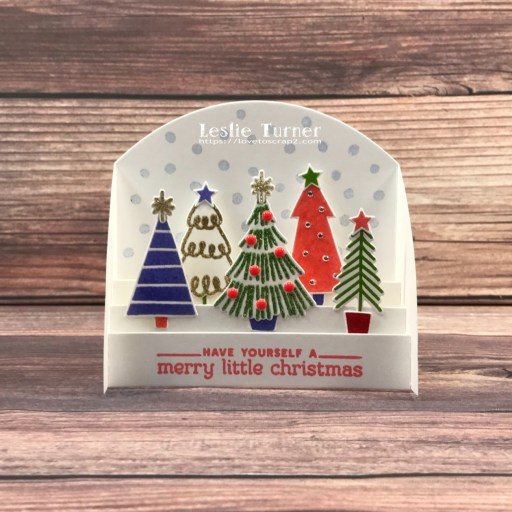
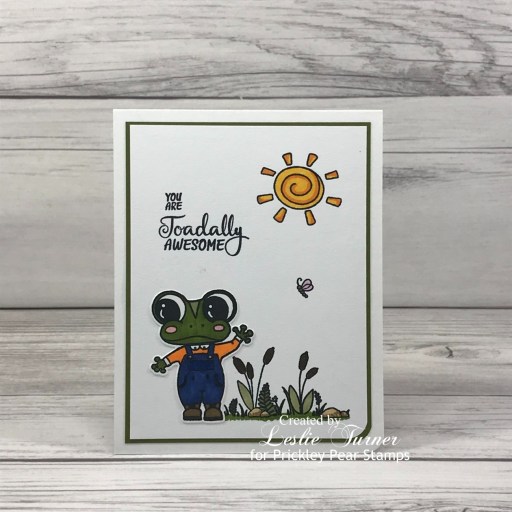
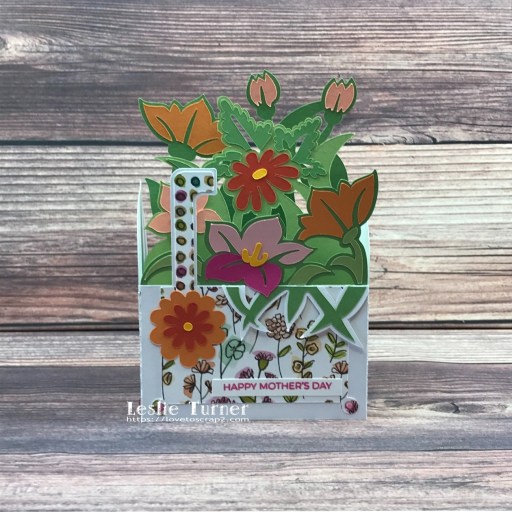
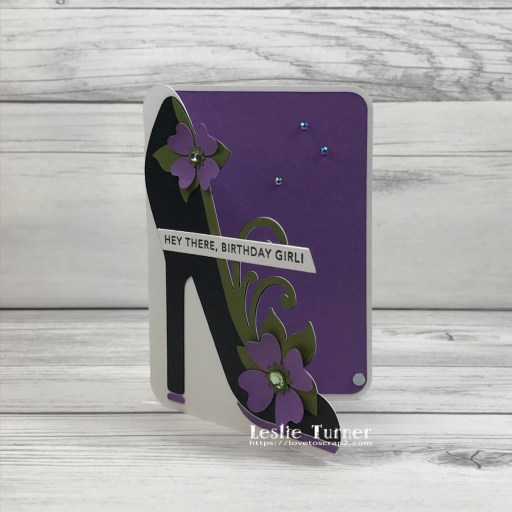
I cut a standard A2 size top-folding card base from Neenah Classic Linen 100# Solar White cardstock along with a layering panel from CutCardStock Basis Magenta cardstock. I applied the Cactus & Flamingo Wide Washi Tape and several Flamingo Brads to the bottom of the magenta panel, rounded the top left and bottom right corners, and adhered the panel to the card base. I added a narrow strip of Neenah Classic Linen 100# Solar White cardstock along with a sentiment from the Taylored Expressions Simple Strips in Reverse – Everyday Occasions. The finishing touch was adding some Pink Jewel Bling.
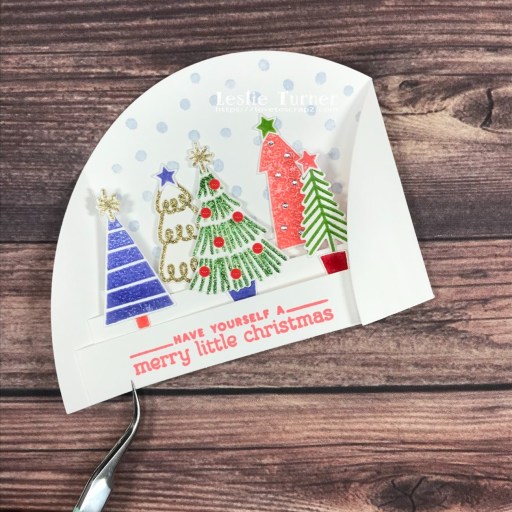
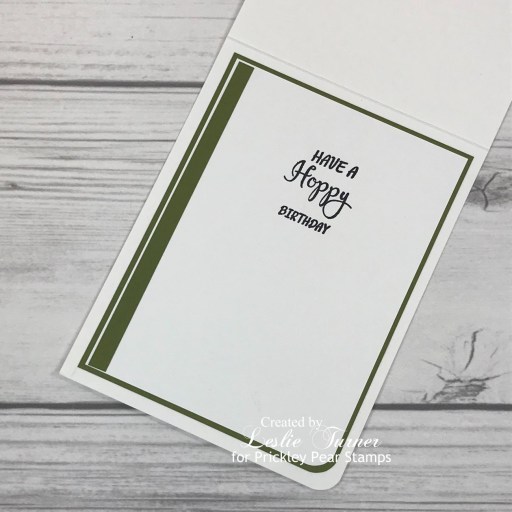
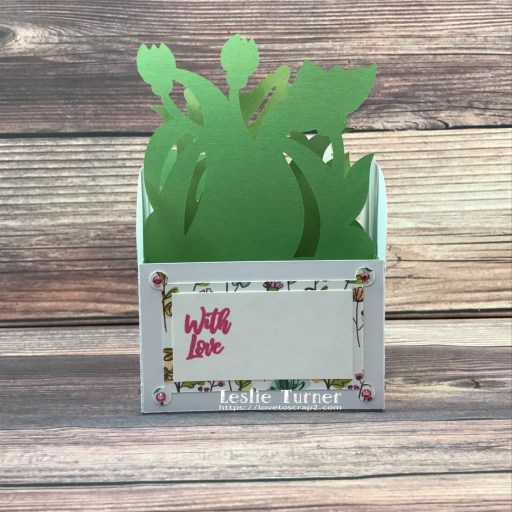
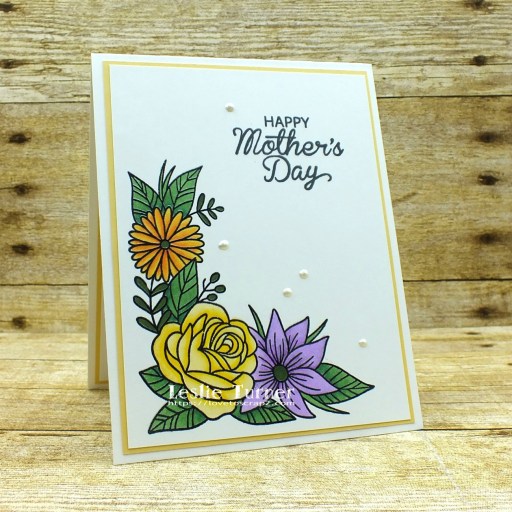
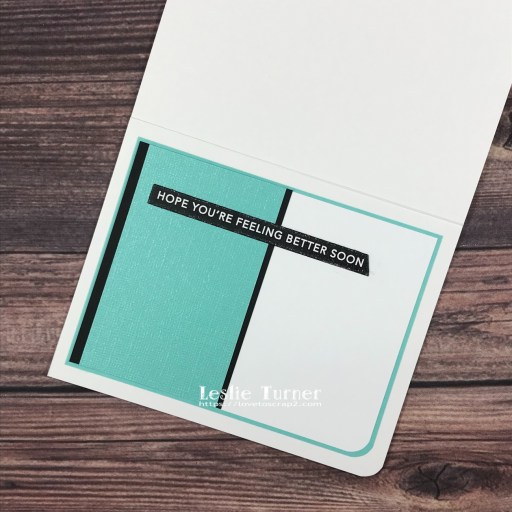
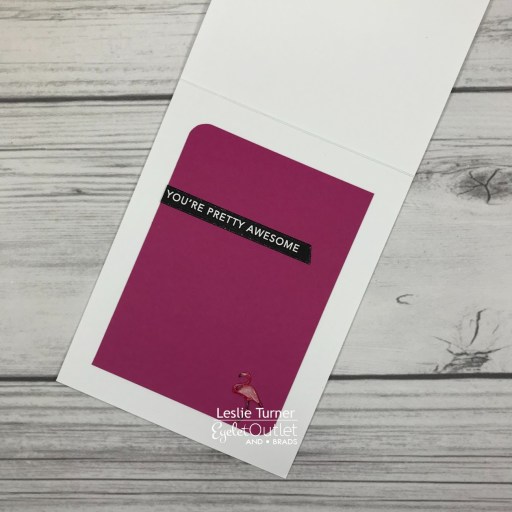
The inside of this card is slightly different – with a pink panel rather than white – which I thought created some interest. So I cut the inside panel from CutCardStock Basis Magenta cardstock, rounded the top left and bottom right corners, and added a Flamingo Brad and another sentiment from the Taylored Expressions Simple Strips in Reverse – Everyday Occasions.
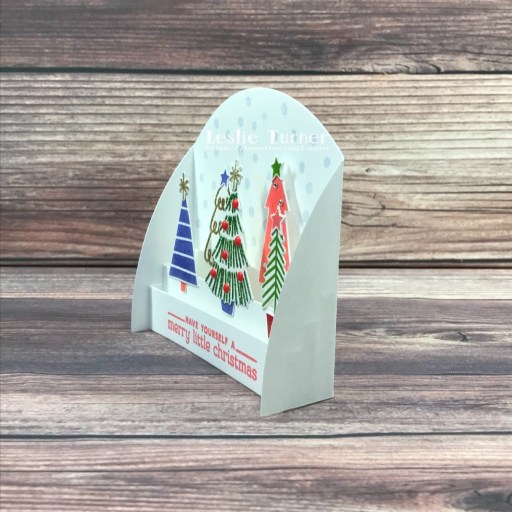
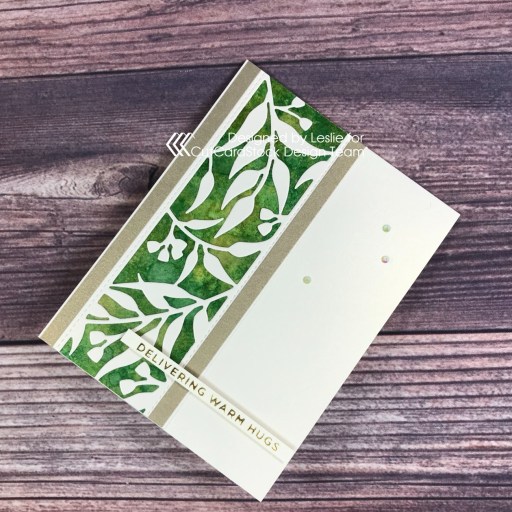
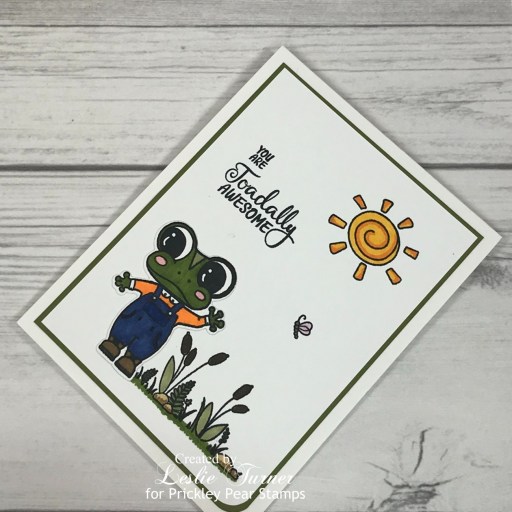
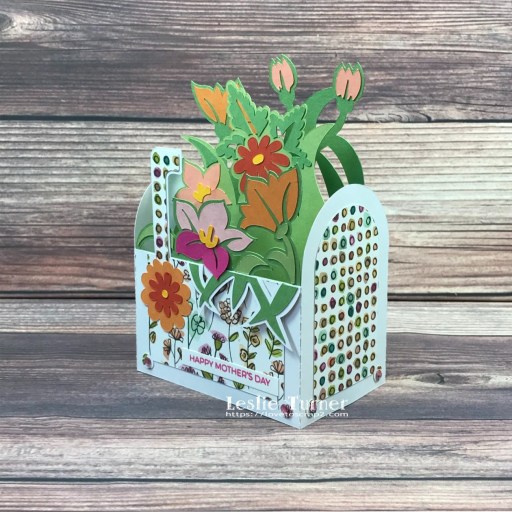
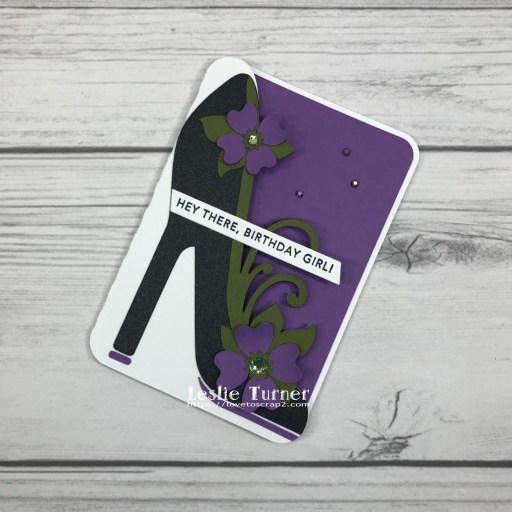
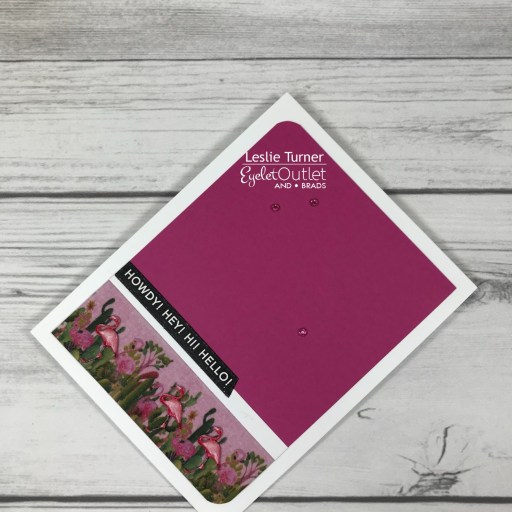
And one more look… such a fun card with awesome washi tape, brads and bling! Love how this turned out!
Sharing in the following challenges:
1. A Perfect Time To Craft: #3-2022 – Anything Goes
2. Addicted To Stamps and More: #424 – Any Occasion (friendship)
3. Classic Design Challenge: March #3 – Anything Goes
4. Crafting Happiness Challenges: #121 – Anything Goes Always
5. Crafty Catz: #585 – Anything Goes w/ optional CAS (CAS-ish ;)
Eyelet Outlet products used:
Cactus & Flamingo Wide Washi Tape
Flamingo Brads
Pink Jewel Bling
Other products used:
Cardstock/Paper: Neenah Classic Linen 100# Solar White cardstock, CutCardStock Basis Magenta cardstock
Dies/Punches: Kadomaru Pro Corner Rounder, Taylored Expressions Simple Strips – Asymmetrical die
Accessories: We R Memory Keepers Large Guillotine Paper Trimmer, Tape Runner Retractable, Taylored Expressions Simple Strips in Reverse – Everyday Occasions, Trinity Stamps Morganite Muse Embellishment Mix, Trinity Pick Up Stick
I hope you’ve enjoyed today’s project! Be sure to check out all the fun goodies at Eyelet Outlet! I can already see you drooling, lol! Be sure to ‘like’ and ‘follow’ Eyelet Outlet Facebook Page to keep up with news and sales, and while you’re at it, join the Eyelet Outlet Fans Facebook group for lots of creative inspiration! Thanks so much for stopping by today – we’ll see you next time! ;)
Scrappy hugs,