3/17/24 Rising Star at A Place To Start!
Hey everybody! A very happy Tuesday to you and I hope your week is off to a great start! I’m up on the CutCardStock blog today with a tutorial for making a sympathy card using the blackout embossing technique. I used Lessebo White, Lessebo Pitch Black, and Bright Silver Foil cardstock. I was really inspired to try the blackout embossing technique when I saw Lydia’s tutorial in a recent Splitcoast Stampers newsletter HERE. She used several colors of ink on her card which was really pretty. I stuck with a monochromatic black and white color palette with just a pop of silver for my first attempt. I’m so pleased with the depth and texture this technique yields, and will definitely be trying this again with multiple colors. ;)

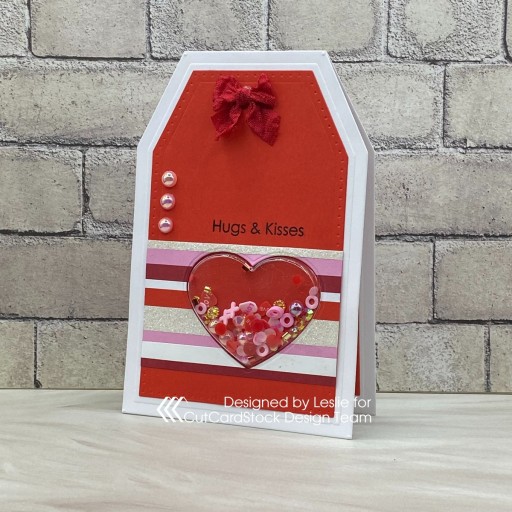
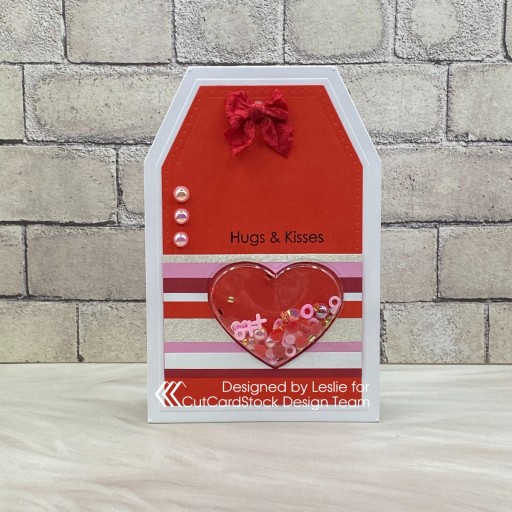
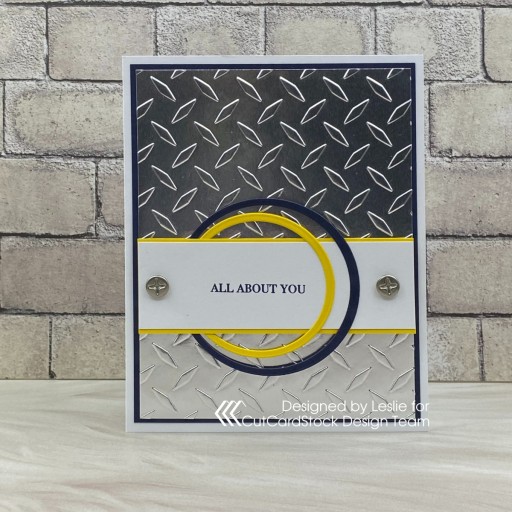
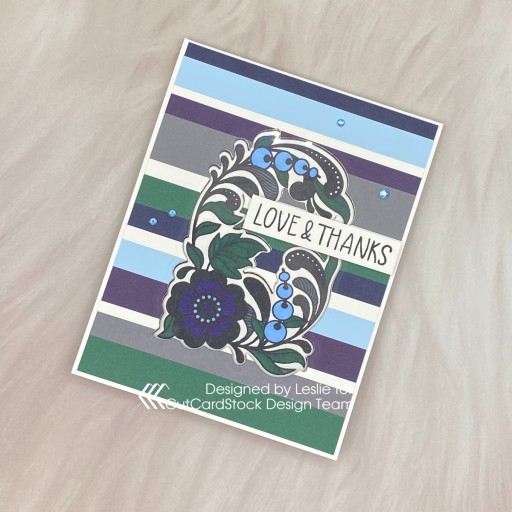
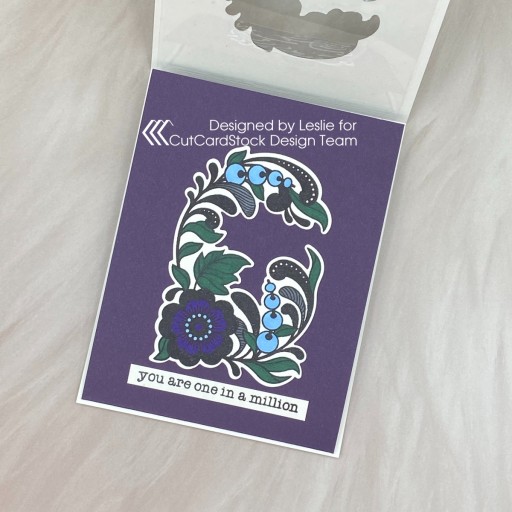
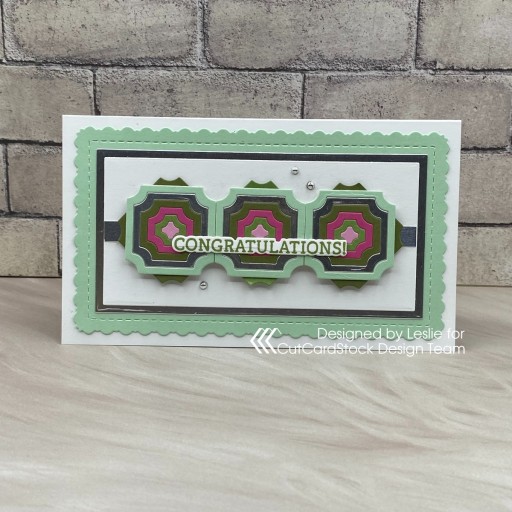
I cut the card base and a layering panel (for embossing) from Lessebo White cardstock along with additional layering panels from Lessebo Pitch Black and Bright Silver Foil. I spritzed the Lessebo White panel with water in my Tim Holtz Distress Sprayer and ran it through the Big Shot in the Sizzix Bohemian Botanical 3D Textured Impressions embossing folder.
After allowing the panel to dry for a few minutes, I flipped it over to the debossed (back) side and lightly swiped Catherine Pooler Midnight ink over it multiple times to cover the flat areas. I used the Stampin’ Up Sending Smiles stamp set and Sending dies for the front sentiment, popping the die cut portion up on thick foam squares. I added several Taylored Expressions Silver Drip Drops which completed the card front.

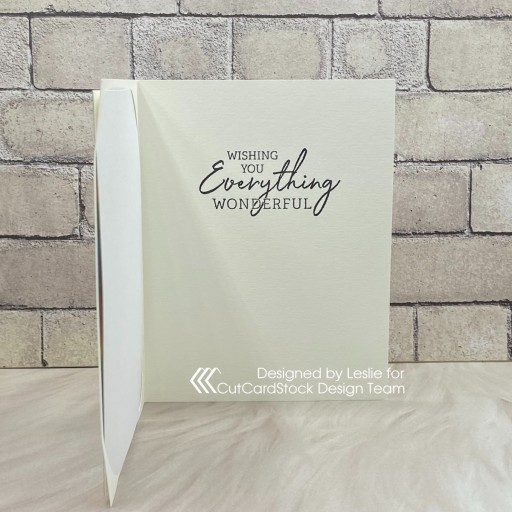
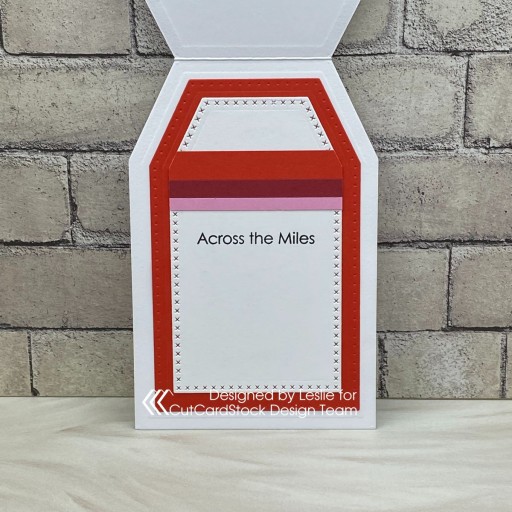
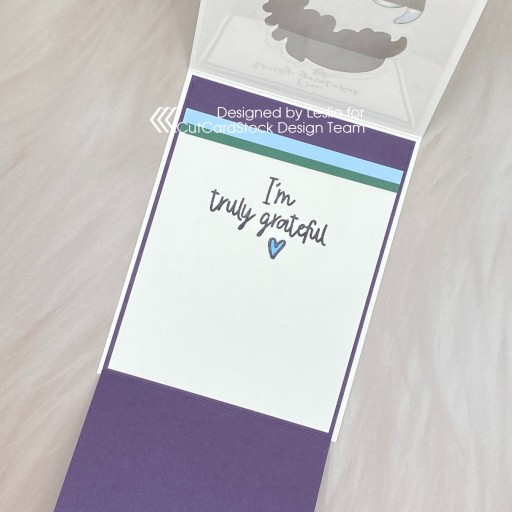
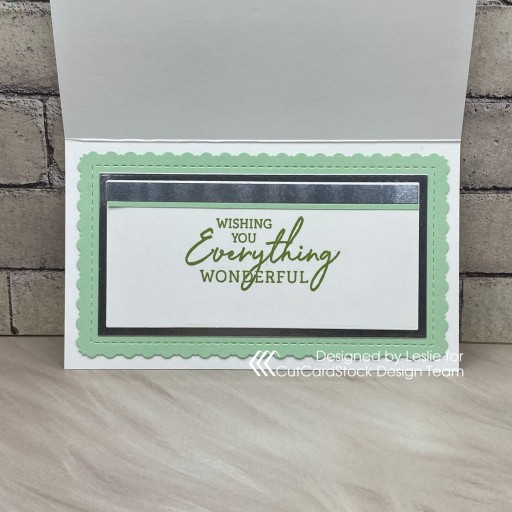
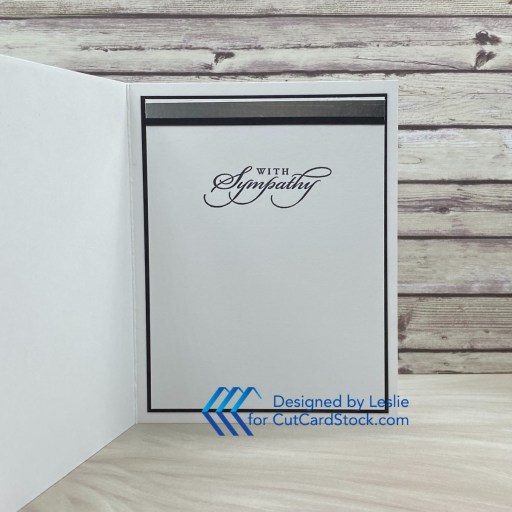
I embellished the inside Lessebo White panel with Lessebo Pitch Black and Bright Silver Foil strips, and stamped a sentiment from the Stampin’ Up Best of Greetings stamp set.
Sharing in the following challenges:
1. https://aperfecttimetocraft.blogspot.com/2024/03/a-perfect-time-to-craft-open-challenge.html
2. https://avenue613.blogspot.com/2024/03/march-2024-anything-goes-w-optional.html
3. https://hereisaplacetostart.blogspot.com/2024/03/march-2024-anything-goes-woptional.html
Affiliate links are used in this post at no cost to you – I really appreciate your support!
CutCardStock products used:
Lessebo White cardstock
Lessebo Pitch Black cardstock
Bright Silver Foil cardstock
Other products used:
STAMPS: Stampin’ Up Sending Smiles and Best of Greetings stamp sets
INK: Catherine Pooler Midnight ink
DIES/PUNCHES: Stampin’ Up Sending dies
ACCESSORIES: Fiskars 12″ ProCision Rotary Bypass Paper Trimmer, Elmer’s Craft Bond Tape Runner, Bearly Art precision craft glue, MISTI stamp tool, Big Shot, Tim Holtz Distress Sprayer, Sizzix Bohemian Botanicals 3-D Textured Impressions embossing folder, Taylored Expressions Silver Drip Drops, thick 3-D foam squares
I hope you’ve enjoyed today’s project and you’re inspired to get crafty! Be sure to check out all the awesome cardstock and other goodies at CutCardStock (adhesives, labels, stickers, pens, watercolors and ribbon to name a few). And head on over to the CutCardStock Facebook Page and for more inspiration! Also, be sure to join our Creating with Card Stock Facebook Group for even more crafty inspiration! Thanks so much for stopping by today – we’ll see you next time!
Scrappy hugs,