Hey everybody, Happy Tuesday! I hope you’re having a great week so far and it’s not too awfully cold where you are! I’m up on the CutCardStock blog today with a tutorial for making a Valentine tag card with a shaker! I used White, Cherry Red and Dawn Maroon cardstock from the new Lessebo line along with Pop Tone Cotton Candy and Silk Glitter Opulent Opal. I haven’t made a shaker card for a minute or three so I figured I’d do it up! Shakers are always fun to make and even more fun to receive!
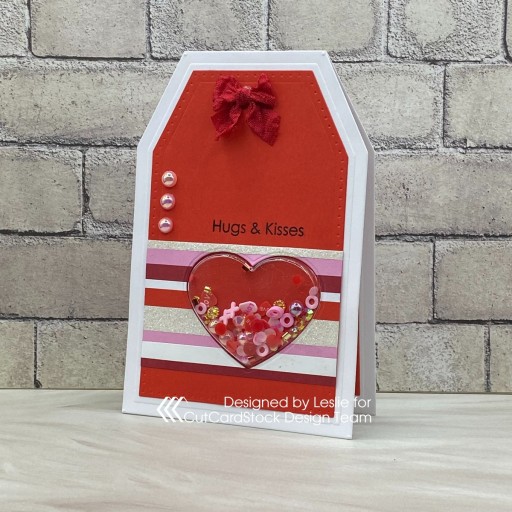
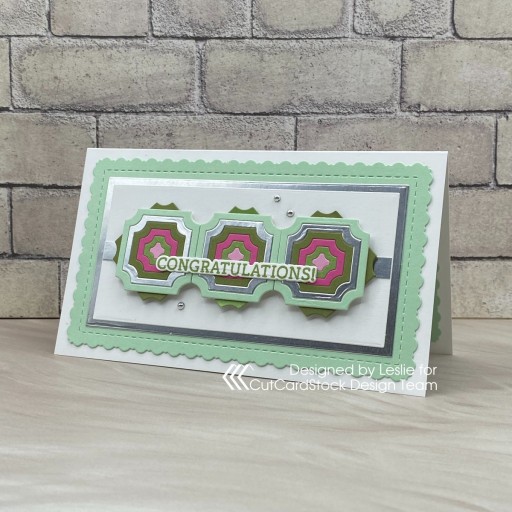
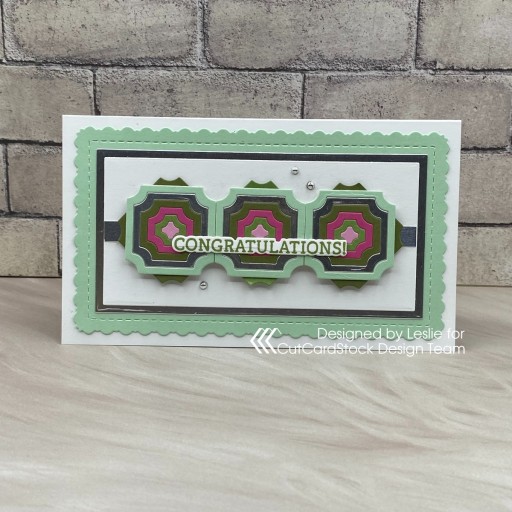
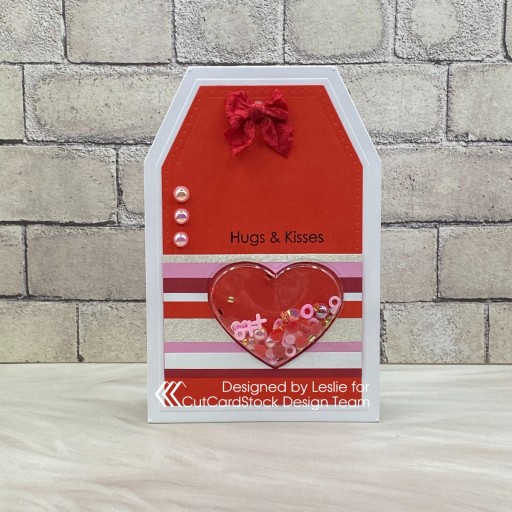
Using the Prickley Pear Stamps Nesting Tag Dies, I cut a top-folding tag-shaped card base and layering panel from Lessebo White along with a tag-shaped layering panel from Lessebo Cherry Red cardstock. I embellished the front layer with strips cut from Lessebo White, Lessebo Cherry Red, Lessebo Dawn Maroon, Pop Tone Cotton Candy and Silk Glitter Opulent Opal cardstock. I used the Heart Shaker Pouch Starter Kit (including the die) from This Calls For Confetti to cut the aperture into the front layer.
I stamped a sentiment from the My Favorite Things Lots of Hugs stamp set in Memento Tuxedo Black centered over the aperture. I added shaker mix consisting of Buttons Galore & More Love & Kisses Sprinkletz Embellishments, Pitter Patter Doo Dadz Embellishments, and Love Story Half Pearlz Embellishments, and adhered the layer to the card base. The finishing touch was adding several flat-back pearls from the Buttons Galore & More Love Story Half Pearlz Embellishments. I also added a tiny bow fashioned from Prairie Bird Boutique red wrinkled ribbon using a wooden bow maker my awesome friend Mo sent me for Christmas!
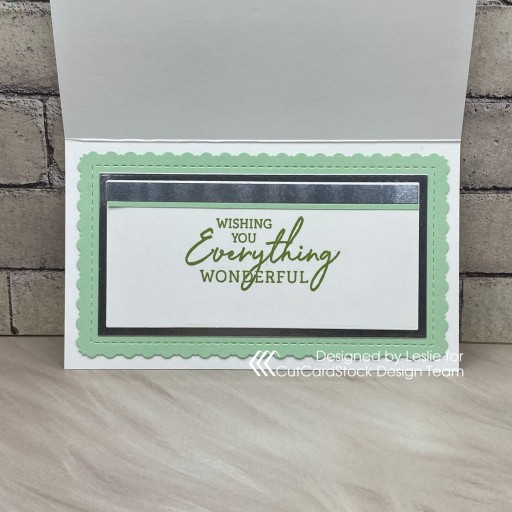
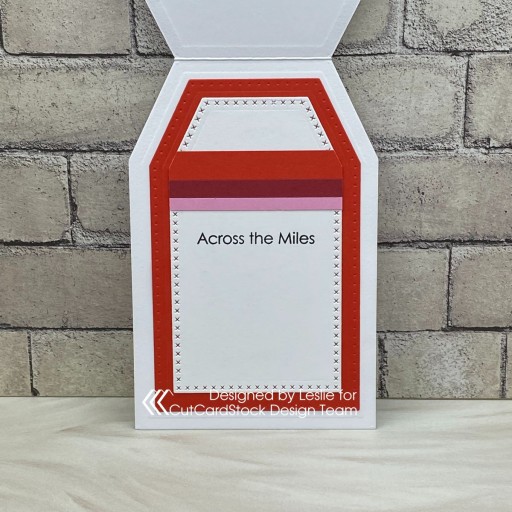
I cut tag-shaped layers for the inside from Lessebo White and Lessebo Cherry Red cardstock using the same Nested Tag Dies and embellished the white one with a few leftover strips from the front. I stamped another sentiment from the My Favorite Things Lots of Hugs stamp set in black ink.
Sharing in the following challenges:
1. A Perfect Time To Craft Open Challenge: January #1-2024 – Anything Goes
2. Classic Design Challenge: Jan/Feb #01-2024 – Anything Goes
3. Fab ‘n’ Funky Challenges: #587 – Stamp It
Affiliate links are used in this post at no cost to you – I really appreciate your support!
CutCardStock products used:
Lessebo White cardstock
Lessebo Cherry Red cardstock
Lessebo Dawn Maroon cardstock
Pop Tone Cotton Candy cardstock
Silk Glitter Opulent Opal 12×12 cardstock
Other products used:
STAMPS: My Favorite Things Lots of Hugs stamp set
INK: Memento Tuxedo Black ink
DIES/PUNCHES: Prickley Pear Stamps Nesting Tag Dies, This Calls For Confetti Heart Shaker Pouch Starter Kit (including the die)
ACCESSORIES: Tonic Studios 12″ Guillotine Paper Trimmer, Elmer’s Craft Bond Tape Runner, Bearly Art precision craft glue, MISTI stamp tool, Big Shot, This Calls For Confetti Heart Shaker Pouch Starter Kit (including the die); Buttons Galore & More Love & Kisses Sprinkletz Embellishments, Pitter Patter Doo Dadz Embellishments, and Love Story Half Pearlz Embellishments; Prairie Bird Boutique red wrinkled ribbon
I hope you’ve enjoyed today’s project and you’re inspired to get crafty! Be sure to check out all the awesome cardstock and other goodies at CutCardStock (adhesives, labels, stickers, pens, watercolors and ribbon to name a few). And head on over to the CutCardStock Facebook Page and for more inspiration! Also, be sure to join our Creating with Card Stock Facebook Group for even more crafty inspiration! Thanks so much for stopping by today – we’ll see you next time!
Scrappy hugs,