4/17/22 Rising Star at A Place To Start!
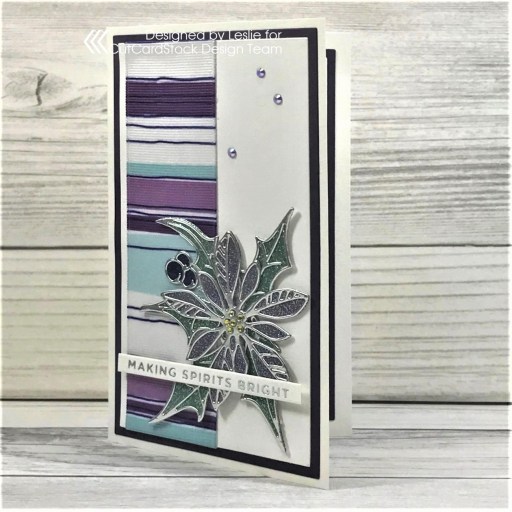
Hey everybody! How the heck are you?! Hopefully you’re having an awesome weekend! I have a card to share with you this morning that I created for Prickley Pear Stamps featuring our Scalloped Borders Fall stamp set along with the Stitched Scallop Border die set. LOVE these stamps and dies! And you know me… I am not a seasonal crafter – my mind is all over the place when I’m in my studio and I create whatever pops into my head. That was the case with this Thanksgiving card – I know it’s not Fall but I don’t care, lol!
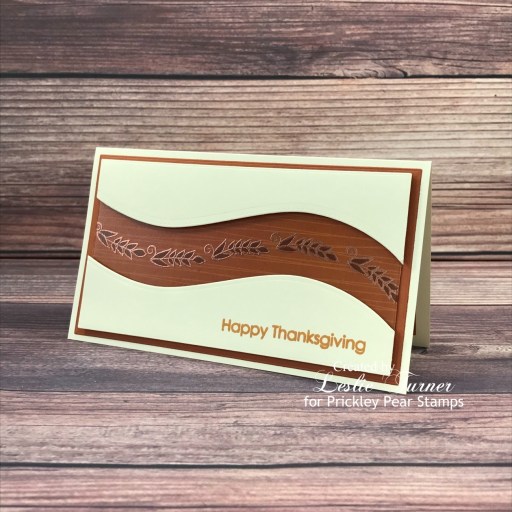
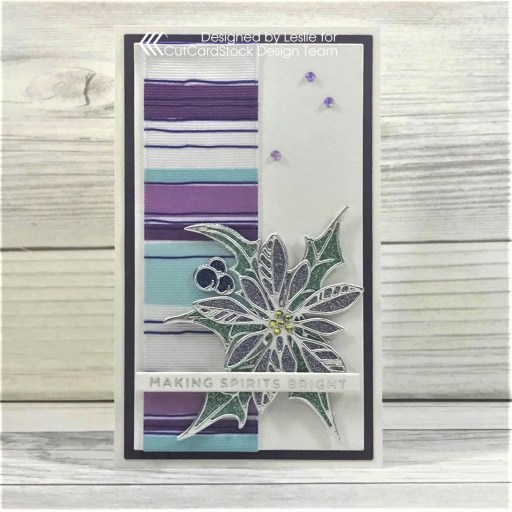
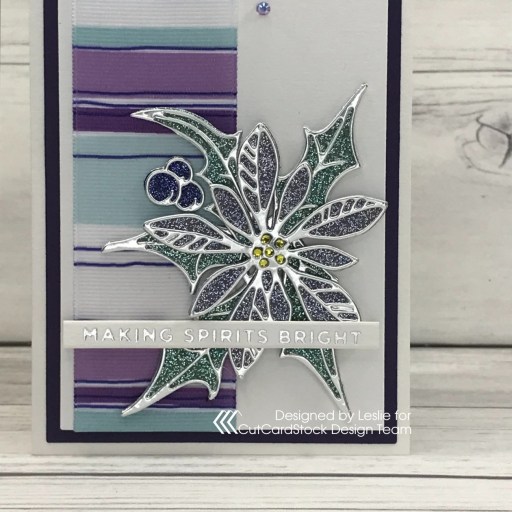
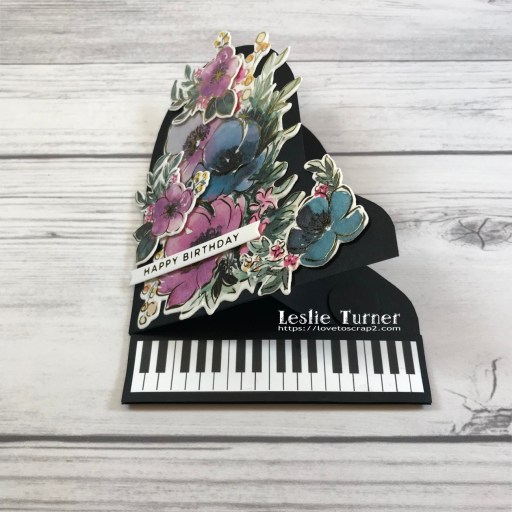
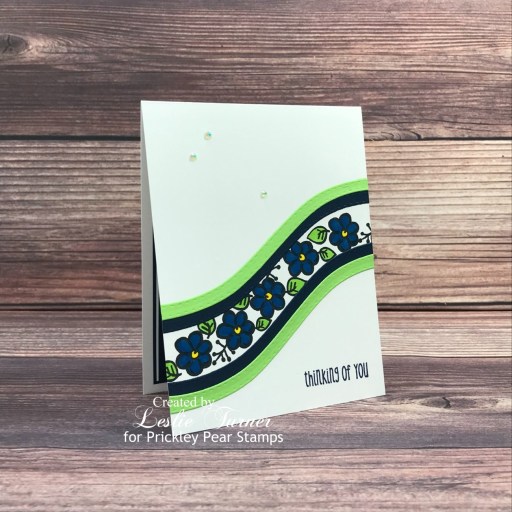
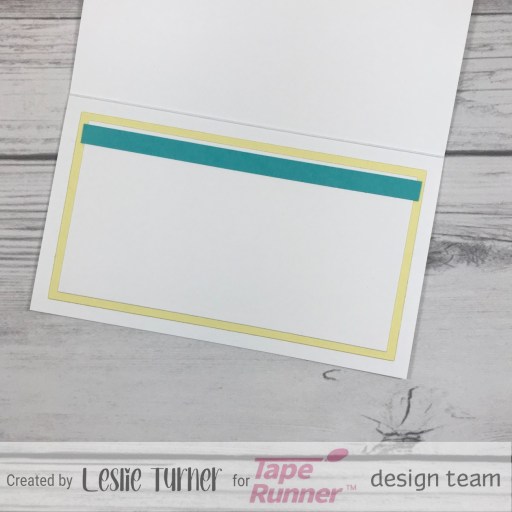
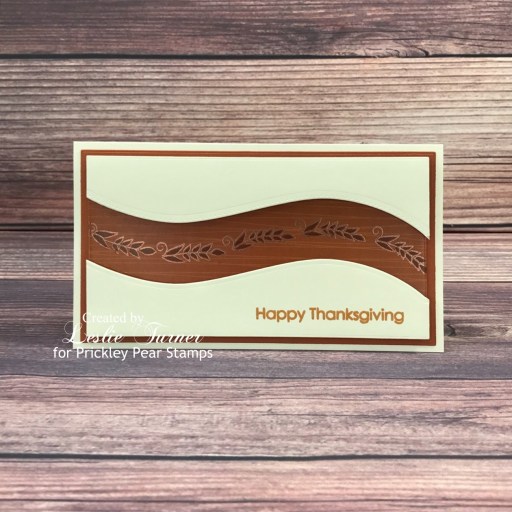
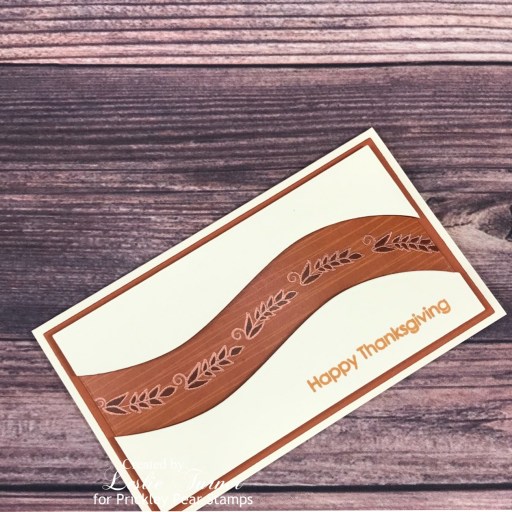
I cut a mini slimline card base from Neenah Classic Crest Baronial Ivory cardstock along with layering panels from CutCardStock Basis Dark Orange cardstock, Stamp Anniething Autumn Life patterned paper, and the Baronial Ivory using the using the Waffle Flower Mini Slimline Layers die set. I adhered the dark orange panel to the card base and then stamped the leaf pattern from the Scalloped Borders Fall stamp set on the patterned paper panel and heat embossed it in copper. I colored the leaves with an alcohol marker and adhered the panel on top of the dark orange panel. I then cut away a portion of the ivory panel with one of the dies in the Stitched Scallop Border die set and popped the top piece up on craft foam on top of the patterned paper panel. I stamped the sentiment (from the same stamp set) in Memento Peanut Brittle ink and popped that piece up on craft foam as well.
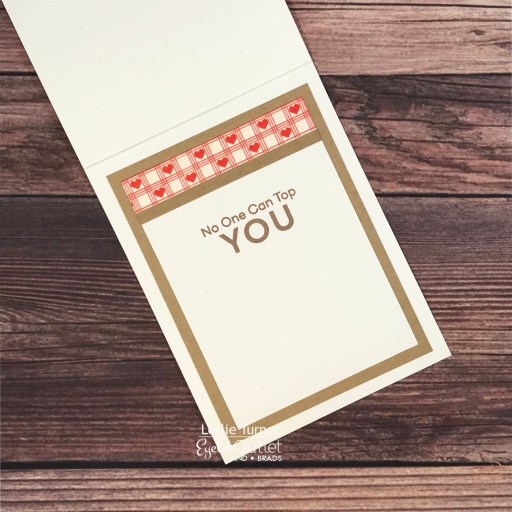
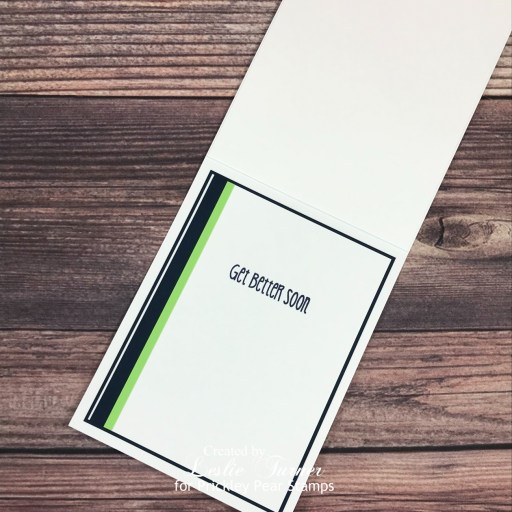
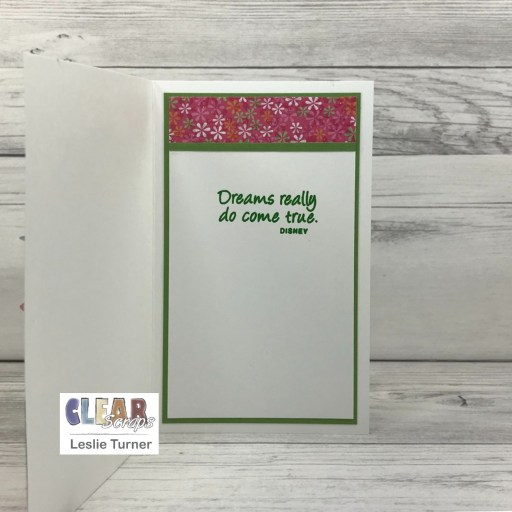
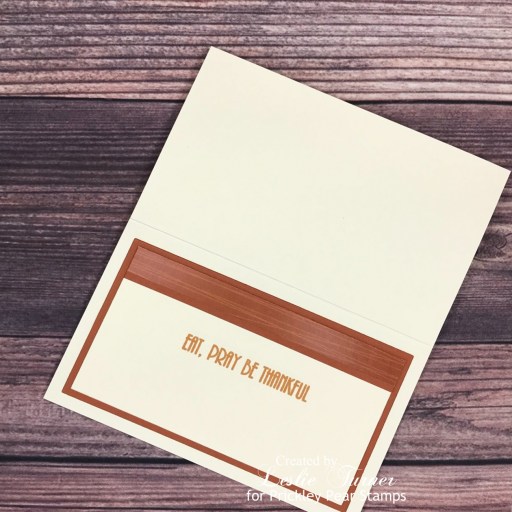
I cut the inside panel from Baronial Ivory, again using the using the Waffle Flower Mini Slimline Layers die set, and embellished it with strips of the Stamp Anniething patterned paper and CutCardStock Dark Orange cardstock used on the front. I stamped the sentiment in Memento Peanut Brittle ink and layered the panel on the dark orange cardstock.
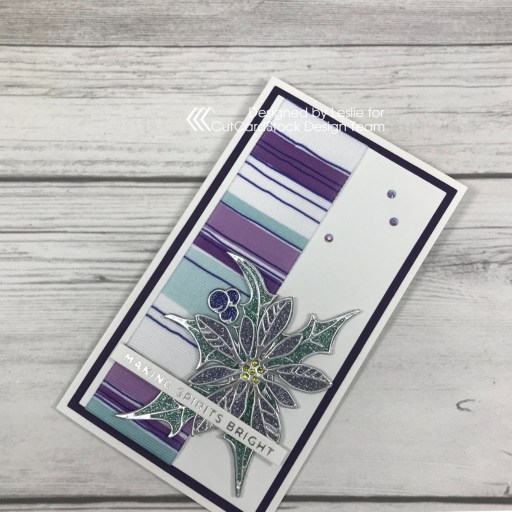
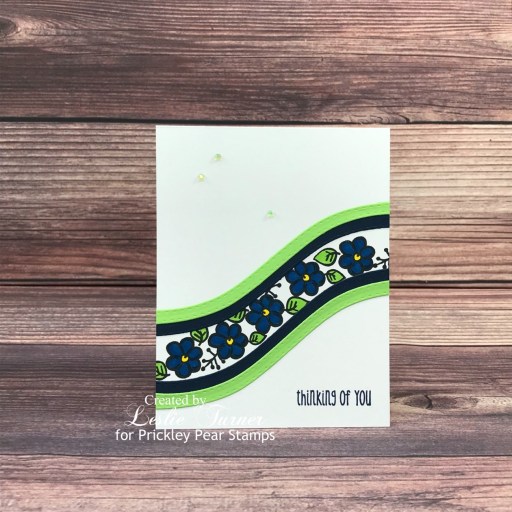
And one more look… really loving how this turned out! Such gorgeous stamps and dies! Love, love, love!
Sharing in the following challenges:
1. 613 Avenue Create: #202204 – Anything Goes w/ optional April Showers (no twist)
2. A Perfect Time To Craft Open Challenge: #4-2022 – Anything Goes
3. A Place To Start: #042022 – Anything Goes w/ optional Key It Simple (no twist)
4. Ally’s Angels: #57 – Anything Goes
5. Classic Design Challenge: April #4 – Anything Goes
6. Crafting Happiness Challenges: #122 – Anything Goes Always
7. Crafty Catz: #590 – Anything Goes
8. Jan’s Digi Stamps Challenges: April 2022 – Always Anything Goes
9. Paperbabe Stamps: #165 – Anything Goes
Affiliate links are used in this post at no cost to you – I really appreciate your support!
Prickley Pear Stamps products used:
Scalloped Borders Fall stamp set
Stitched Scallop Border die set
Other products used:
Cardstock/Paper: Neenah Classic Crest Baronial Ivory cardstock, CutCardStock Basis Dark Orange cardstock, Stamp Anniething Autumn Life 6×6 double-sided papers
Ink: Versamark, Arteza BR41 alcohol marker, Memento Peanut Brittle ink
Dies/Punches: Waffle Flower Mini Slimline Layers die set
Accessories: Tonic Studios 12″ Guillotine Paper Trimmer, SweetStamps copper fine detail embossing powder, Bearly Art precision craft glue, MISTI stamp tool, Big Shot, dark orange craft foam
I hope you’ve enjoyed this project! Be sure to check out all the awesome stamps and dies at Prickley Pear Stamps! If you’d like to save 10% on anything on the site when you shop at Prickley Pear Stamps, use the coupon code LESLIE10 at checkout! And be sure to ‘like’ and ‘follow’ the Prickley Pear Stamps Facebook page to keep up with news and sales, and join Prickley Pear Pals (the fan group) for lots of fun crafty ideas and to share your creativity! And finally, we’d love to see you visit the Prickley Pear Stamps blog that’s in the process of being revived and become a Follower! Hope to see you there! Thanks so much for stopping by today – we’ll see you next time! ;)
Scrappy hugs,