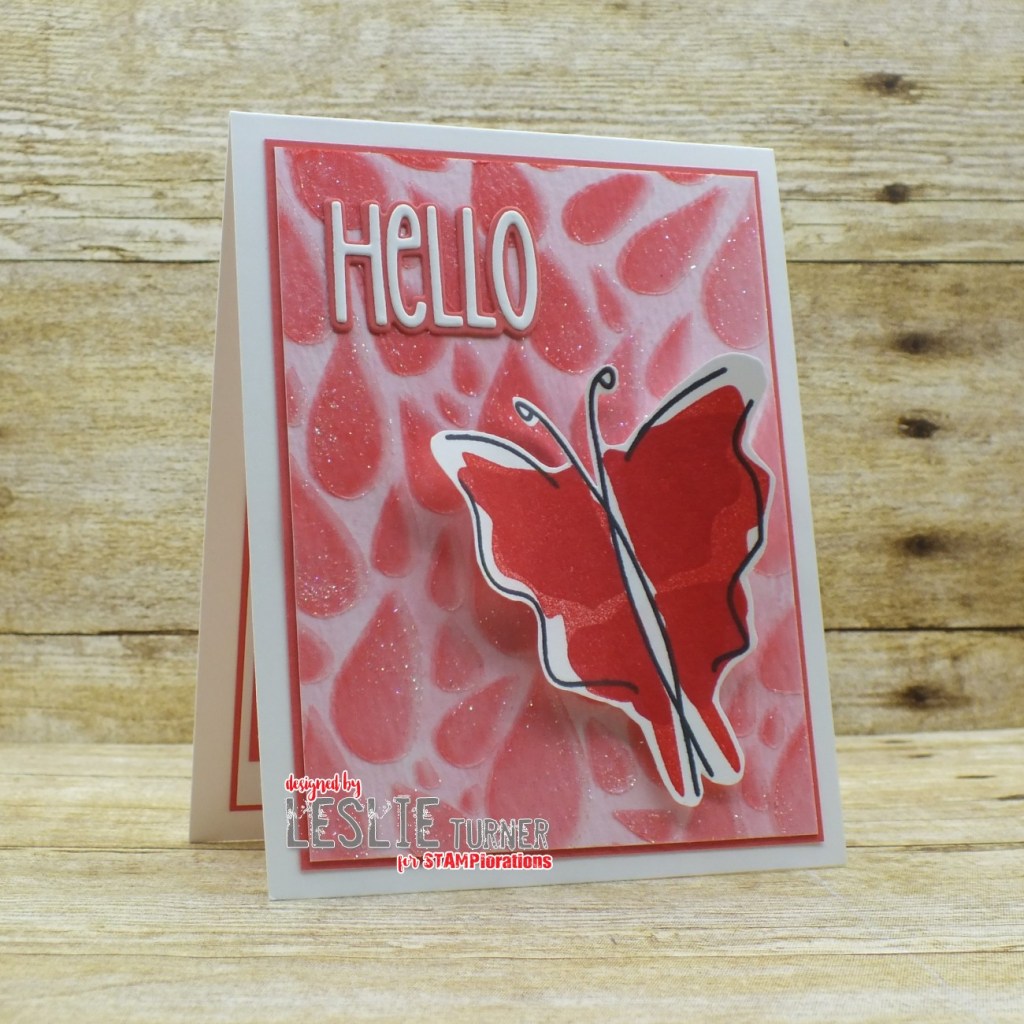
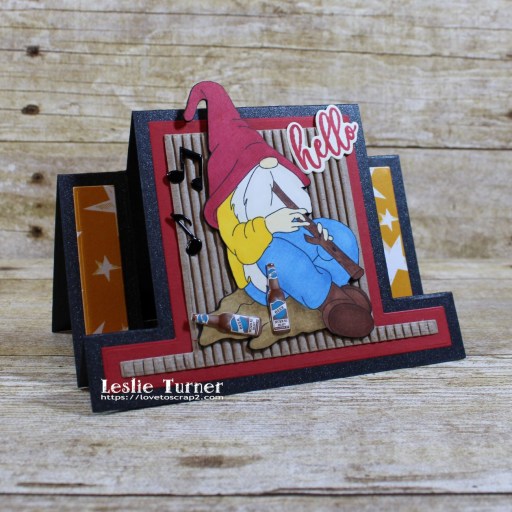
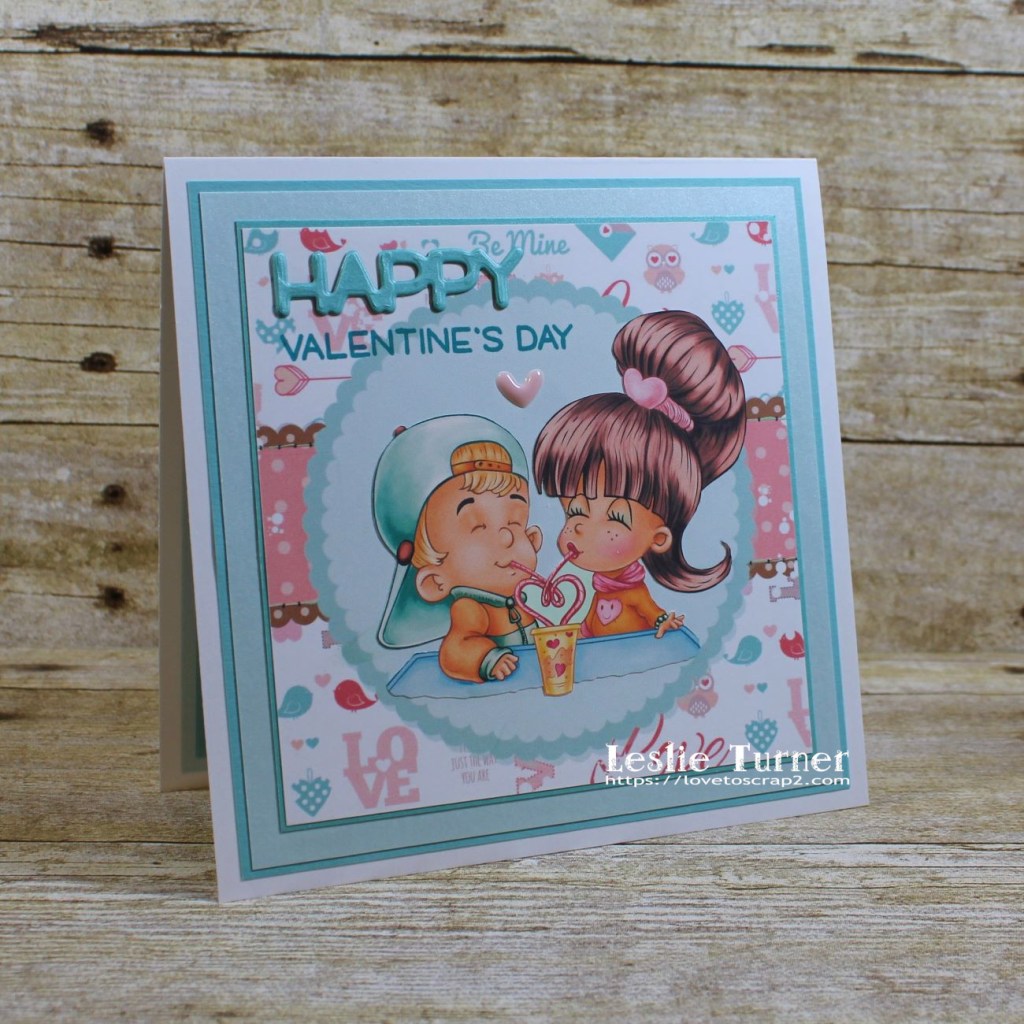
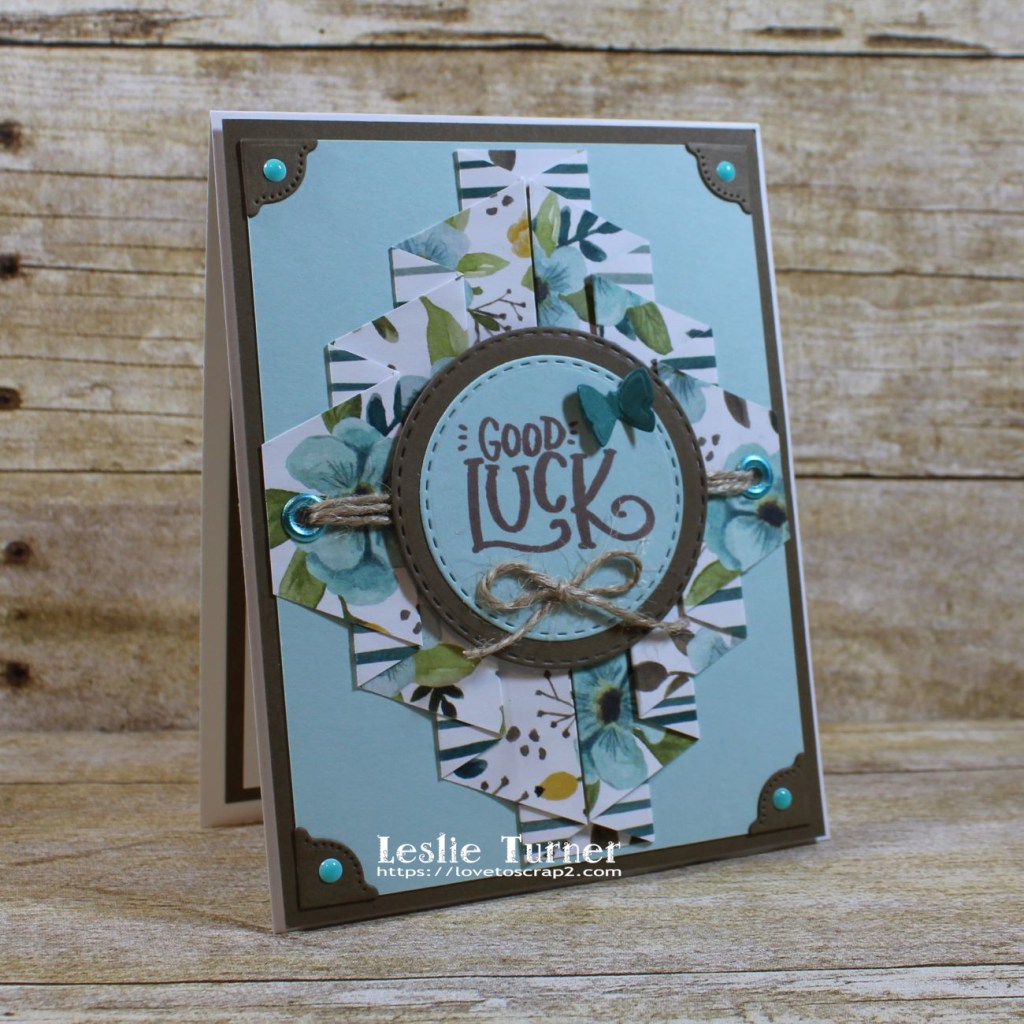
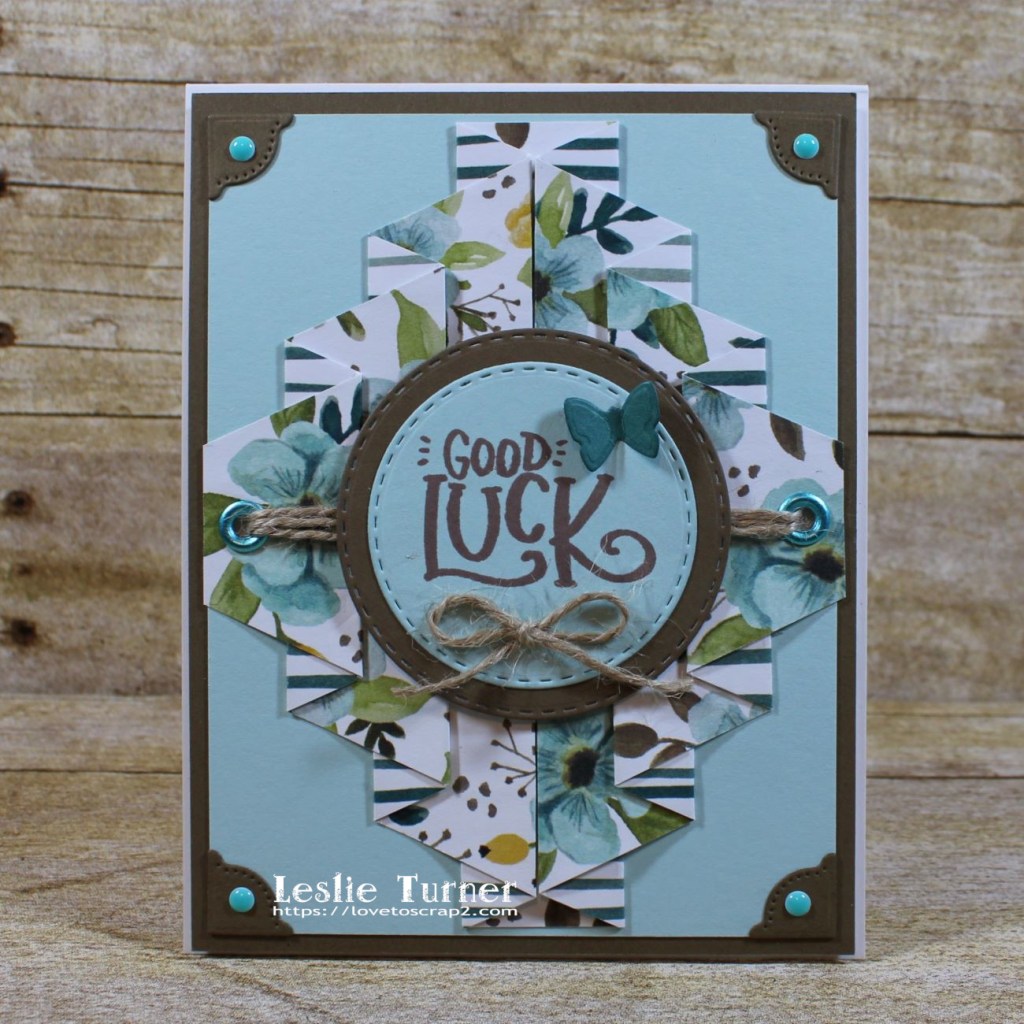
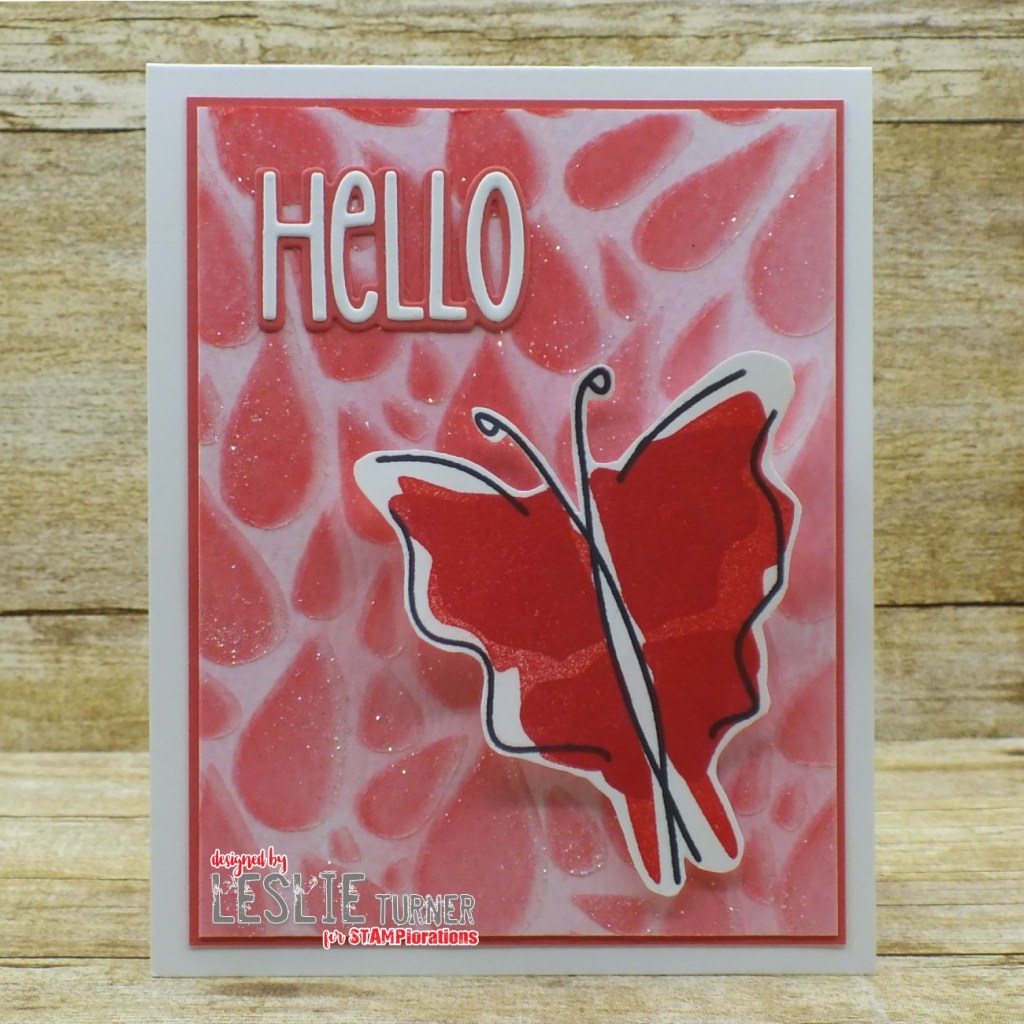
Howdy peeps! As you know, I’ve had a three-month guest designing gig for STAMPlorations Stencil Sunday and I’m having an absolute blast! Affiliate links are used in this post at no cost to you. I really appreciate your support! As mentioned in my previous post, I have three projects to share for my third feature and I’m showcasing them in individual posts so I can enjoy sharing them in some challenges. All three projects feature several ARTplorations Stencils and Masks along with other products available in the store. So I’m back with my second project which is a pretty friendship card with a stenciled and glittery background created with the ARTplorations Abstract April Showers stencil, and features a flutterby (one of my all-time favorite winged things next to a dragonfly) and a cool layered sentiment created with the STAMPlorations Layered Butterflies stamp set and CUTplorations Skinny Sentiments!

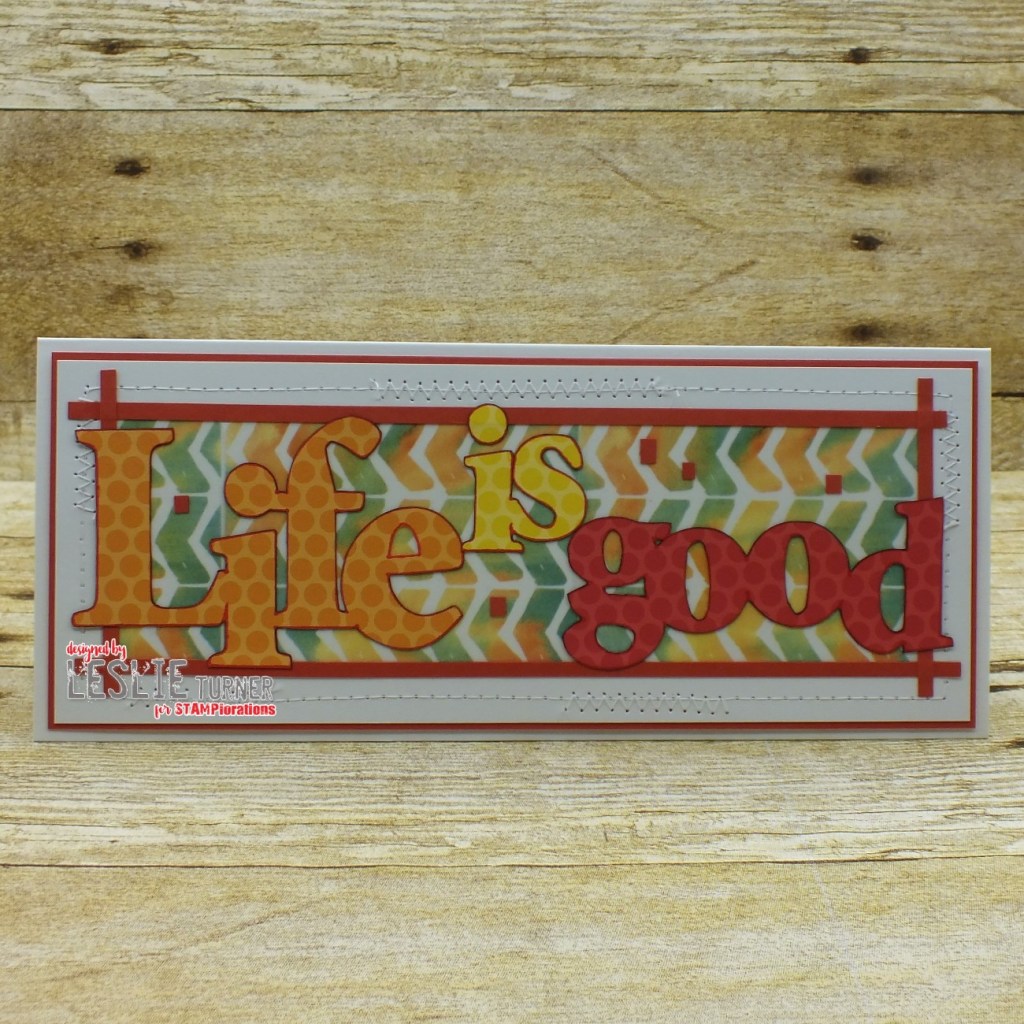
I cut a standard A2 size top-folding card base from Neenah Classic Crest Solar White 110# cardstock along with a watermelon cardstock layer and an A2 size panel of Canson cold press watercolor paper. I laid down some Ranger festive berries distress ink on my Tim Holtz glass media mat, spritzed it generously with water in the Tim Holtz distress sprayer and smooshed the watercolor paper into it multiple times until the entire piece was covered, and let it dry for several hours. Using the ARTplorations Abstract April Showers stencil, I applied the festive berries distress ink very lightly with a blending brush over the entire piece, untaped the stencil and moved it to about the ten o’clock position. I applied the festive berries a little heavier along with some Versamark, and lightly sprinkled some diamond glitter over the piece. When everything was completely dry, I tapped off any excess glitter and sprayed the piece with a matte fixative. I trimmed the panel and adhered it to the watermelon cardstock layer and then to the card base.
I stamped the outline of a butterfly from the STAMPlorations Layered Butterflies stamp set in black ink on Neenah Classic Crest Solar White 110# cardstock, and using the layering stamps in the same set, filled it in with Ranger festive berries and candied apple distress ink. I fussy cut the butterfly and affixed it to the lower right corner with foam pads. Using the CUTplorations Skinny Sentiments, I die cut the sentiment from Neenah Classic Crest Solar White 110# cardstock and watermelon cardstock, and adhered it to the upper left corner.
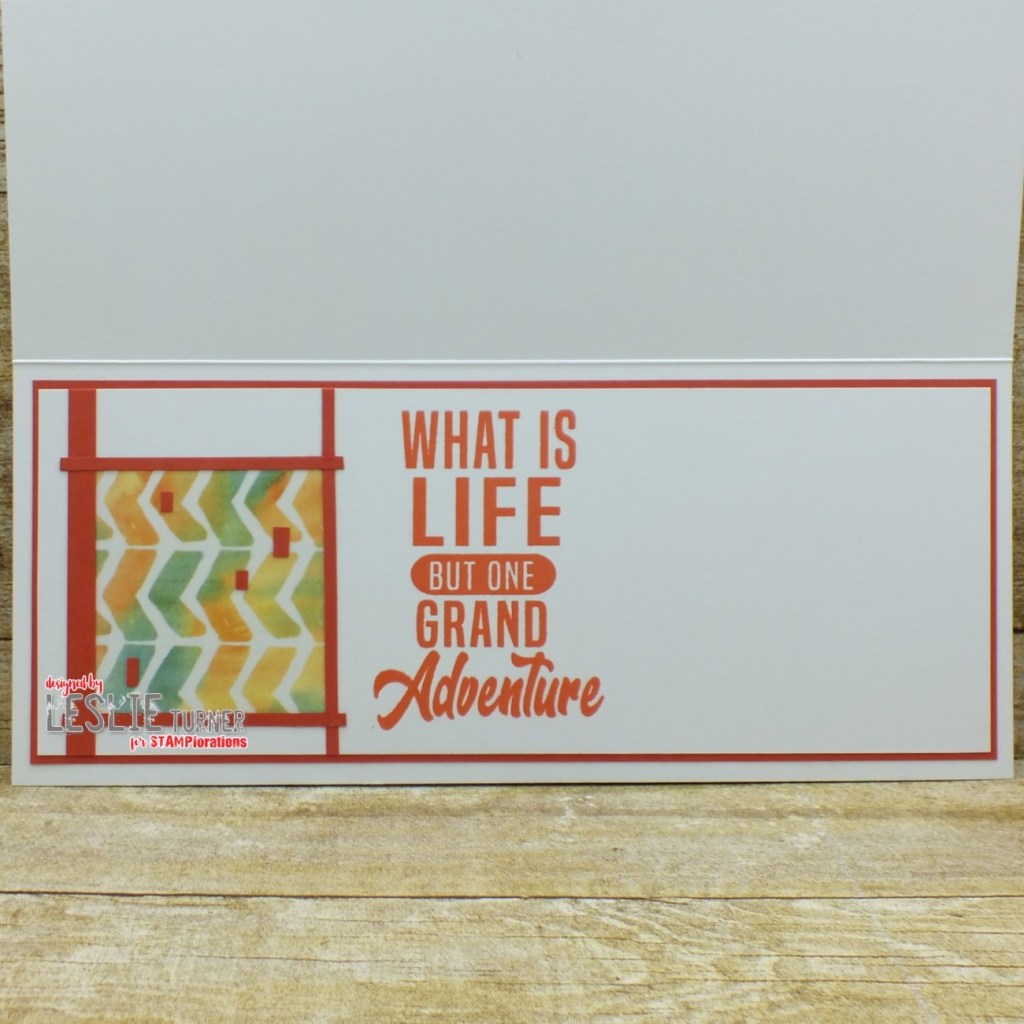
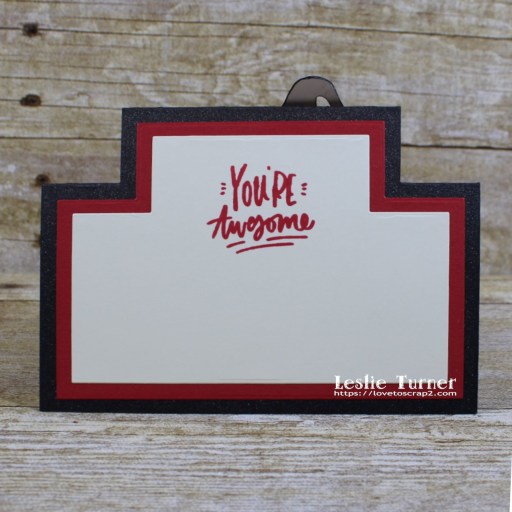
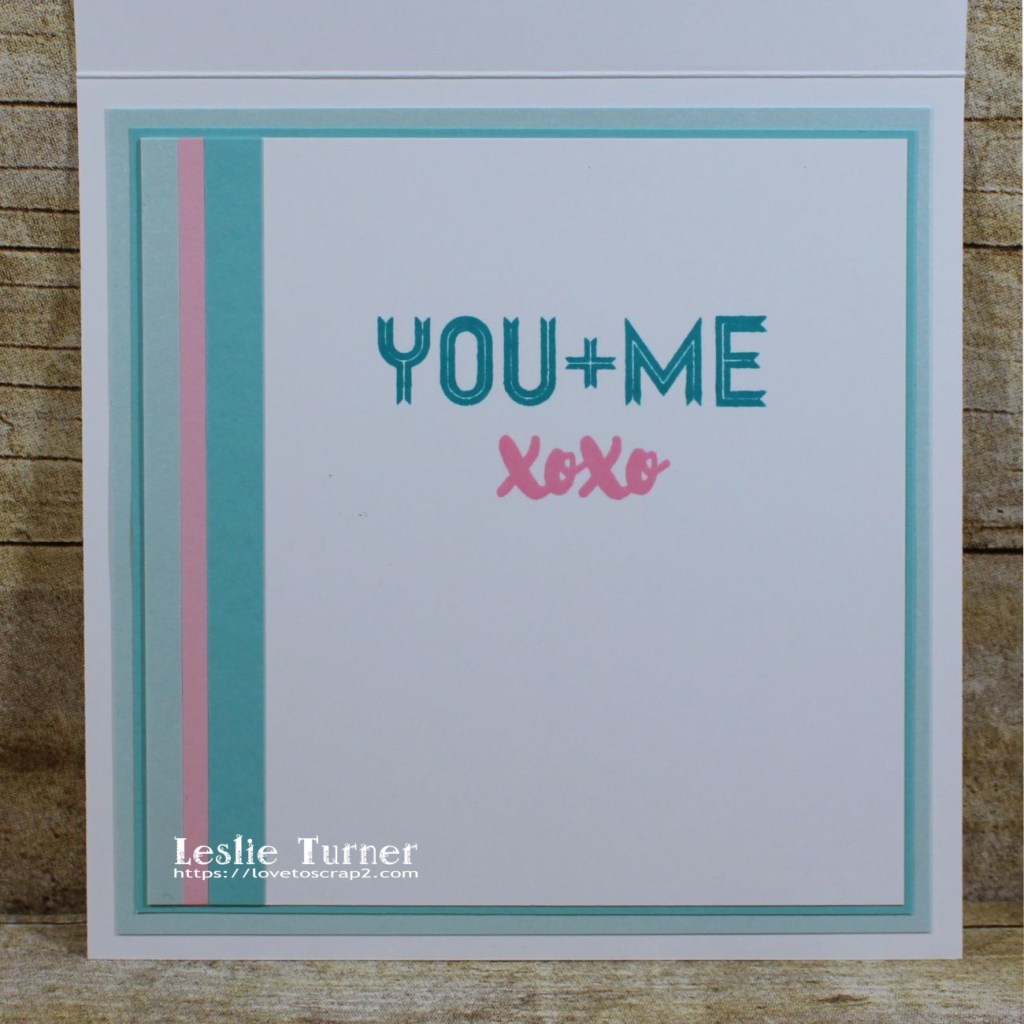
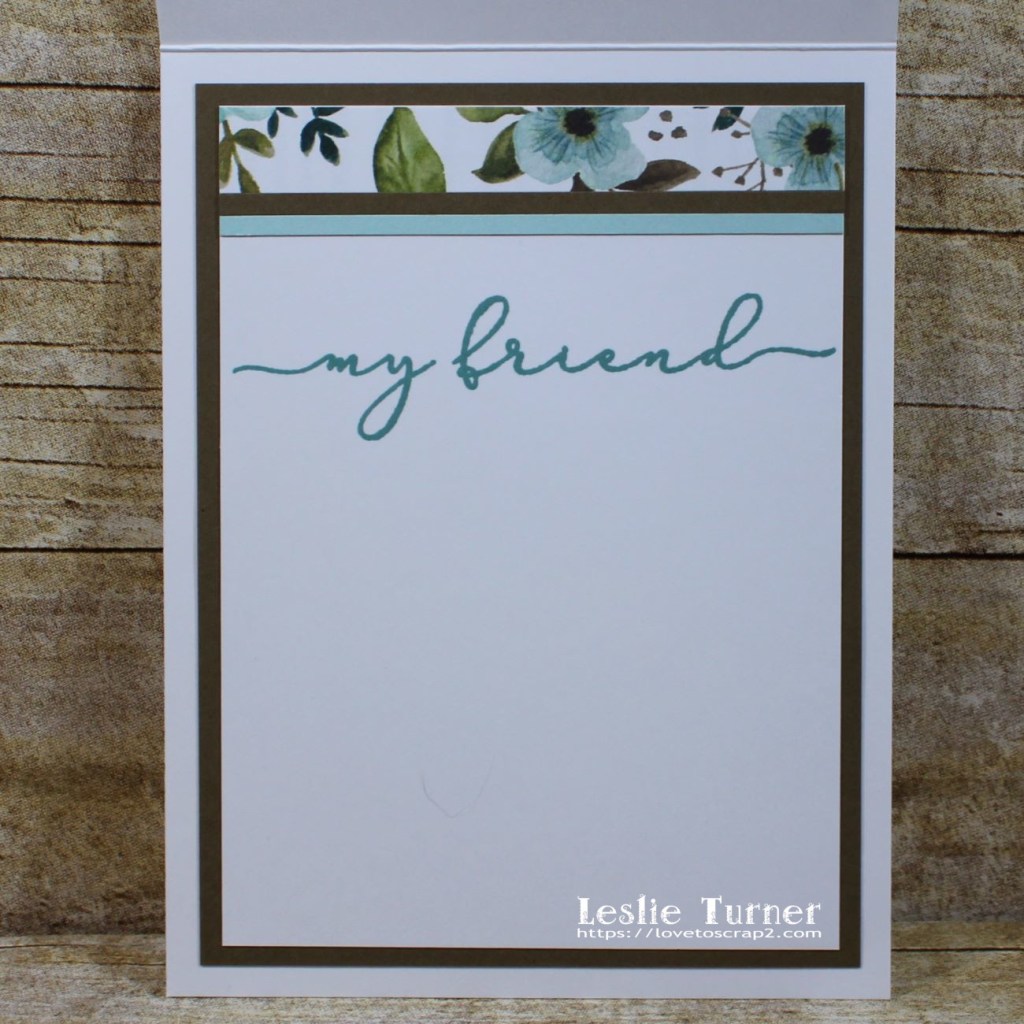
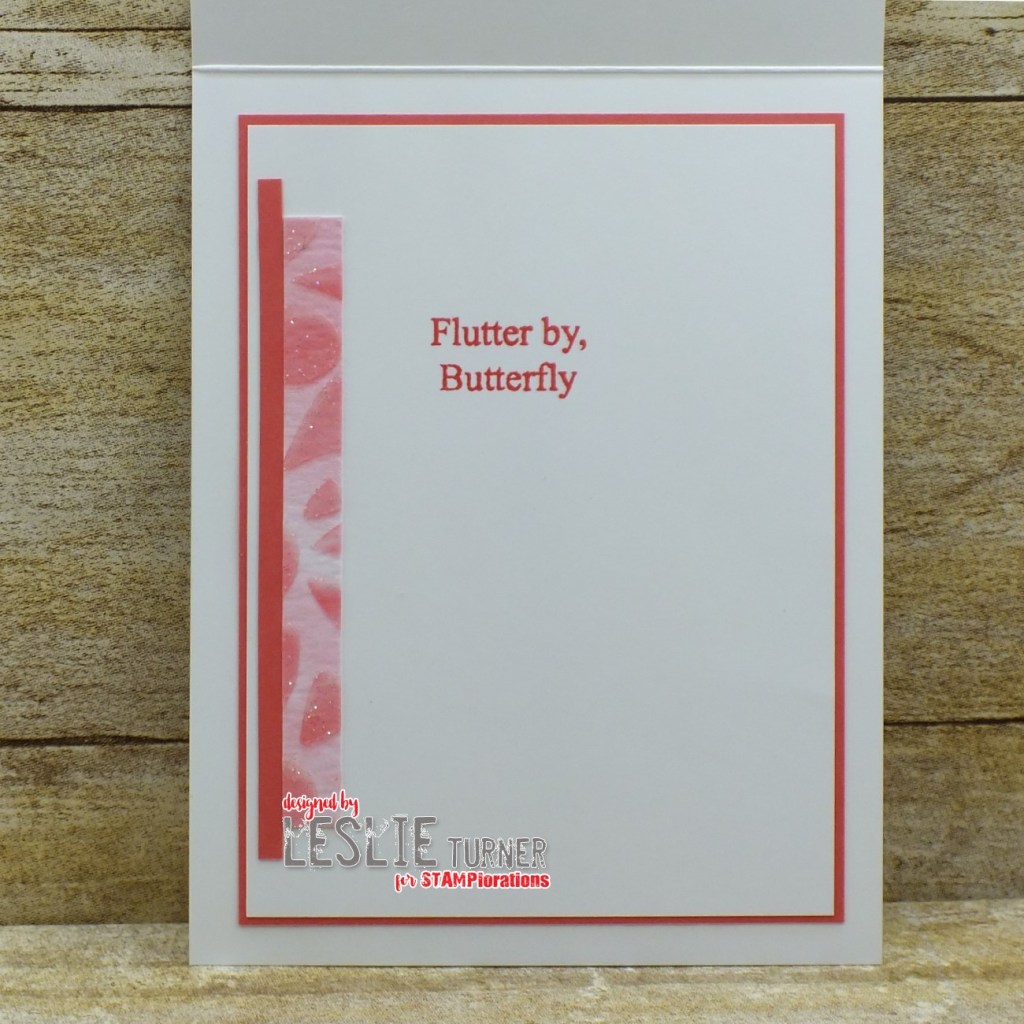
I cut the inside panel from Neenah Classic Crest 80# Solar White cardstock and embellished it with leftover strips of the inked panel on the front and the watermelon cardstock, stamped the sentiment in Ranger candied apple distress ink, and layered the panel on watermelon cardstock.
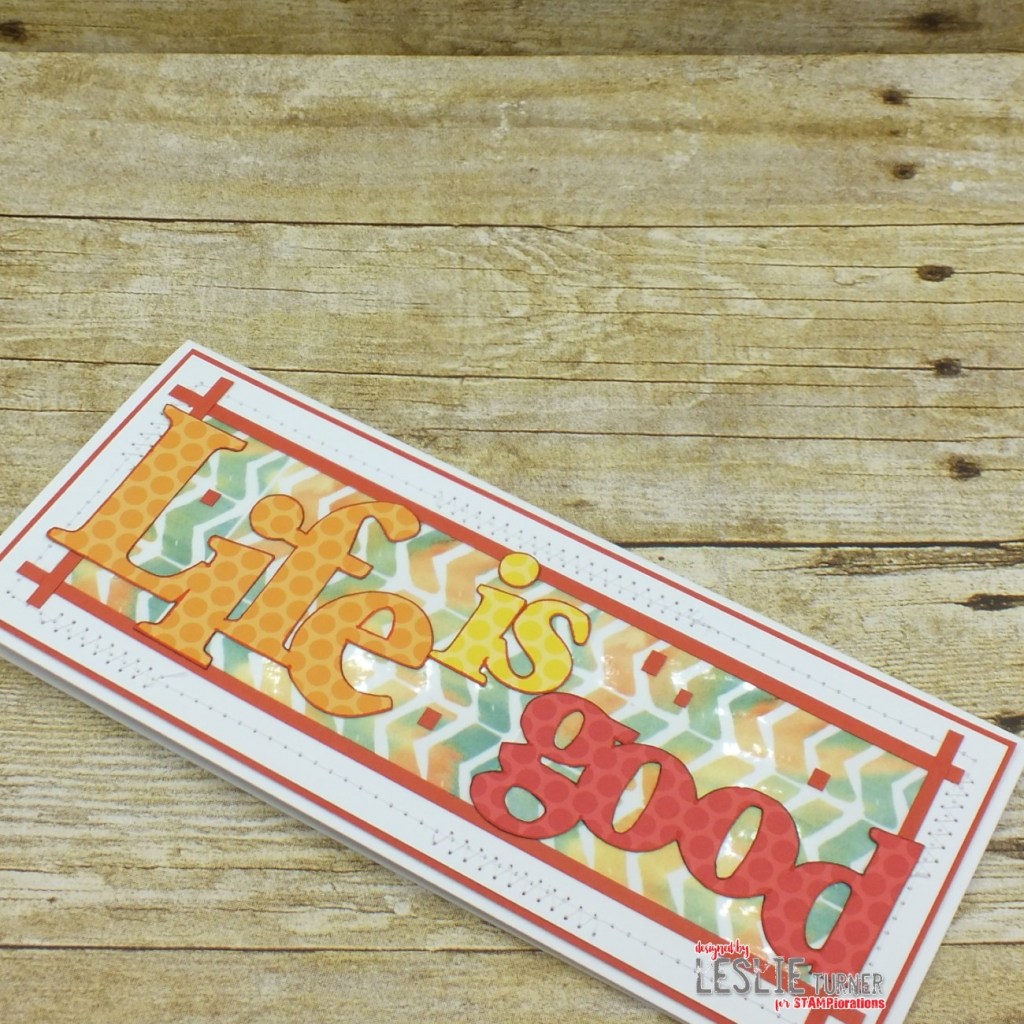
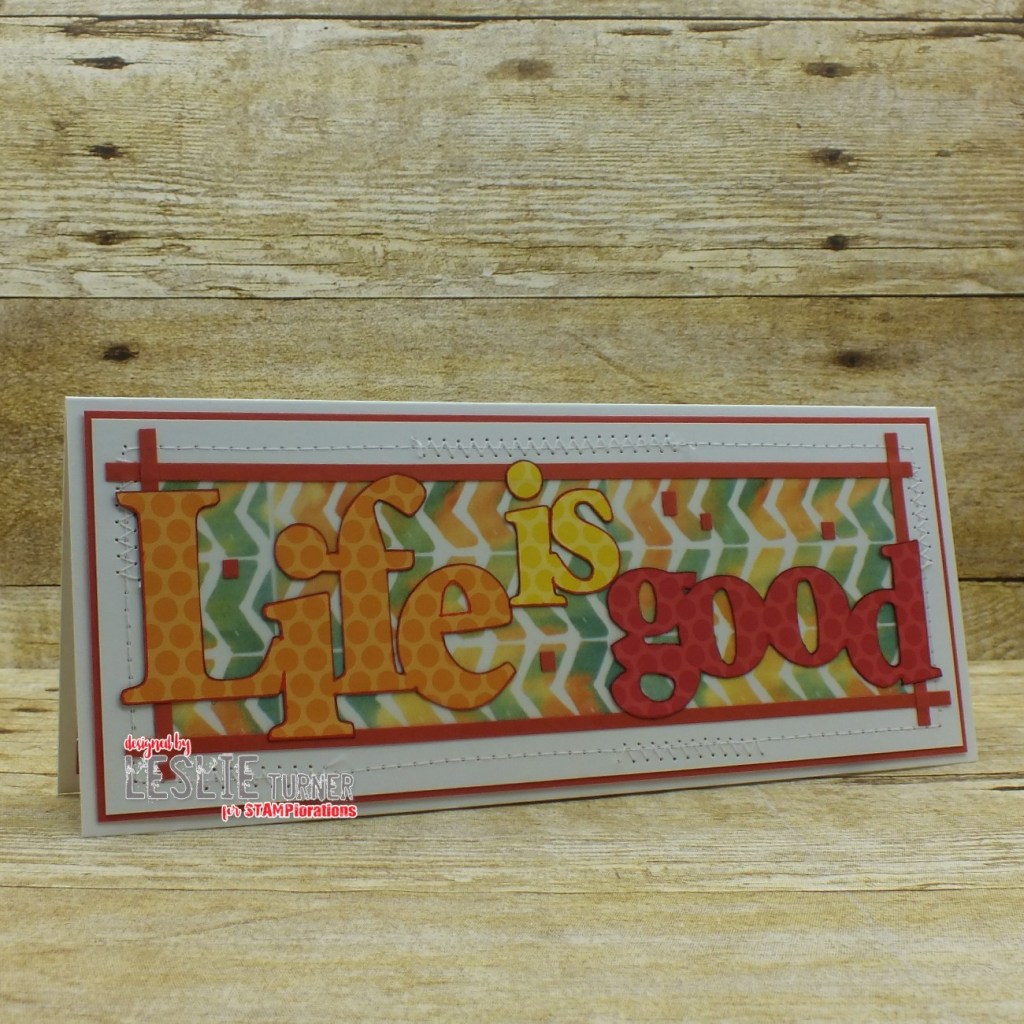
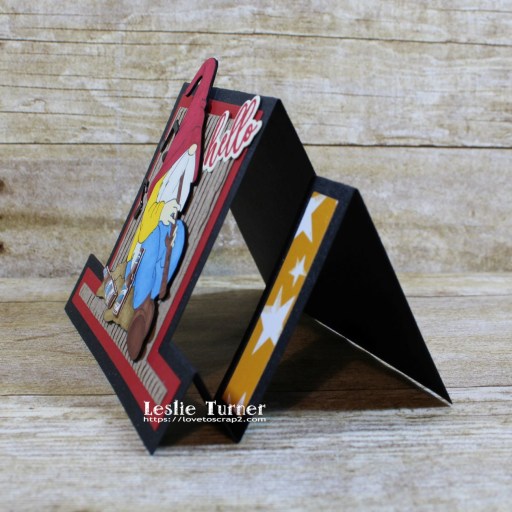
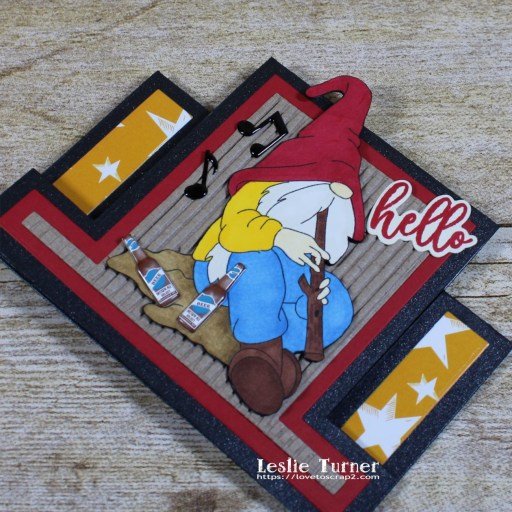
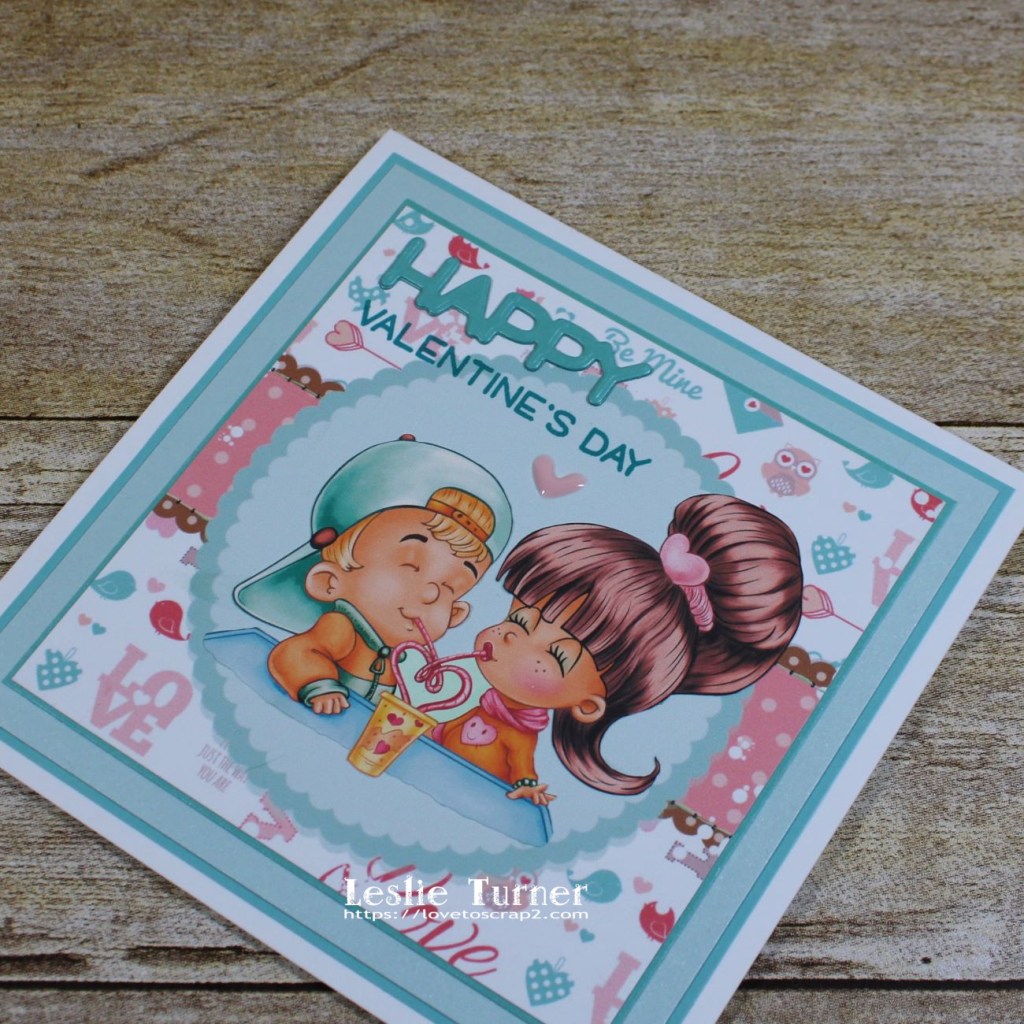
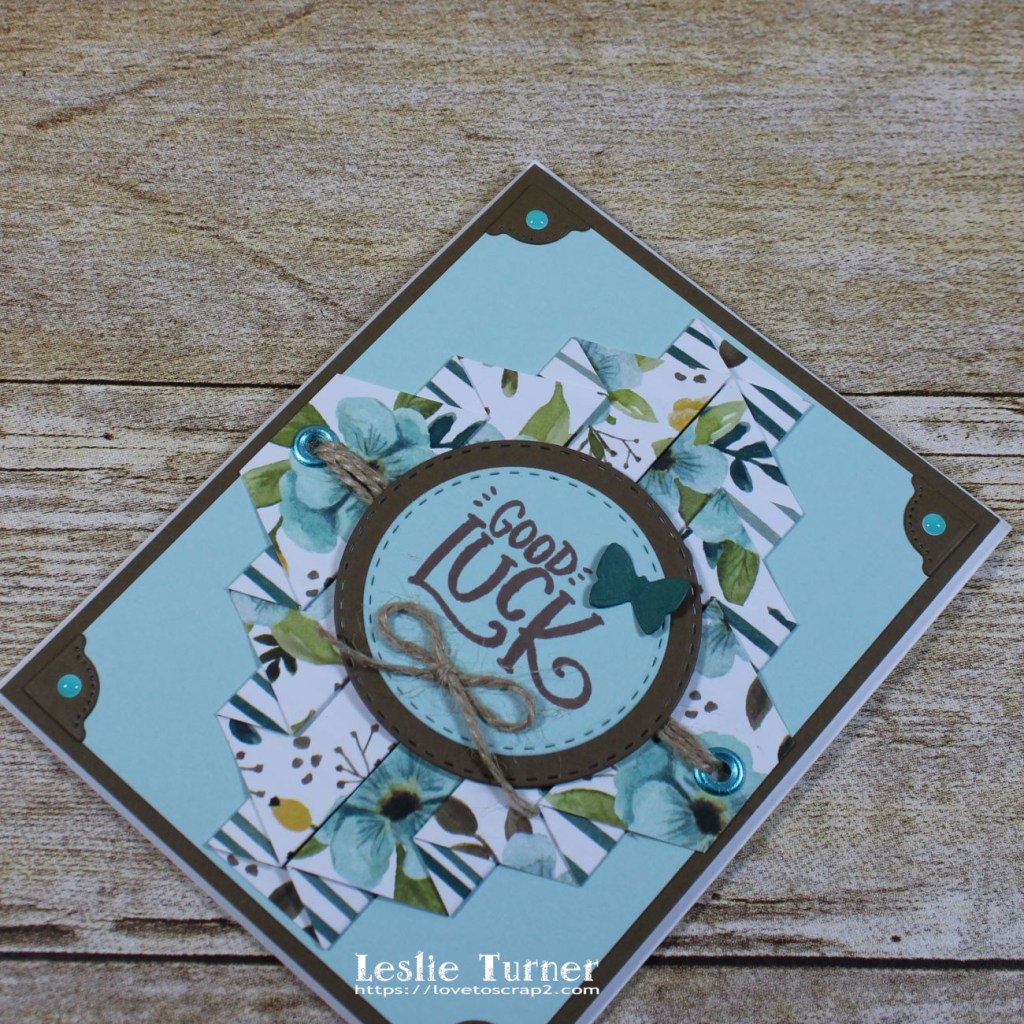
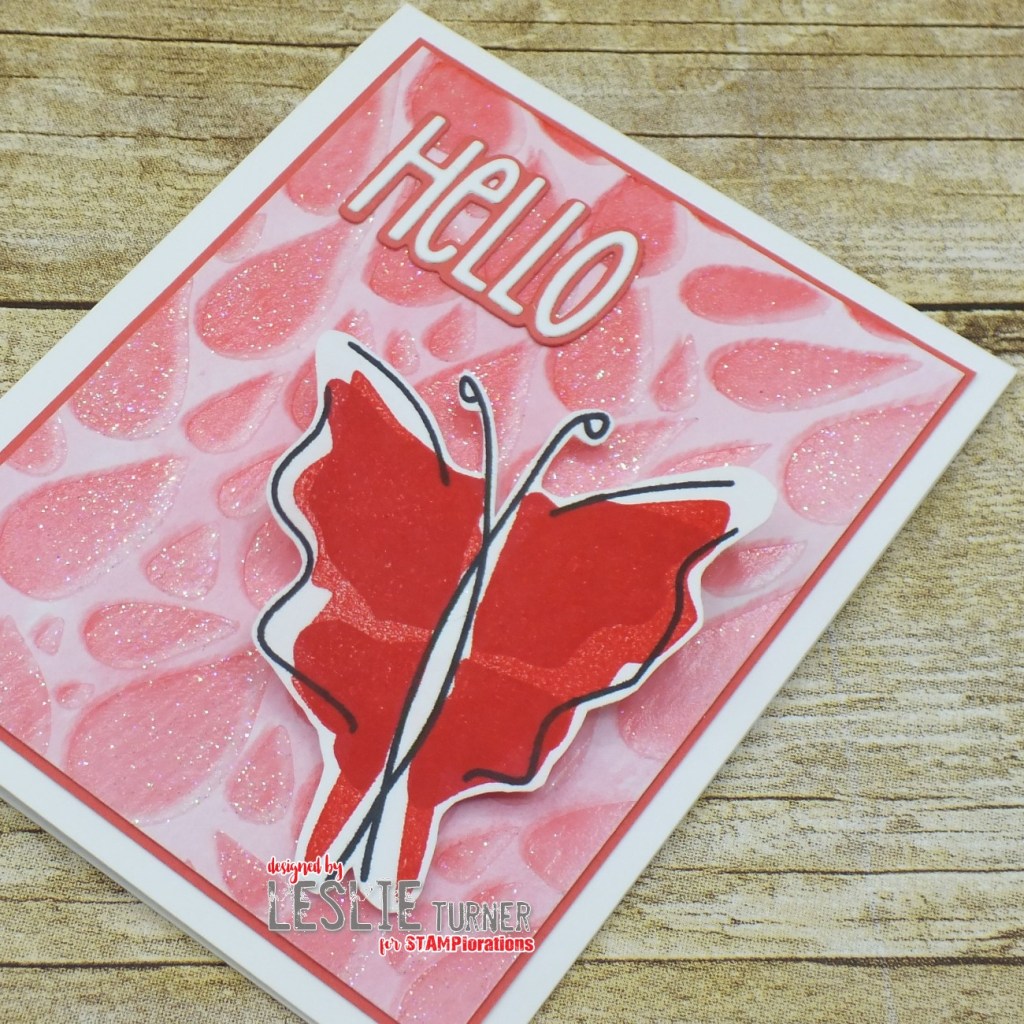
And one more peek… I absolutely love how this card turned out! Love the stencil, the stamps and the dies!
STAMPlorations products used:
ARTplorations Abstract April Showers stencil
STAMPlorations Layered Butterflies stamp set
CUTplorations Skinny Sentiments
Other products used:
Cardstock/Paper: Neenah Classic Crest 110# and 80# Solar White cardstock, Stampin’ Up Watermelon Wonder cardstock
Ink: Ranger festive berries and candied apple distress ink, Versamark, Memento Tuxedo Black ink
Accessories: Tim Holtz distress sprayer, Stampendous Dreamweaver Translucent embossing paste, Deco Foil Stencil Pal, Stampin’ Up Dazzling Diamonds glitter, Tonic Studios 12″ Guillotine Paper Trimmer, Bearly Art precision craft glue, Tombow Mono permanent adhesive, Krylon matte fixative
I hope you’ve enjoyed these projects and you’re inspired to grab some of your stencils and play! Be sure to check out all the amazing stamps, dies, stencils, digis and other crafty goodies at the STAMPlorations main, outlet and digital stores! Use code STAMPGIRLLESLIE for a 20% discount on your orders in the store (with unlimited uses)! And there is A LOT going on over at the STAMPlorations blog – tons of creative inspiration, tutorials, promotions and giveaways – all month long! If you’ve never visited, you are definitely in for a good time! When you do visit, be sure to leave comments on the posts! Every month Shery draws seven random winners from all the posts published during the month, so the more posts you comment on, the more chances you have to win! And be sure to Follow STAMPlorations on Facebook, Instagram and Pinterest for more creative inspiration! Thanks so much for stopping by today – we’ll see you next time! ;)
Scrappy hugs,