Hi everyone! I hope you are having an amazing week! I’ve gotten a good bit of crafting in so I’m a happy camper! Affiliate links are used in this post at no cost to you. I really appreciate your support! Our new challenge is live this morning over at Love To Scrap Challenge Blog and I’m stoked to share my DT inspiration project for LTSCB #147 – Anything Goes! I created a pretty thank you note card with another NBUS rubber stamp (never before used schtuff) I unearthed in my studio! I had to peel the backing off the cling in order to use this one too, so I know it’s never been out of it’s packaging, lol! This one is beautiful and I’m happy I found it! ;)
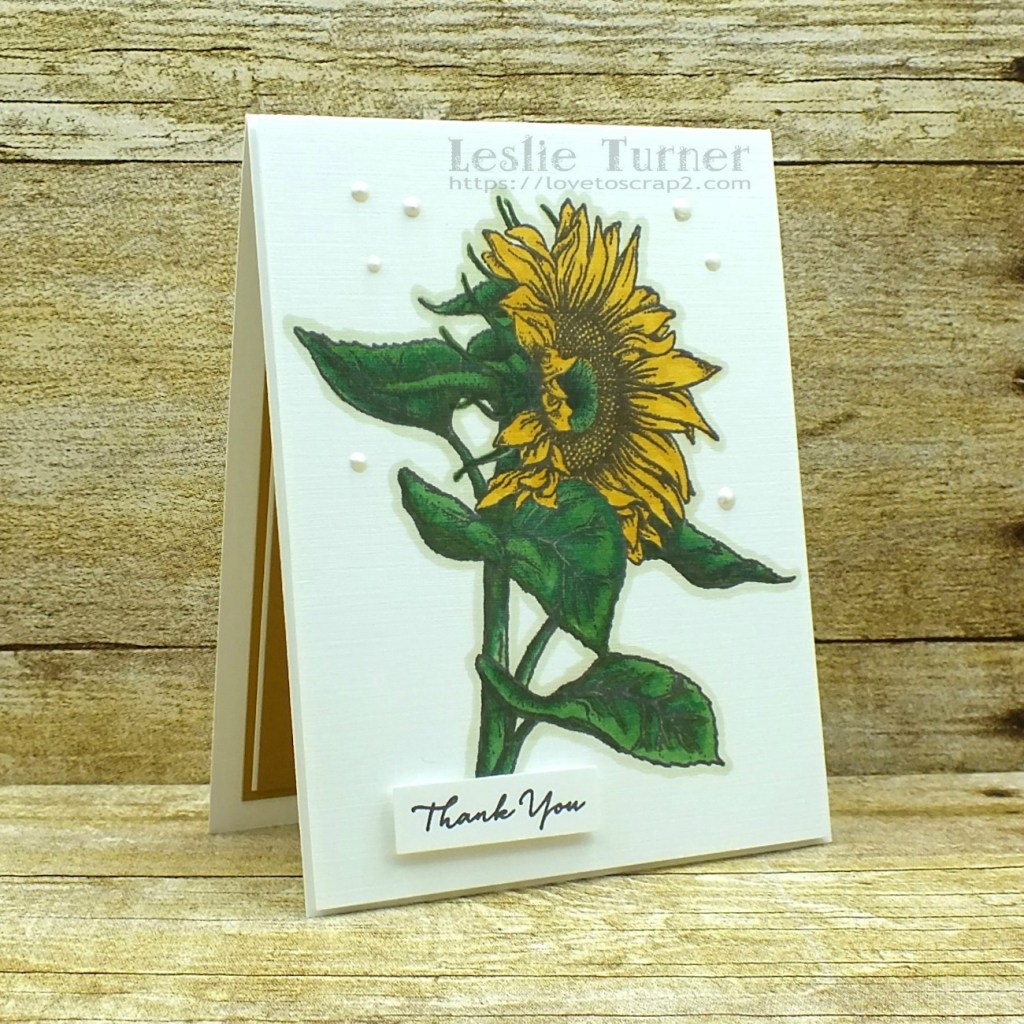
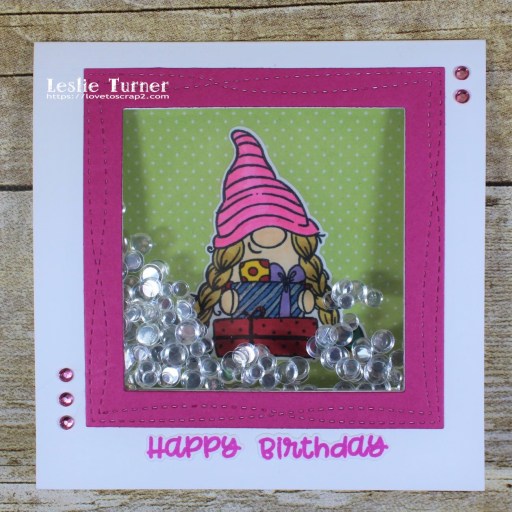
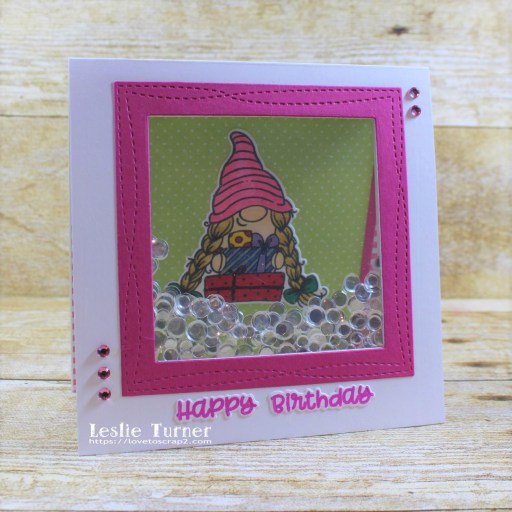
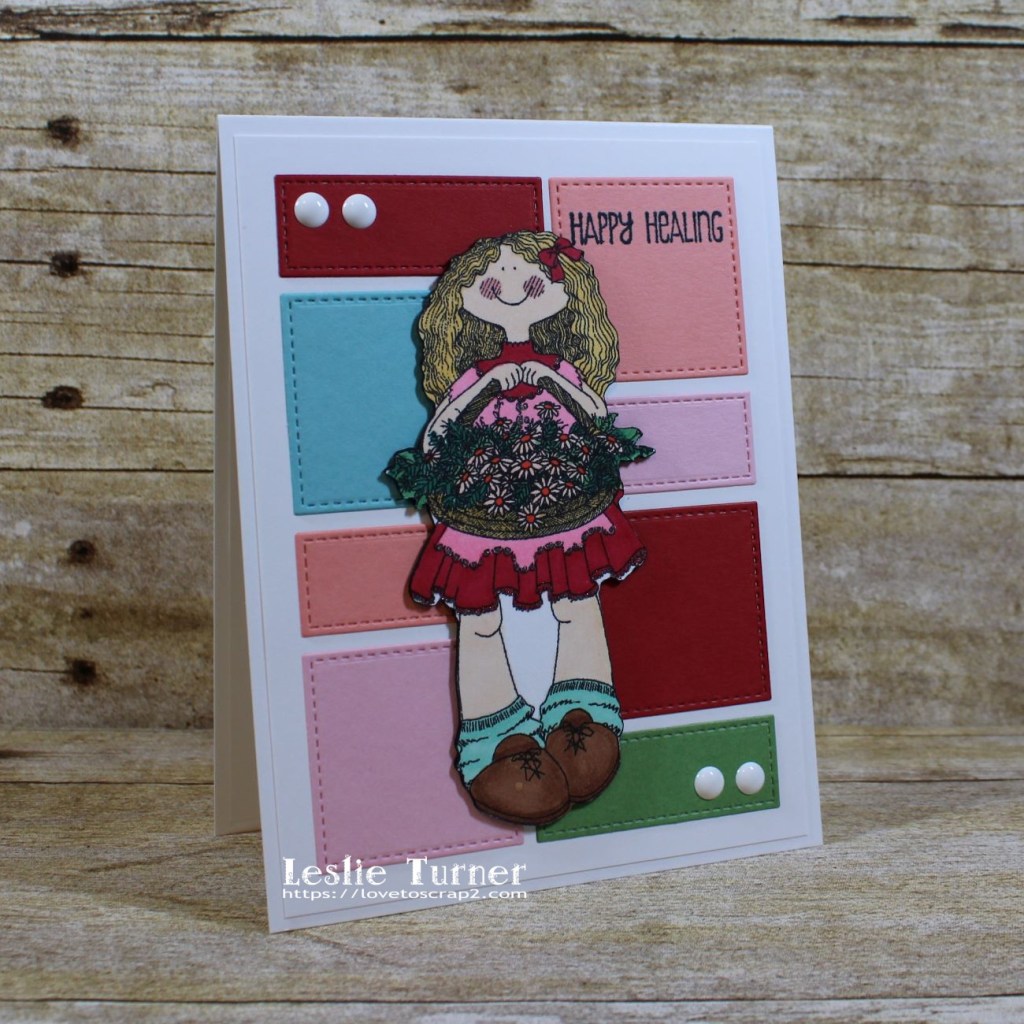
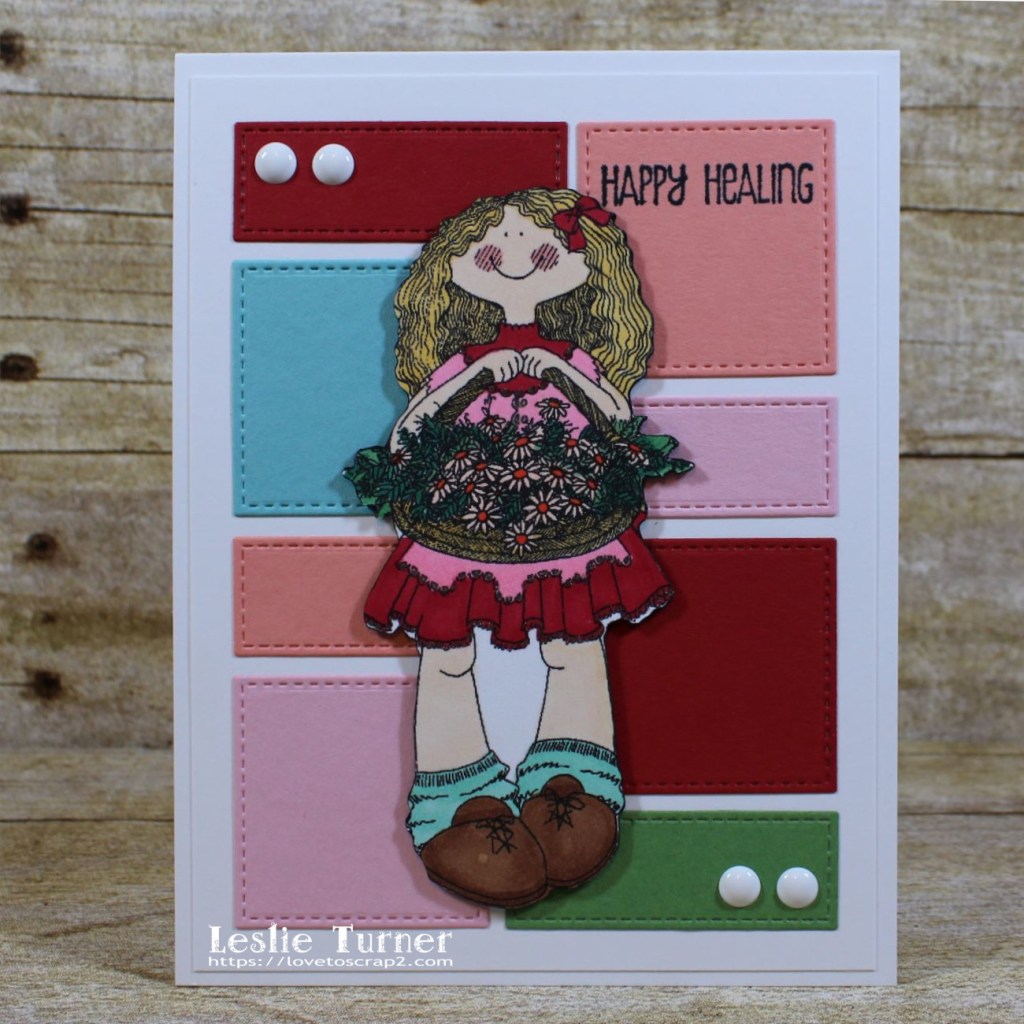
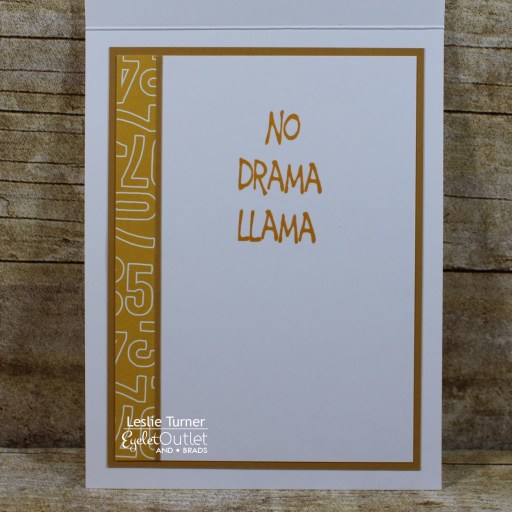
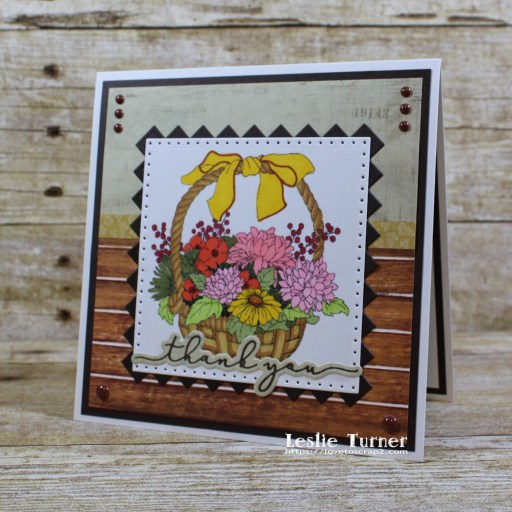
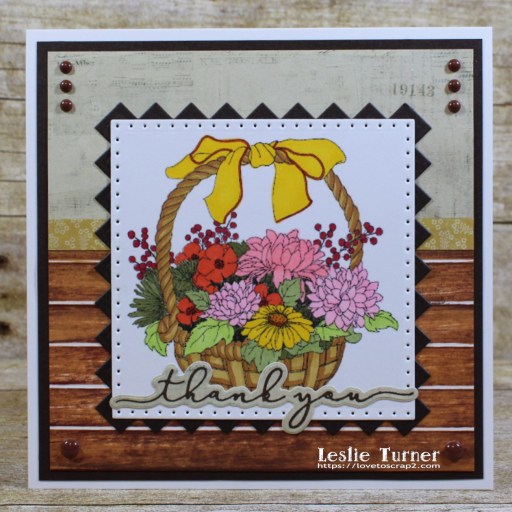
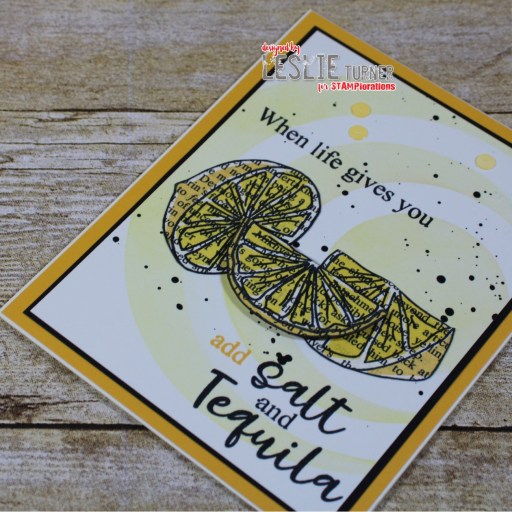
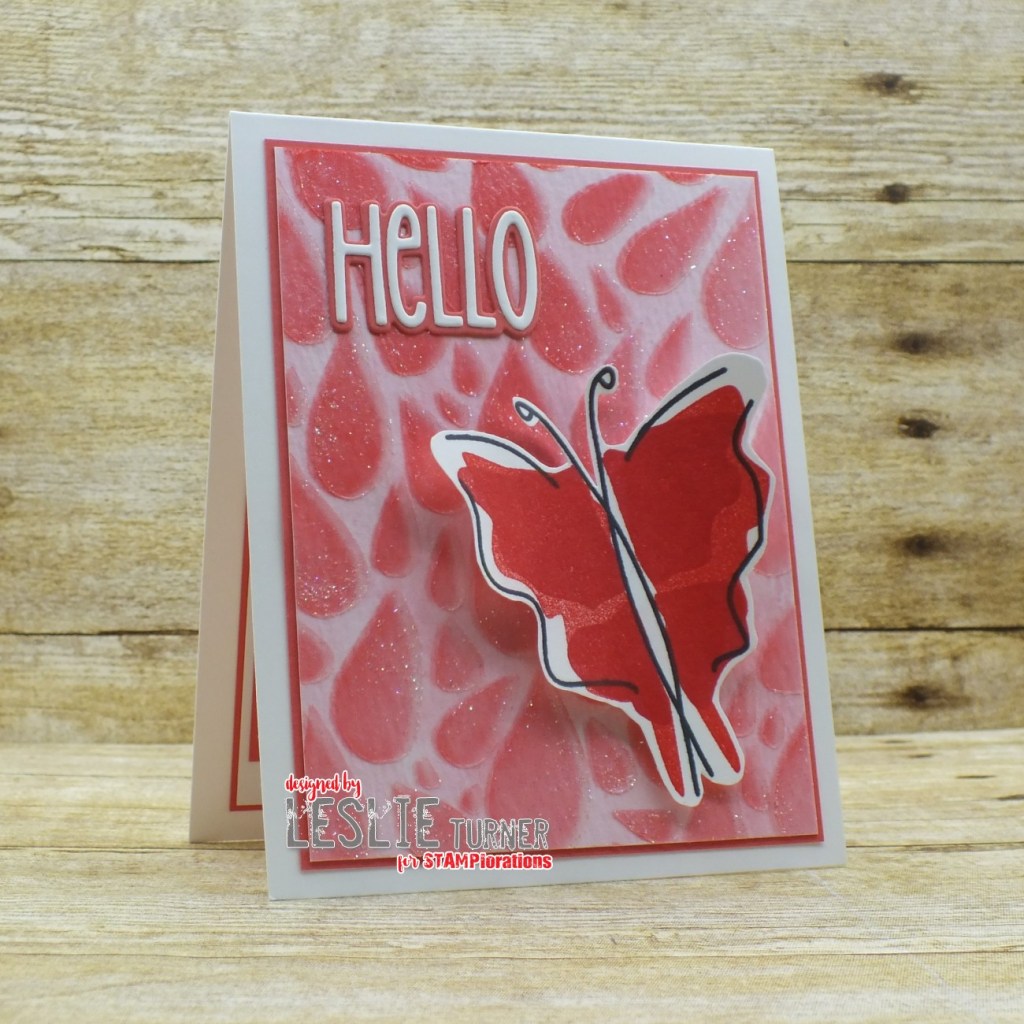
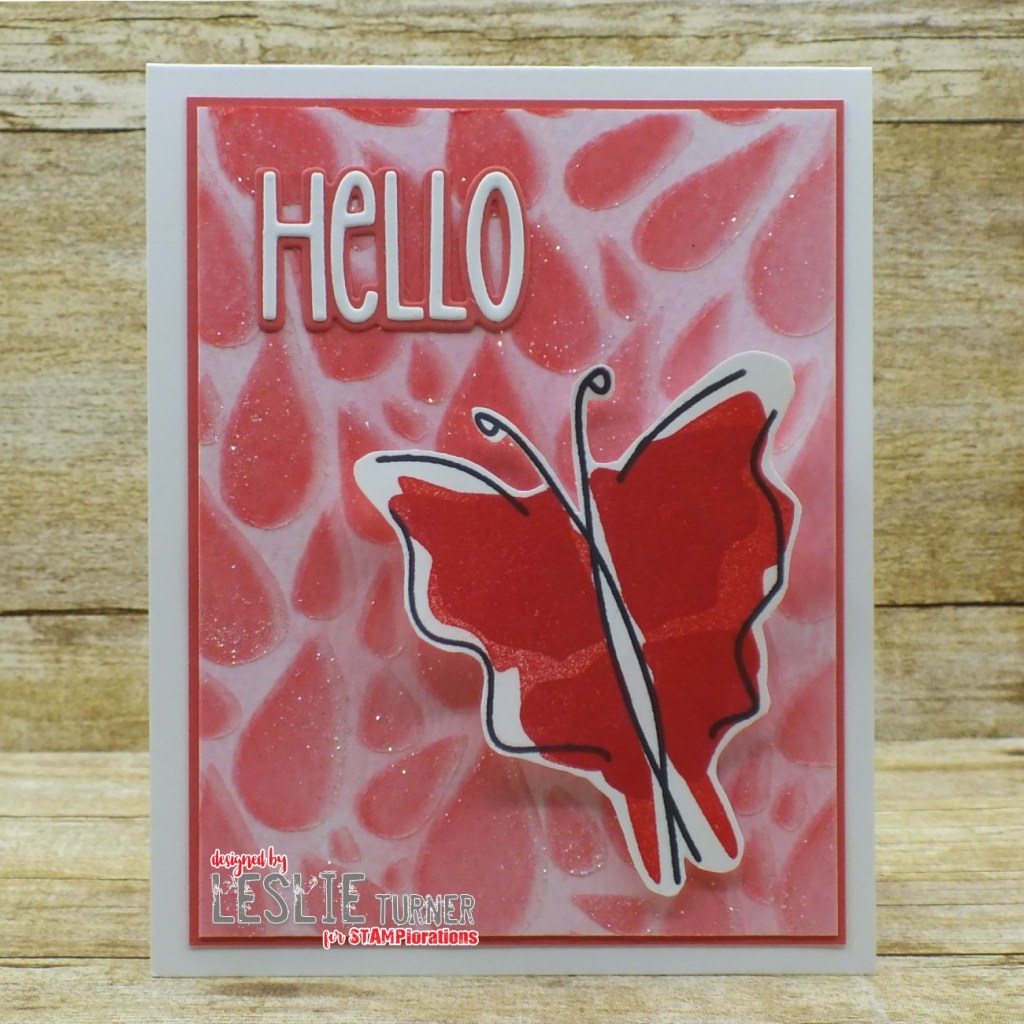
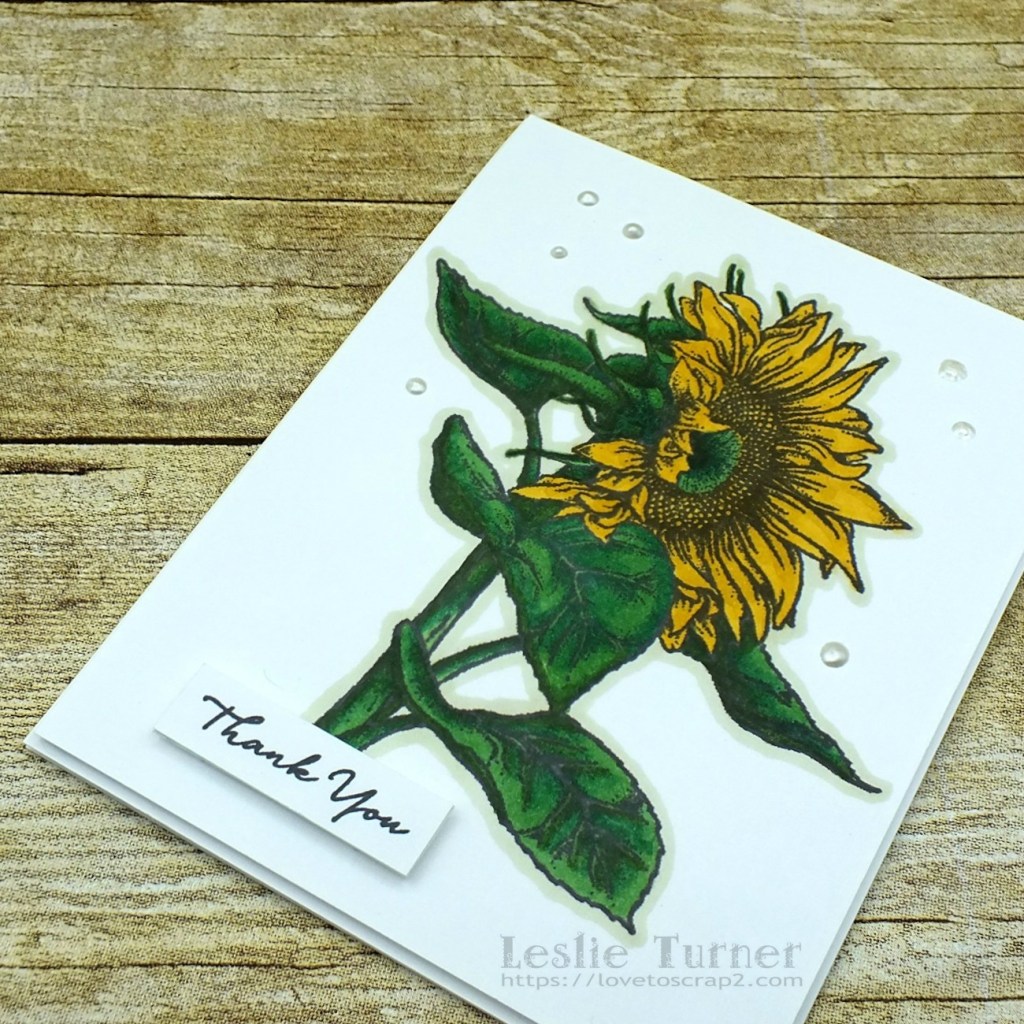
I created a standard A2 top-folding card base from Neenah Classic Linen 100# Solar White cardstock along with a panel for the front cut from Neenah Classic Crest 80# Solar White cardstock. I stamped the image in brown ink on the front panel, colored it with alcohol markers, layered it on craft foam and adhered it to the card base. I stamped the sentiment in brown ink on a white cardstock scrap, trimmed it and adhered it to the front panel on dimensional foam pads. The final touch was the addition of Nuvo Ivory Seashell Crystal Drops.

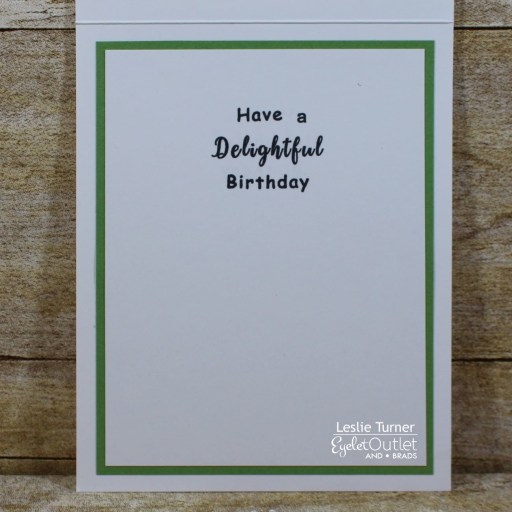
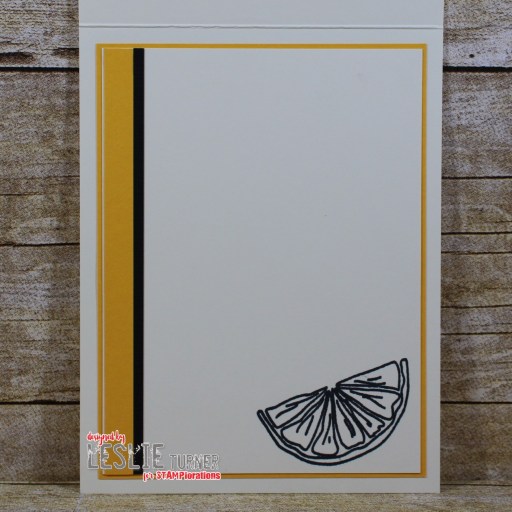
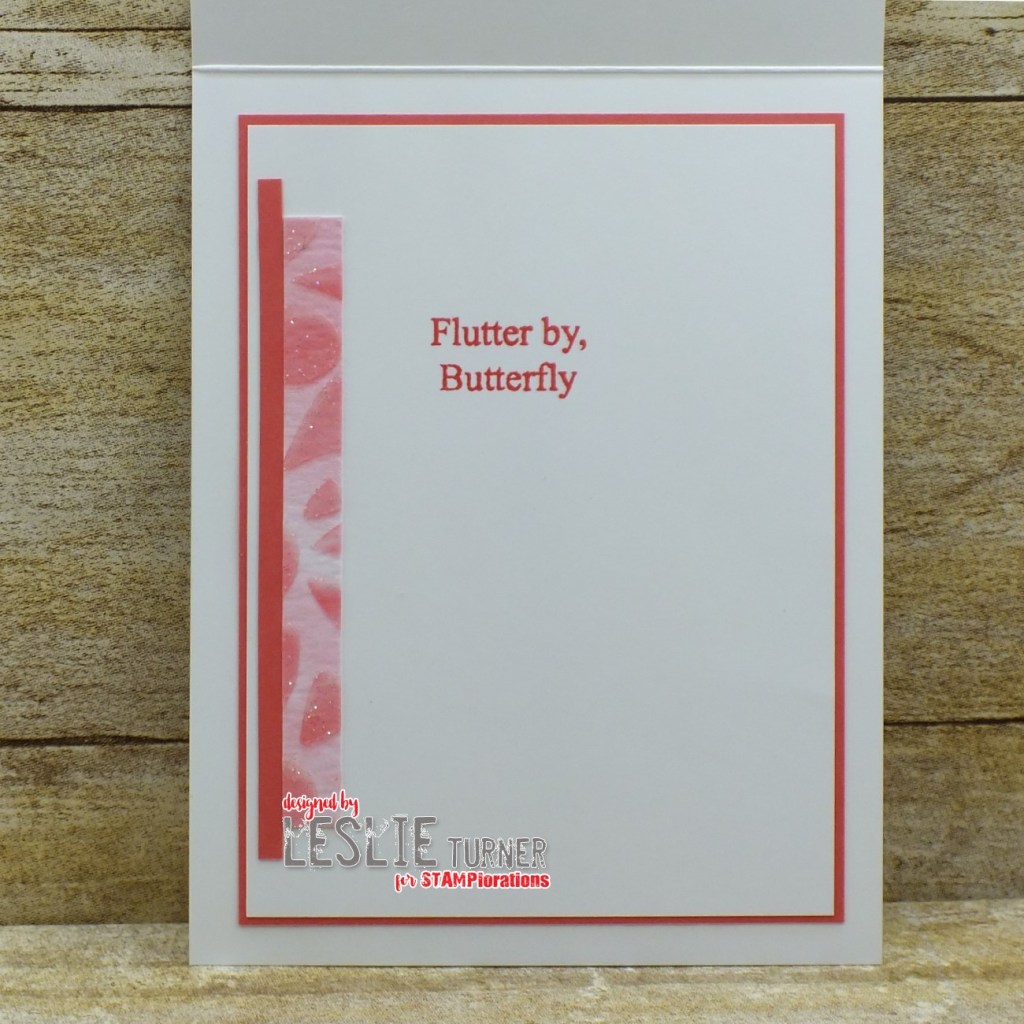
I cut the inside panel from Neenah Classic Crest 80# Solar White cardstock, embellished it with a strip of dark yellow cardstock and layered the panel on the same cardstock. I left the inside panel blank to write a custom message.

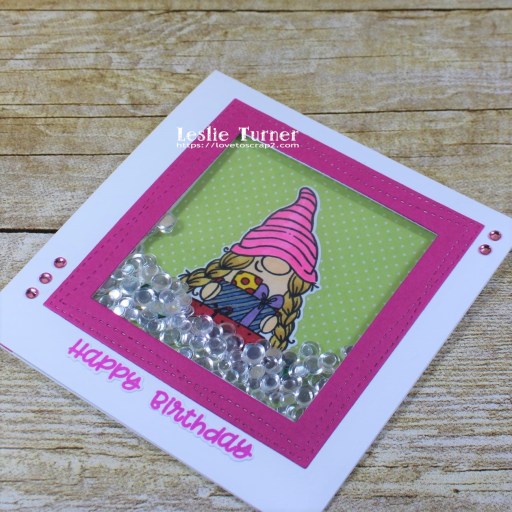
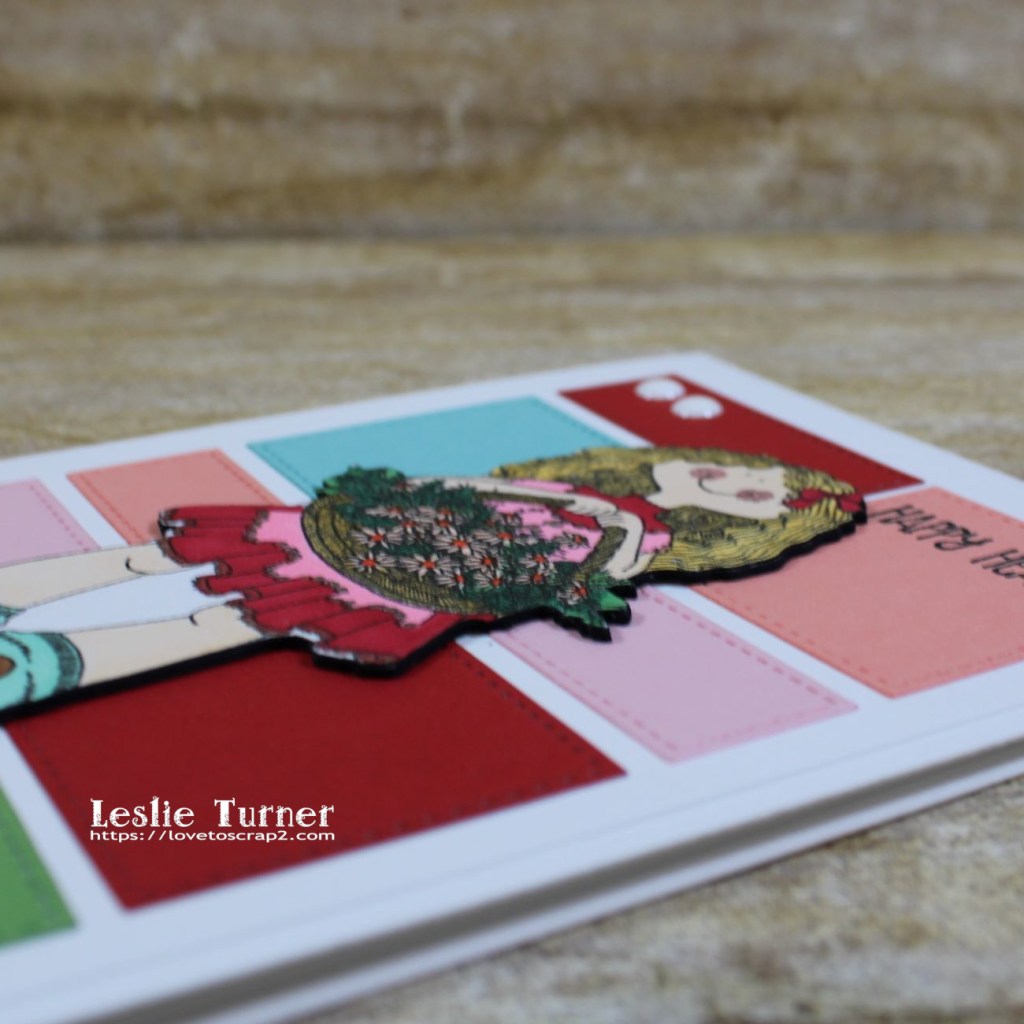
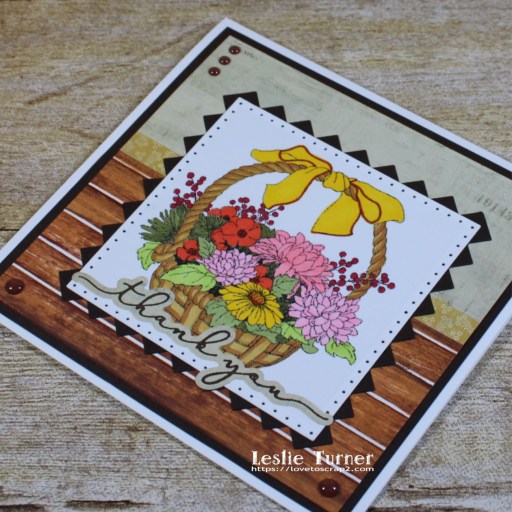
And one more look… what a gorgeous stamp! Love how this turned out!
Products used:
Cardstocck/Paper: Neenah Classic Linen Solar White cardstock, Neenah Classic Crest Solar White cardstock, Stampin’ Delightful Dijon cardstock
Stamps: C.C. Designs Sunflower rubber stamp, Stampin’ Up What I Love stamp set
Ink: Memento Espresso Truffle ink; Nuvo alcohol markers- Fragrant Oranges Collection, Honey Amber Collection, Woodland Greens Collection, Stormy Greys Collection
Accessories: Tonic Studios 12″ Guillotine Paper Trimmer, Tombow Mono permanent adhesive, MISTI stamp tool, Darice Foamies white craft foam, Stampin’ Up Dimensionals, Nuvo Ivory Seashell Crystal Drops
I hope you’ve enjoyed today’s card and will link up an ‘anything goes’ project with us this month! We’d love to see what you create! Thanks so much for stopping by today – we’ll see you again soon! ;)
Scrappy hugs,