Hey everybody! It’s turning out to be a busy morning on my blog but I just had to share a special event going on in the Facebook Keep It Simple Inspiration Group! If you’re not already a member, pop over and join – there’s always something fun going on! Our lovely DT leader, Maureen, is an avid Bridgerton fan and came up with the idea of our design team recreating some of the debutante dresses for the Season 3 countdown and a “Who Wore It Better” event! How fun is that?! And there’s a challenge for our KIS fans to create a Bridgerton inspired project to get in on the chance to win the Keep It Simple Party Dress die set! The challenge ends on June 30th so get crackin’ if you want to play along!
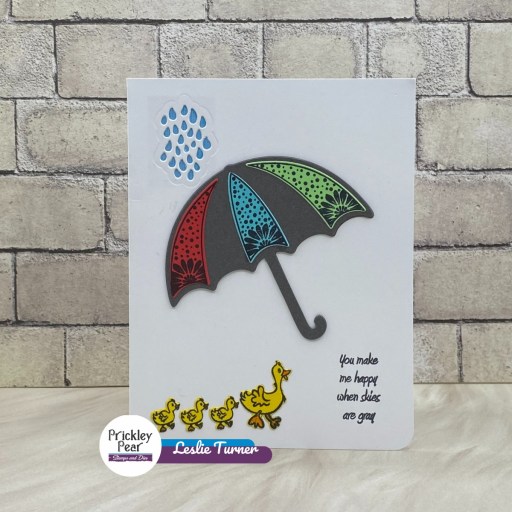
I had never heard of this show but the idea sounded like loads of fun, so I chose to recreate Lady Portia’s dress. I hand-cut her dress instead of using the Party Dress die set because it was more of a fitted style. I used our Ruby, Jade, Rose and Mango Collection Packs for the papers, along with our Simply Spring Outline Dies for the flowers with Lemon Enamel Dots for the flower centers. This was fun, and although not an exact replica, it’s pretty darn close! ;)


Keep It Simple products used:
Back To Basics Ruby 12×12 Collection Pack
Back To Basics Jade 12×12 Collection Pack
Back To Basics Rose 6×9 Collection Pack
Back To Basics Mango 12×12 Collection Pack
Simply Spring Outline Dies
Back To Basics Lemon Enamel Dots
Affiliate links are used in this post at no cost to you – I really appreciate your support!
Other products used:
ACCESSORIES: Fiskars Micro-Tip Scissors, Bearly Art precision craft glue, Big Shot
I hope you’ve loved seeing this project as much as I loved creating it and you’re inspired to get crafty! Be sure to check out ALL the fun goodies in the Keep It Simple online store! Save 10% on your entire order when you shop online using code LoveToScrap2 at checkout! There is no minimum purchase requirement and no usage limits, AND it combines with product, order, and shipping discounts! Is that cool, or what?! Be sure to Follow us on Facebook, Instagram, and Pinterest for lots of crafty inspiration! Thanks so much for stopping by today – we’ll see you next time!
Scrappy hugs,