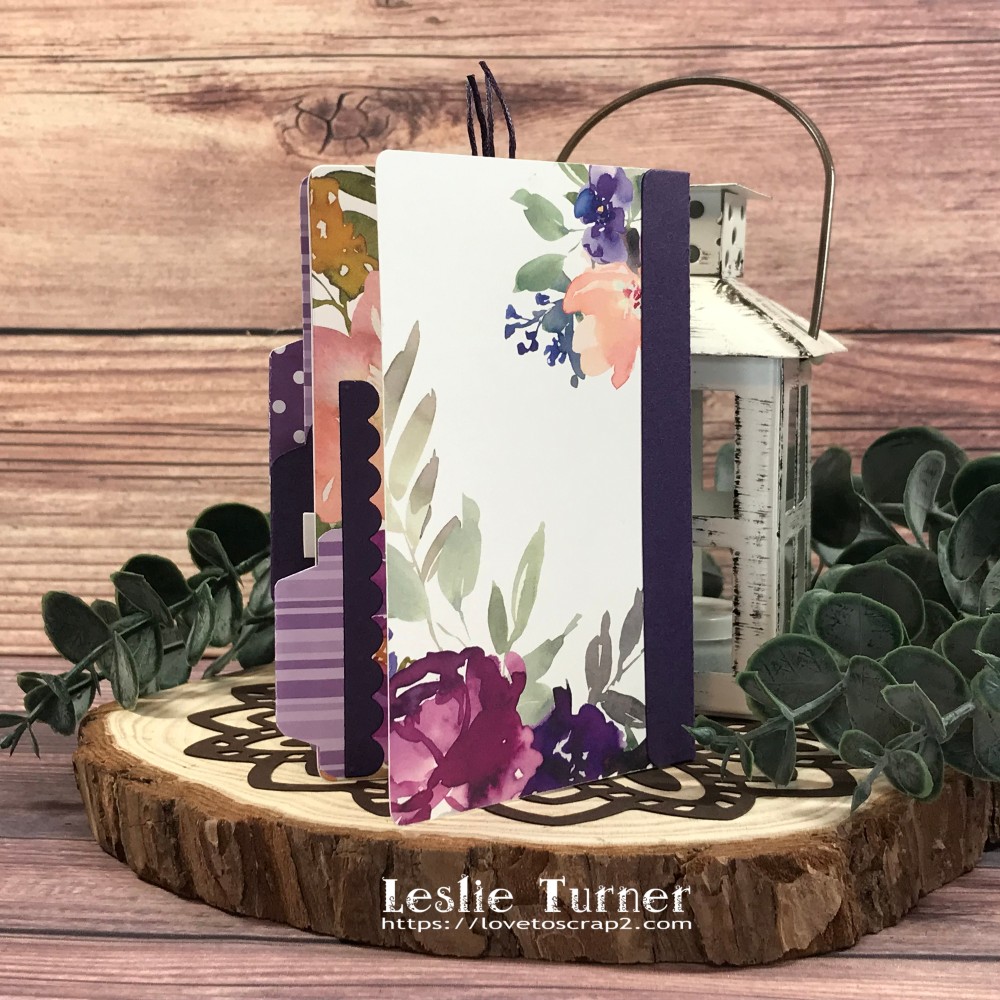
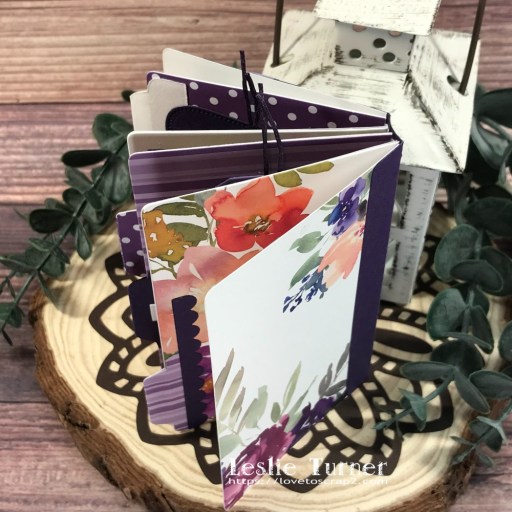
Hi friends! Happy Tuesday to you all! I hope you are having a great week so far! Our new challenge is live this morning over at Love To Scrap Challenge Blog and I’m super stoked to share my DT inspiration project for LTSCB #158 – Anything Goes! You know how I love me some mini albums, and I created this pretty floral one using the Sizzix Bigz Mini Album and Sizzix Mini Album Thinlits. As I always say with projects like this – the assembly is the most fun part! ;)
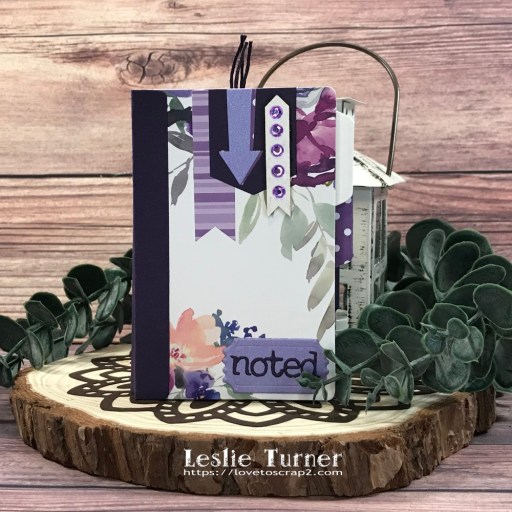
I die cut the album and pages from STAMPlorations Spring Florals A2 Card Fronts and Darice Dots and Stripes cardstock. Using a variety of Sizzix and CUTplorations dies, I die cut elements from Solar White cardstock, CutCardStock Stardream Metallic Amethyst cardstock, CutCardStock Basis Dark Purple cardstock and Darice Dots and Stripes cardstock to embellish the pages. Several of the pages inside have pull-up tags. I added an arrow and gemstones to the front which completed the album.

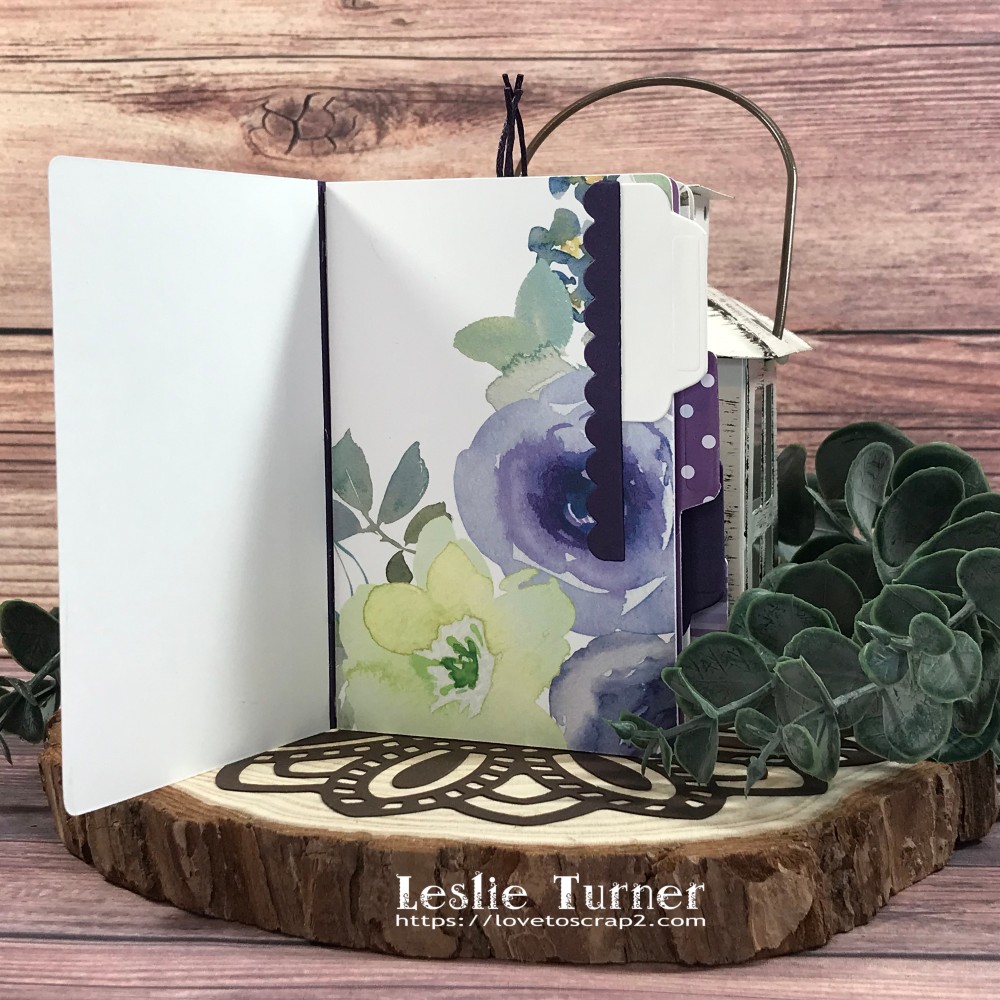
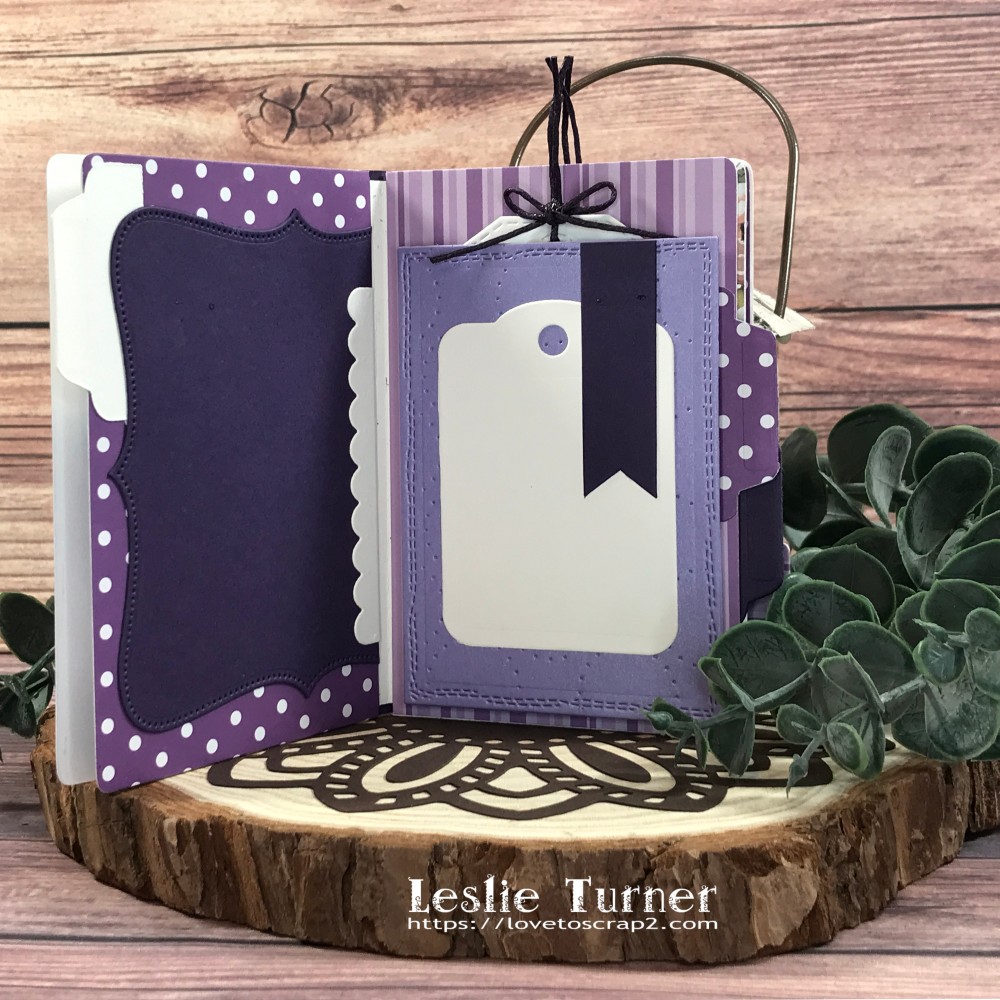
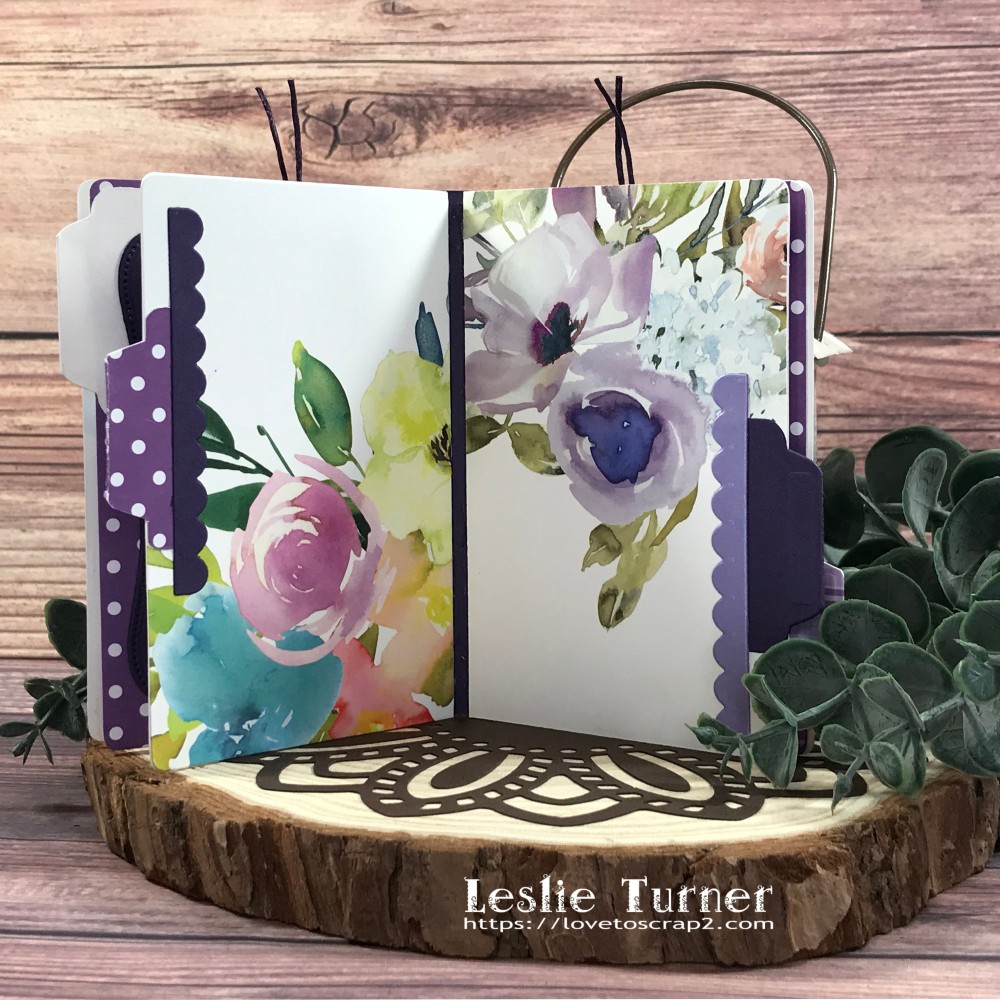
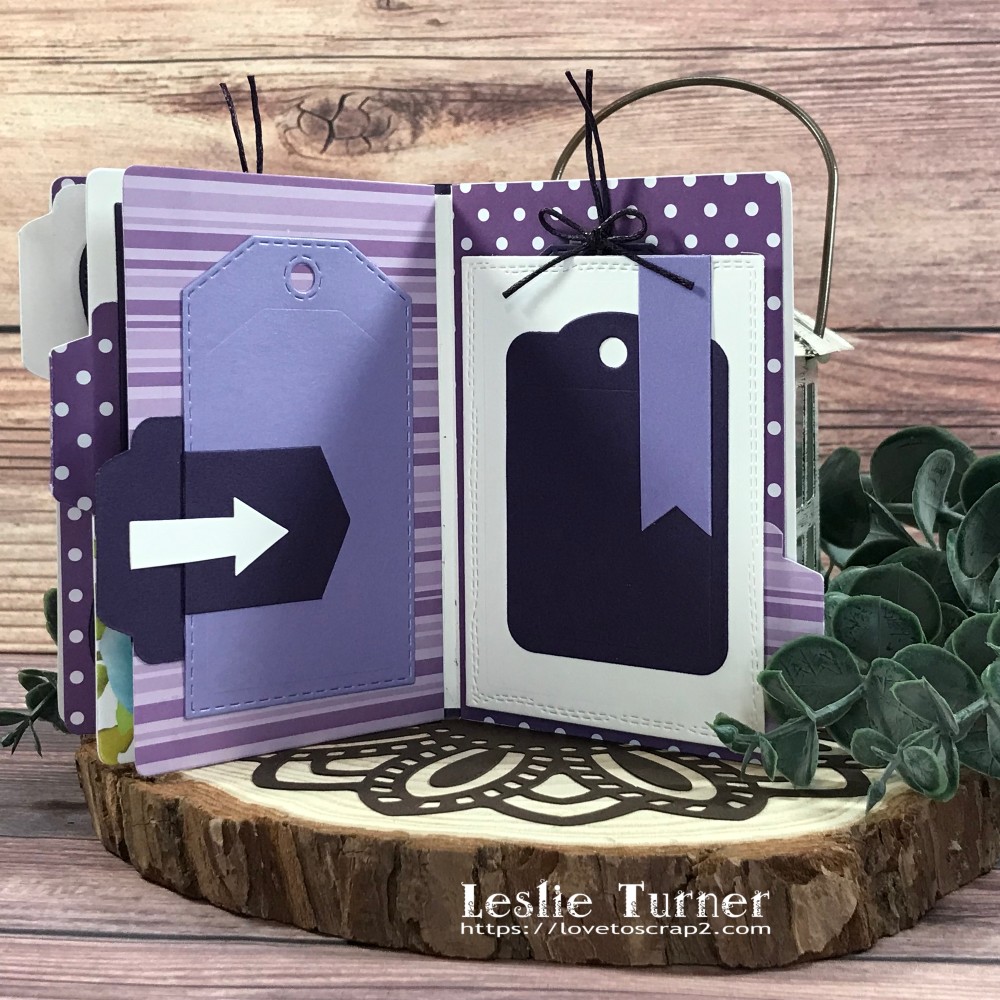
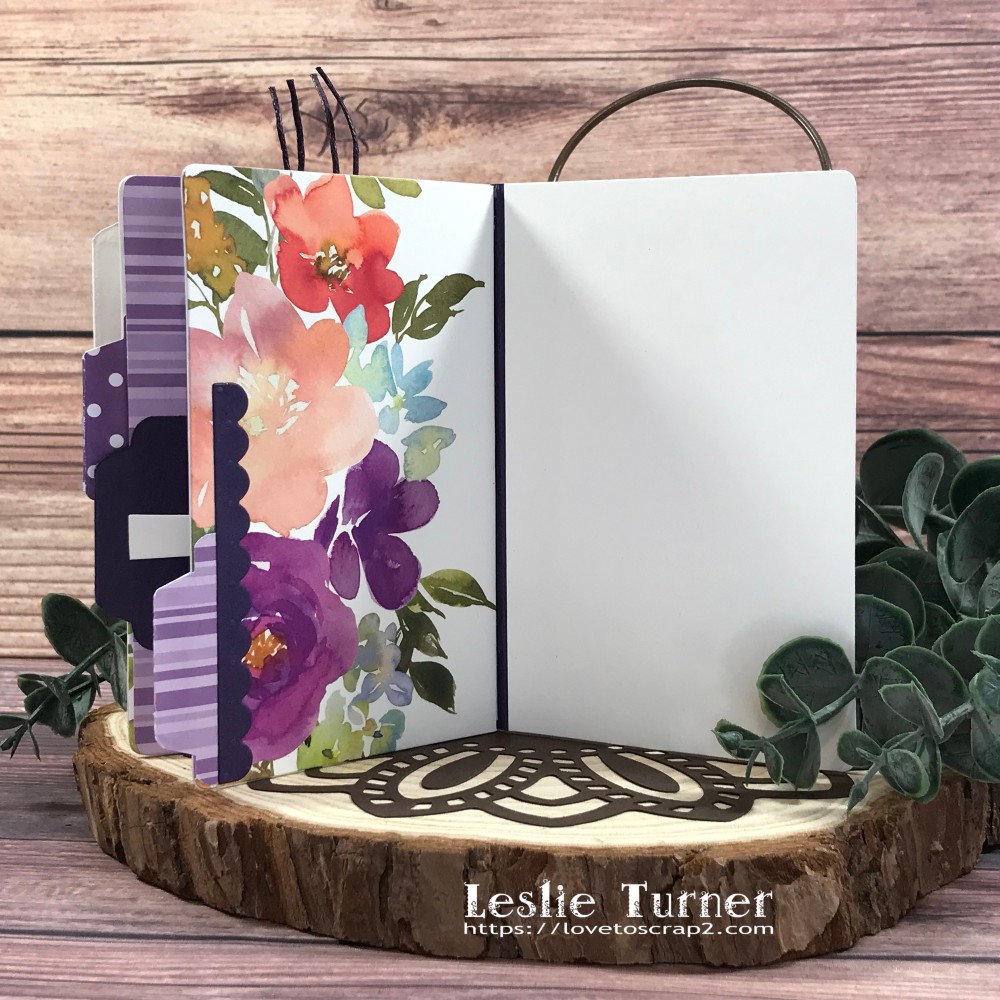
And one more overhead angled peek… I sure do love how this turned out! There is plenty of room for photos and journaling!
Affiliate links are used in this post at no cost to you – I really appreciate your support!
Products used:
Cardstock/Paper: Neenah Classic Crest Solar White cardstock, CutCardStock Stardream Metallic Amethyst cardstock, CutCardStock Basis Dark Purple cardstock, Darice Dots and Stripes cardstock, STAMPlorations Spring Florals A2 Card Fronts
Ink: Posca Gold Paint Pen
Dies/Punches: CUTplorations Pierced Curly Frames/Tags Nesting Dies, CUTplorations Crazy Running Double Stitch Nesting Dies, CUTplorations Stitched Tags Nesting Dies, CUTplorations Circles All Over Texture Cover Plate, Sizzix Bigz Mini Album, Sizzix Mini Album Thinlits, Sizzix Alphanumeric Tiny Type Lower Thinlits
Accessories: We R Memory Keepers Large Guillotine Paper Trimmer, Big Shot, Bearly Art precision craft glue, CRAFTplorations Funky Arrows #2, Darice Purple Gemstones, purple crafting cord, Darice Double-Sided Adhesive Foam Strips
I hope you’ve enjoyed seeing this mini album and you’ll link up with us this time! Thanks so much for stopping by today – we’ll see you next time! ;)
Scrappy hugs,