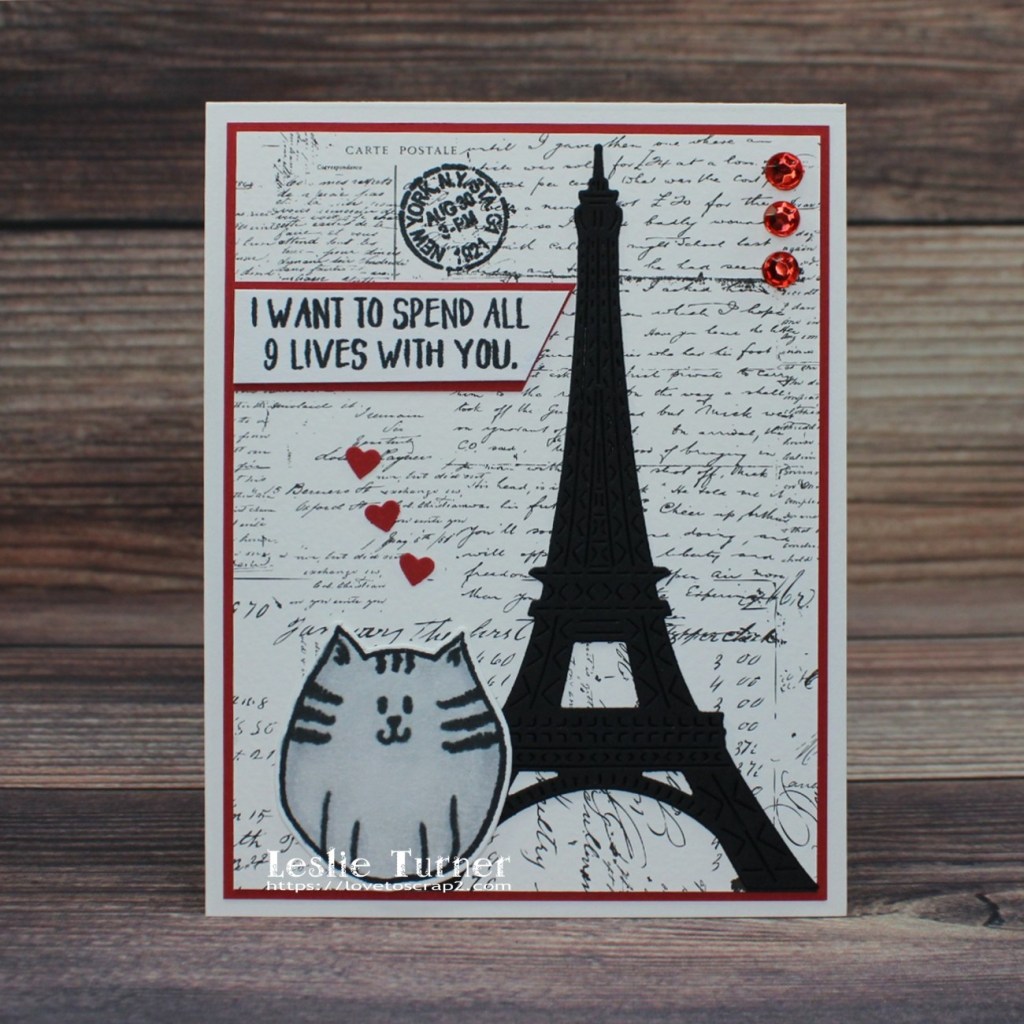
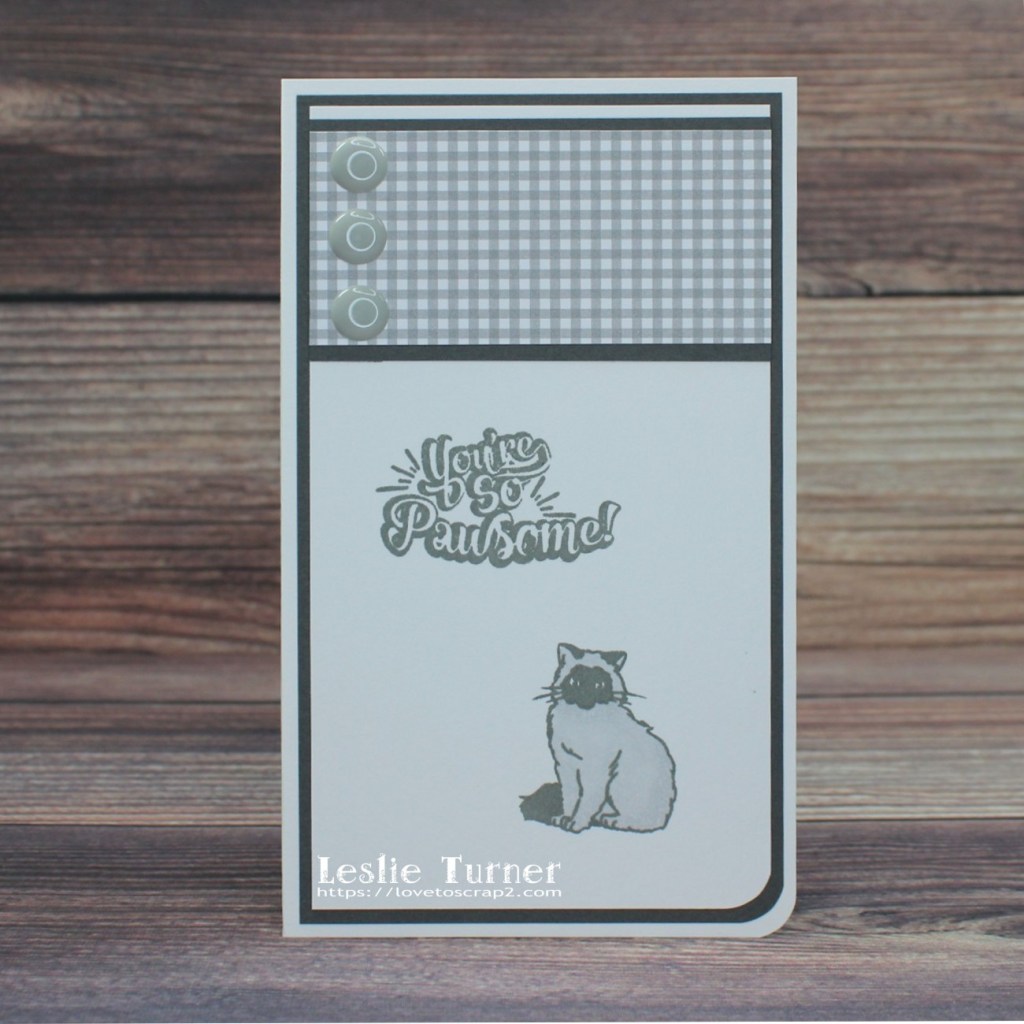
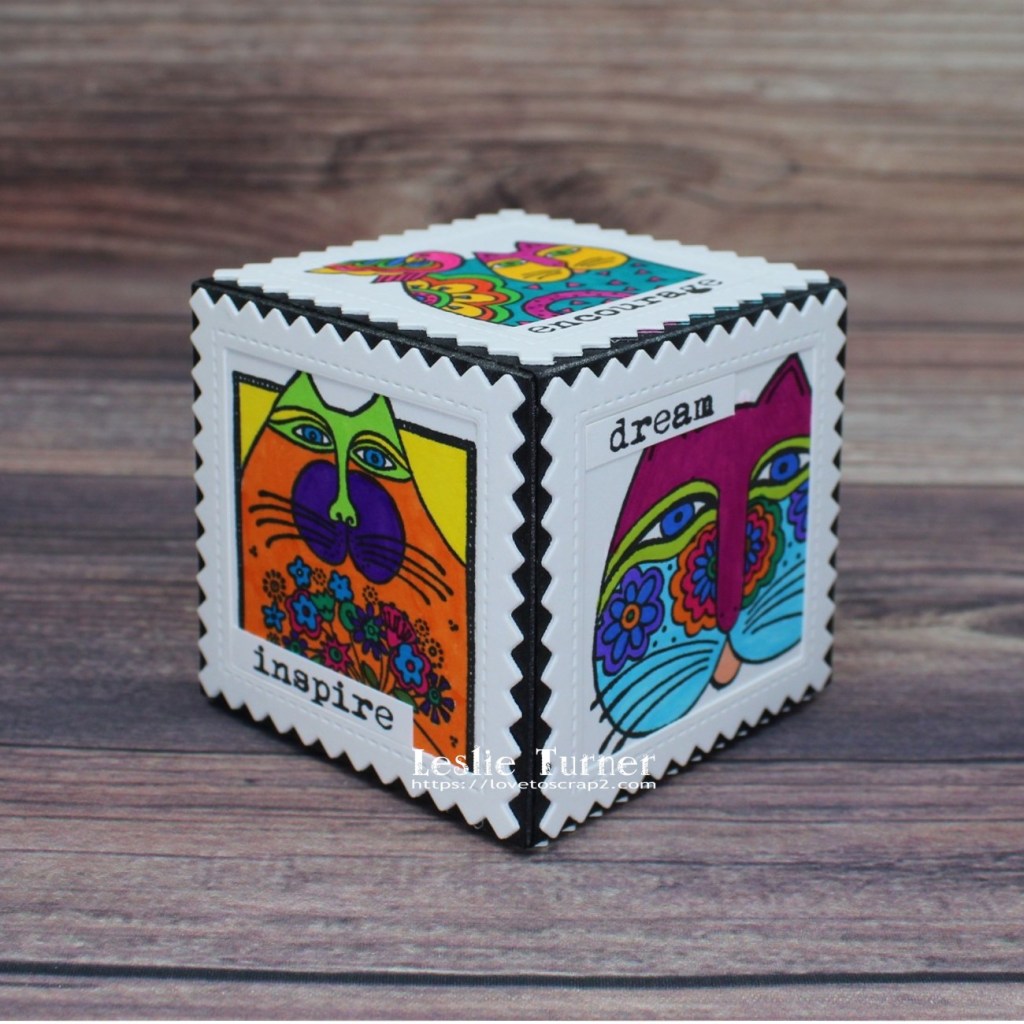
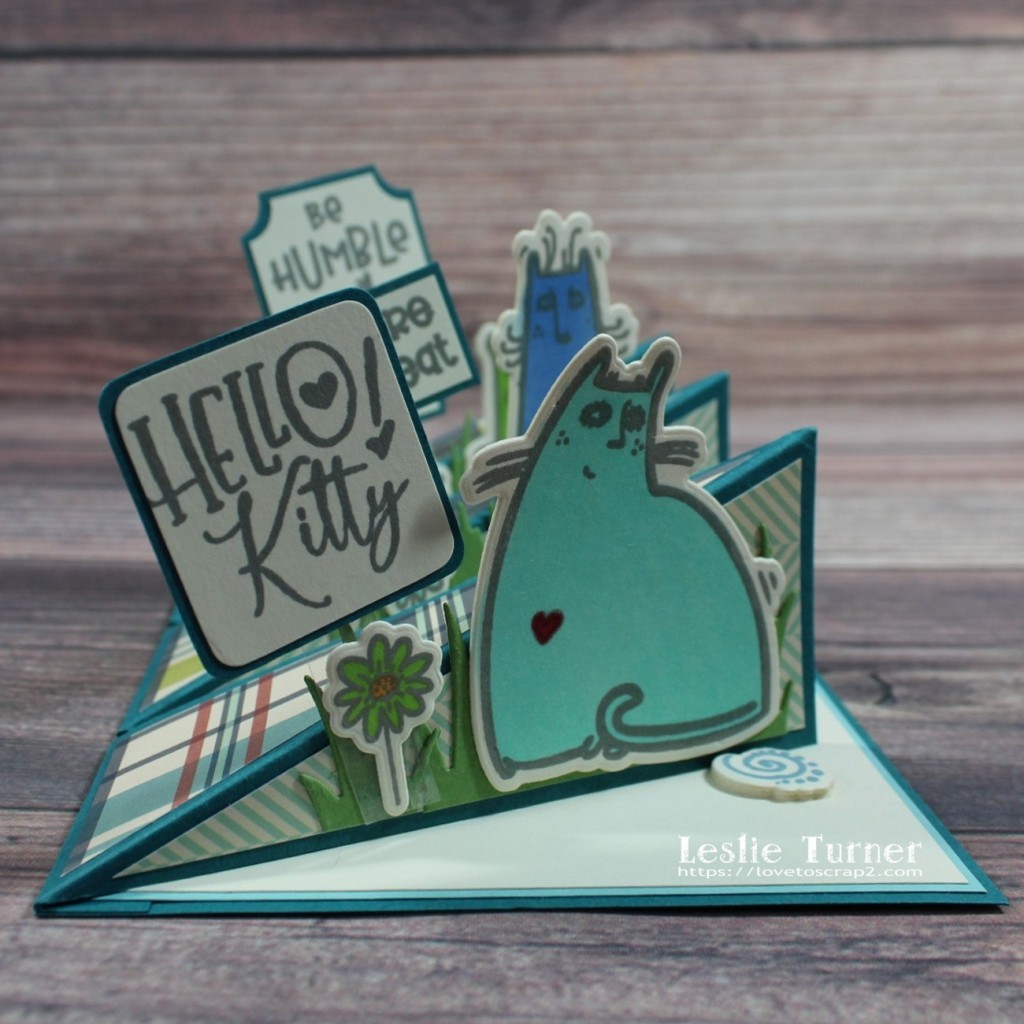
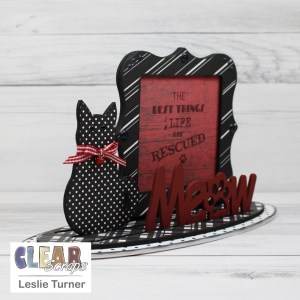
Hey, everybody! Hope you’re having a wonderful week and you’re not working too hard! I’m thrilled to be back on the Clear Scraps blog today with another awesome DT inspiration project! I had some 3-D Frameables fun with the Deco Frame and Meow-Cat Word n Shape and used a B&W + Red color combo which is one of my favorites! The 3-D Frameables are new in the store – you pick your frame and then you choose your theme. There are two base pieces (which attach to each other) which have long slots that the frame, word and shape fit into. This project is really close to my heart because my husband and I are ‘crazy cat people’ and we rescue. We have ten indoor fur babies with a catio and nine more outside (feral and semi-feral) with another catio in our fenced back yard!

I started by painting the smaller oval base, cat and frame with black chalk paint; the larger oval base with white chalk paint; and the Meow word with red chalk paint. I used four coordinating black and white patterned papers to cover the two oval bases, the cat and the front of the frame, and inked the edges of all the pieces with black soot distress ink.
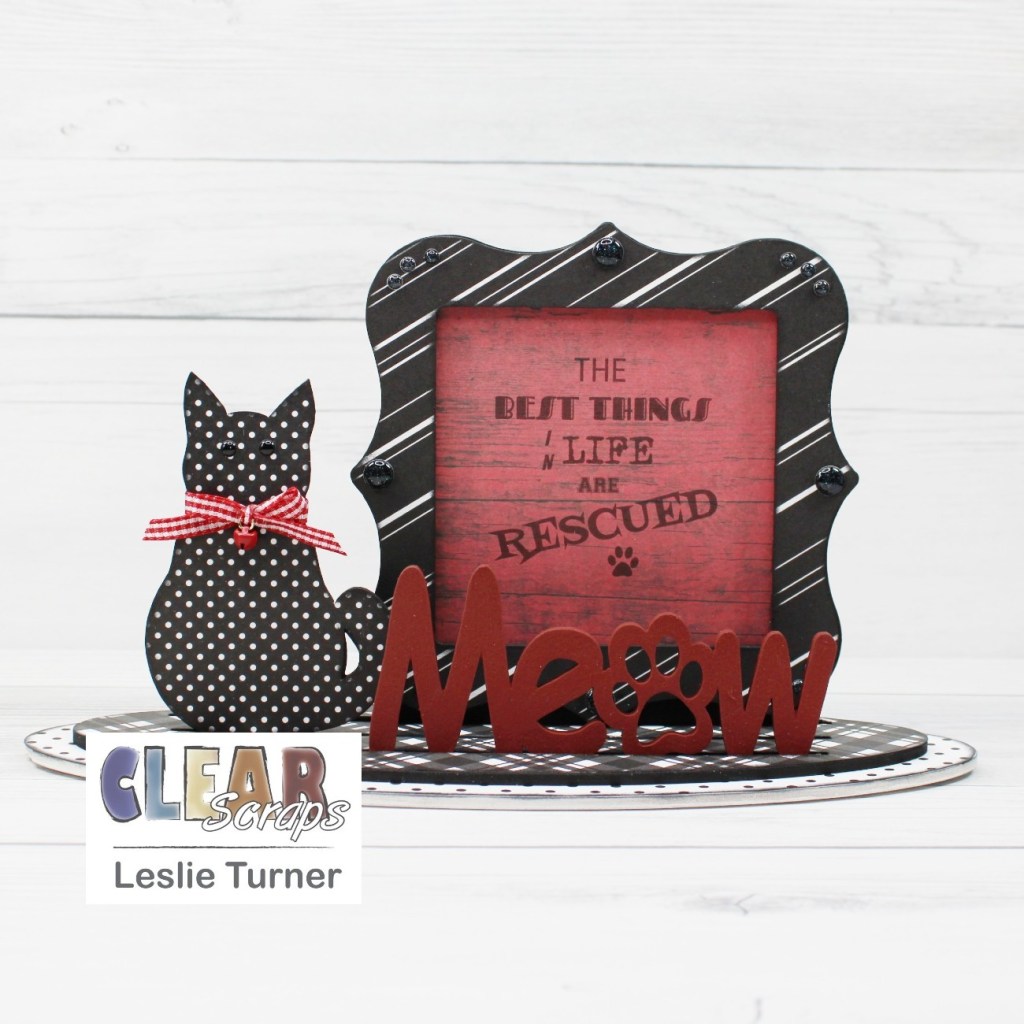
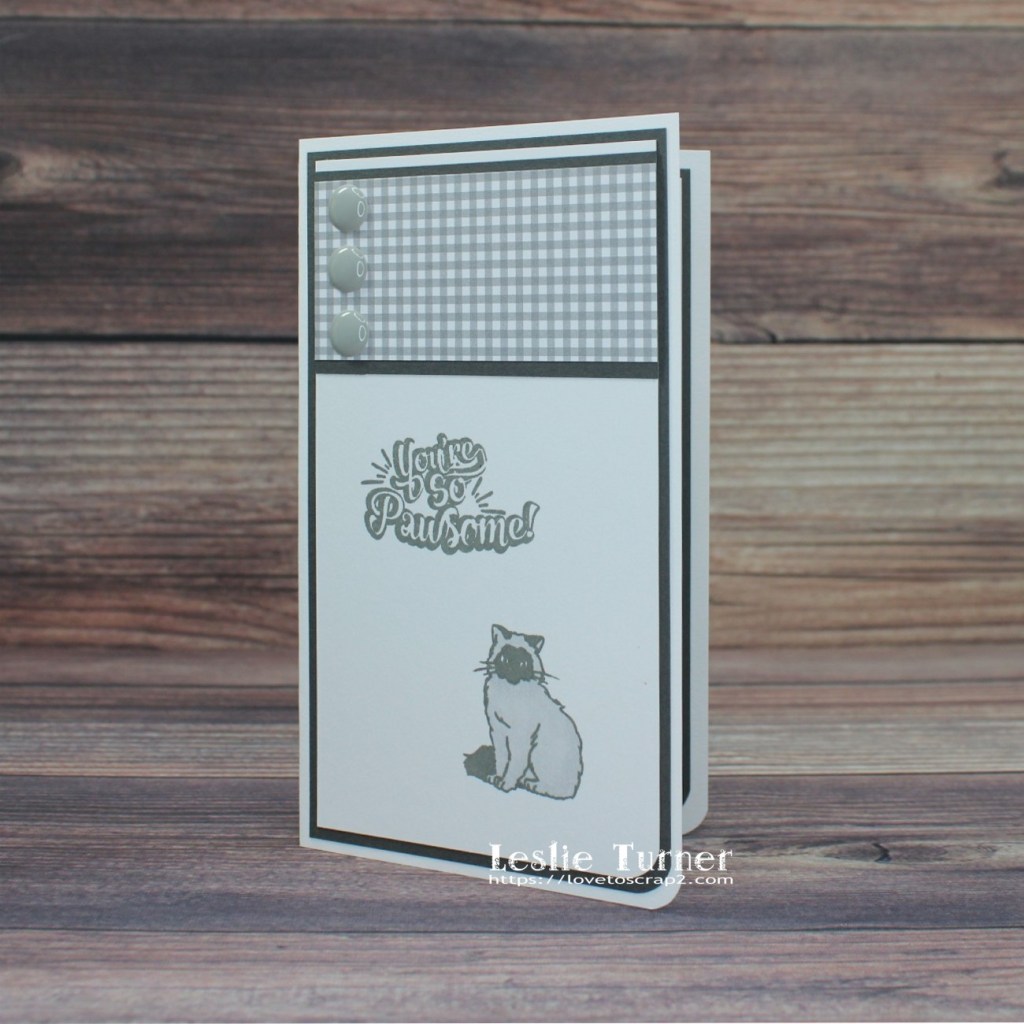
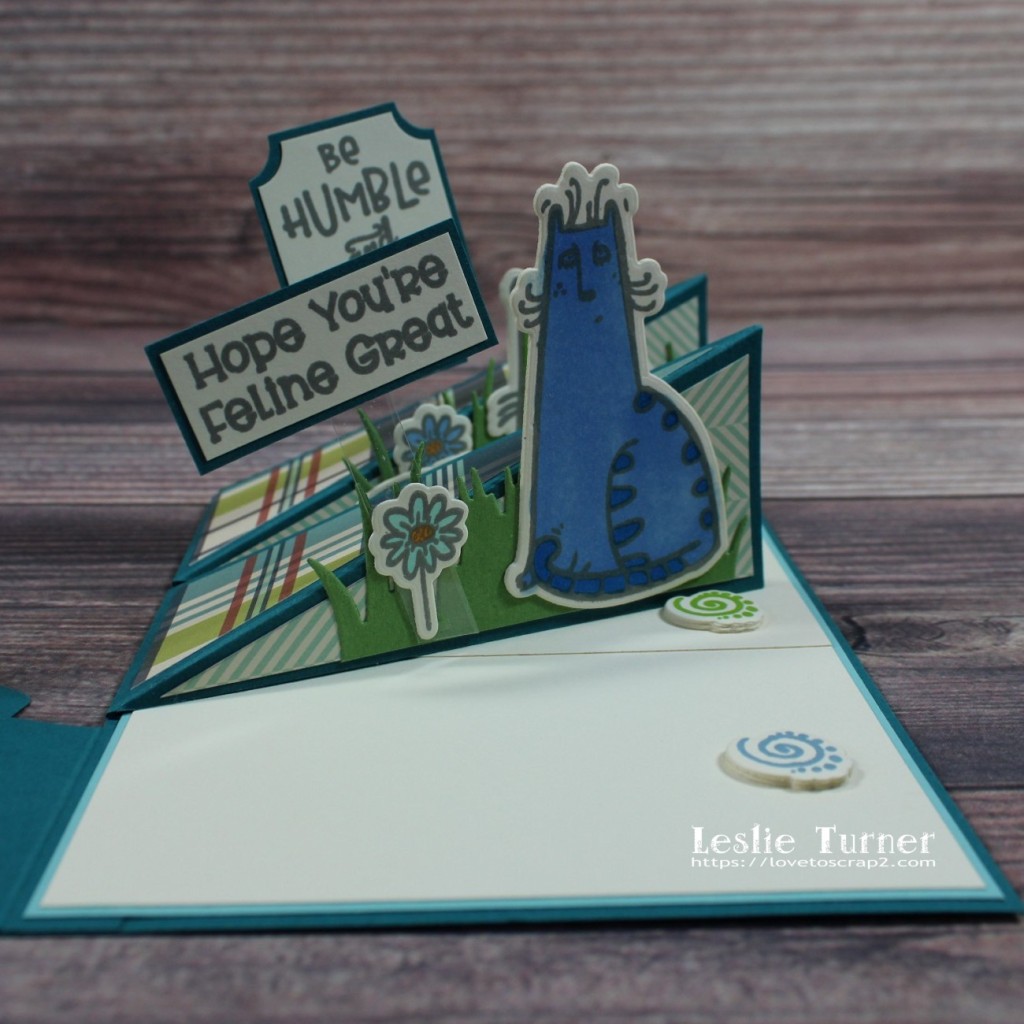
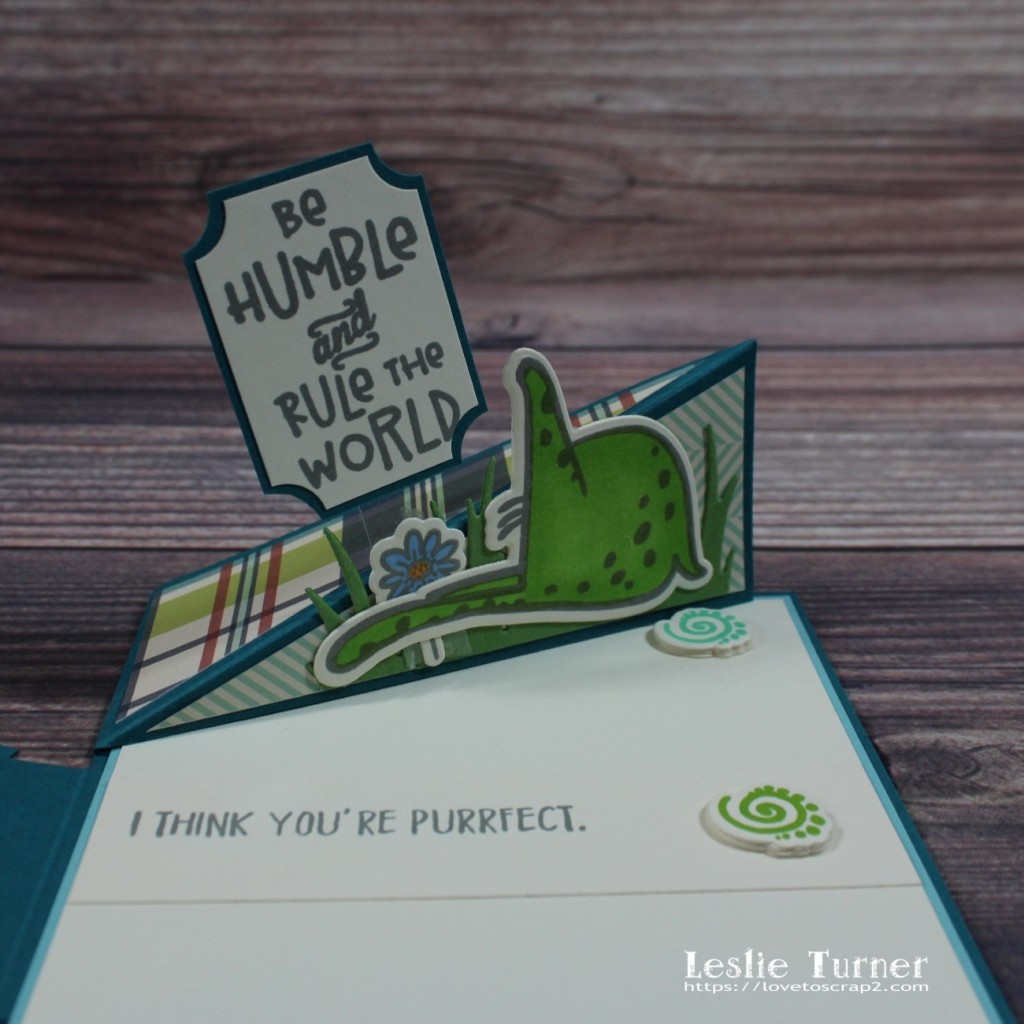
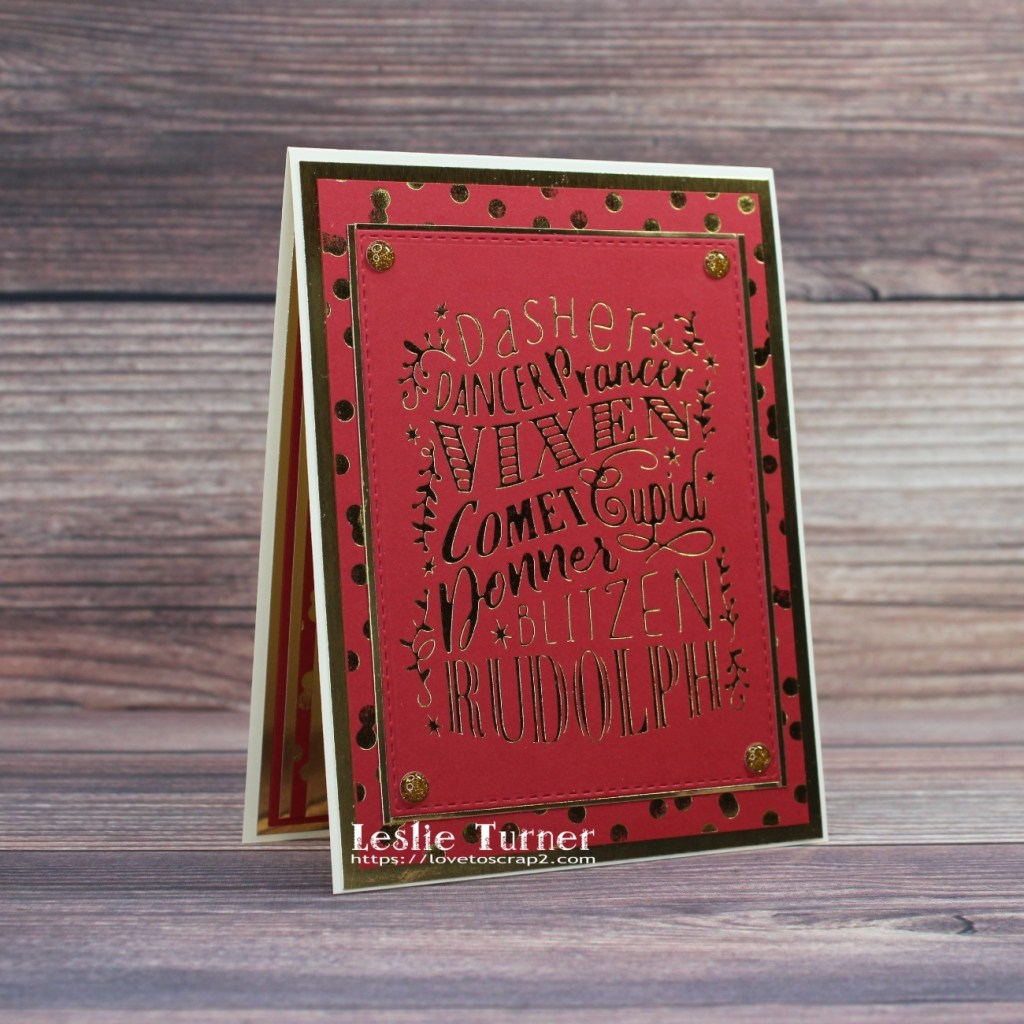
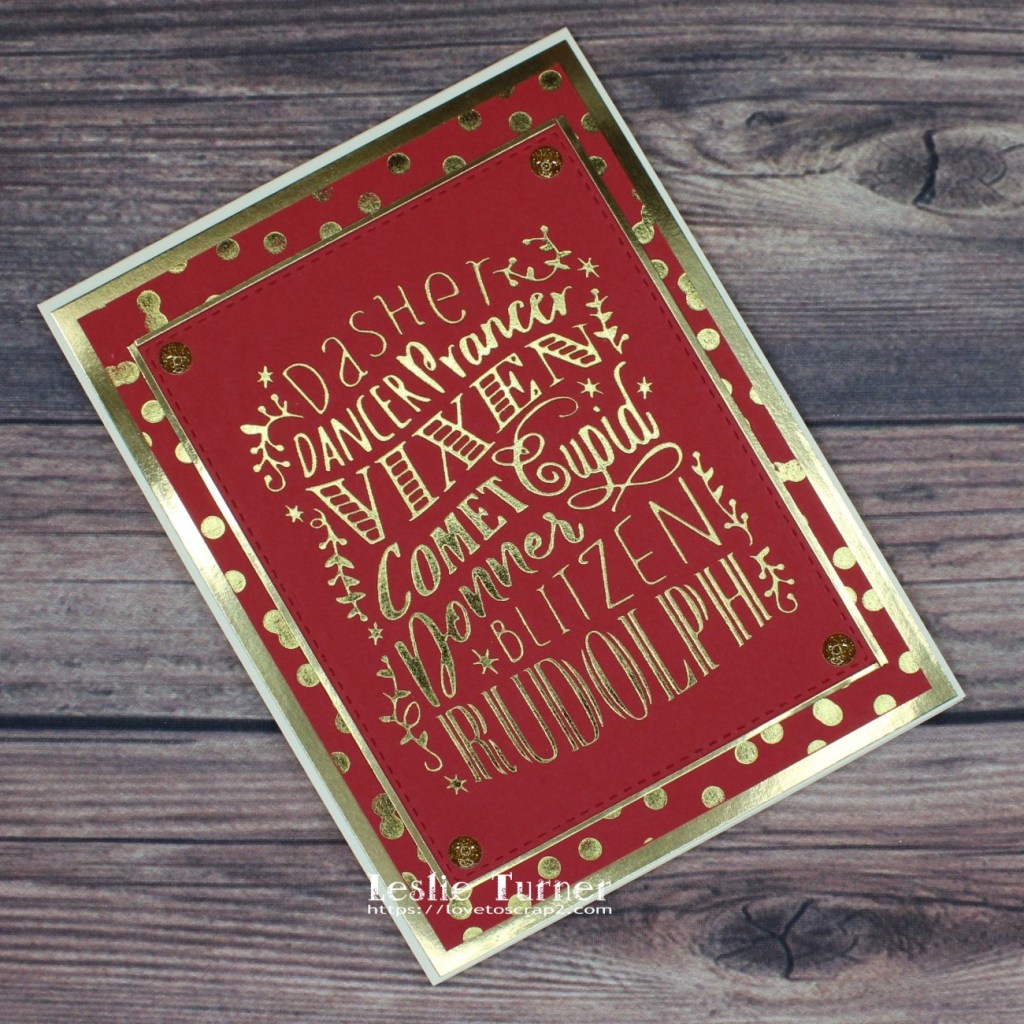
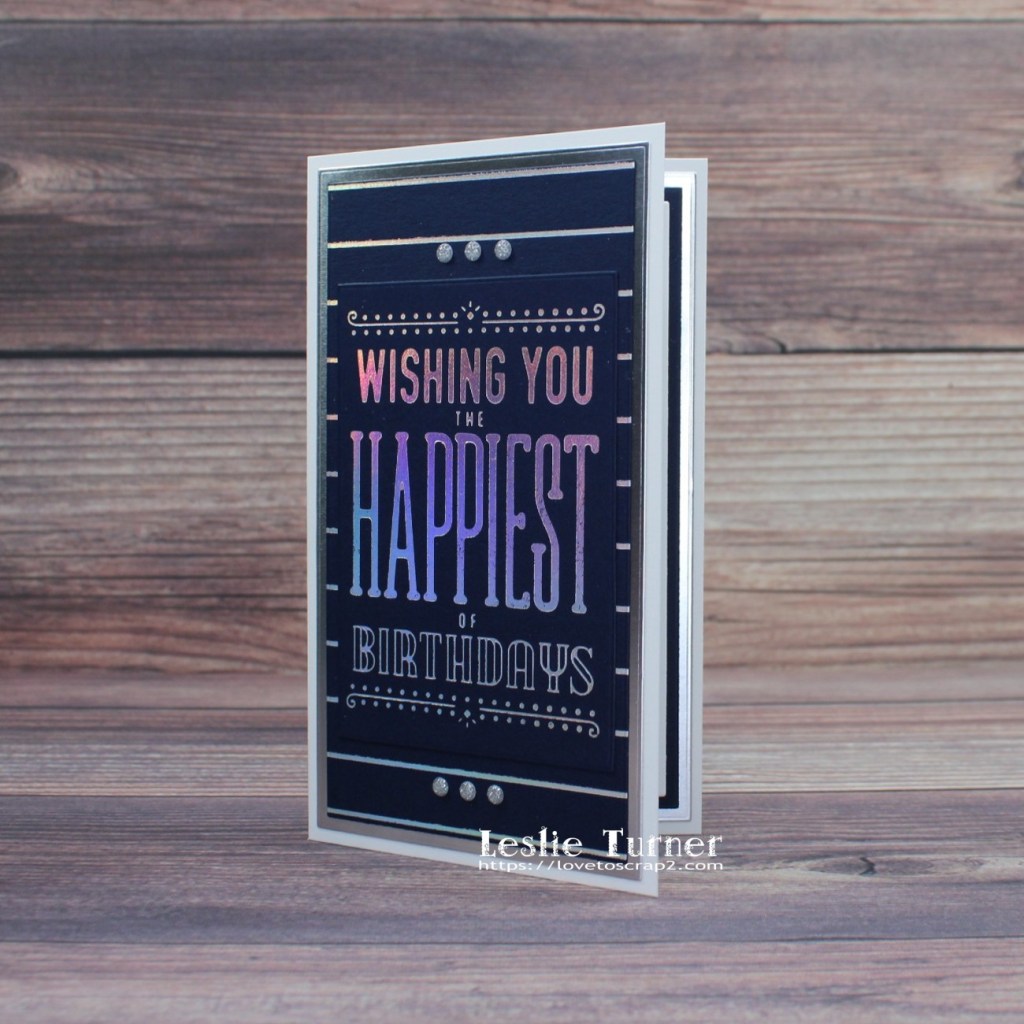
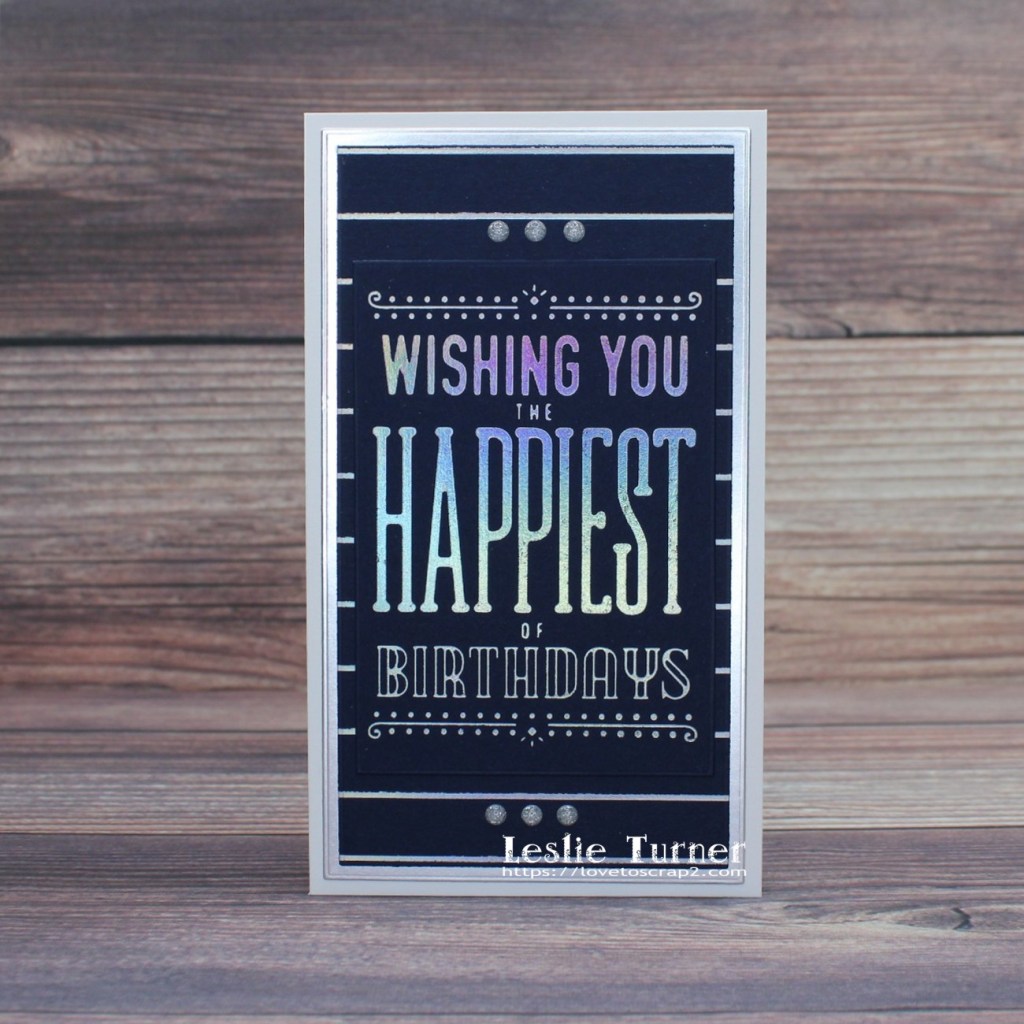
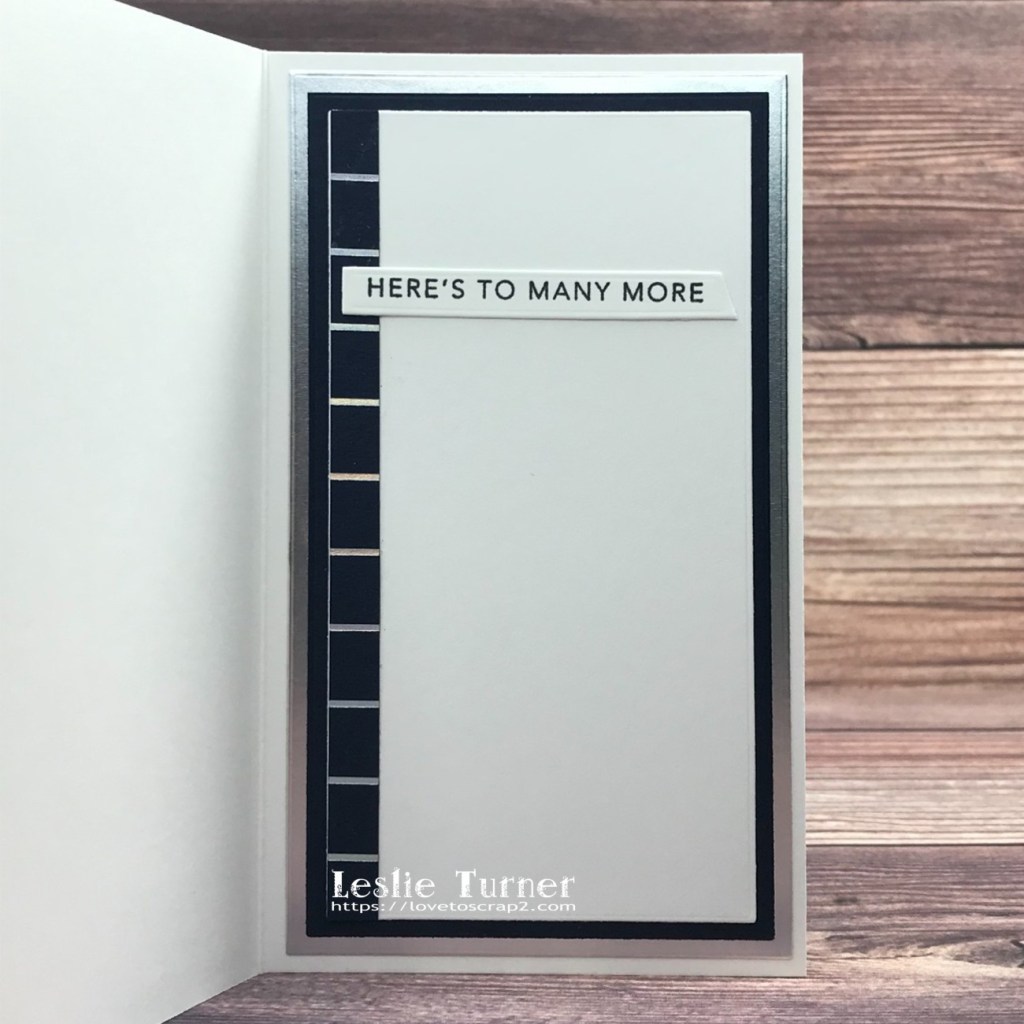
I added small black enamel dots to the cat for her eyes and tied a red and white gingham ribbon around her neck with a tiny red bell. I designed the sentiment on my laptop and printed it on red wood-look patterned paper, trimmed it, and sandwiched it between the frame pieces. Finally, I added glitter enamel dots to the corners of the frame to complete the project.
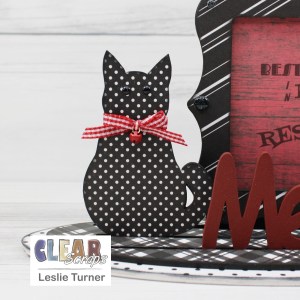
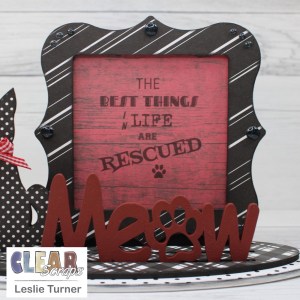
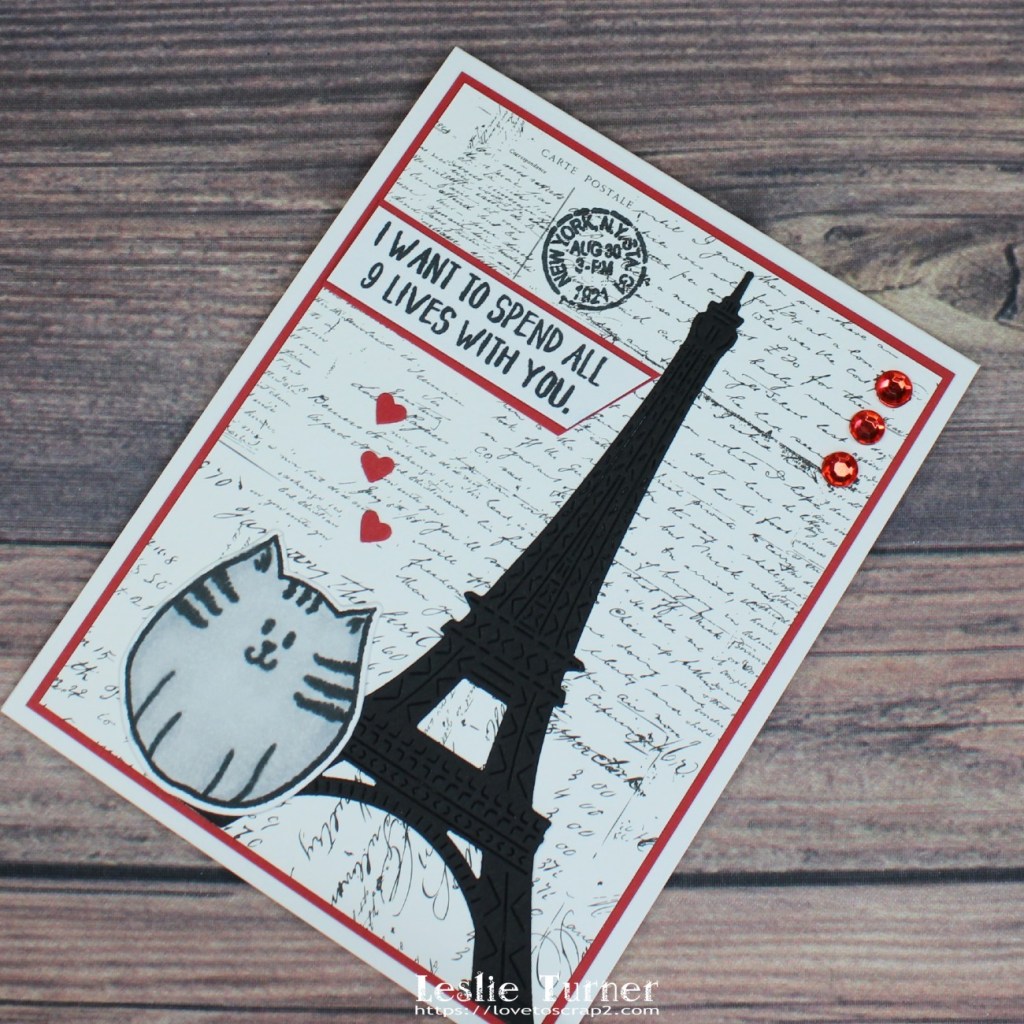
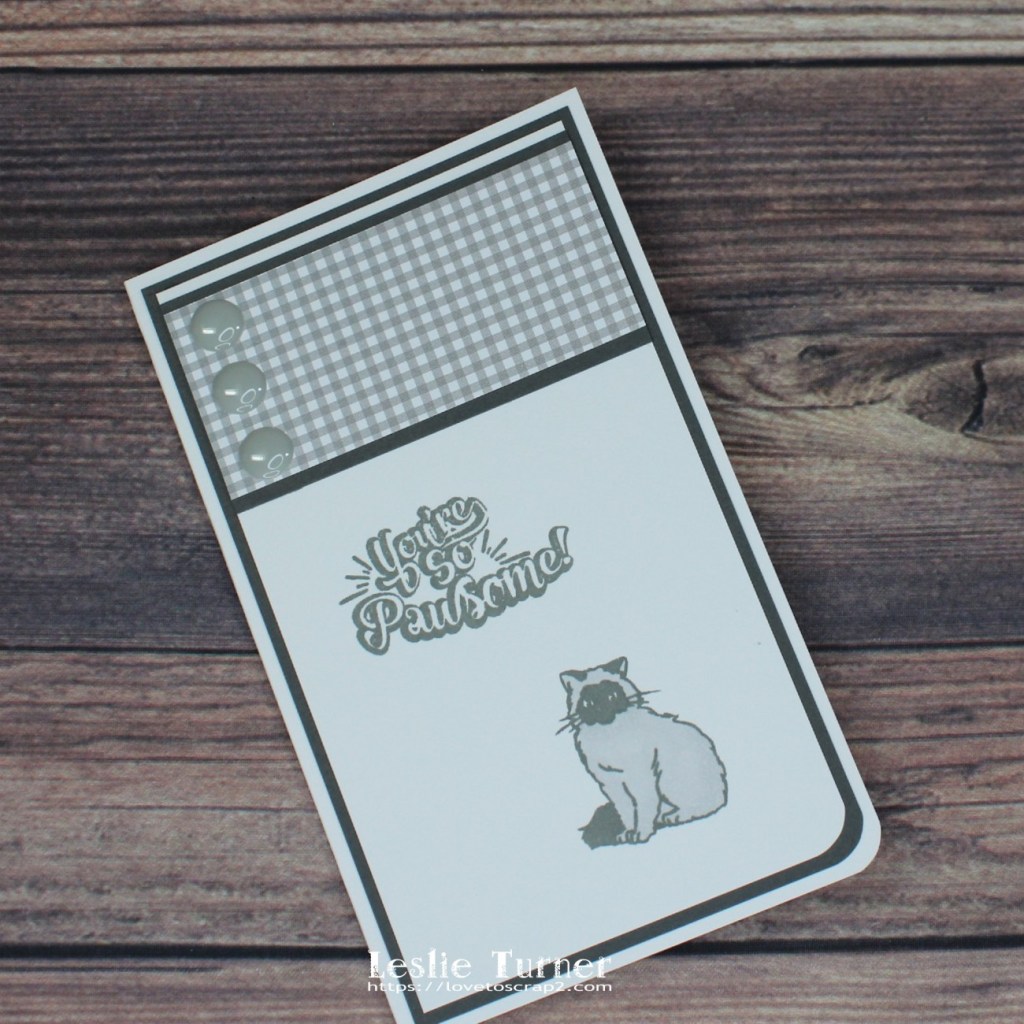
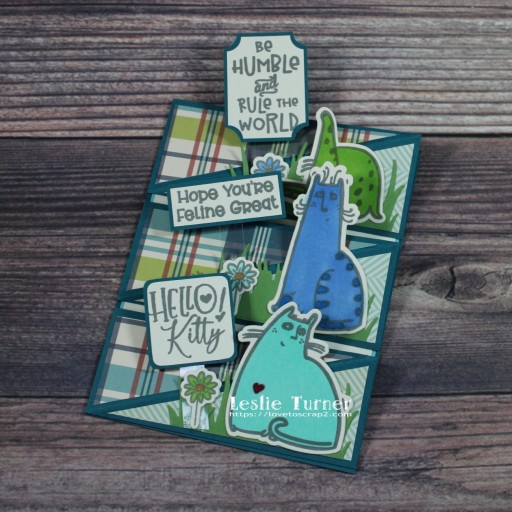
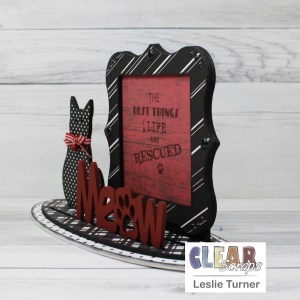
Here are couple more shots from different angles. I’m really loving how this turned out! These 3-D Frameables are so much fun, and the sky is the limit with regard to interchangeable frames, shapes and words!
Clear Scraps products used:
Deco Frame
Meow-Cat Word n Shape
Other products used:
Cardstock/Paper: The Paper Cut Plaid, Diagonal Stripe, Black Mini Dots and Reverse Mini Dots patterned paper; Simple Stories Wood & Gingham Basics paper pad
Ink: Ranger black soot distress ink
Accessories: Folkart Rich Black, Adirondack White and Tuscan Red chalk paint; Bearly Art precision craft glue, brayer, Eyelet Outlet Black Enamel Dots and Black Glitter Enamel Dots, Studios Blackbird 1/4″ red and white gingham ribbon, Stampin’ Up Mini Jingle Bell
I hope you’ve enjoyed today’s project and you’re inspired to get those craft supplies out to play! Be sure to check out all the amazing acrylic, wood and chipboard goodies at Clear Scraps… OMGoodness, you won’t be disappointed! And head on over to the Clear Scraps Facebook Page for lots of inspiration! And while you’re at it, join the Clear Scraps Facebook Creative Group to connect with other Clear Scraps fans! Thanks so much for stopping by today – we’ll see you next time!
Scrappy hugs,