Hi everyone! We are just rockin-and-rollin’ through the year! Hard to believe it’s June already! I’m happy to share that I’m once again sponsoring and guest designing for C.R.A.F.T. Challenge, this time for Challenge #516 – Not A Card! As a sponsor for this challenge, I have a great prize pack consisting of an Art Gone Wild Crafty Cutts die set, a Paper Pretties birthday clear stamp set, and a package of Michaels Paper Flowers for a lucky winner over on the C.R.A.F.T. Challenge blog!
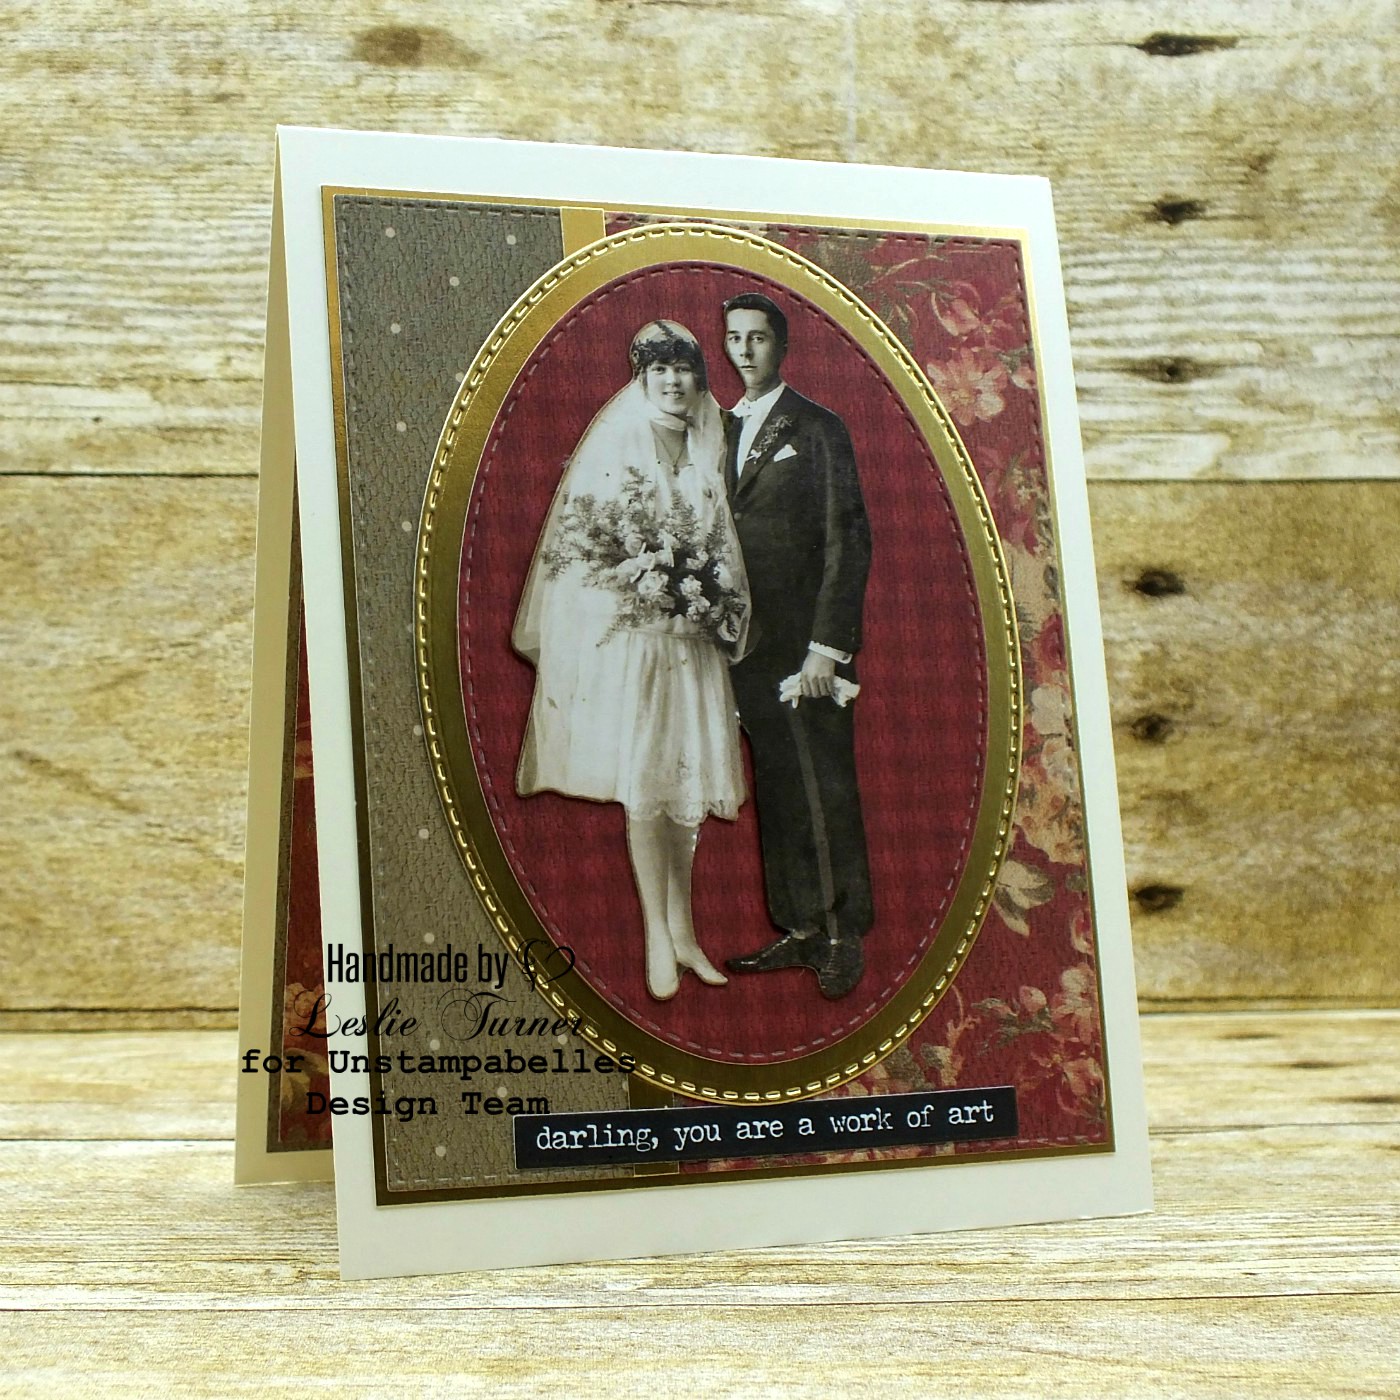
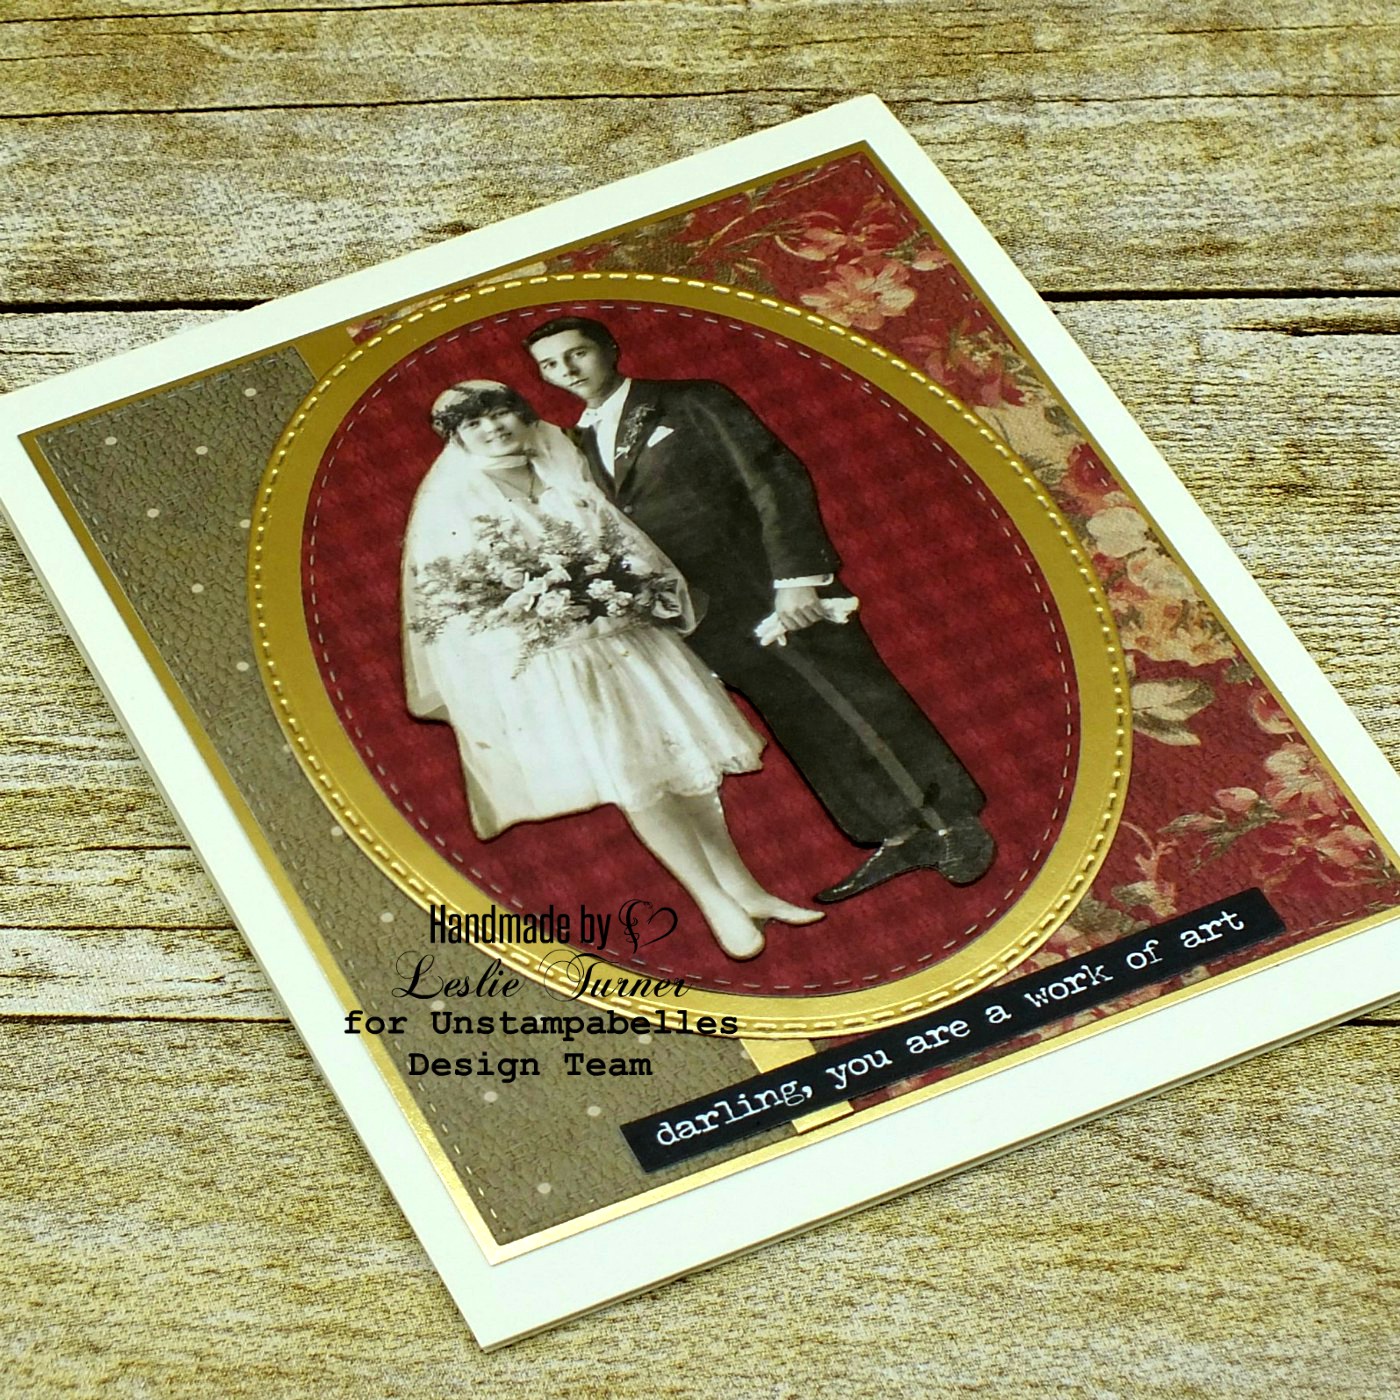
I created a super cute gift box using the Candy Corn Witch cut file from The Dreaming Tree. Fun, fun, fun!

I know it’s a little early, but isn’t this witchy gal the cutest ever?! And SO much fun putting together!

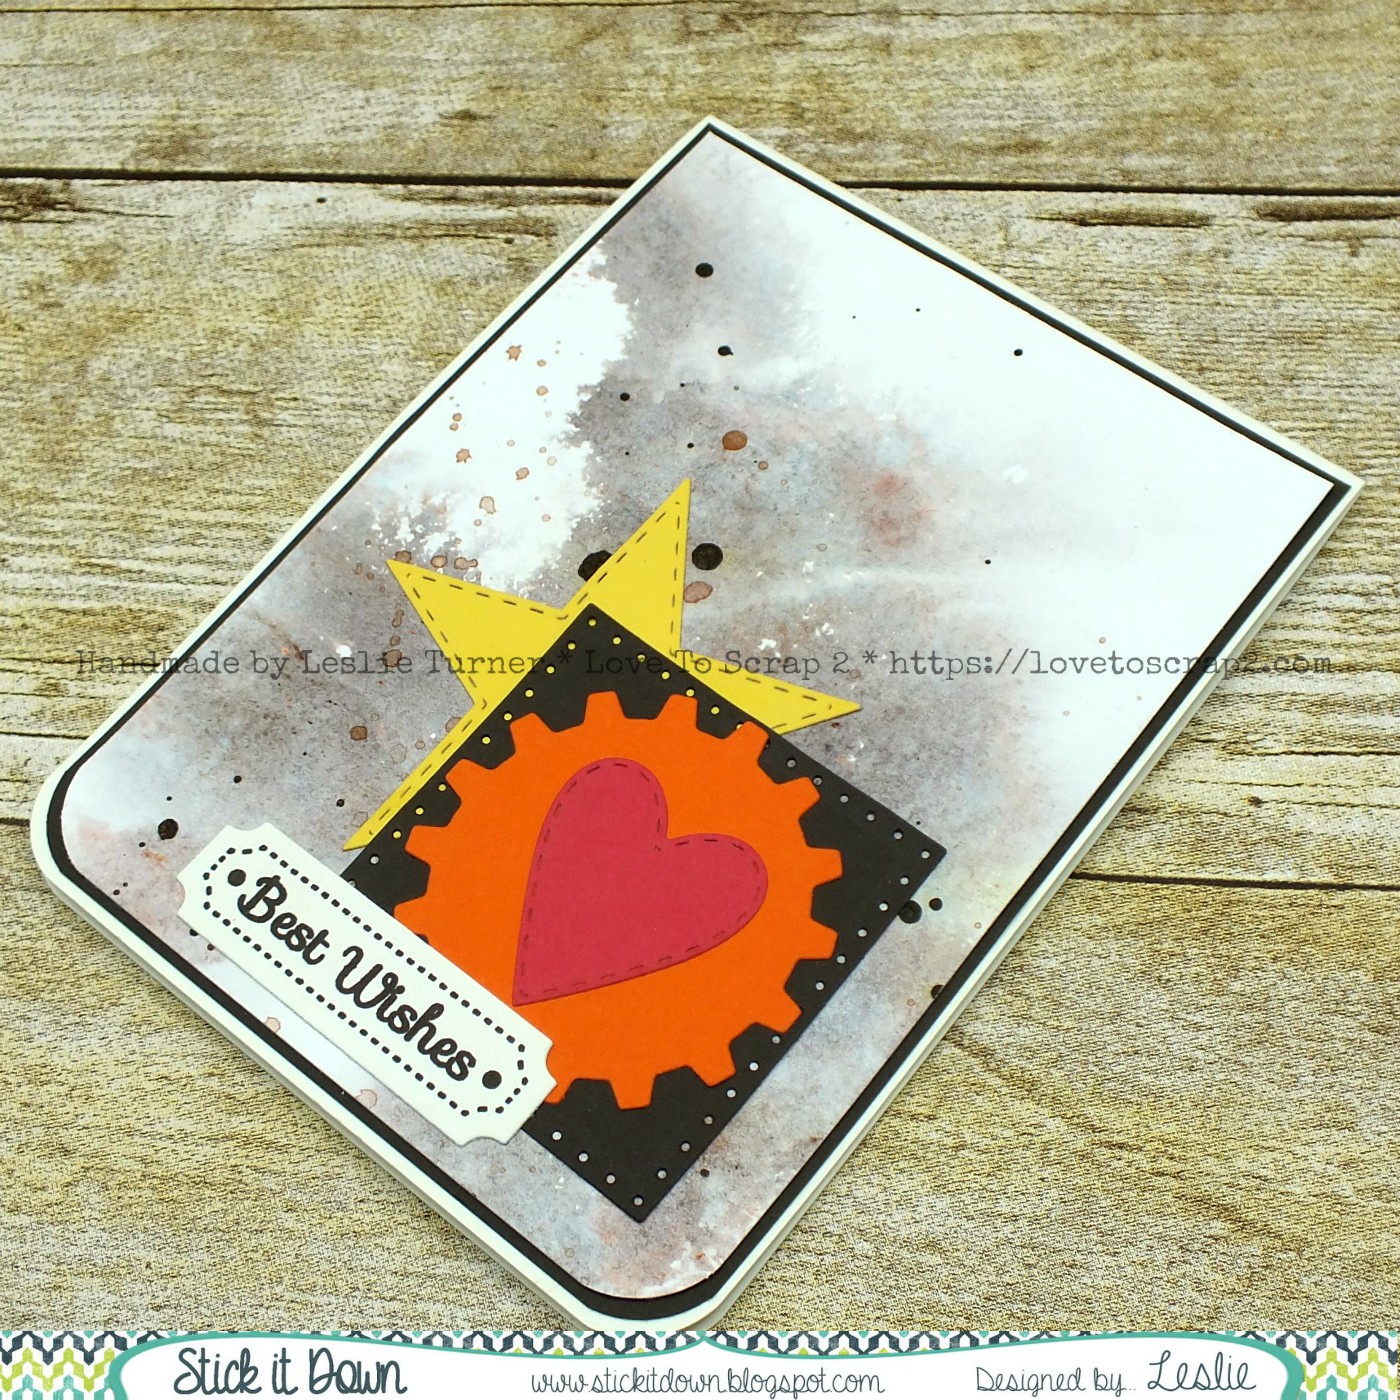
I used the traditional Halloween colors of black, purple, orange and yellow. And the best part is there’s not a huge list of supplies – just cardstock and a die cutting machine!

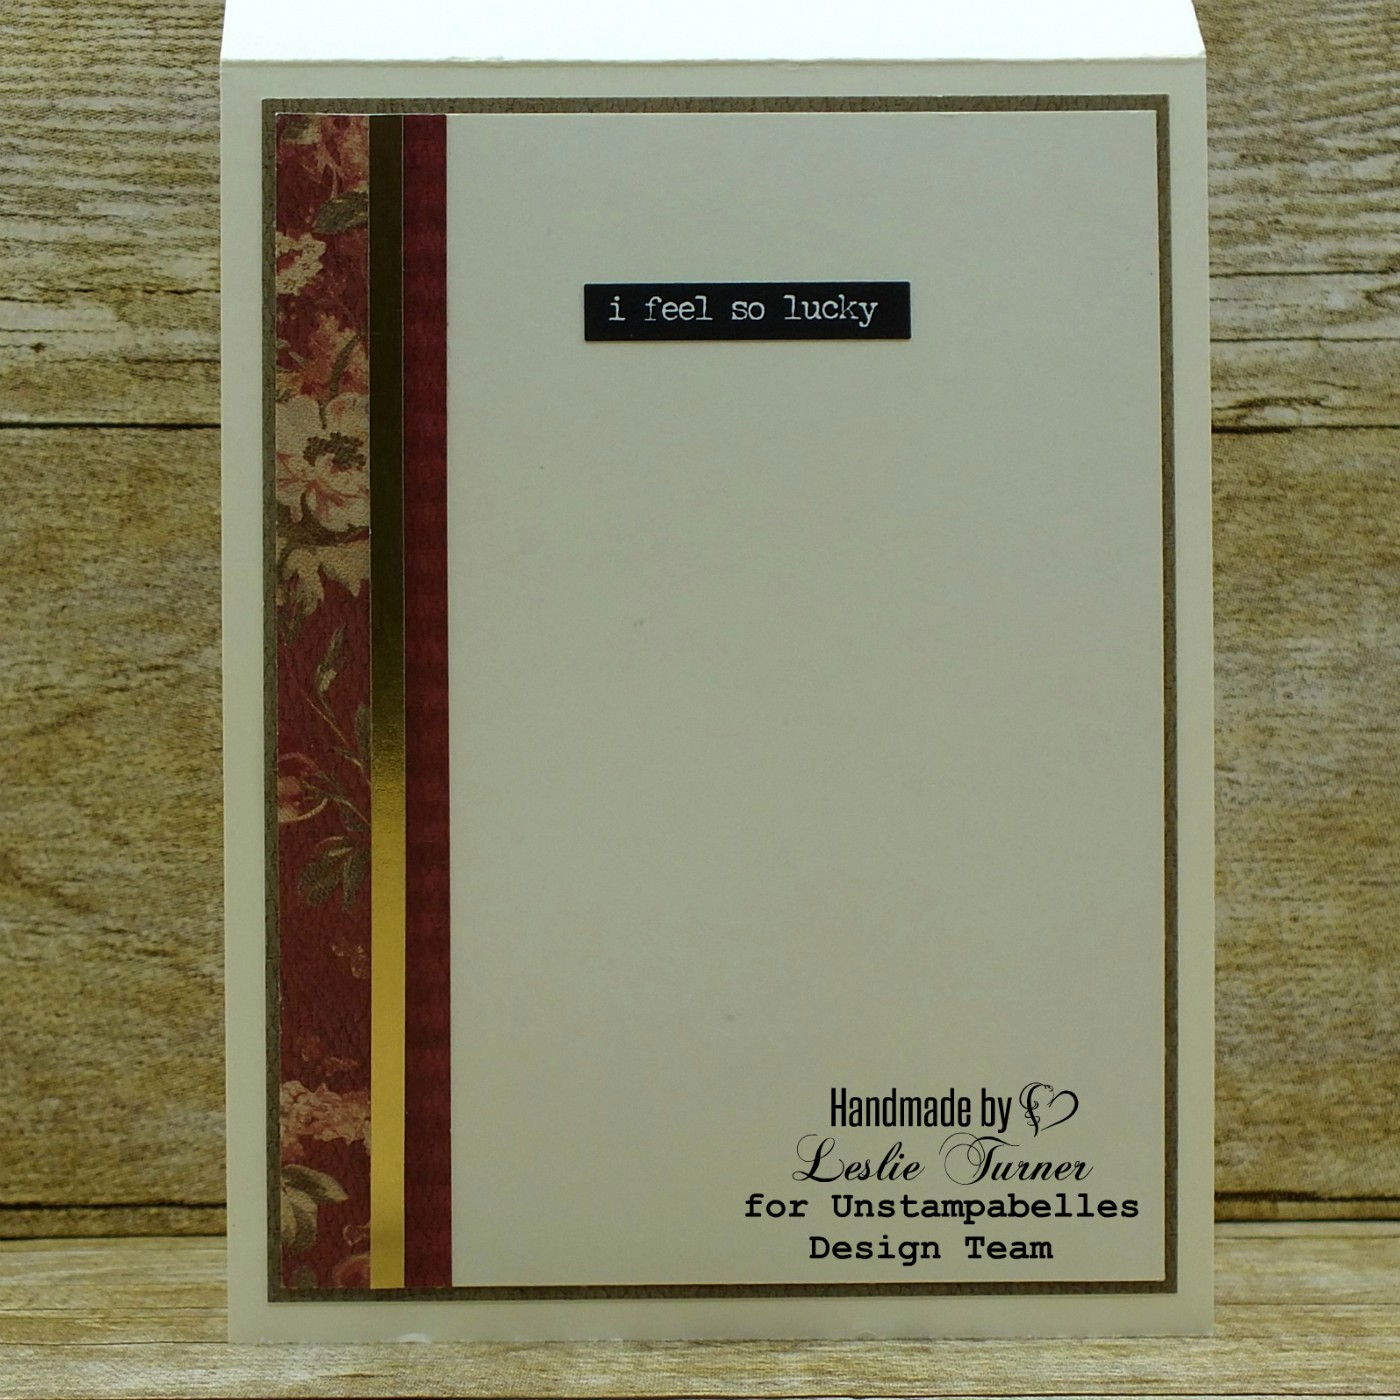
And here’s a shot with the lid off showing the box. Hmmmm… wonder what I should put in it?!

Products used:
Cardstock/Paper: Stampin’ Up Crushed Curry, Tangerine Tango, Basic Black, Whisper White and Elegant Eggplant cardstock, Marco’s Gold Mirror cardstock
Dies/Punches: The Dreaming Tree Candy Corn Witch cut file
I hope you’ve enjoyed today’s project that is not a card, and you will link up with us this week! We’d love to see what you create! Thanks so much for stopping by and we’ll see you again soon! ;)
Scrappy hugs,