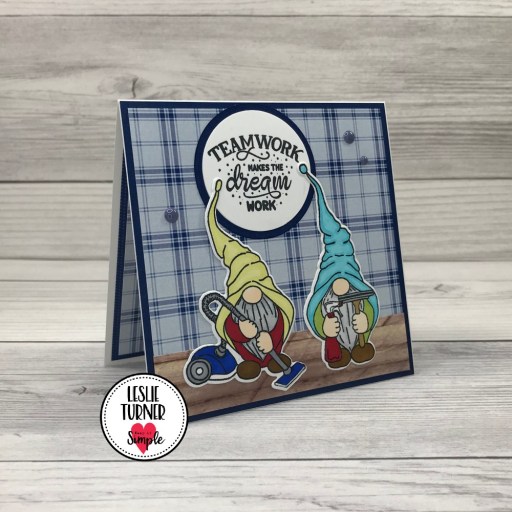
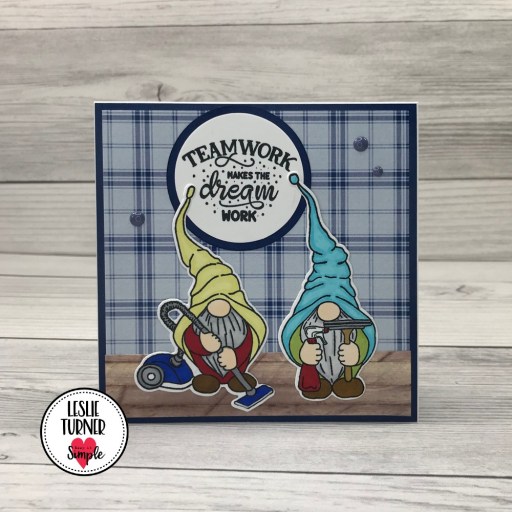
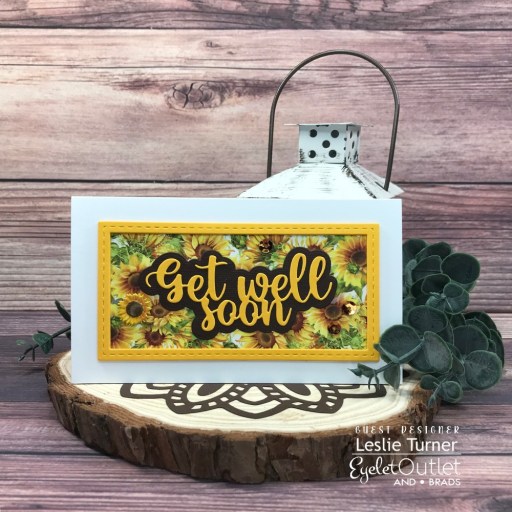
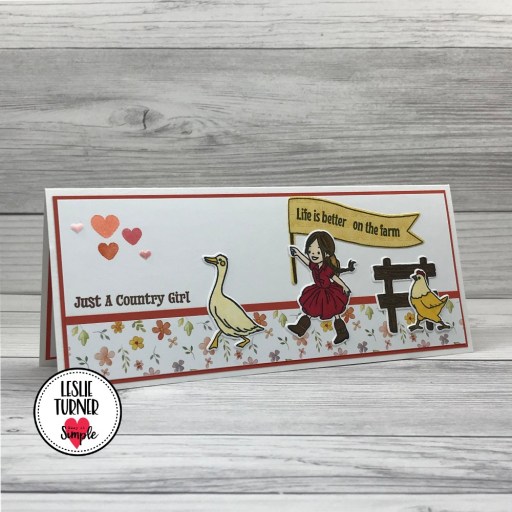
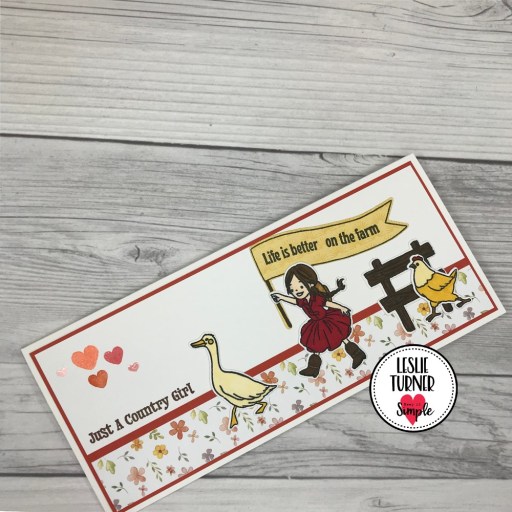
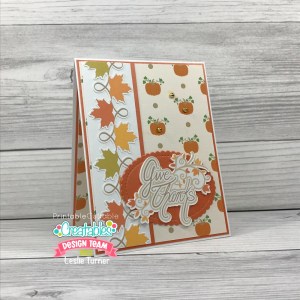
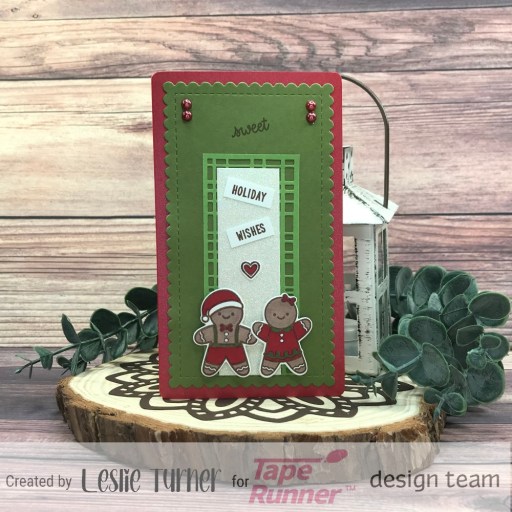
Howdy, peeps! Happy Sunday – I hope you’re having a beautiful weekend! I’ve popped in this morning to share an awesome Tape Runner DT inspiration project! This adorable red and green Christmas mini slimline note card features gingerbread cookies, and of course, all panels were adhered with Tape Runner! I also used some of my favorite Kat Scrappiness mini slimline dies. ;)
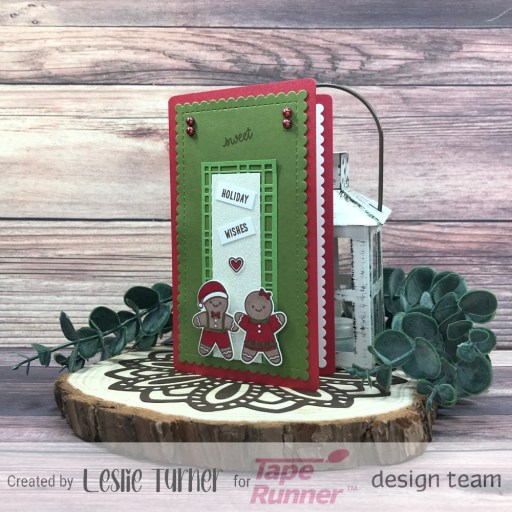
As mentioned above, all panels were adhered with Tape Runner. Wet glue was used only to adhere the gemstones and small die cut heart. I cut a 3-1/2″ x 6″ mini slimline card base from CutCardStock Stardream Metallic Jupiter cardstock (and rounded the corners) along with a die cut layering panel cut from CutCardStock Pop-Tone Jellybean Green cardstock using the Kat Scrappiness Mini Slimline Scalloped Edge Dies. I created a narrow background panel from CutCardStock Granny Smith using the Sizzix Festive Repeat Thinlits with a slightly narrower panel of Silk Glitter Opulent cardstock. Using the Sunny Studio Christmas Cookies stamps, I stamped the gingerbreads and small heart, colored them with alcohol markers and cut them with the coordinating dies. I stamped the sentiment, trimmed and cut in sections, and added Eyelet Outlet 5mm Red Pearl Bling which completed the card front.
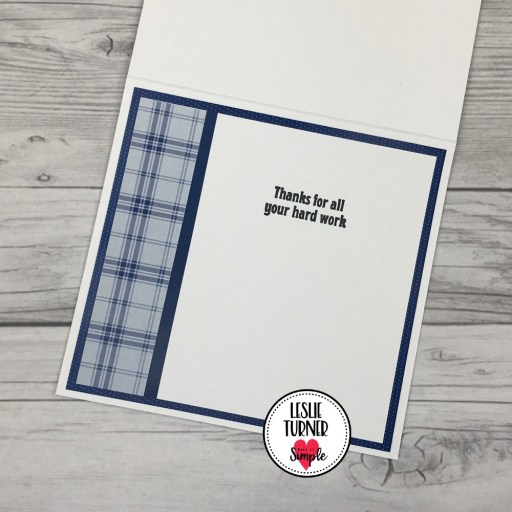
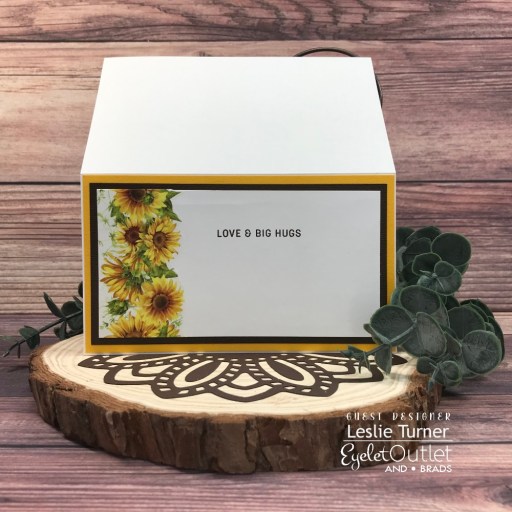
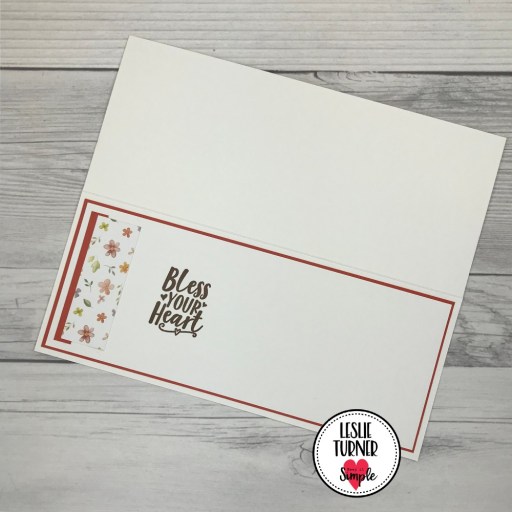
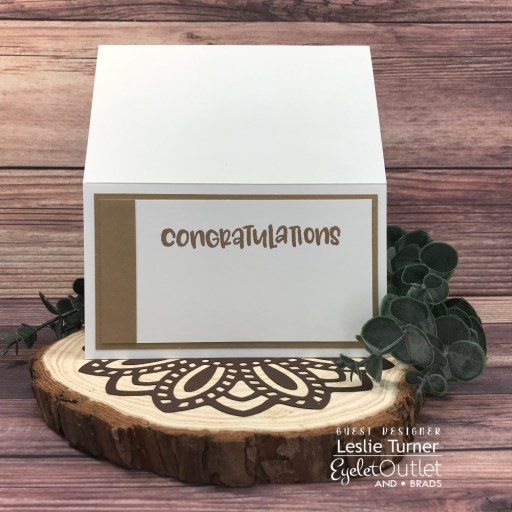
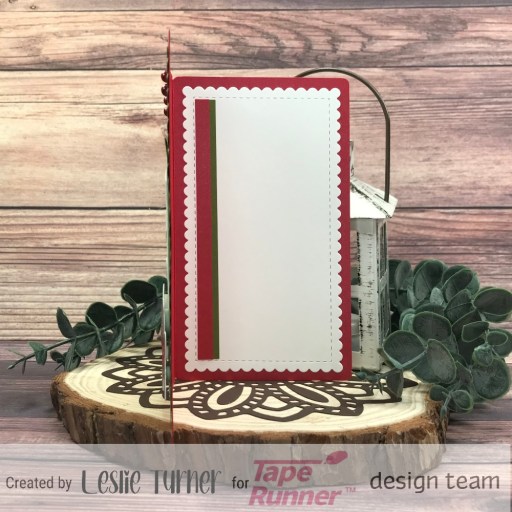
I die cut the inside panel from 80# Solar White cardstock using a Kat Scrappiness Mini Slimline Scalloped Edge Die and embellished it with strips of CutCardStock Stardream Metallic Jupiter and Pop-Tone Jellybean Green. I left the inside blank with plenty of room to write a custom message.
Sharing in the following challenges:
1. Aud Sentiments Challenge Blog: #297 – Christmas + A Sentiment
2. A Place To Start: #092022 – Anything Goes w/optional Fantasy (no twist)
3. Crafty Catz: #607 – Anything Goes w/optional Make It Cute
4. Lil Patch of Crafty Friends: #190 – Anything Goes
5. Paperbabe Stamps: #177 – Anything Goes
Tape Runner products used:
Tape Runner
Affiliate links are used in this post at no cost to you – I really appreciate your support!
Other products used:
Cardstock/Paper: Neenah Classic Crest 80# Solar White cardstock, CutCardStock Stardream Metallic Jupiter, Pop-Tone Jellybean Green, Granny Smith, and Silk Glitter Opulent cardstock
Stamps: Sunny Studio Christmas Cookies Stamp & Die Bundle
Ink: Memento Rich Cocoa ink; Arteza alcohol markers- BR95, R31, YG01; Sakura White Gelly Roll pen
Dies/Punches: Kat Scrappiness Mini Slimline Scalloped Edge Dies, Kadomaru Pro Corner Rounder, Sizzix Festive Repeat Thinlits
Accessories: Tonic Studios 12″ Guillotine Paper Trimmer, Bearly Art precision craft glue, MISTI stamping tool, Big Shot, Darice Double-Sided Adhesive Foam Circles, Eyelet Outlet 5mm Red Pearl Bling
I hope you’ve enjoyed today’s project and you’re inspired to get your craft on! Be sure to check out the ah-mazing Tape Runner, Retractable Tape Runner and Highlight Tape Runner at TapeRunner.com! Be sure to Follow us on Facebook and Instagram! Thanks so much for stopping by today – we’ll see you next time!
Scrappy hugs,