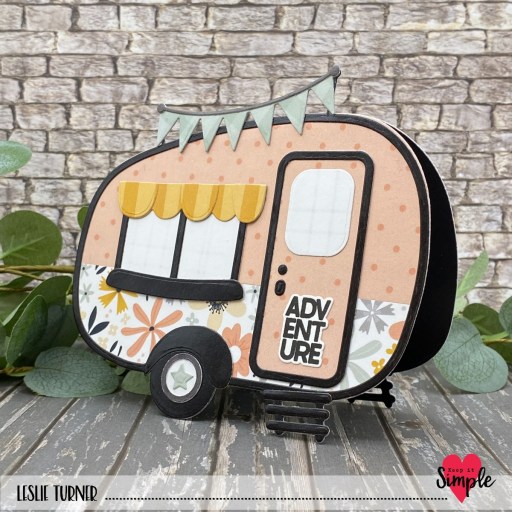
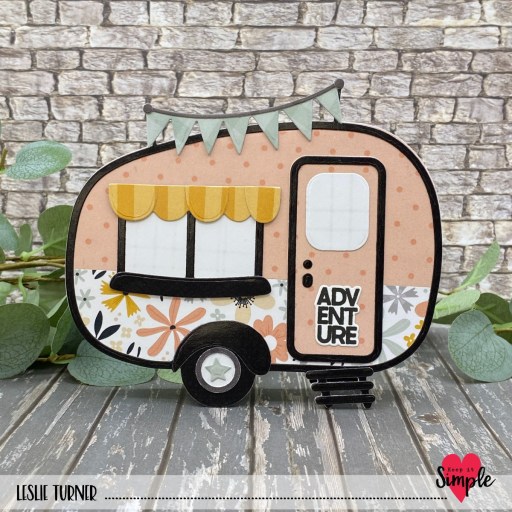
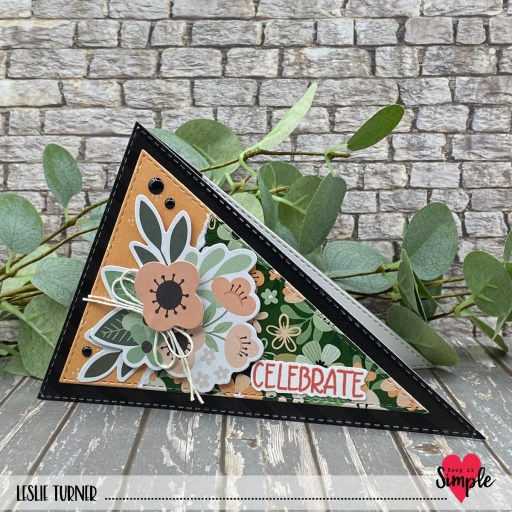
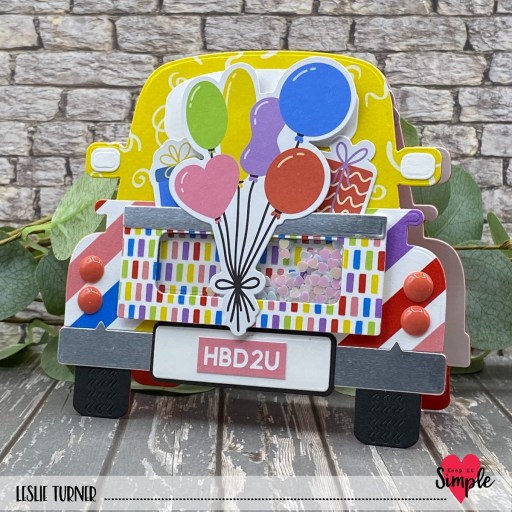
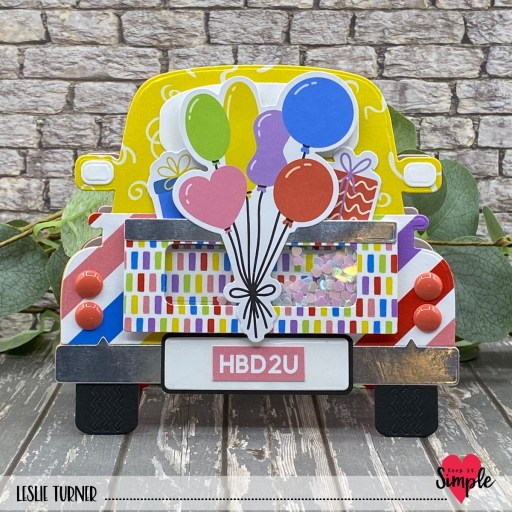
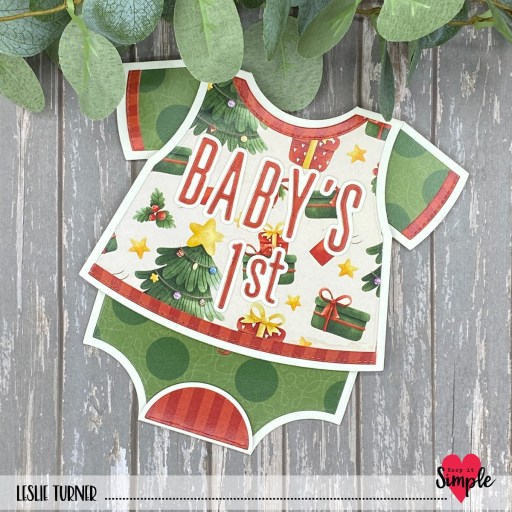
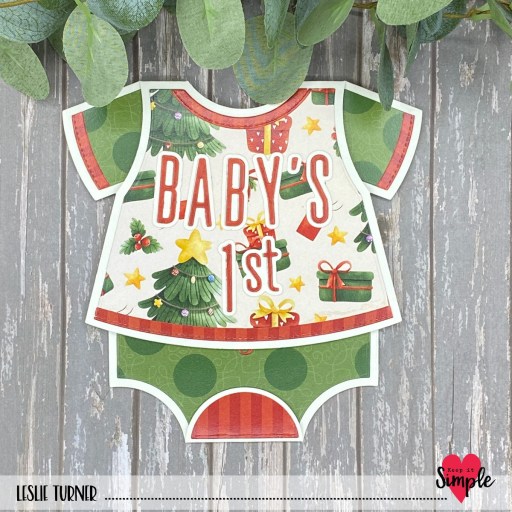
Howdy peeps! I’m back with the third of four posts for Keep It Simple today. I created this adorable vintage truck shaped card for a booth sample at the expos. It was also used for the die cutting Crafty Tips & Tricks feature on Instagram last weekend to commemorate National Craft Month in March! This card features the Back To Basics Vintage Truck dies along with papers and die cut pieces from our Barnyard Bliss collection.
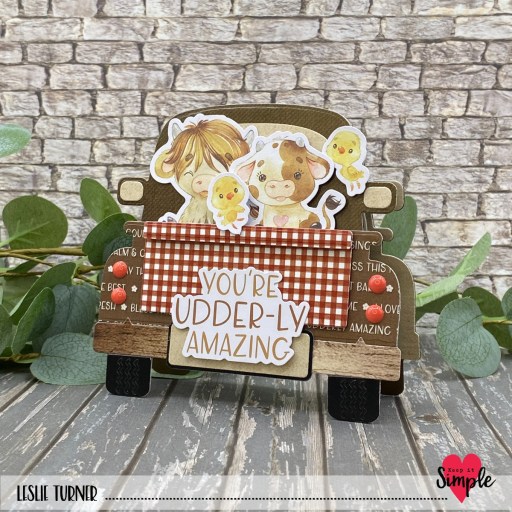
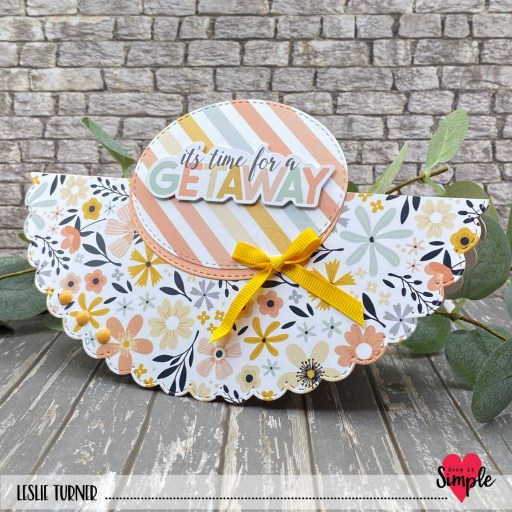
Using the Back To Basics Vintage Truck dies, I cut the card base from CutCardStock Lessebo Coffee Bean cardstock by placing the die slightly above the fold line on the cardstock so the card base wouldn’t be cut in two. I cut all the pieces for the truck from assorted prints in the Barnyard Bliss collection and the Back To Basics Kraft and Black & White 6×9 Collection Packs. Then the fun began adding all the sweet little critter die cut pieces which I popped up in varying degrees with foam squares. I used Back To Basics Ruby Enamel Dots for the tail lights.
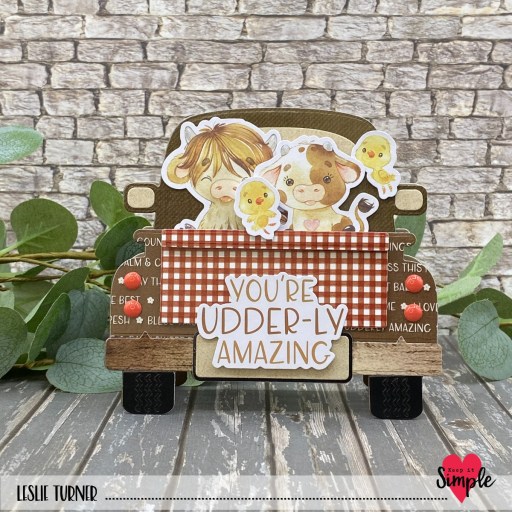
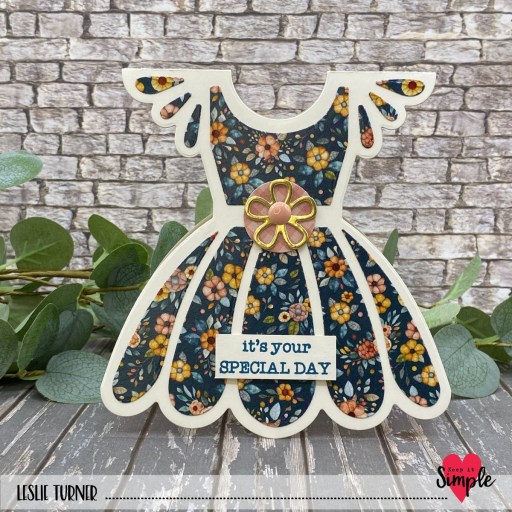
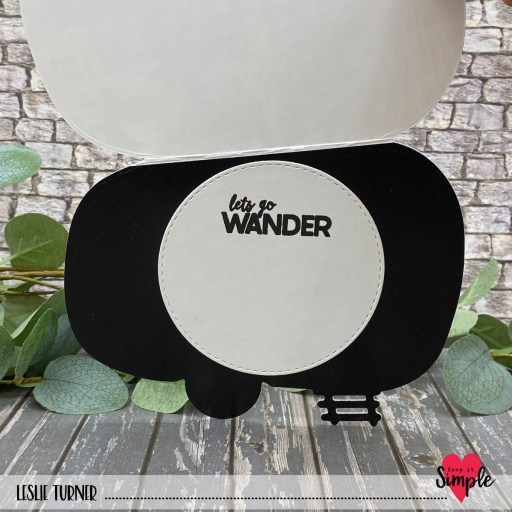
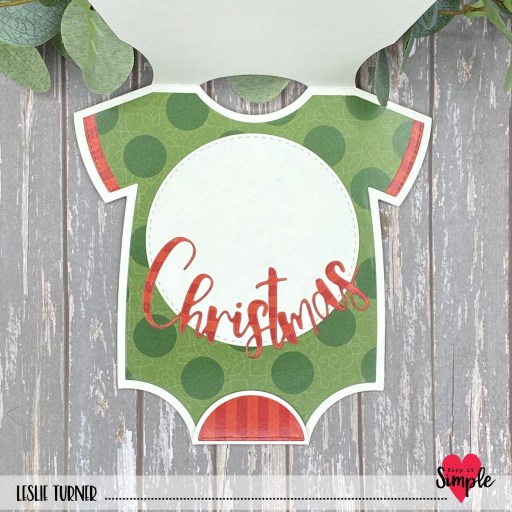
I used a Back To Basics Stitched Circles Nested Die to cut the sentiment panel from CutCardStock Classic Crest Recycled 100% Classic Natural White cardstock, and stamped a sentiment from the Back To Basics Congratulations Sentiments stamp set in Catherine Pooler Over Coffee ink.

Keep It Simple products used:
Back To Basics Vintage Truck Dies
Barnyard Bliss 6×9 Collection Pack
Barnyard Bliss Die Cut Pieces
Back To Basics Kraft 6×9 Collection Pack
Back To Basics Black & White 6×9 Collection Pack
Back To Basics Congratulations Sentiments stamp set
Back To Basics Stitched Circles Nested Dies
Back To Basics Adhesive Basics Foam Adhesive Squares & Strips
Back To Basics Ruby Enamel Dots
Affiliate links are used in this post at no cost to you – I really appreciate your support!
Other products used:
CARDSTOCK/PAPER: CutCardStock Lessebo Coffee Bean cardstock, Classic Crest Recycled 100% Classic Natural White cardstock
INK: Catherine Pooler Over Coffee ink
ACCESSORIES: Fiskars 12″ ProCision Rotary Bypass Paper Trimmer, Spellbinders 12×12 Scoring Board, My Sweet Petunia Precision Glue Press, Bearly Art Precision Craft Glue, Mini MISTI, Big Shot
I hope you’ve loved seeing this project as much as I loved creating it and you’re inspired to get crafty! Be sure to check out ALL the fun goodies in the Keep It Simple online store! Save 10% on your entire order when you shop online using code LoveToScrap2 at checkout! There is no minimum purchase requirement and no usage limits, AND it combines with product, order, and shipping discounts! Is that cool, or what?! Be sure to Follow us on Facebook, Instagram, and Pinterest for lots of crafty inspiration! Thanks so much for stopping by today – we’ll see you next time!
Scrappy hugs,