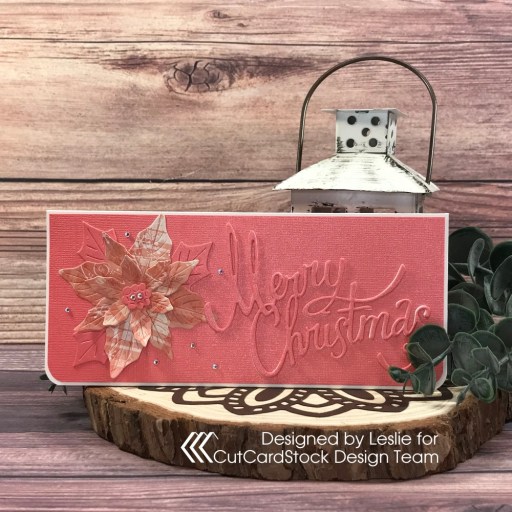
Hi everyone! Happy Hump Day! Can you believe we’re on the downslide to the end of March already? Where is the time going?! I have an awesome CutCardStock DT inspiration project to share with you today featuring my favorite Classic Crest which I paired with a nice variety of other cardstock in the store! In addition to the Neenah Classic Crest Solar White, I used Bright Gold Foil; Pop Tone Cotton Candy, Jellybean Green and Gumdrop Green; Stardream Metallic Azalea and Flame; Basis Dark Orange, and textured Kale Green and Mantis cardstock for this CAS mini slimline. I used to be very intimidated by clean and simple, but over the past few years I’ve been loving it more and more!

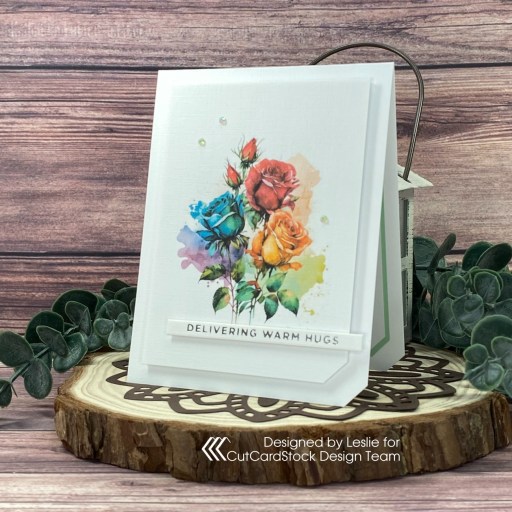
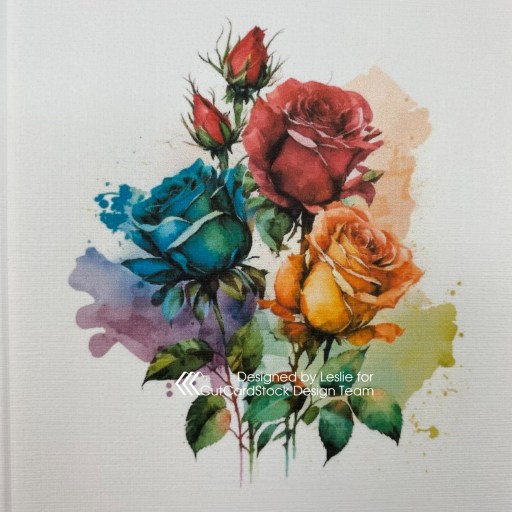
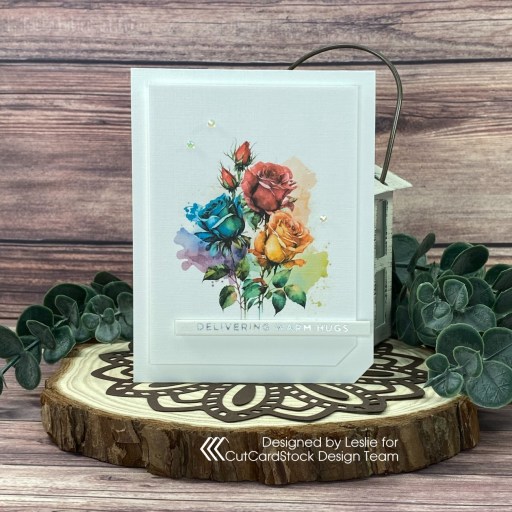
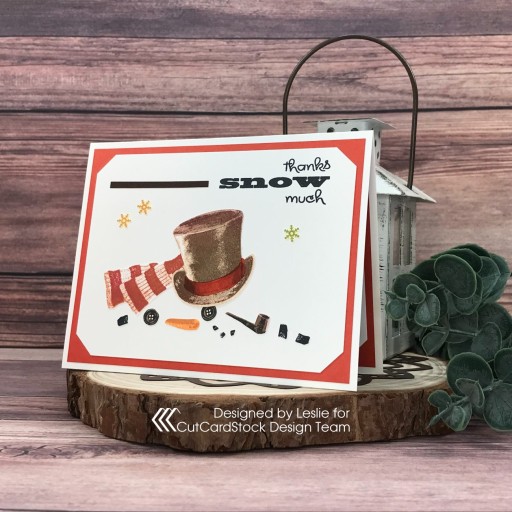
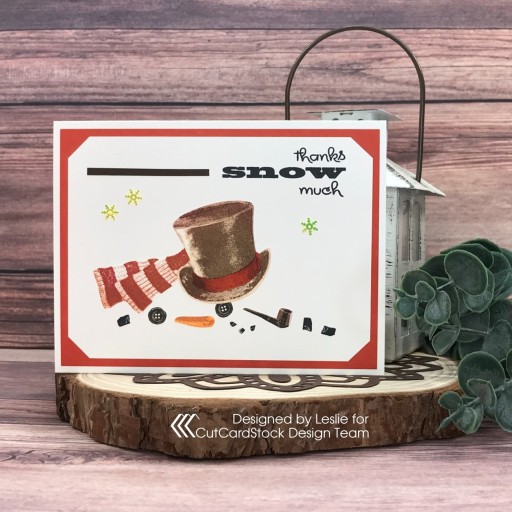
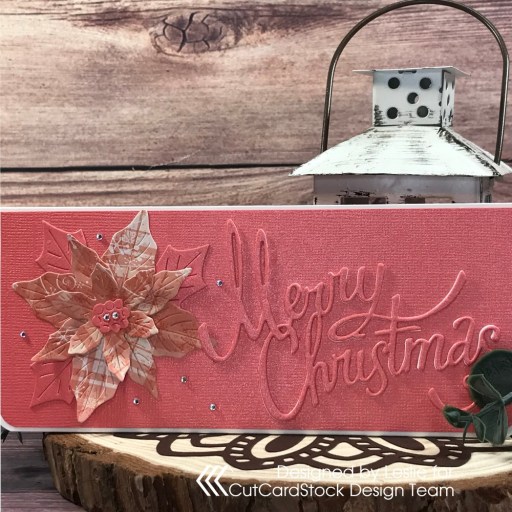
I cut a 3-1/2″ x 6″ mini slimline card base from Neenah Classic Crest 110# Solar White along with a background panel from 80# Solar White using the Kat Scrappiness Mini Slimline Quilted Backdrop Die. Using the Sizzix Geo Floral Frame Thinlits, I cut the frames from Bright Gold Foil, and all the flowers and leaves from Pop Tone Cotton Candy, Pop Tone Jellybean Green, Pop Tone Gumdrop Green, Stardream Metallic Azalea, Stardream Metallic Flame, Basis Dark Orange, Kale Green and Mantis cardstock. I assembled the focal element and then cut the sentiment from Azalea cardstock using the Art Impressions Windows to the World Die. The finishing touch was adding several Eyelet Outlet 4mm pink pearls.

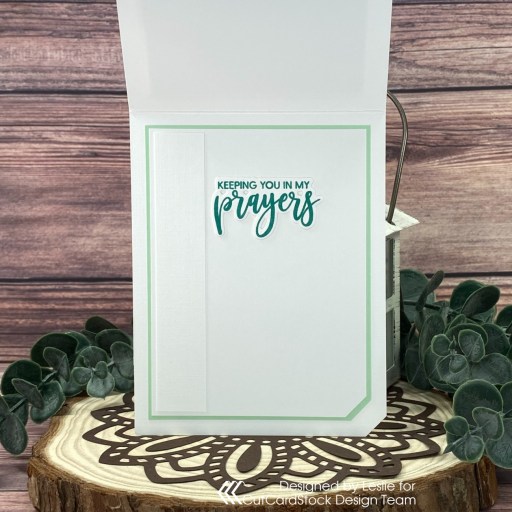
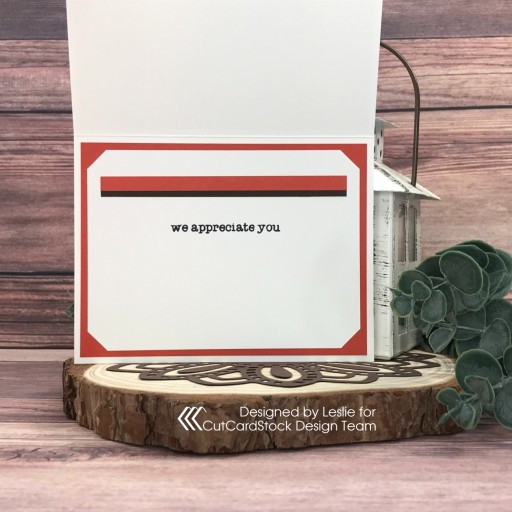
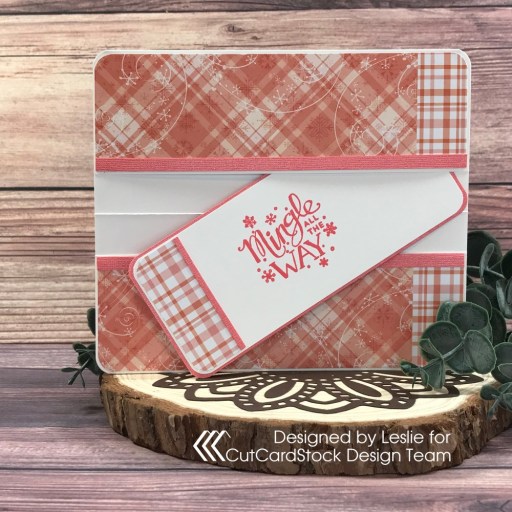
I cut the inside panel from 80# Solar White cardstock and embellished it with strips cut from Azalea and Gold Foil cardstock. I added a foiled sentiment created with my Spellbinders Glimmer Hot Foil System, Glimmer Gold Foil and Glimmer Mini Everyday Sentiments Plate & Die Set.

Affiliate links are used in this post at no cost to you – I really appreciate your support!
CutCardStock products used:
Neenah Classic Crest 110# and 80# Solar White cardstock
Bright Gold Foil cardstock
Pop Tone Cotton Candy cardstock
Pop Tone Jellybean Green cardstock
Pop Tone Gumdrop Green cardstock
Stardream Metallic Azalea cardstock
Stardream Metallic Flame cardstock
Basis Dark Orange cardstock
Kale Green cardstock
Mantis cardstock
Other products used:
Dies/Punches: Kat Scrappiness Mini Slimline Quilted Backdrop Die, Sizzix Geo Floral Frame Thinlits, Art Impressions Windows to the World Shadowbox Window Die
Accessories: Tonic Studios 12″ Guillotine Paper Trimmer, Spellbinders Glimmer Hot Foil System, Glimmer Gold Foil and Glimmer Mini Everyday Sentiments Plate & Die Set, Big Shot, Art Glitter Dries Clear adhesive, Eyelet Outlet 4mm pink pearls, Trinity Pick Up Stick
I hope you’ve enjoyed today’s project and you’re inspired to get crafty! Be sure to check out all the awesome cardstock and other goodies at CutCardStock (adhesives, labels, stickers, pens, watercolors and ribbon to name a few). And head on over to the CutCardStock Facebook Page and for more inspiration! Also, be sure to join our Creating with Card Stock Facebook Group for even more crafty inspiration! Thanks so much for stopping by today – we’ll see you next time!
Scrappy hugs,