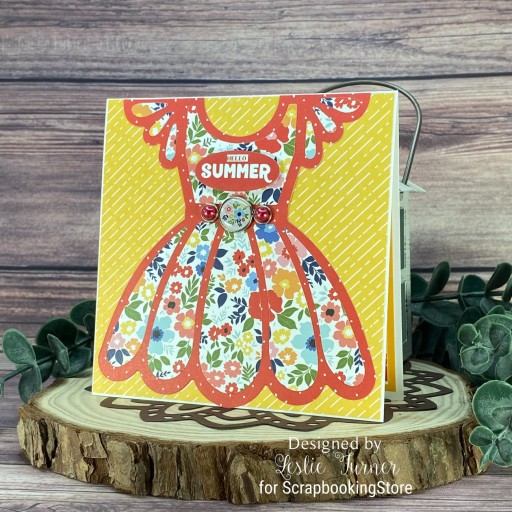
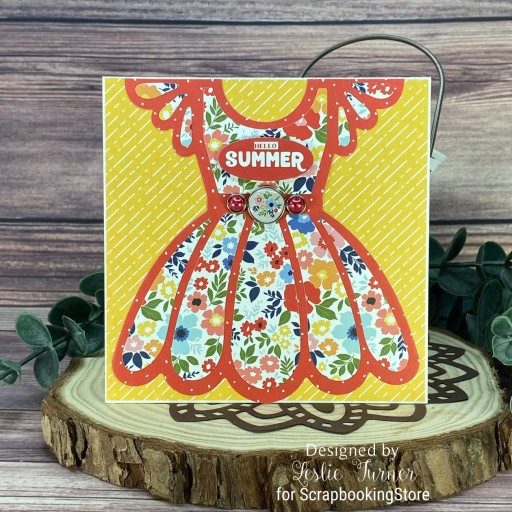
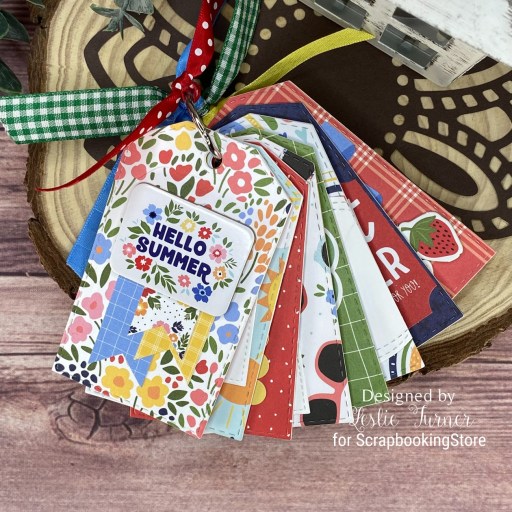
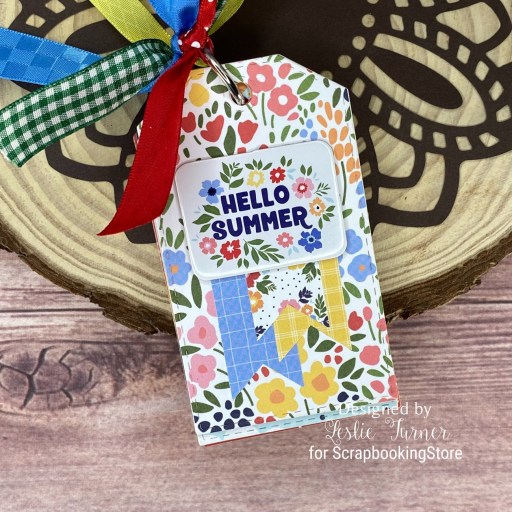
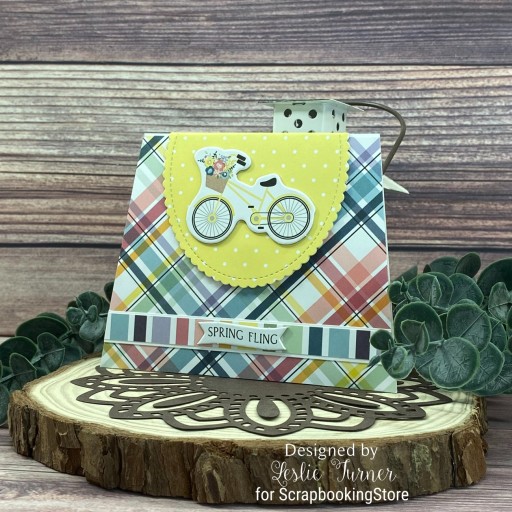
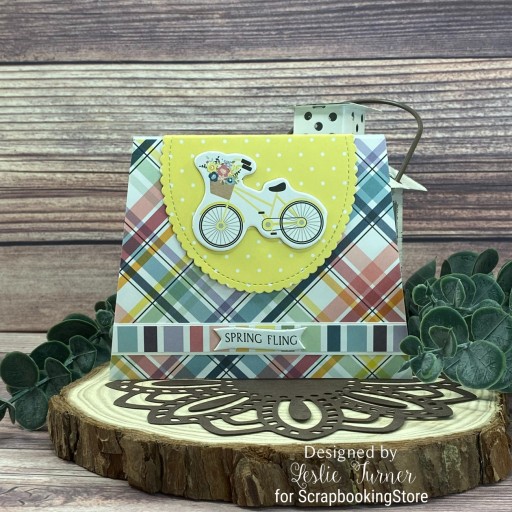
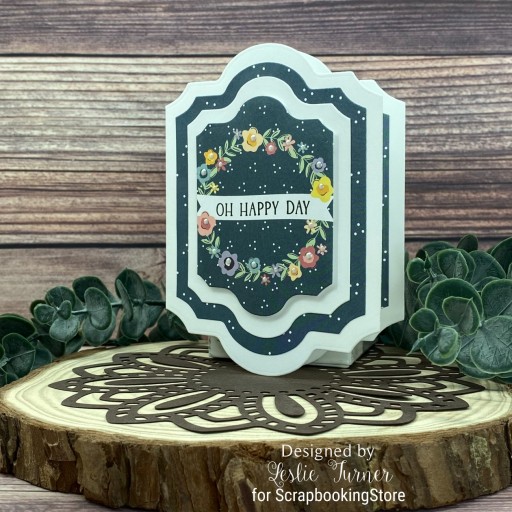
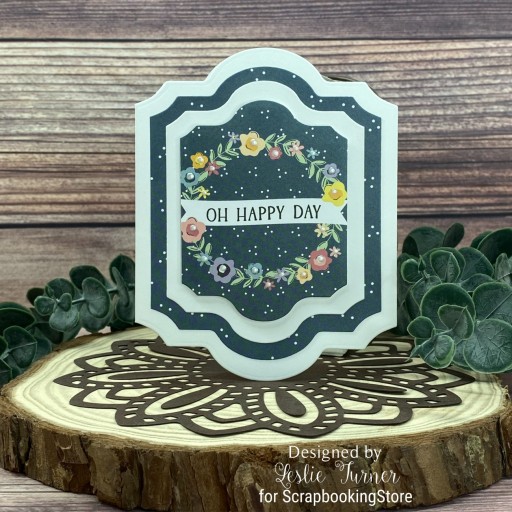
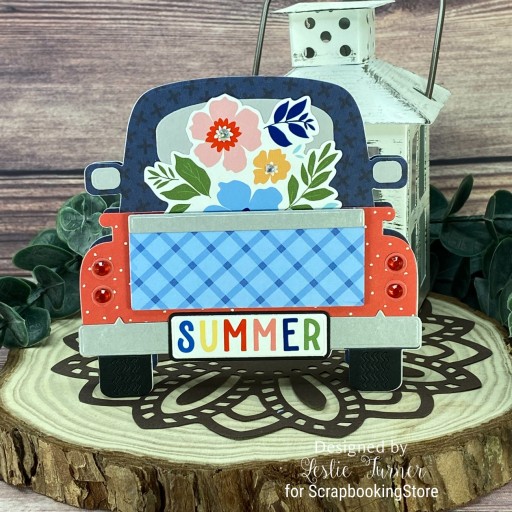
Hey everybody! Happy Fri-YAY! I hope you’ve had an awesome week and you’re able to enjoy some this gorgeous weather! I’m excited to be back to share another ScrapbookingStore DT inspiration project created with the amazing June 2023 Scrapbook Kit with Upgrades! This adorable shaped Summer Truck card features papers and stickers from this month’s collection and is so stinkin’ cute, I can’t stand it! This die set is awesome and I couldn’t wait to use it again with the items in this amazing kit!
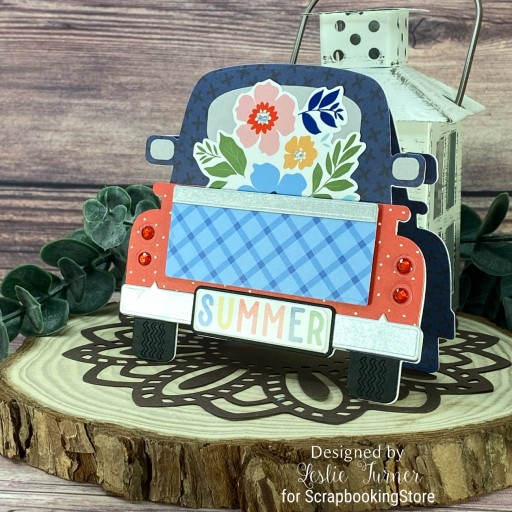
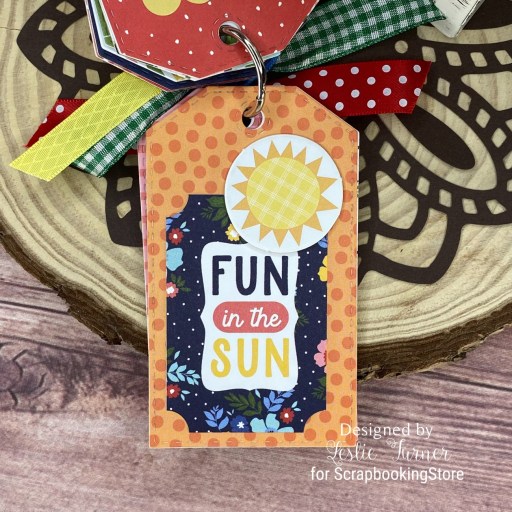
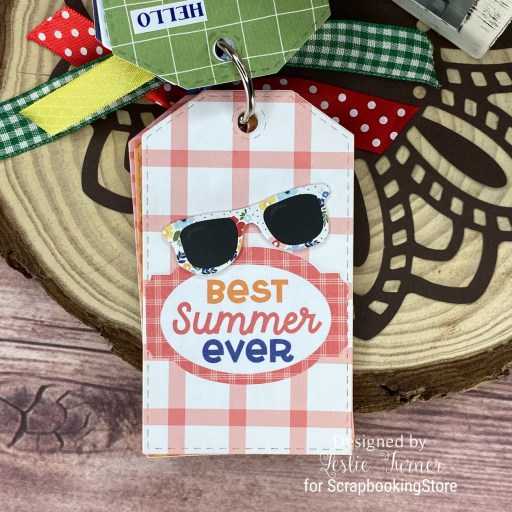
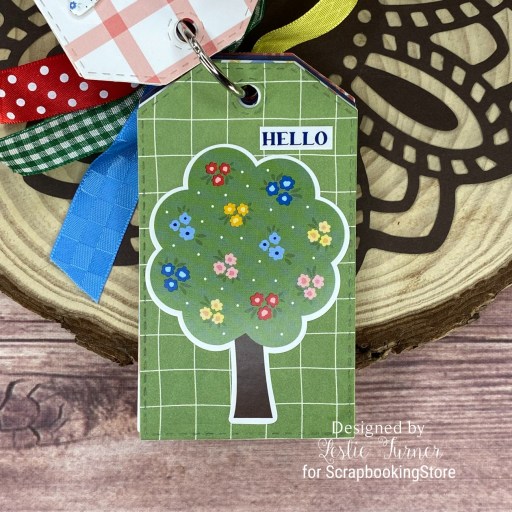
Using the Keep It Simple Vintage Truck die set, I cut the main pieces for the truck from three coordinating papers in the collection, along with CutCardStock Basis Black, Stardream Metallic Silver and Dolphin Gray for the ancillary pieces. I assembled the truck, popping the tail gate up on a foam strip, and added flower and sentiment stickers from the sticker sheet. The finishing touch was adding tiny iridescent clear gemstones to the center of the flowers and slightly larger red gemstones to the tail lights.
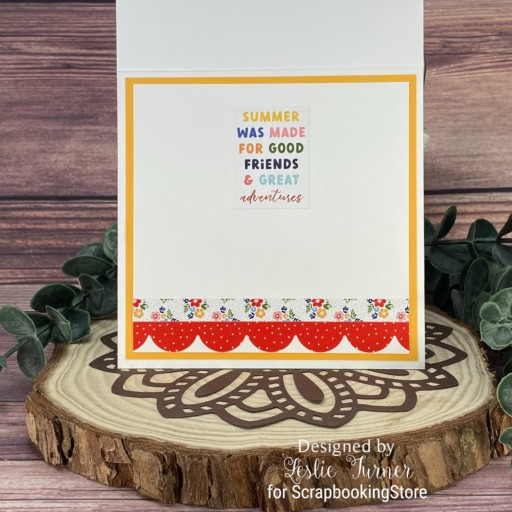
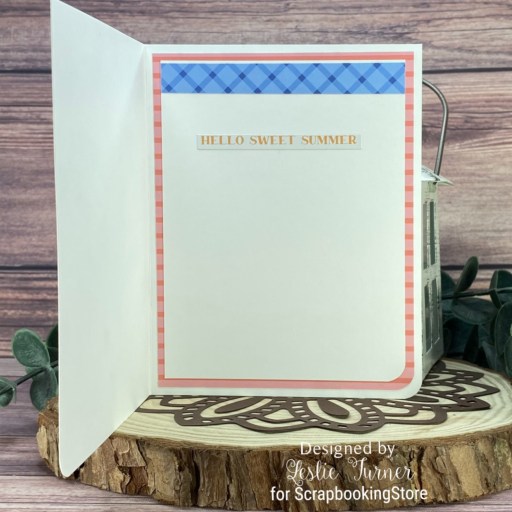
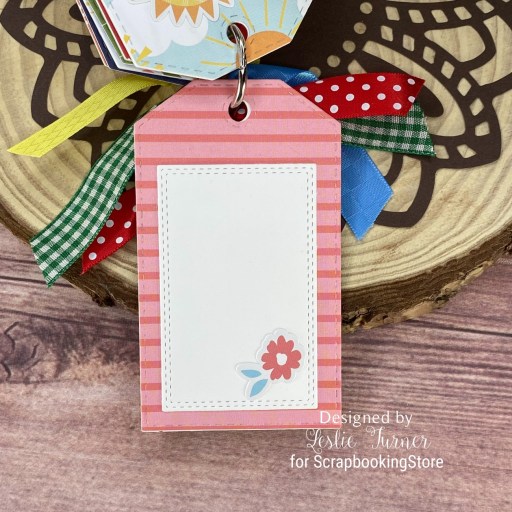
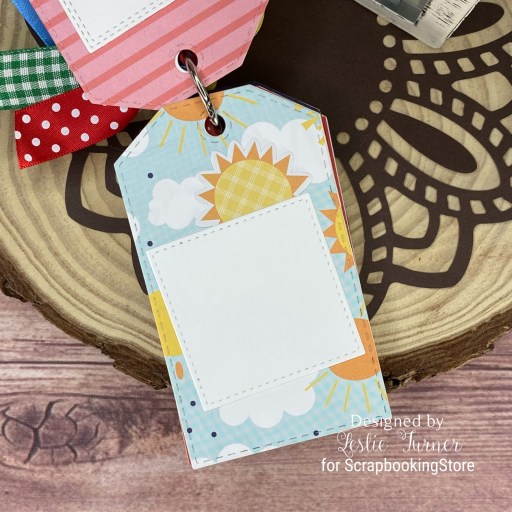
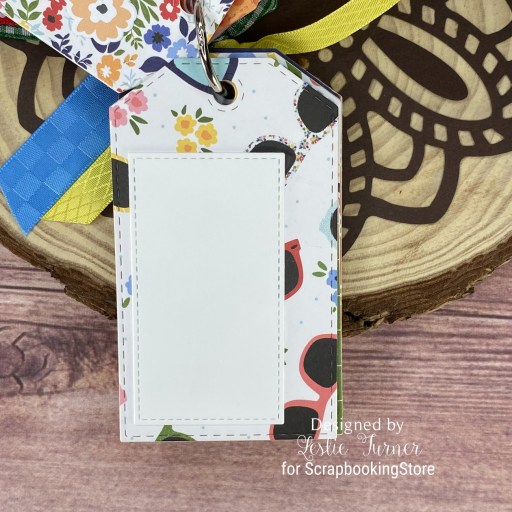
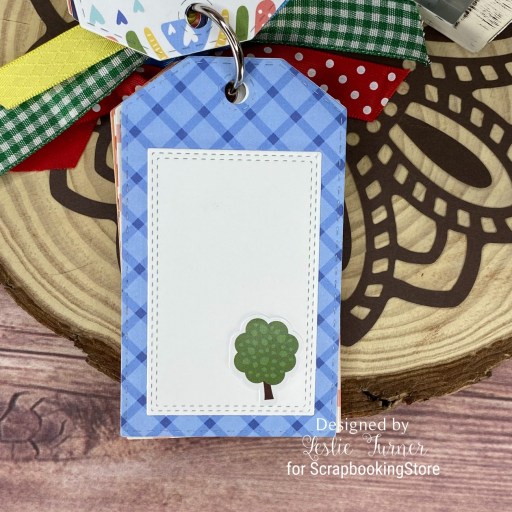
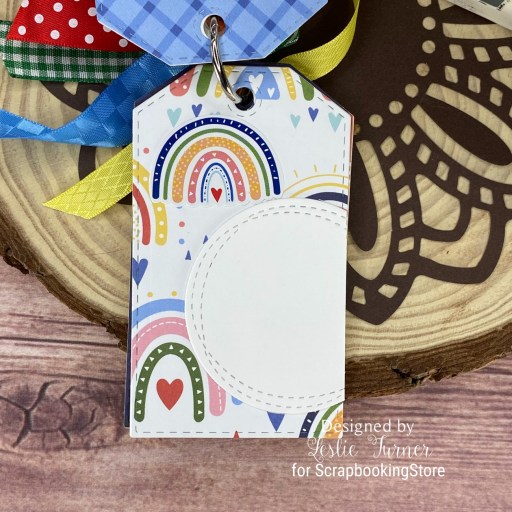
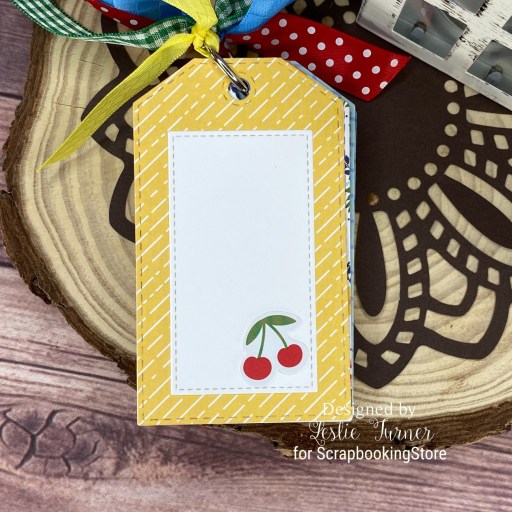
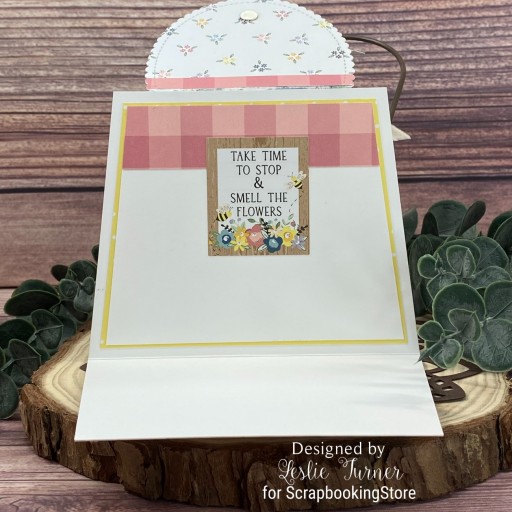
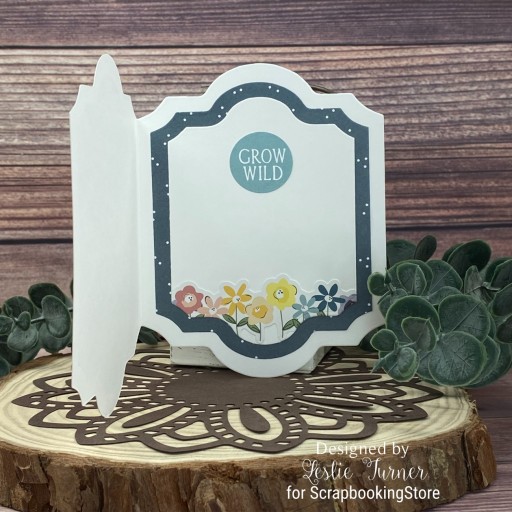
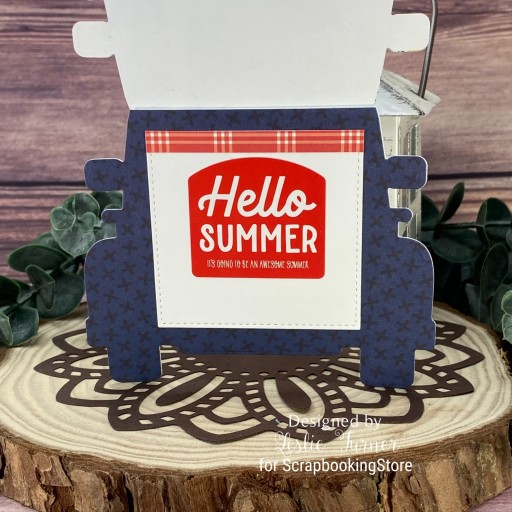
I cut the inside panel from Neenah Classic Crest Solar White cardstock using a My Favorite Things Stitched Square STAX die. I embellished the panel with a leftover strip of patterned paper from the kit and a sticker from the sticker sheet.
Sharing in the following challenges:
1. A Perfect Time To Craft: June #6-2023 – Anything Goes
2. Classic Design Challenge: June #6 – Anything Goes
3. Crafty Calendar Challenge: June Challenge – Summertime
4. Cardz 4 Galz: #201 – Use Dies or Punches (dies)
5. QKR Stampede: #467 – Anything Goes
6. Sparkles Monthly Challenge Blog: #165 – No Stamping Allowed
Affiliate links are used in this post at no cost to you – I really appreciate your support!
ScrapbookingStore products used:
June 2023 Scrapbook Kit with Upgrades
Other products used:
CARDSTOCK/PAPER: CutCardStock Basis Black, Stardream Metallic Silver and Dolphin Gray cardstock, Neenah Classic Crest 80# Solar White cardstock
DIES/PUNCHES: Keep It Simple Vintage Truck dies, My Favorite Things Stitched Square STAX
ACCESSORIES: Tonic Studios 12″ Guillotine Paper Trimmer, CutCardStock Plus High Capacity adhesive, Art Glitter Dries Clear adhesive, Big Shot, iridescent clear and red gemstones, 1″ double-sided foam strip
I hope you’ve enjoyed today’s project and you’re thinking about all the fun you could have with this month’s kit… you really ought to think about joining the Subscription Club! Be sure to Follow us on Facebook, Instagram, Pinterest and YouTube for lots of crafty inspiration! And if you do decide to join the Subscription Club, join our ScrapbookingStore Club Member Group on Facebook for more inspiration and to share your projects! Thanks so much for stopping by today – we’ll see you next time!
Scrappy hugs,