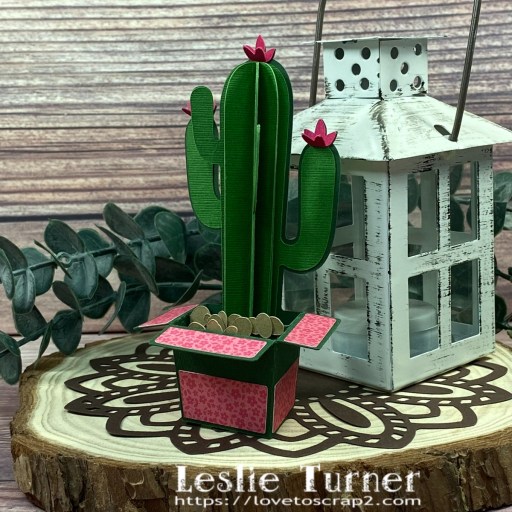
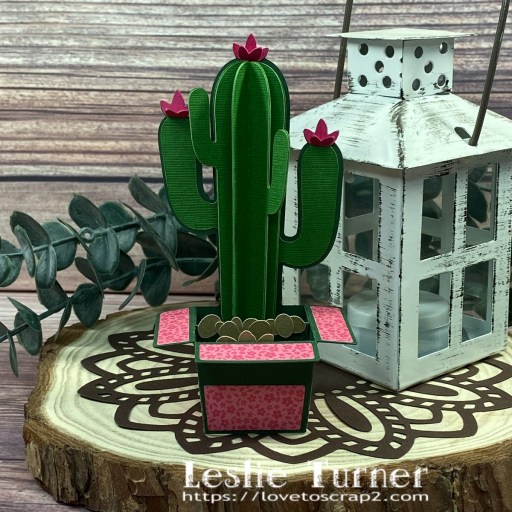
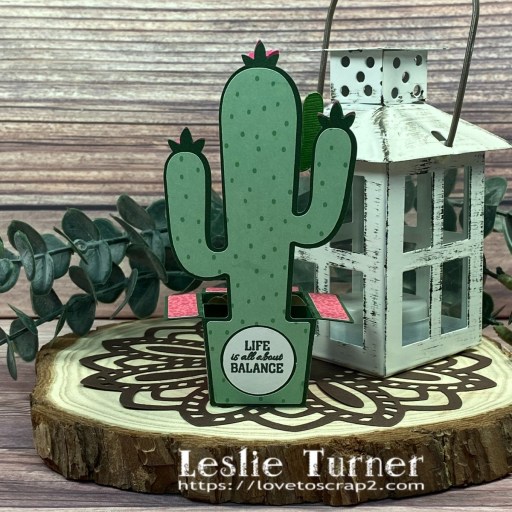
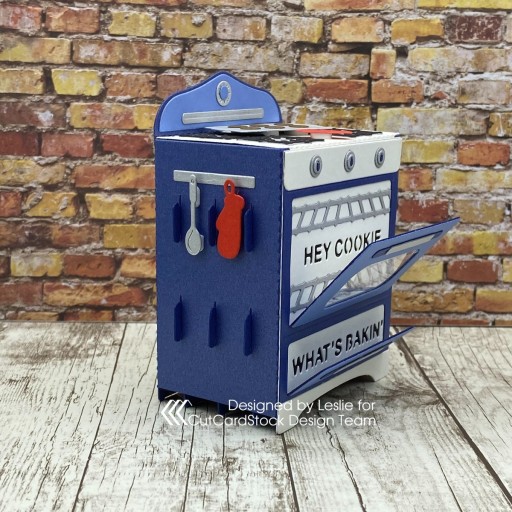
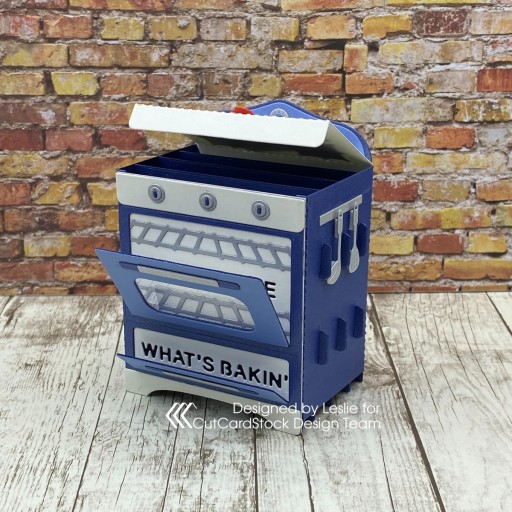
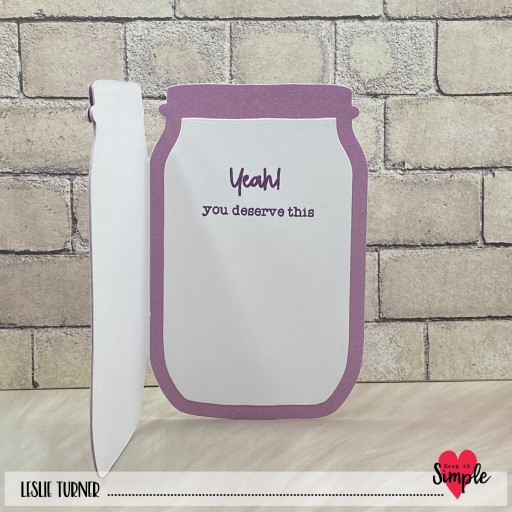
5/18/24 Weekly Favorite at Splitcoast Stampers!
5/18/24 CAS Favorite at Splitcoast Stampers!
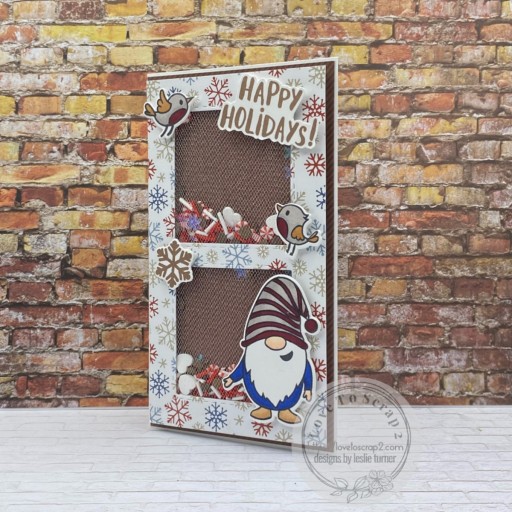
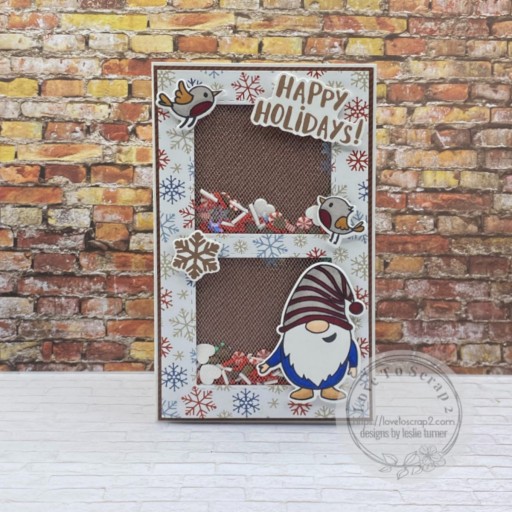
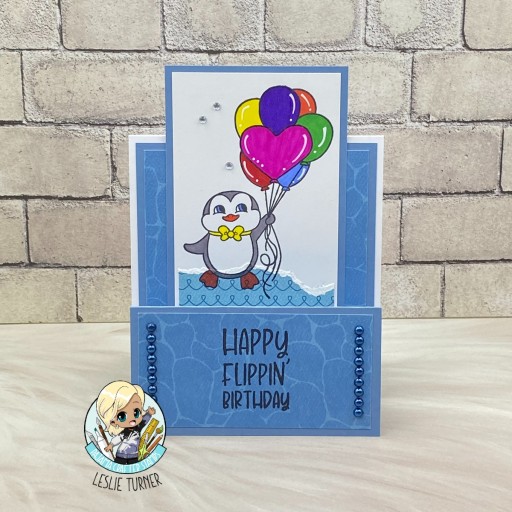
Hey everybody! I hope you have something fun planned this weekend! Our weather is glorious here in southwestern Colorado and I hope to be outside at least a little bit to enjoy it! I have another ScrapbookingStore DT inspiration project to share with you today created with the super pretty May 2024 Scrapbook Kit with Upgrades. Everybody seems to love the pop-out Z-fold cards I’ve made lately, so I decided to create another one featuring several of the gorgeous prints in this month’s kit.

The card base and diamond shaped layers were cut from Neenah Classic Crest Solar White cardstock. Layering panels were cut from CutCardStock Basis Soft Pink cardstock and 12×12 Cardstock Shop Brown Thai Banana Handmade Paper along with several coordinating papers in this month’s kit. The front sentiment was stamped in Memento Tuxedo Black ink using the STAMPlorations Layered Citrus stamp set. I added one adhesive gem from the upgrades which finished the card front.

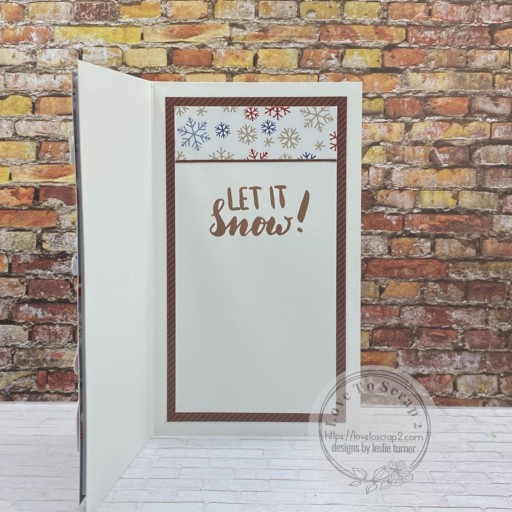
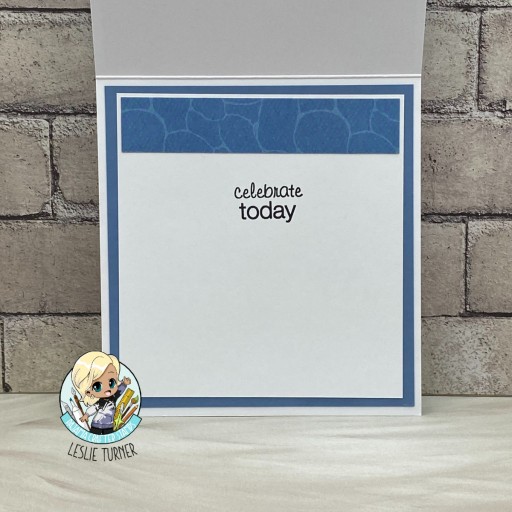
The inside sentiment was stamped in black ink using the Concord & 9th Painted Tulips stamp set.

Affiliate links are used in this post at no cost to you – I really appreciate your support!
ScrapbookingStore products used:
May 2024 Scrapbook Kit with Upgrades:
American Crafts Parasol 12×12 Paper Pad
Upgrades: Simple Stories My Story Chipboard Stickers
Studio 112 Adhesive Gems
We R Memory Keepers Washi Tape
Other products used:
CARDSTOCK/PAPER: Neenah Classic Crest 80# Solar White cardstock, CutCardStock Basis Soft Pink cardstock, 12×12 Cardstock Shop Brown Thai Banana Handmade Paper
STAMPS: STAMPlorations Layered Citrus stamp set, Concord & 9th Painted Tulips stamp set
INK: Memento Tuxedo Black ink
ACCESSORIES: Fiskars 12″ ProCision Rotary Bypass Paper Trimmer, Elmer’s Craft Bond Tape Runner, Bearly Art precision craft glue, MISTI stamp tool
I hope you’ve enjoyed today’s project and you’re thinking about all the fun you could have with this month’s kit… you really ought to think about joining the Subscription Club! Be sure to Follow us on Facebook, Instagram, Pinterest and YouTube for lots of crafty inspiration! And if you do decide to join the Subscription Club, join our ScrapbookingStore Club Member Group on Facebook for more inspiration and to share your projects! Thanks so much for stopping by today – we’ll see you next time!
Scrappy hugs,