4/1/24 Top Pick at A Barrel of Monkeys Challenges!
4/28/24 March DT Favorite at A Perfect Time To Craft Open Challenge!
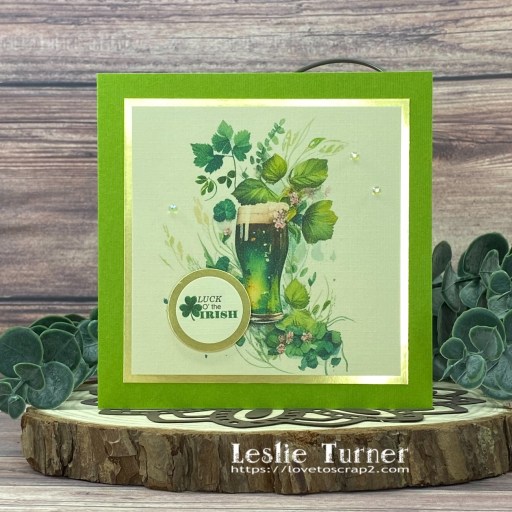
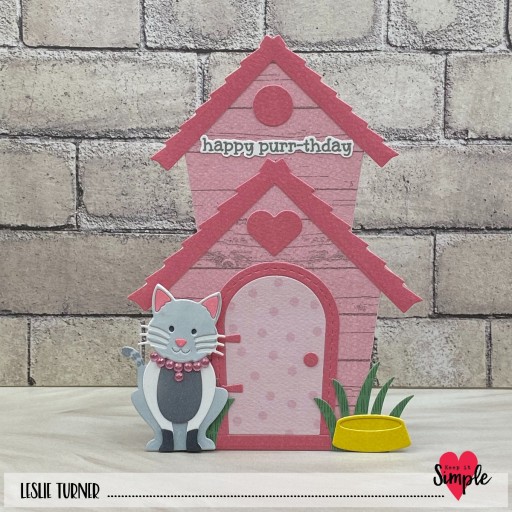
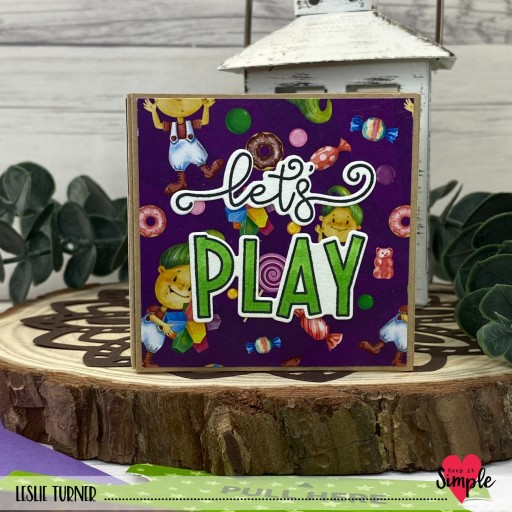
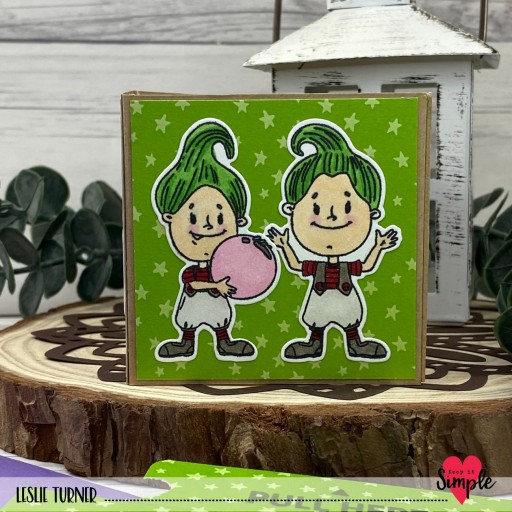
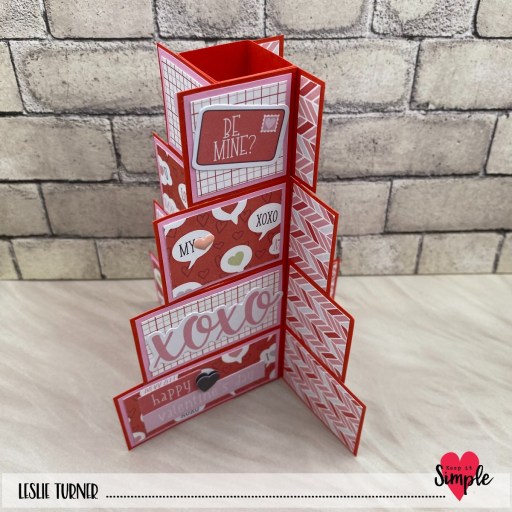
Hey everybody! I hope you’ve had a fabulous week doing whatever it is you do… whether you work outside or at home, or whether you’re retired! Our new challenge is live this morning over at Love To Craft Challenge Blog and I’m thrilled to share my DT inspiration project for LTCCB #79 – Anything Goes! Our challenges are always anything goes and we’d love for you join us! I created a cool friendship card featuring a die set I’ve had in my stash for a minute or three and have never used and awesome stamp sets from STAMPlorations and Altenew. I sent it to a very sweet artist friend just to let her know I was thinking about her. ;)

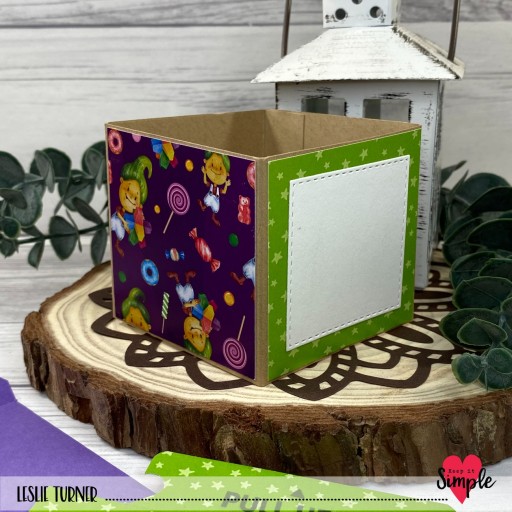
Using the palette die in the Spellbinders Painter’s Palette die set, I cut the card base and front layer from CutCardstock Desert Storm cardstock. Using the remaining dies in the set, I cut the paint blobs, brush and paint tube from CutCardStock Pop Tone Sweet Tooth, Pop Tone Banana Split, Pop Tone Hot Fudge, Pop Tone Red Hot, Pop Tone Orange Fizz, Pop Tone Lemon Drop, Pop Tone Gumdrop Green, Pop Tone Blue Raspberry, Pop Tone Grape Jelly, Pop Tone Razzleberry, Blue Hydrangea, Royal Sundance Linen Midnight Blue, Royal Sundance Linen Burgundy, and Stardream Metallic Silver cardstock.
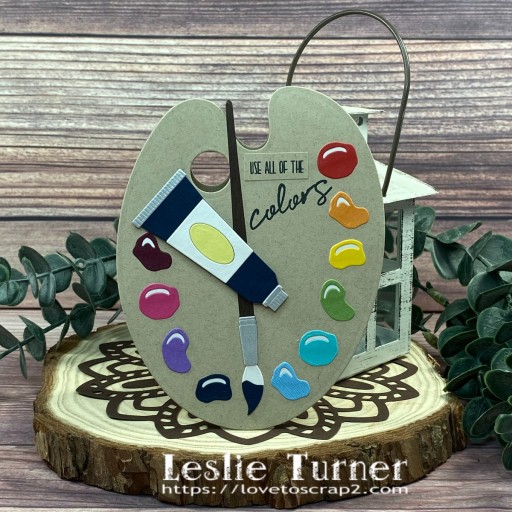
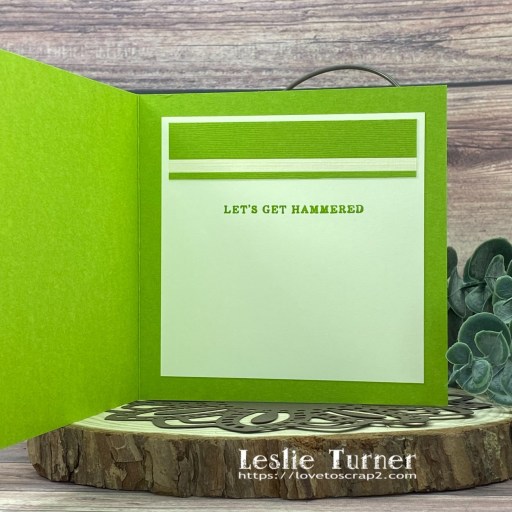
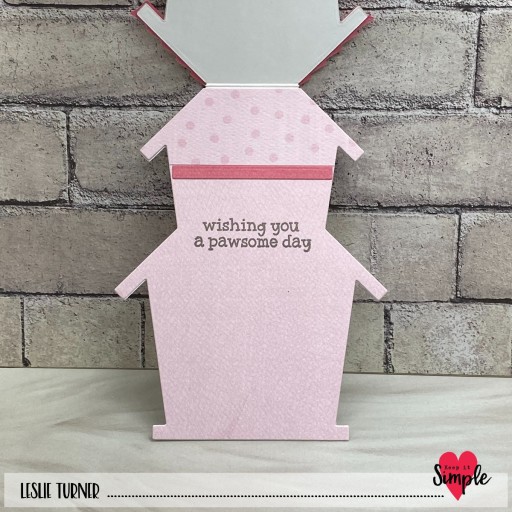
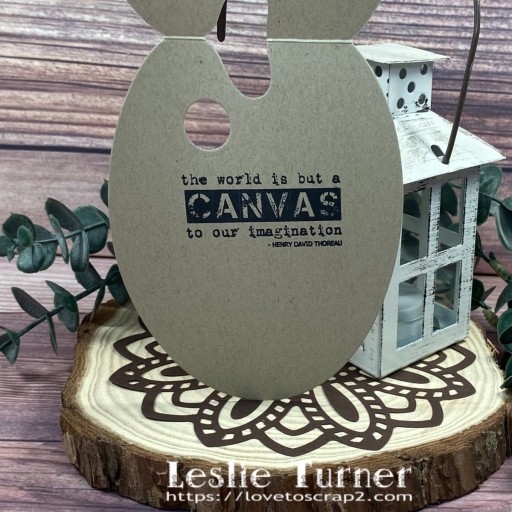
I stamped the front sentiment in Memento Tuxedo Black ink from the Altenew Mini Paintbox stamp set and the inside sentiment from the STAMPlorations Art Is stamp set. I totally love shaped cards and this one turned out so awesome!
Sharing in the following challenges:
1. https://barrelofmonkeyschallenges.blogspot.com/2024/03/march-barrel-of-monkeys-challenge-13.html
2. https://aperfecttimetocraft.blogspot.com/2024/03/a-perfect-time-to-craft-open-challenge.html
3. https://classicdesignchallenge.blogspot.com/2024/02/classic-design-challenge-02-2024-febmar.html
4. http://cardsgalorechallenges.blogspot.com/2024/03/march-2024-crafts-galore-encore.html
Affiliate links are used in this post at no cost to you – I really appreciate your support!
Products used:
CARDSTOCK/PAPER: CutCardStock Desert Storm, Pop Tone Sweet Tooth, Pop Tone Banana Split, Pop Tone Hot Fudge, Pop Tone Red Hot, Pop Tone Orange Fizz, Pop Tone Lemon Drop, Pop Tone Gumdrop Green, Pop Tone Blue Raspberry, Pop Tone Grape Jelly, Pop Tone Razzleberry, Blue Hydrangea, Royal Sundance Linen Midnight Blue, Royal Sundance Linen Burgundy, and Stardream Metallic Silver cardstock
STAMPS: Altenew Mini Paintbox stamp set, STAMPlorations Art Is stamp set
INK: Memento Tuxedo Black ink
DIES/PUNCHES: Spellbinders Painter’s Palette die set
ACCESSORIES: Tonic Studios 12″ Guillotine Paper Trimmer, Bearly Art precision craft glue, MISTI stamp tool, Big Shot, 1″ double-sided foam strip
I hope you’ve enjoyed seeing this project and will link up with us this time! Thanks so much for stopping by today – we’ll see you next time! ;)
Scrappy hugs,